How to Draw a Teapot
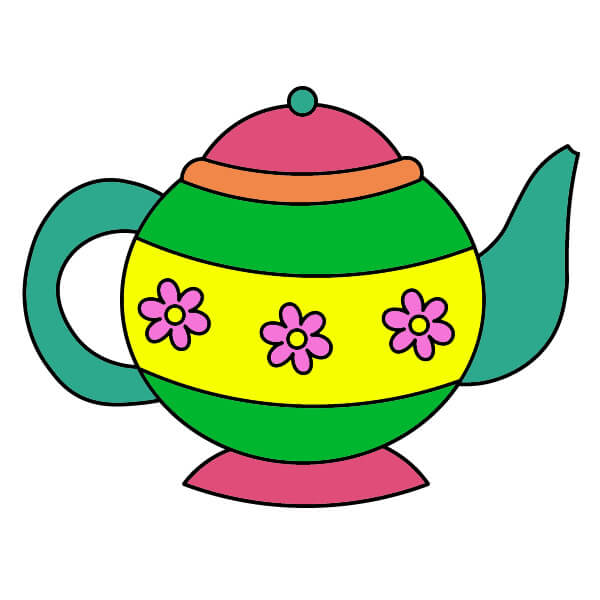
Want to learn how to draw how to draw a teapot? This tutorial will help you do it in just 32 simple steps, with clear illustrations for each step. Whether you're a beginner or experienced, the steps below are easy to understand and follow.
You just need a pencil, drawing paper, and an eraser — then start drawing step by step!
This lesson includes 4 different ways to draw. Choose the one that suits you best!
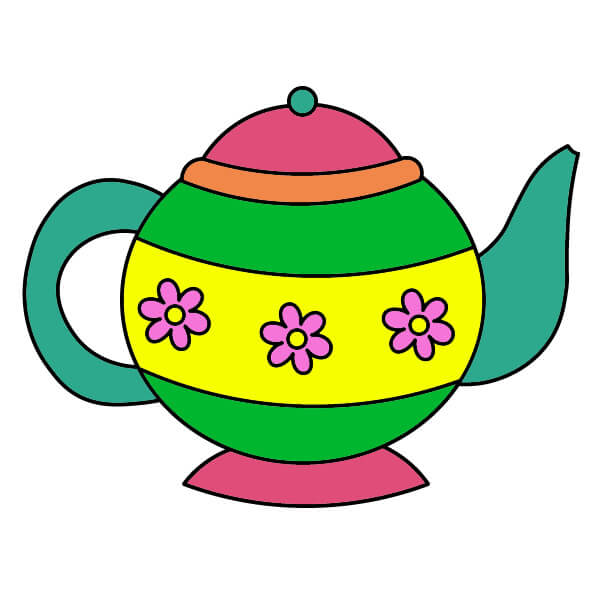
Step-by-step guide to drawing a teapot for kids
9 steps
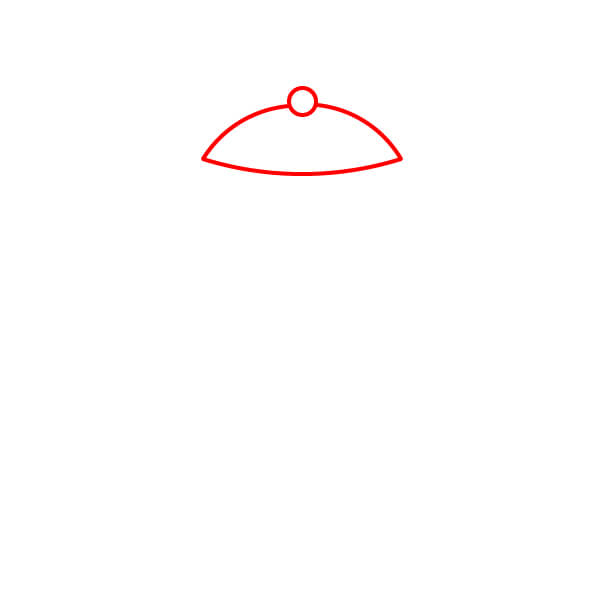
Draw the lid
Start by drawing the basic shape of the teapot lid. It looks like a shallow curved dome with a small circle (knob) on top.
Draw the lid rim
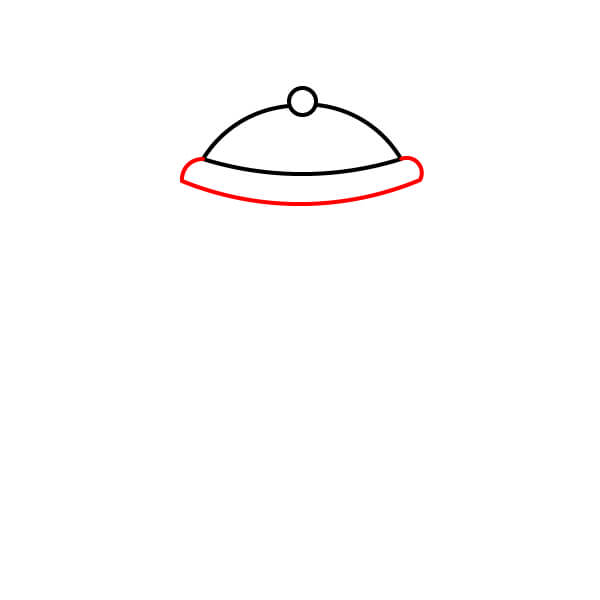
Below the initial lid shape, draw a narrow, curved rim. This forms the bottom of the lid.
Draw the teapot body
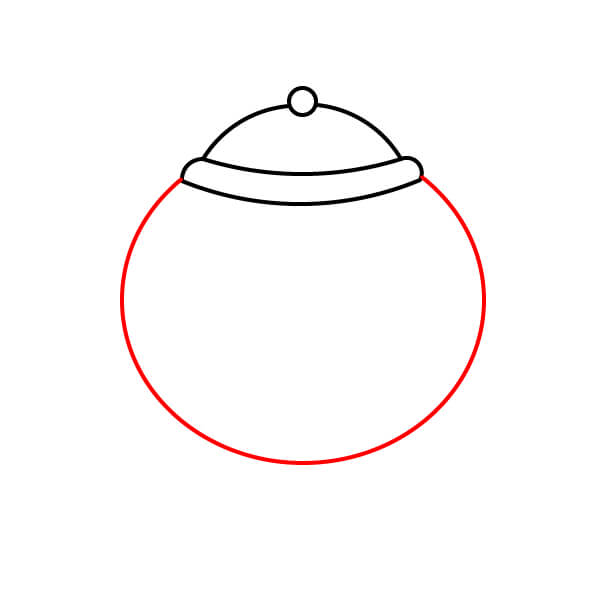
Draw a large circle or a slightly flattened oval below the bottom of the lid. This forms the main body of the teapot.
Draw the base
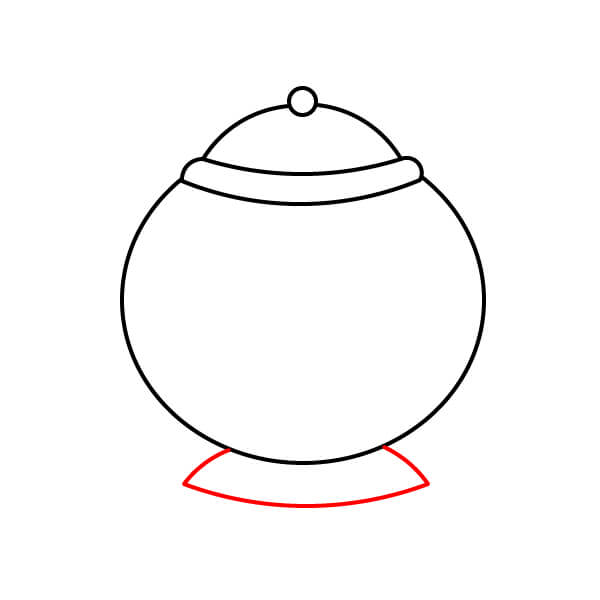
Below the main body, draw a small base that flares out slightly so the teapot can stand.
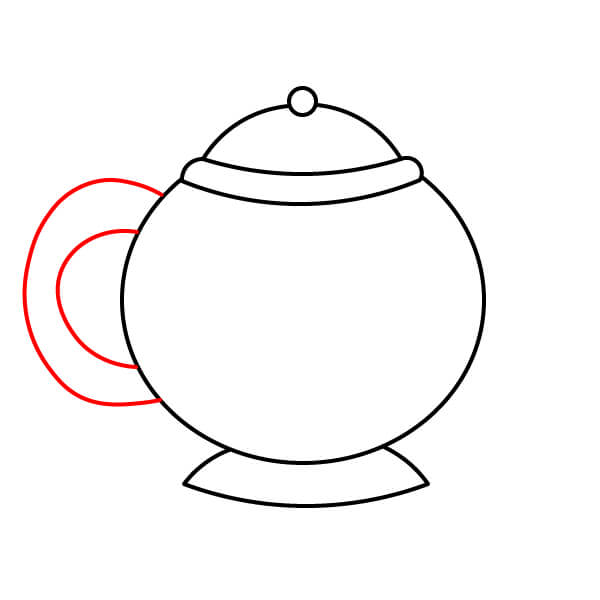
Draw the handle
On the left side of the teapot body, draw a handle. It should be a C shape made of two concentric curves.
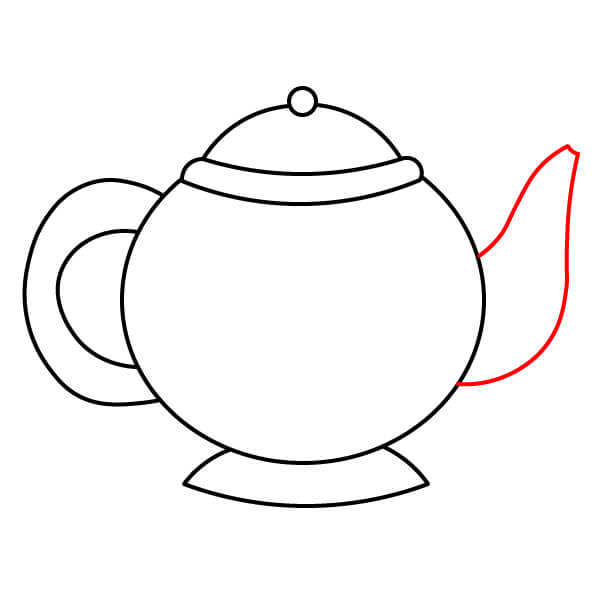
Draw the spout
On the right side of the teapot body, draw the spout. The spout should be slender and curved outward.
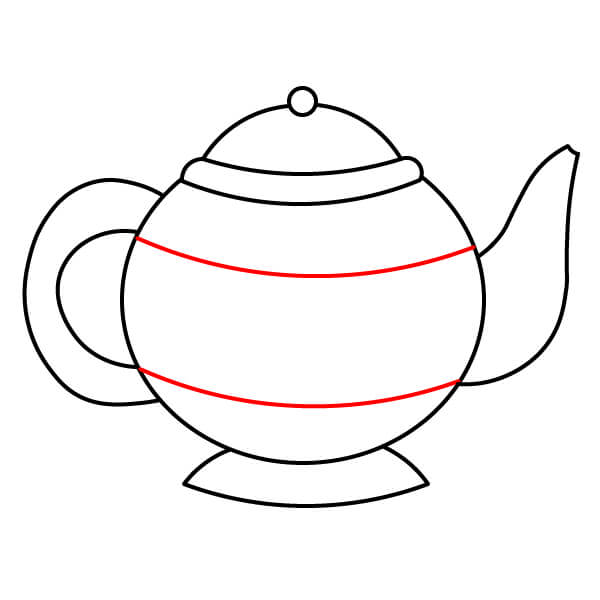
Add stripes
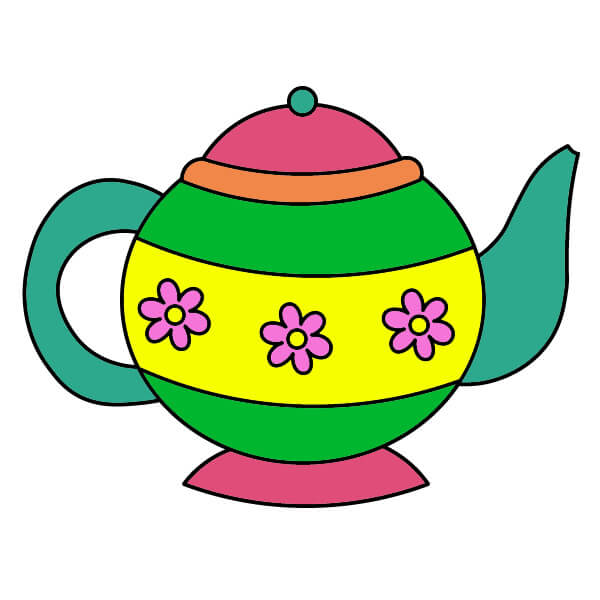
Draw two horizontal lines across the middle of the teapot body to create a decorative stripe.
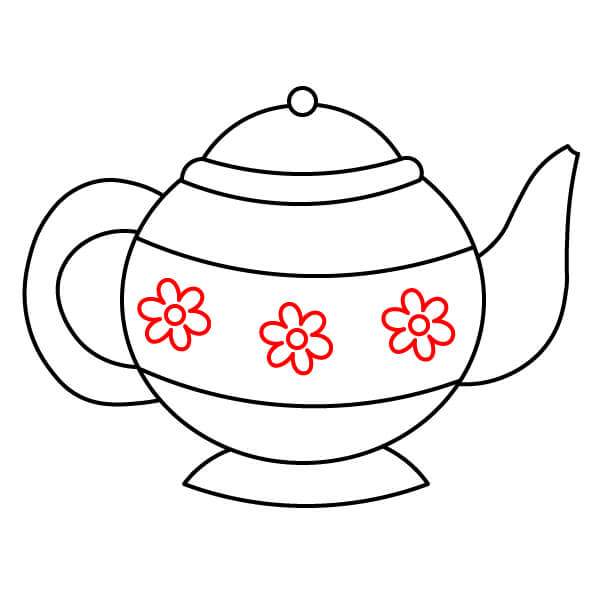
Draw flowers
Inside the middle stripe, draw three small flowers. Each flower should have a circle in the center and five or six simple petals.
Color the teapot
The body is green, with a yellow stripe in the middle. The lid and base are pink. The handle and spout are teal/green. The lid rim is orange. The flowers are pink and yellow.
Draw a Teapot in Simple Steps
7 steps
Draw the Lid of the Teapot
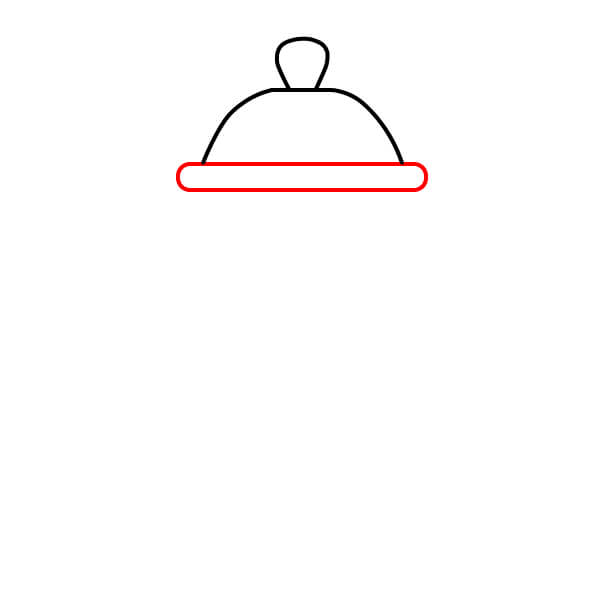
Start by drawing the lid of the teapot. This part will have the shape of a large curved dome with a small, round ring on top, which will be the handle of the lid.

Draw the Base of the Teapot
Below the lid, draw two horizontal lines with slightly rounded ends. This forms the base of the lid.
Draw the Body of the Teapot
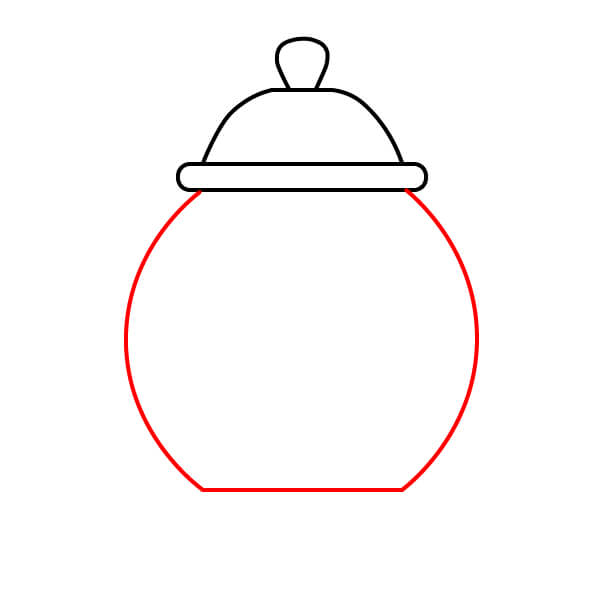
From the two ends of the base, draw two curved lines going downwards, meeting at a flatter, slightly curved line at the bottom. This creates the main, rounded body of the teapot.
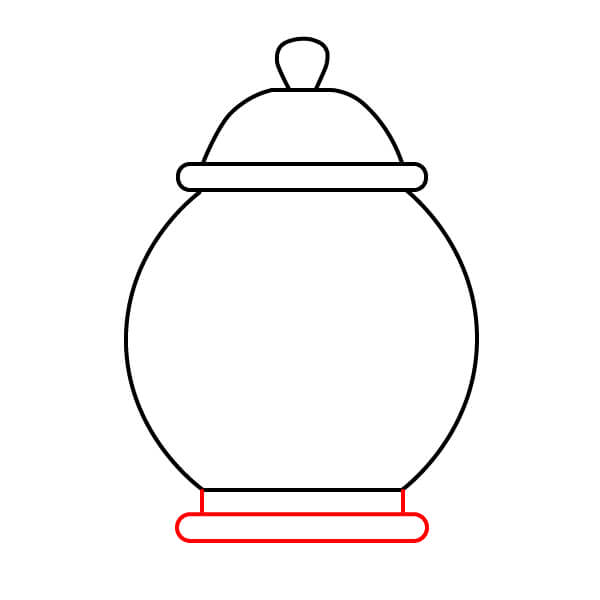
Draw the Foot of the Teapot
Below the body of the teapot, draw a short, cylindrical foot. This consists of two horizontal lines connected by two vertical lines, giving the teapot a sturdy base.
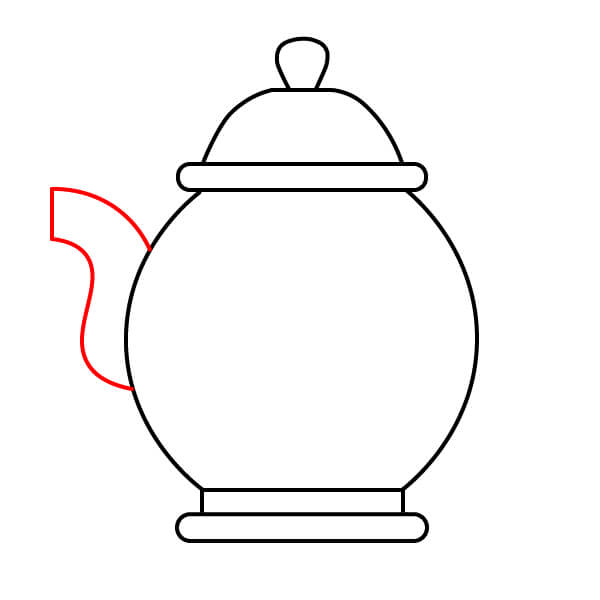
Draw the Spout of the Teapot
On the left side of the body, draw the spout. It should have a short, curved shape that slightly widens at the top, resembling a small 'S' curve.
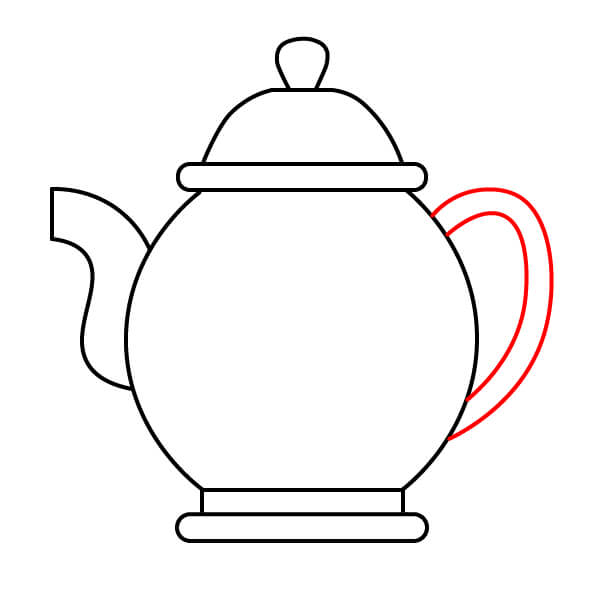
Draw the Handle
On the right side of the teapot body, draw the handle. This will be a classic C-shaped handle, formed by two parallel curves.
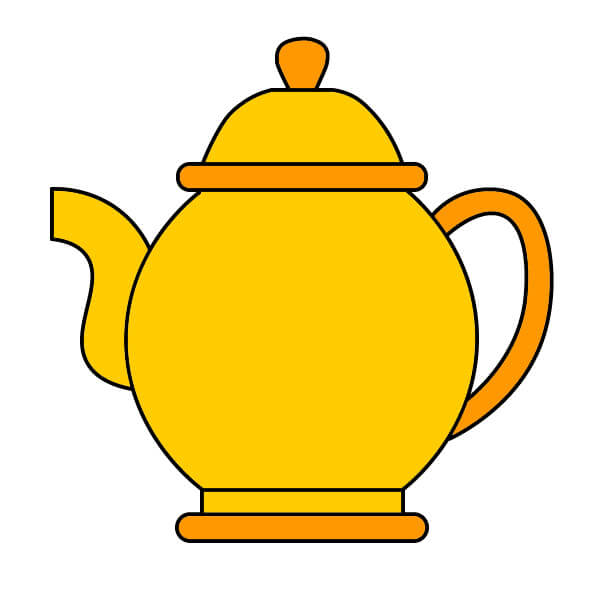
Color the Teapot
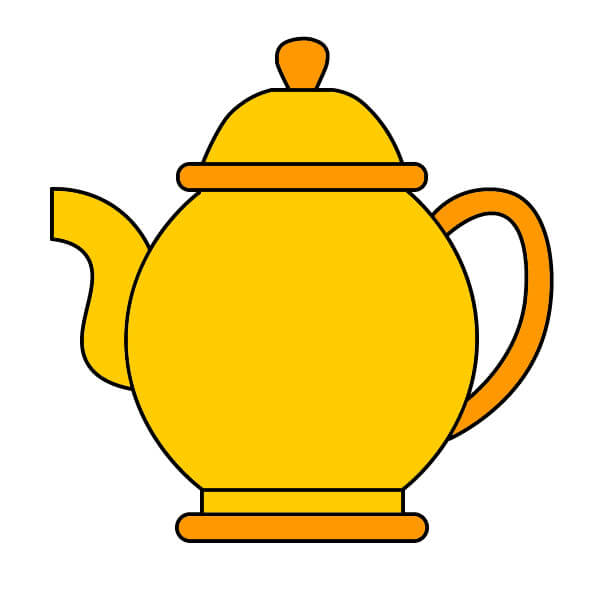
Finally, color your teapot. In this example, the entire teapot, including the lid, handle, and spout, is colored bright orange-yellow. The outlines remain black.
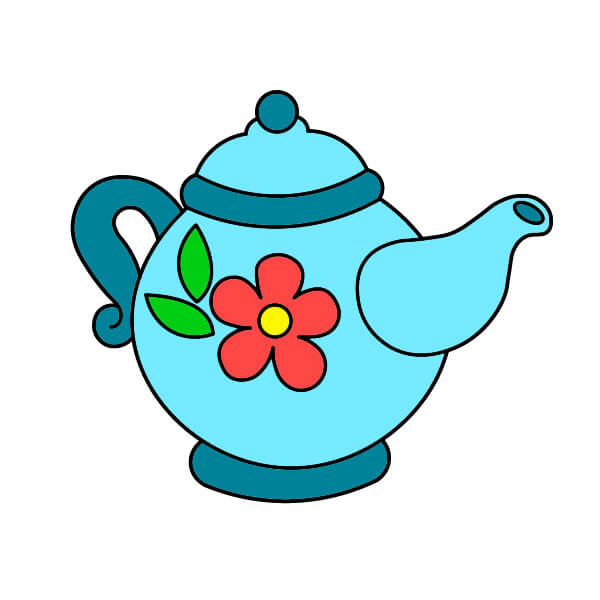
Beautiful Teapot Drawing Lesson for Kids
9 steps
Draw the Basic Teapot Lid
Start by drawing the basic shape of the teapot lid. It looks like a curved dome with a small circle (knob) on top.

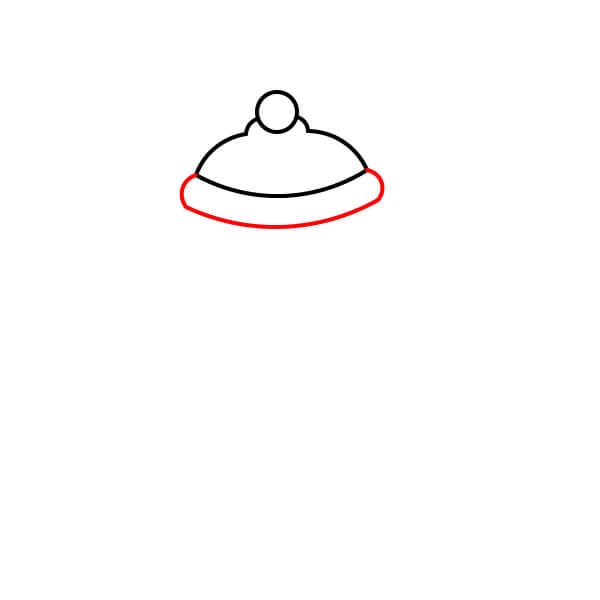
Draw the Lid Outline
Below the dome, draw a wide, curved outline. This outline forms the edge where the lid meets the teapot body.
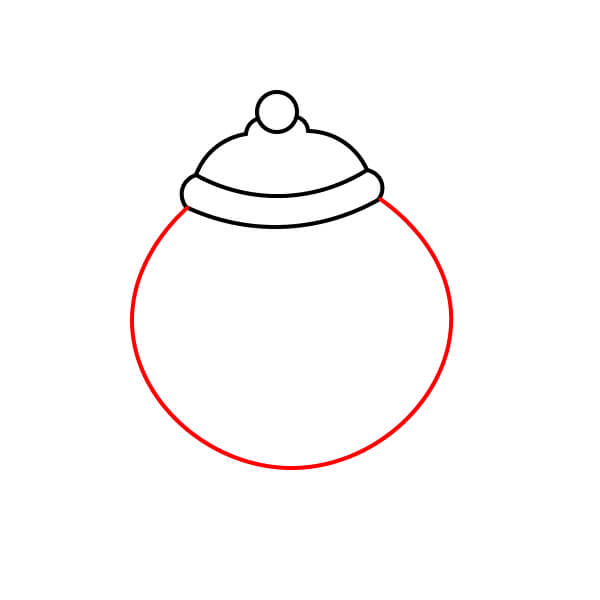
Draw the Teapot Body
Draw a large circle below the lid outline. This creates the main, round body of the teapot.
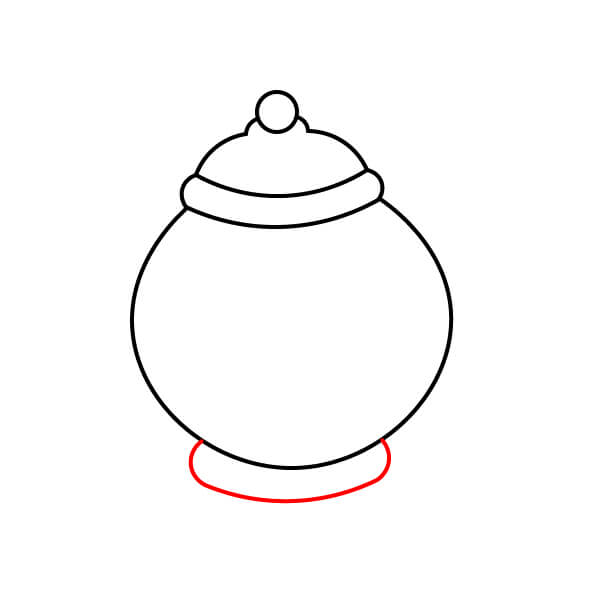
Draw the Base/Foot
Below the main body, draw a short, wide, curved oval for the base or foot of the teapot.
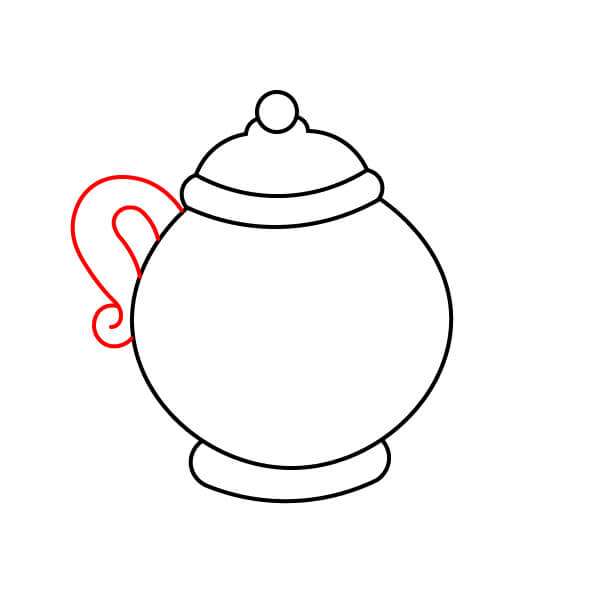
Draw the Decorative Handle
On the left side of the teapot body, draw a handle. This handle has an elegant C shape with a small swirling or twisting pattern at the bottom.
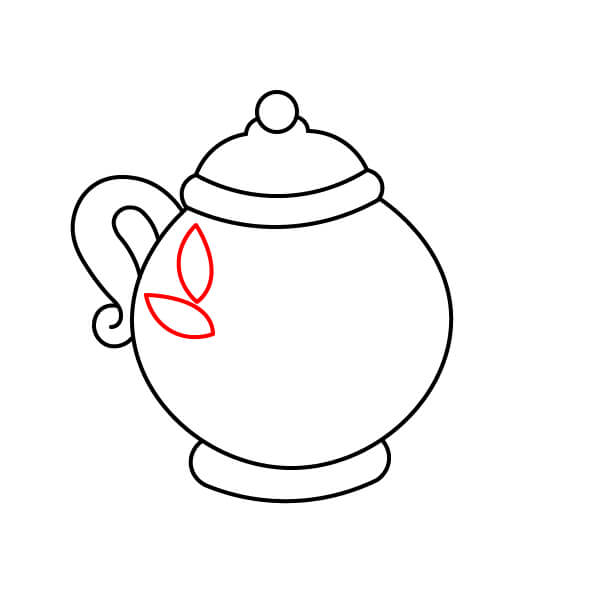
Draw Leaves
On the side of the teapot body, near the handle, draw two small, curved leaf shapes.
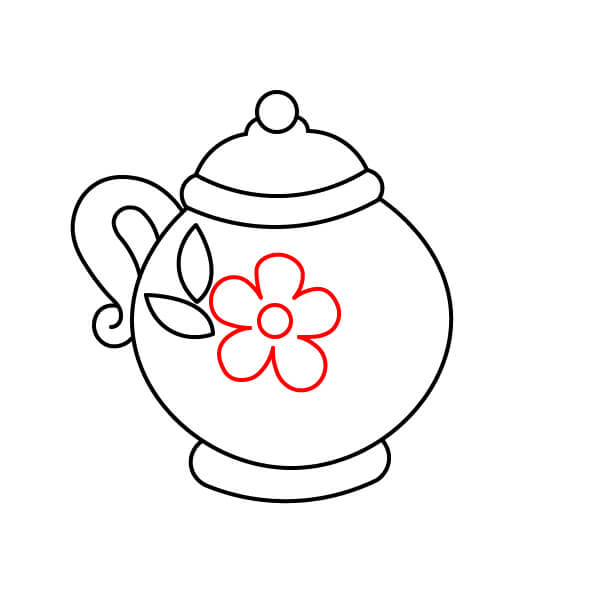
Draw a Flower
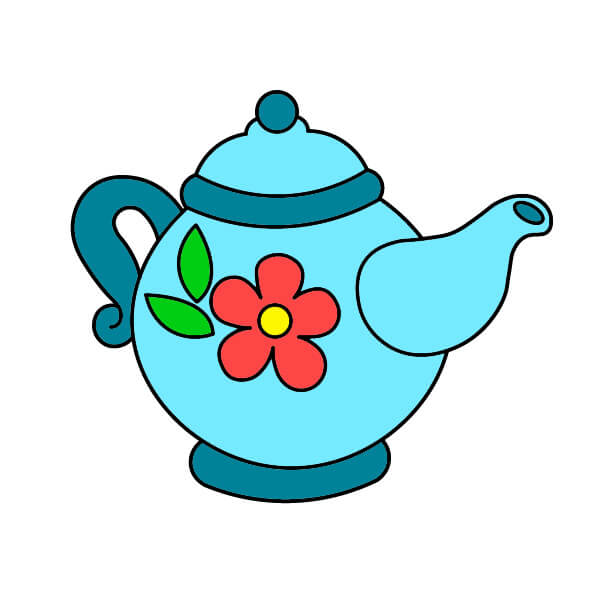
Next to the leaves, draw a large decorative flower. The flower should have a small circle in the center and five or six simple, curved petals.
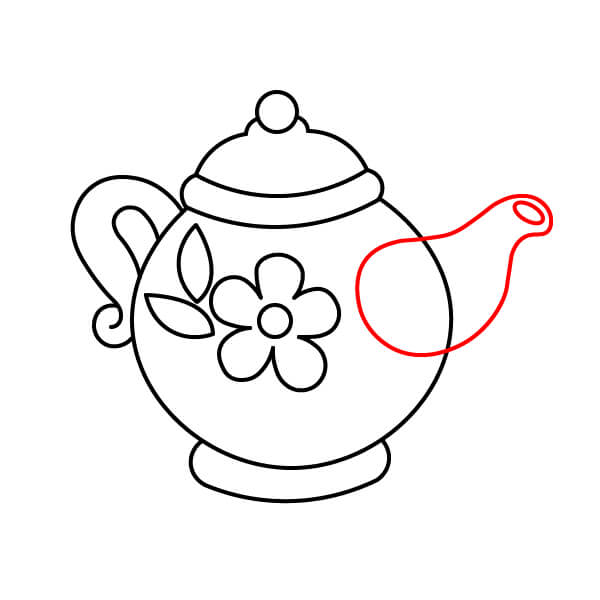
Draw the Spout
On the right side of the teapot body, draw the spout. The spout has a graceful, curved droplet shape, tapering towards the end with a small opening.
Color the Teapot
Finally, color your decorated teapot. In this example, the teapot is light blue with darker blue highlights (lid rim, base, spout), a red flower with a yellow center, and green leaves.
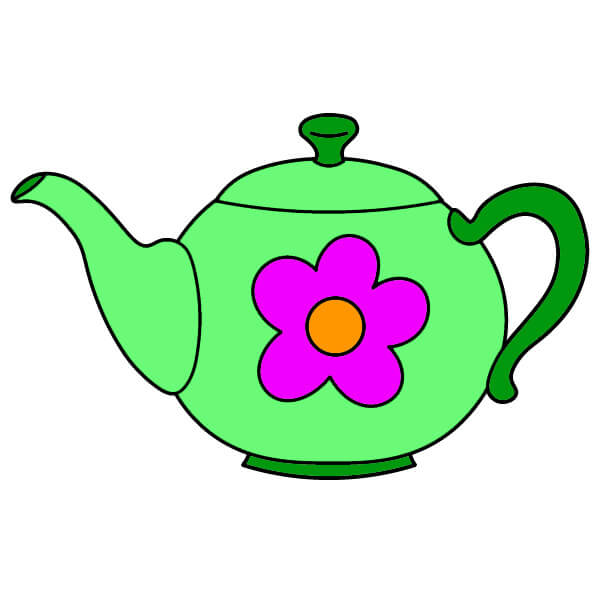
Simple Way to Draw a Teapot for Kids
7 steps
Draw the Lid
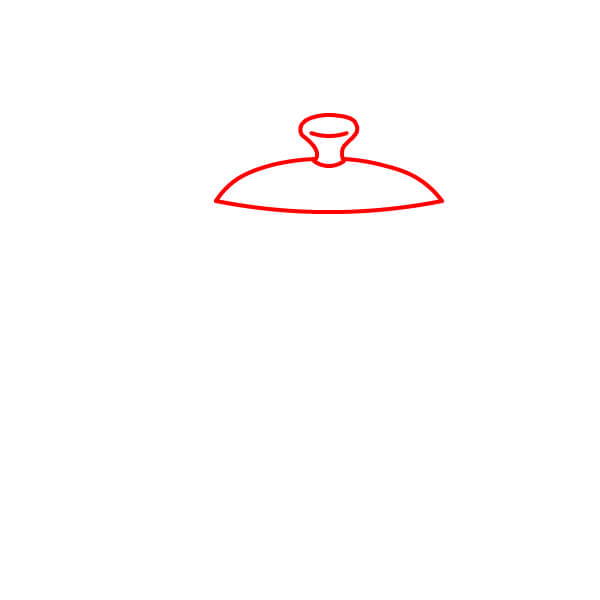
Start by drawing the lid. The lid should have a gently curved dome shape with a round knob or decorative handle on top.
Draw the Teapot Body
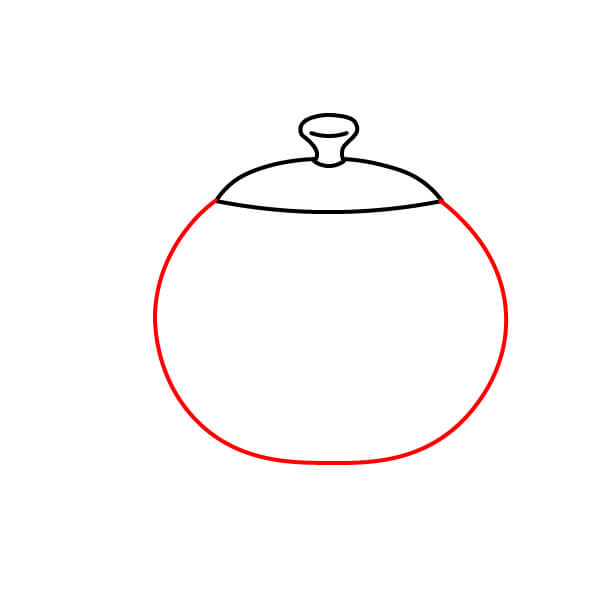
Below the lid, draw a large oval or round shape, symmetrical. This is the main body of the teapot.
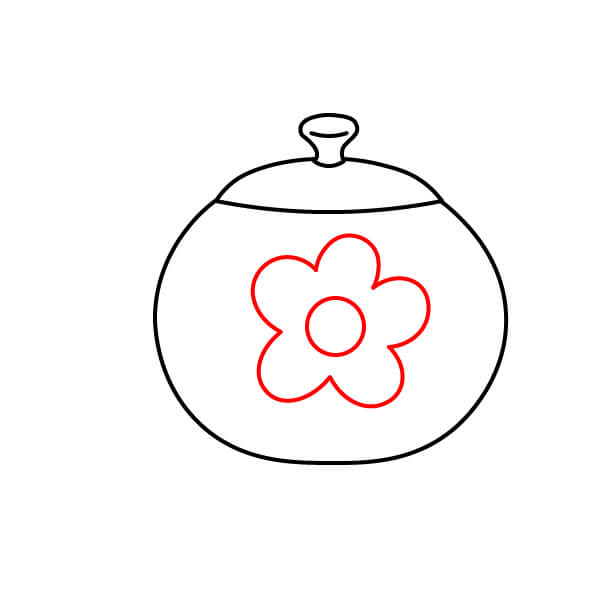
Add Decorative Flower
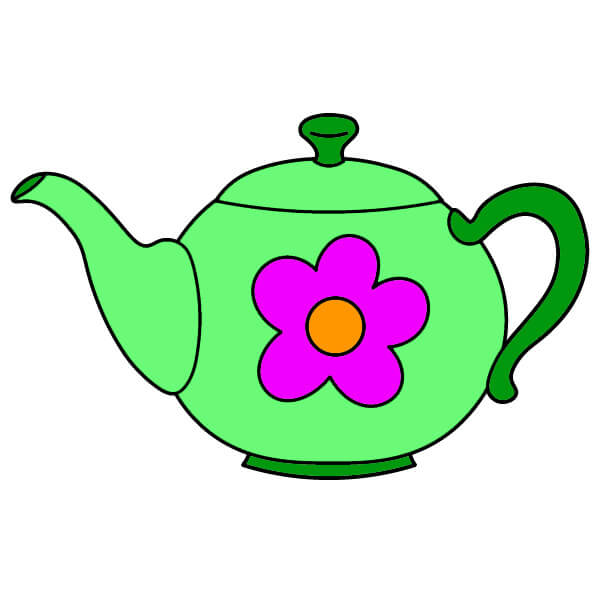
In the middle of the teapot body, draw a large flower. The flower should have a circle in the center and five or six simple, rounded petals.
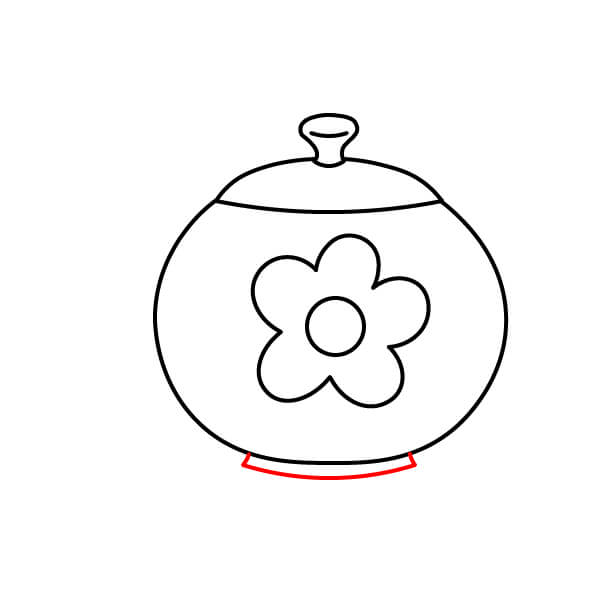
Draw the Base/Foot
Below the main body, draw a short, slightly curved line to represent the base or foot of the teapot.
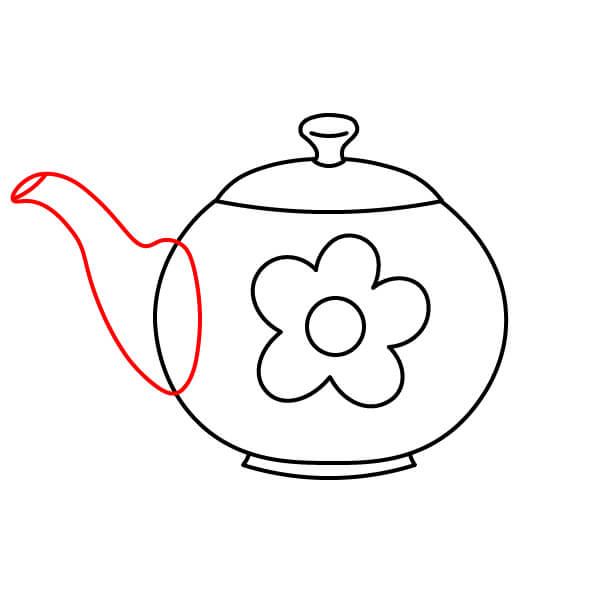
Draw the Spout
On the left side of the teapot body, draw the spout. This is a curved spout, slightly S-shaped and tapering towards the end.
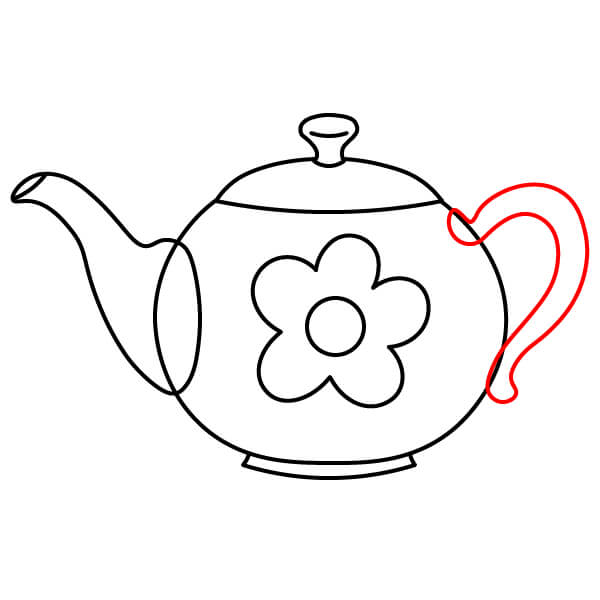
Draw the Handle
On the right side of the teapot body, draw a large, curved handle. The handle should be an open C shape, providing a comfortable grip for the teapot.
Color the Teapot
The body and lid of the teapot are light mint green. The handle, spout, base, and lid knob are a darker green. The petals are pinkish-purple/pink and the flower center is orange.
▶Drawing tips
- Draw lightly with a pencil first, then darken the lines when you're satisfied.
- You don't need to draw exactly like the sample — add your own style!
- After finishing your drawing, you can color it directly on Tomau.AI to make it more vibrant.