How to Draw a Sandwich
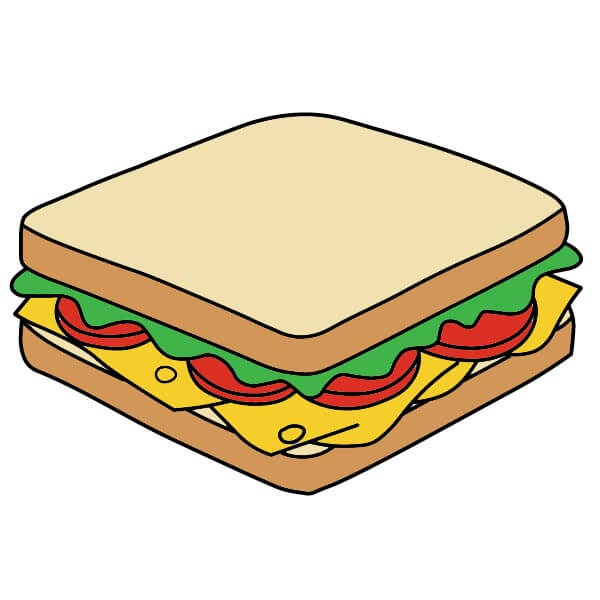
Want to learn how to draw how to draw a sandwich? This tutorial will help you do it in just 32 simple steps, with clear illustrations for each step. Whether you're a beginner or experienced, the steps below are easy to understand and follow.
You just need a pencil, drawing paper, and an eraser — then start drawing step by step!
This lesson includes 5 different ways to draw. Choose the one that suits you best!
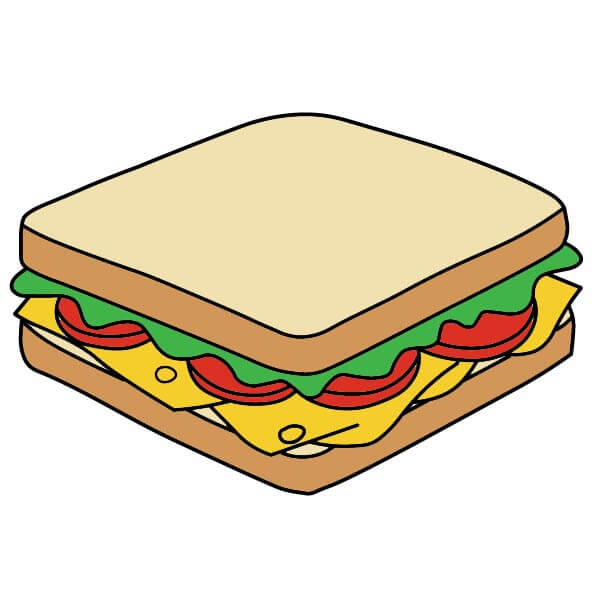
How to Draw a Sandwich – Easy Step-by-Step Guide
6 steps
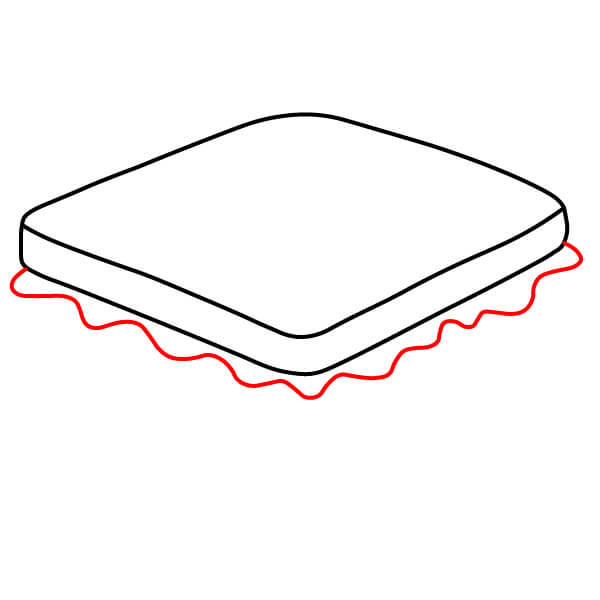
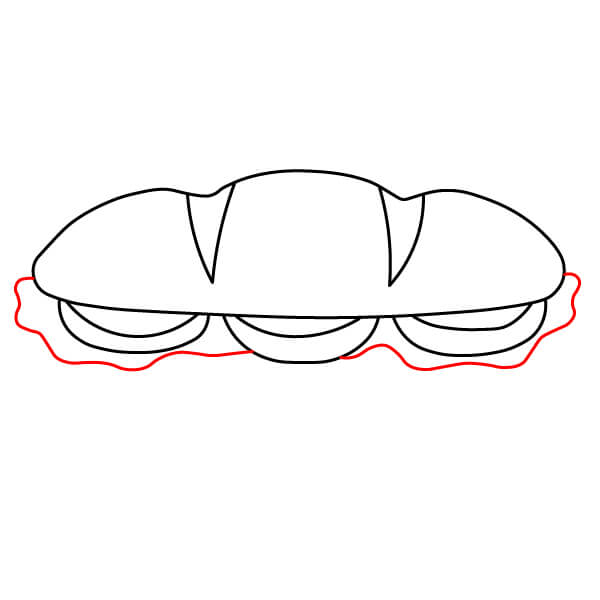
Add lettuce under the bread:
Draw wavy lines beneath the bread to represent the lettuce leaves.
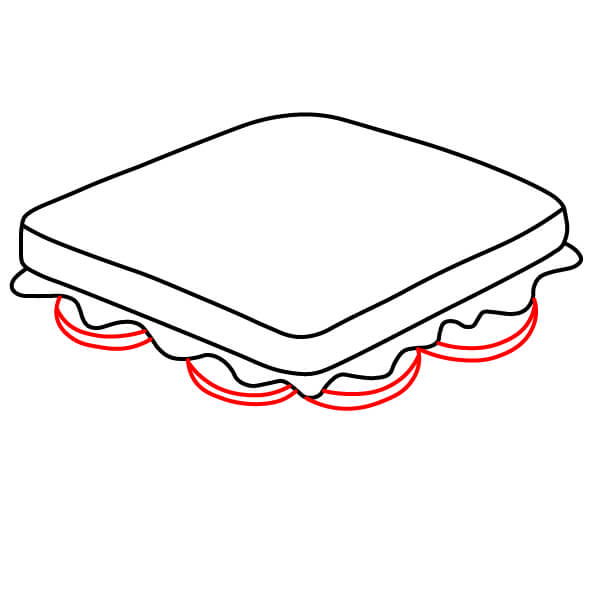
Draw the tomato slices:
Below the lettuce, draw curved shapes for the tomato slices with small lines to indicate their thickness.
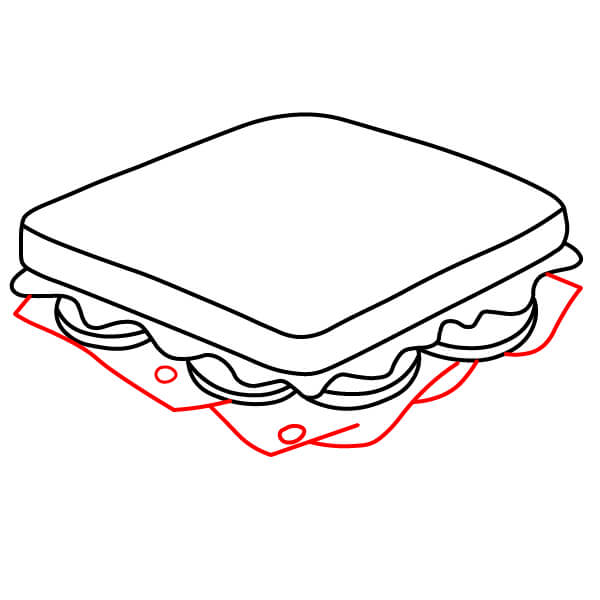
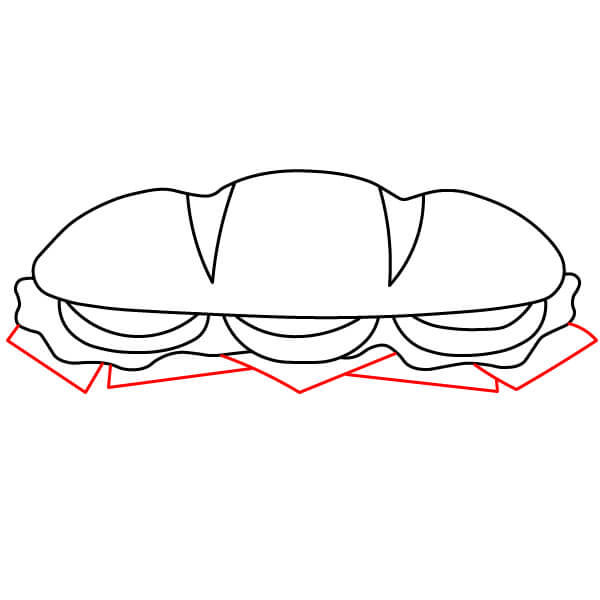
Add cheese slices:
Draw overlapping squares with small holes to represent the cheese slices.
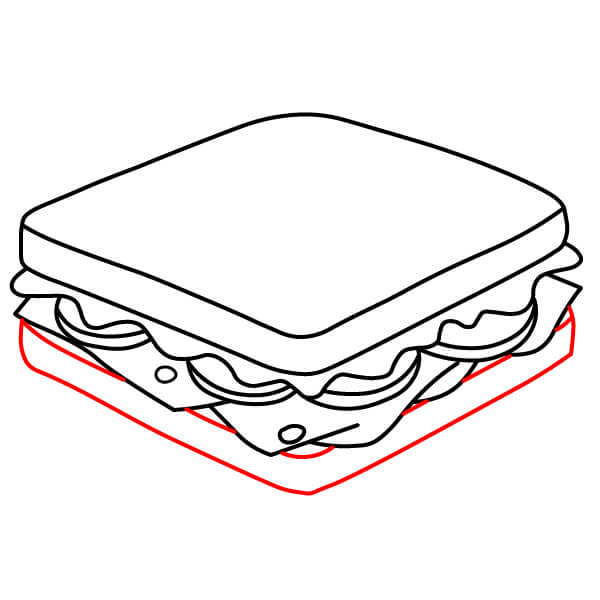
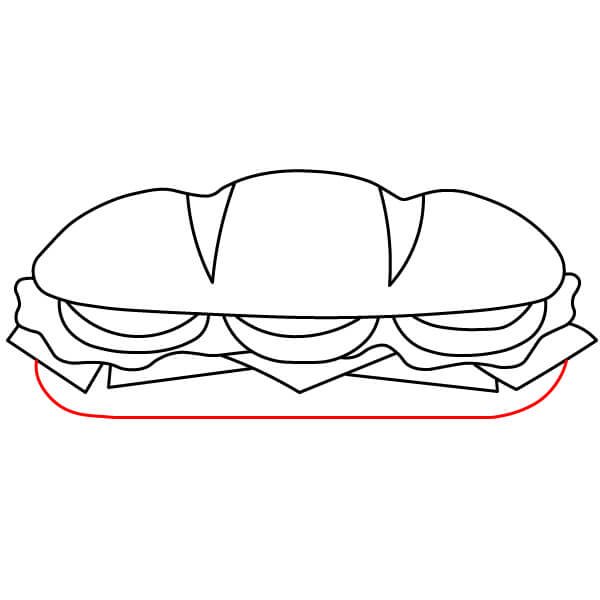
Draw the bottom slice of bread:
Add a second slice of bread underneath everything using a shape similar to the top slice.
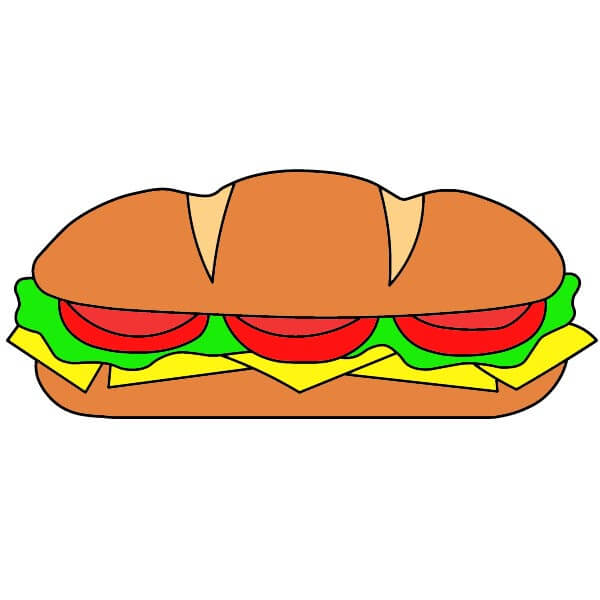
Color your sandwich:
Use brown for the bread, green for the lettuce, red for the tomatoes, yellow for the cheese, and add any other details to make it look delicious!
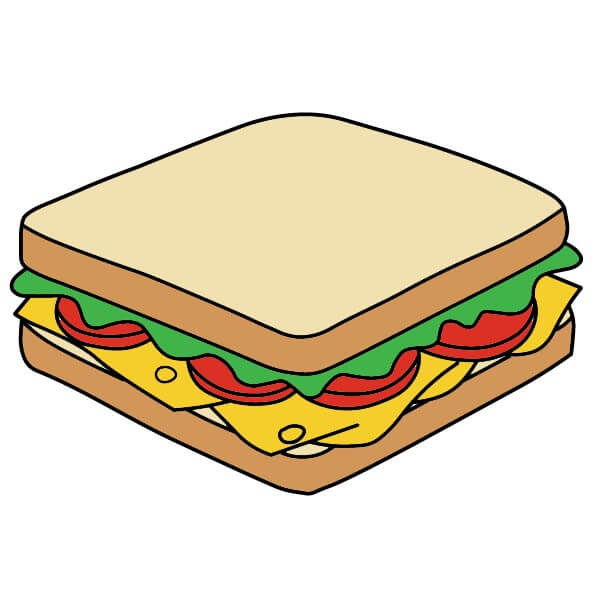
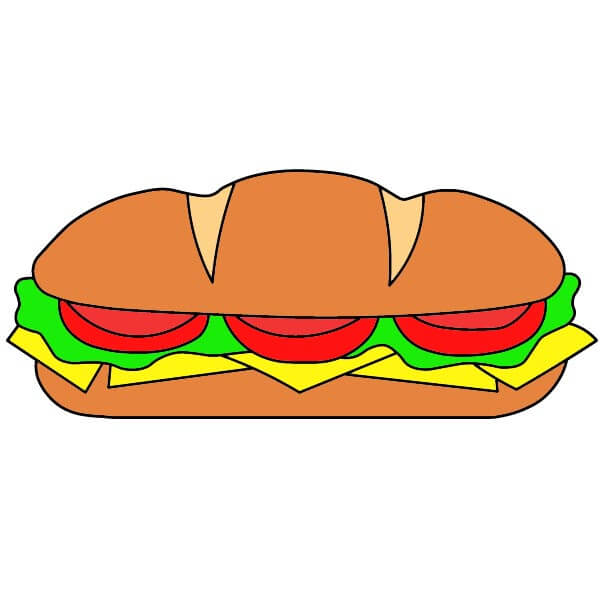
Simple Sandwich Drawing for Kids
7 steps

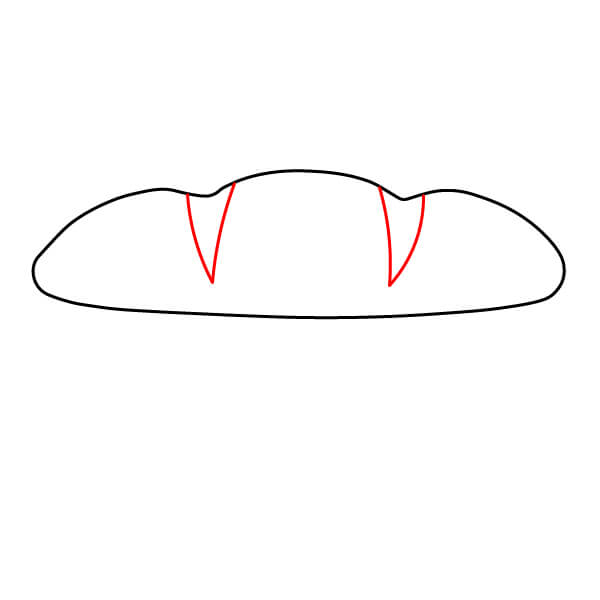
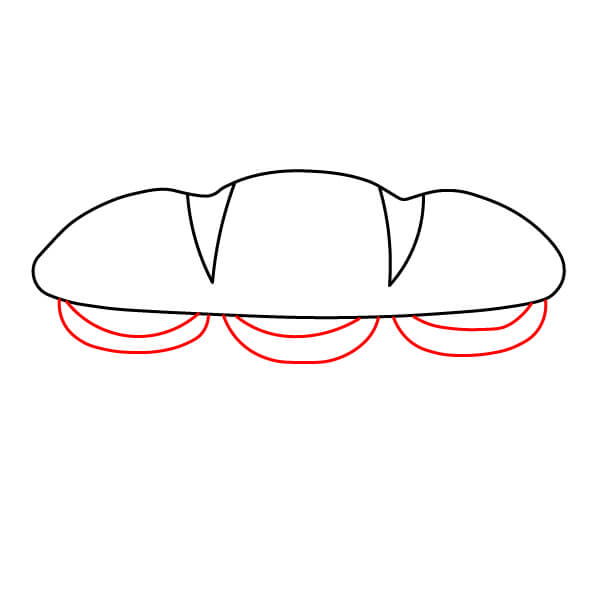
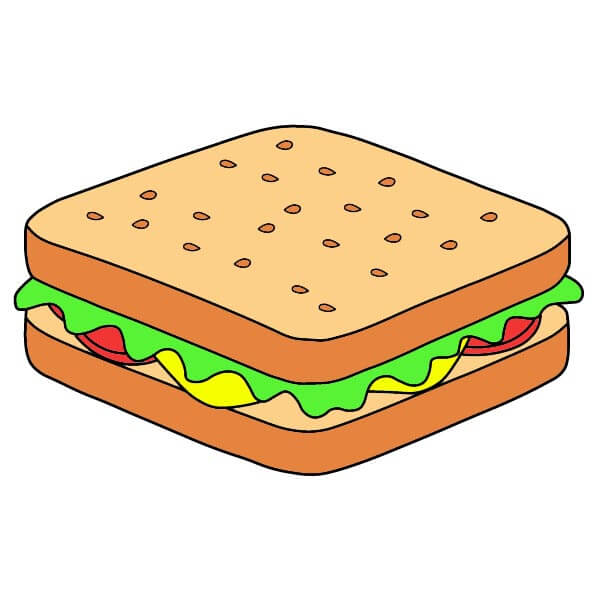
Step-by-Step Guide to Drawing a Delicious Sandwich
7 steps
Step 1
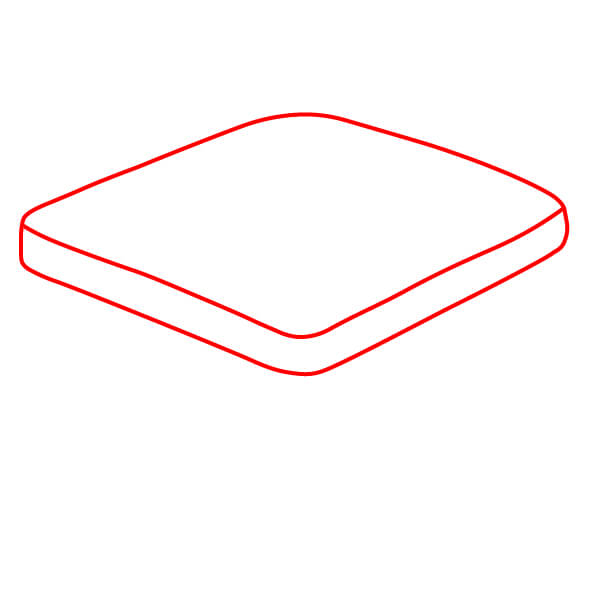
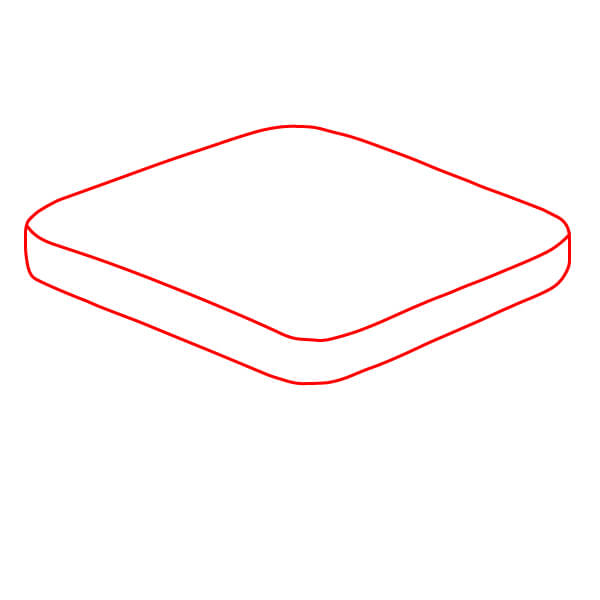
Draw the outline of the top slice of bread. It should be a rounded square with the bottom edge slightly exposed.
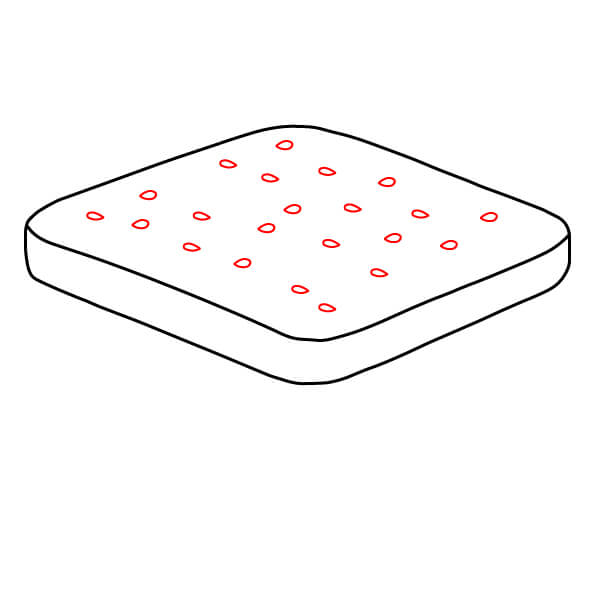
Step 3
Draw a wavy line below the top slice of bread to indicate a layer of filling, such as lettuce.
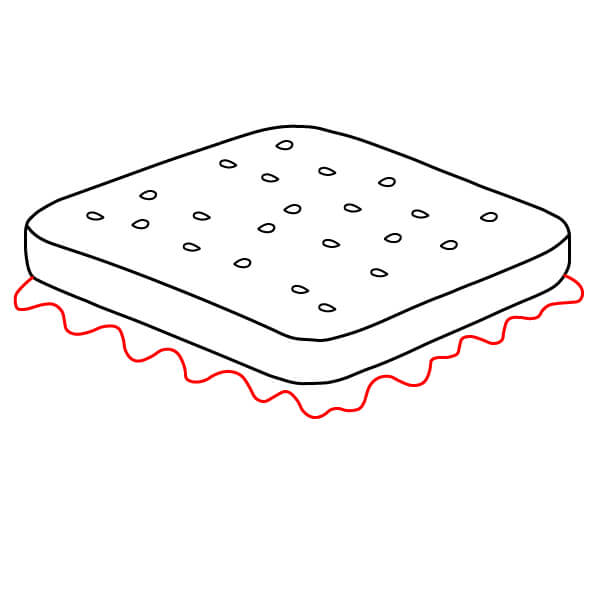
Step 4
Add curves below the lettuce to represent another layer of filling, like tomato slices.
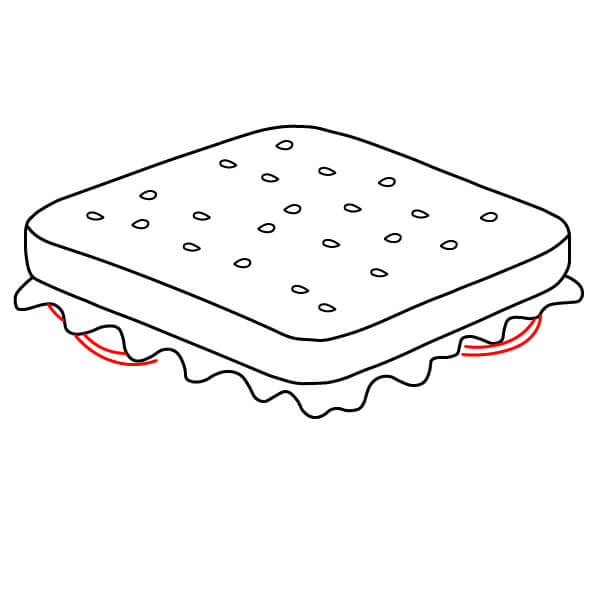
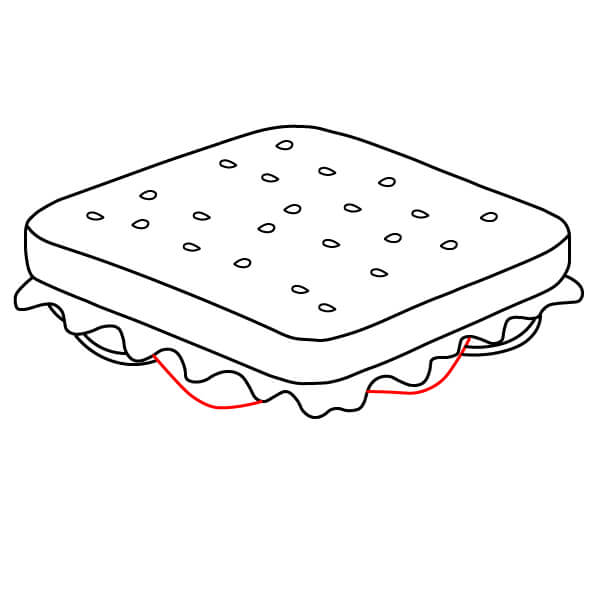
Step 6
Draw the outline of the bottom slice of bread, mirroring the top slice and enclosing the filling.
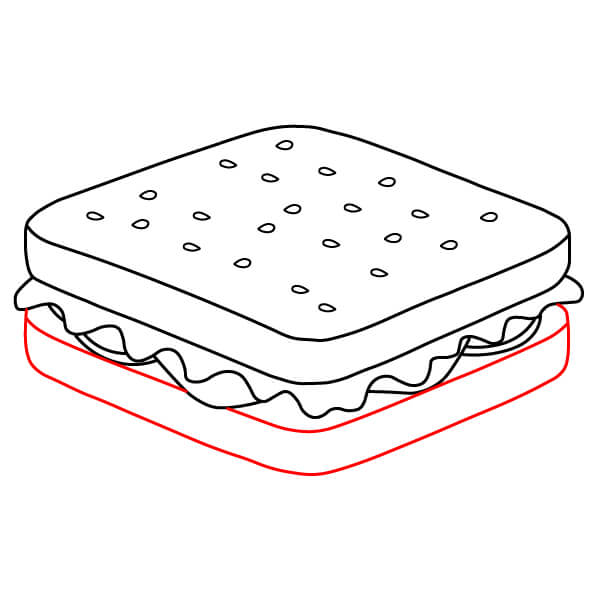
Step 7
Color the drawing: light brown for the bread with darker brown outlines for the sesame seeds, green for the lettuce, red for the tomato, and yellow for the cheese.
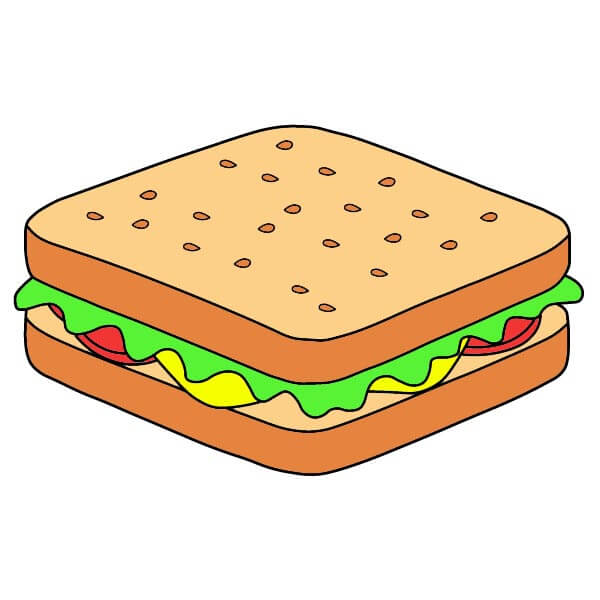
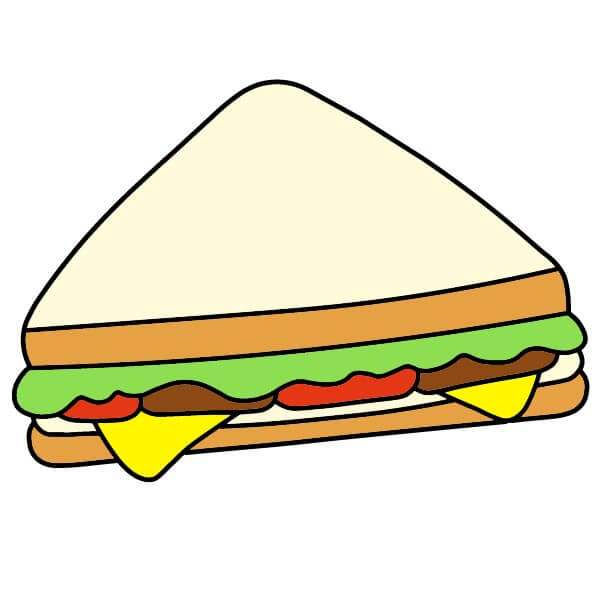
Guide to Drawing a Classic Sandwich for Kids
6 steps
Step 1
Draw the basic outline of the top slice of bread. It should have a rounded triangle shape. Add a horizontal line near the bottom to indicate the thickness of the bread.
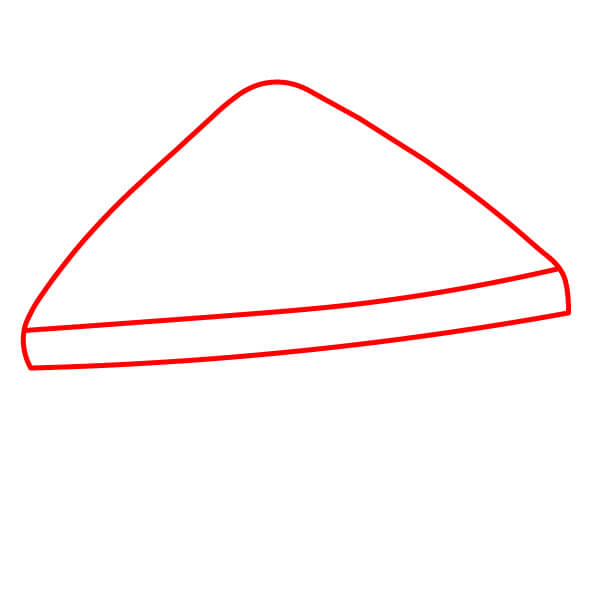
Step 2
Below the top slice of bread, draw a wavy line to represent the first layer of filling, such as lettuce.
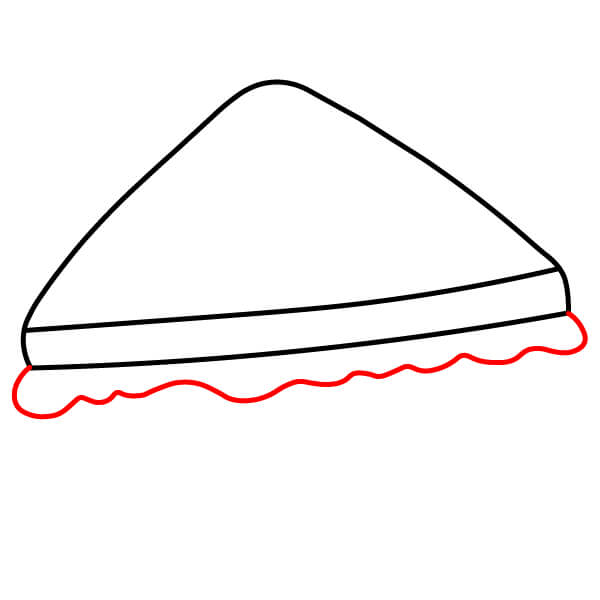
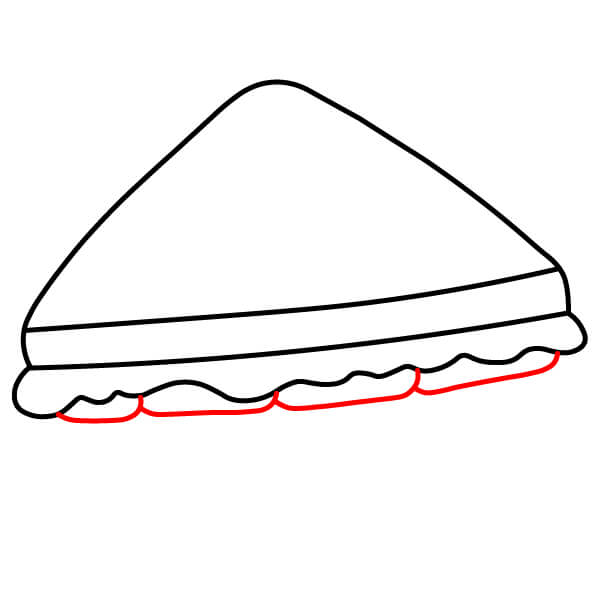
Step 4
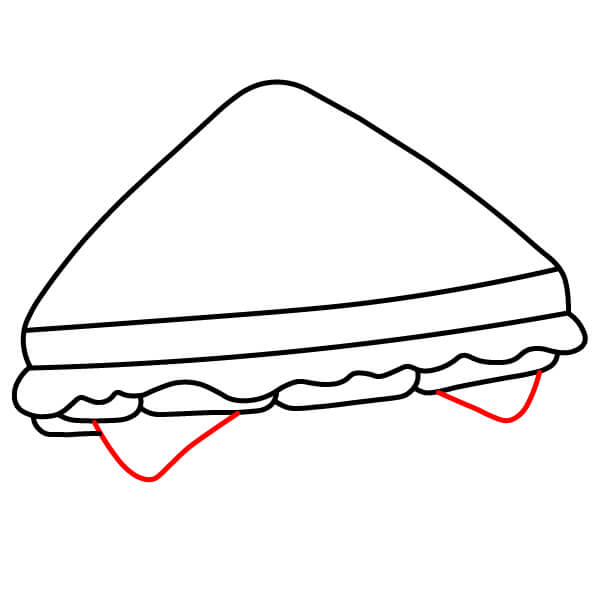
Draw two triangles or uneven curves below the previous layer. They represent slices of cheese.
Step 5
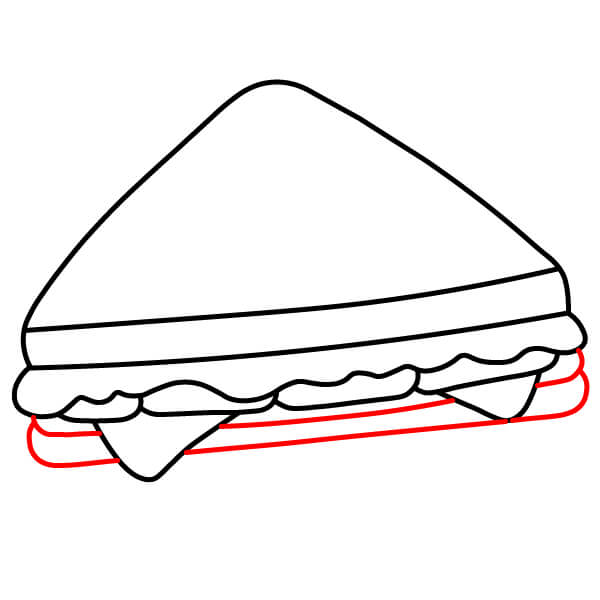
Add a final horizontal line at the bottom, parallel to the line from Step 1, to complete the bottom slice of bread.
Step 6
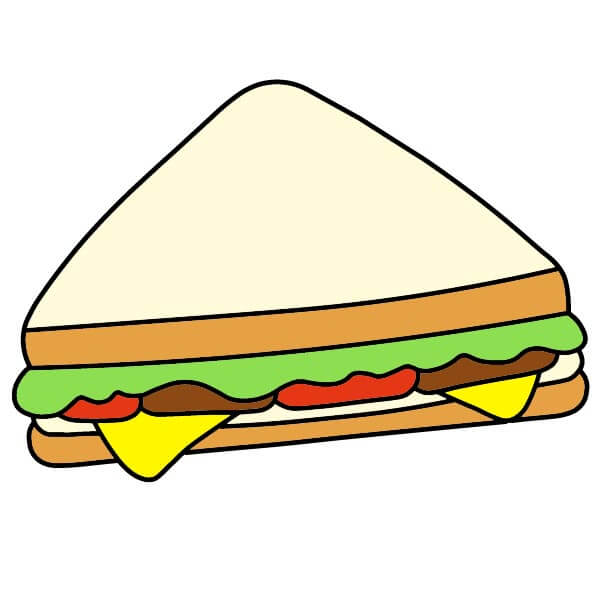
Color your sandwich! Use light yellow or beige for the bread, green for the lettuce, red for the tomato, brown for the meat, and yellow for the cheese.
Simple Sandwich Drawing Guide for Kids
6 steps
Step 1
Sketch the top slice of bread. It should be a 3D rectangle showing the top and one side.
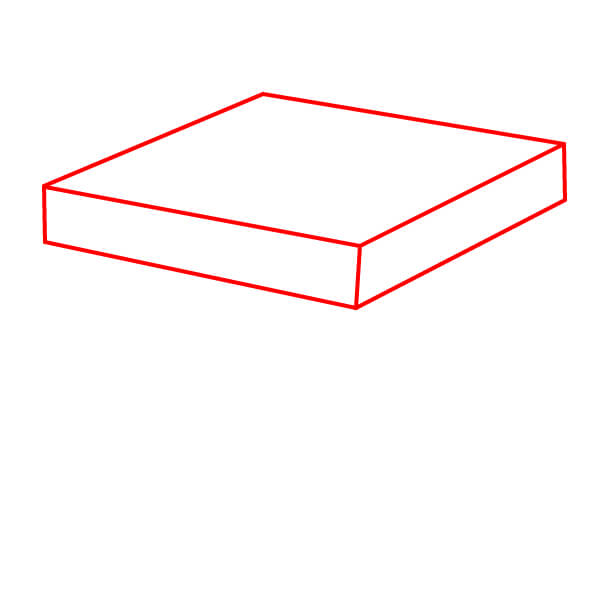
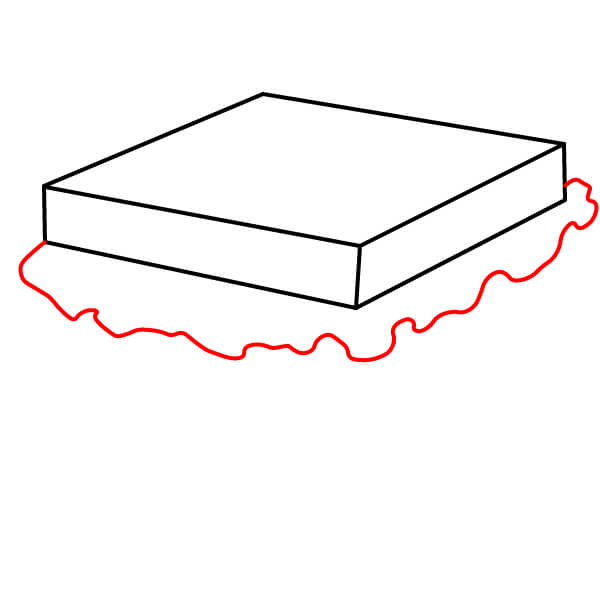
Step 2
Below the top slice of bread, draw a wavy line to represent the first layer of filling, such as lettuce. Make the wavy line slightly extend beyond the edge of the bread.
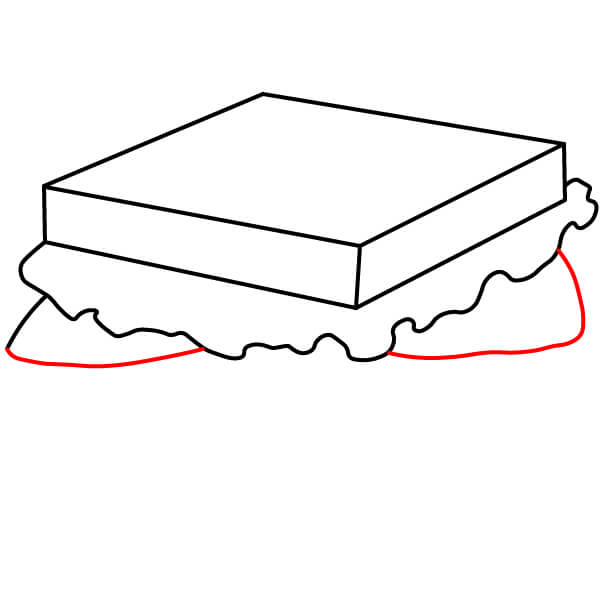
Step 3
Add another curve below the previous layer to suggest the second layer of filling, like cheese, peeking out from under the lettuce.
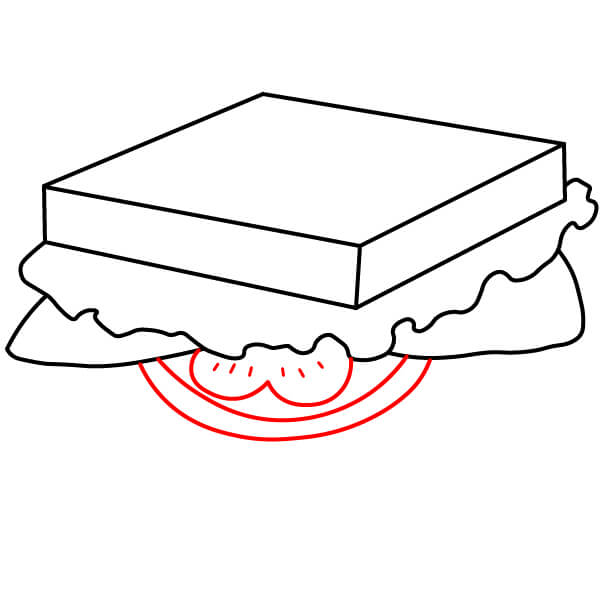
Step 4
Draw two overlapping circles with a few small dots on top to depict a slice of tomato.
Step 5
Complete the sandwich by drawing the bottom slice of bread. This should also be a 3D rectangle, symmetrical to the top slice and enclosing all the filling layers.
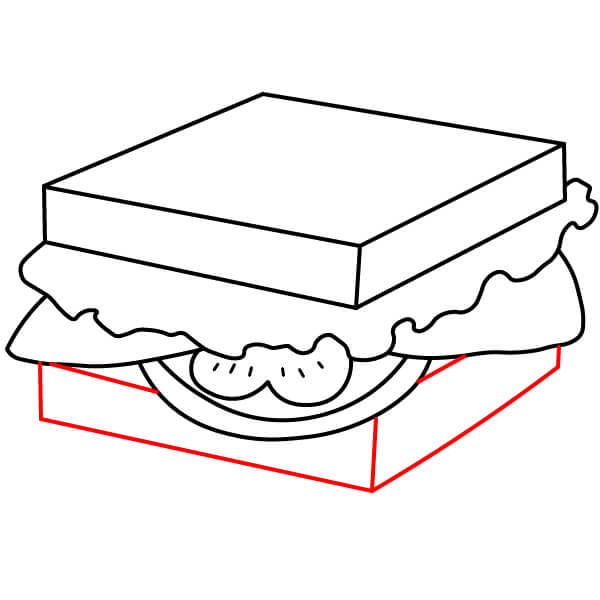
Step 6
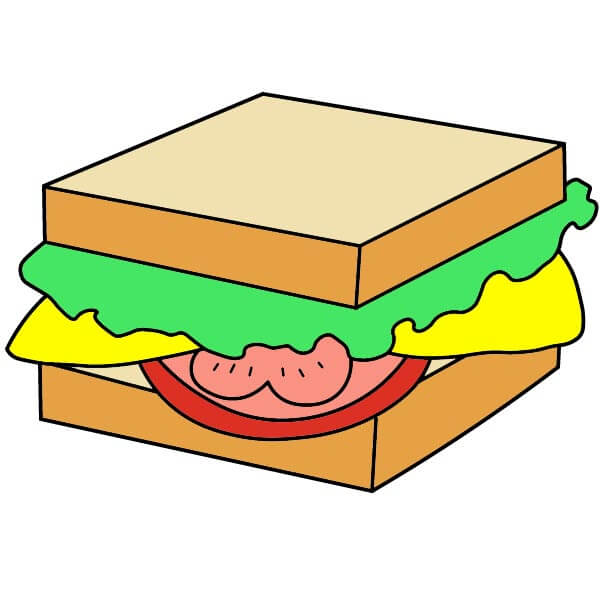
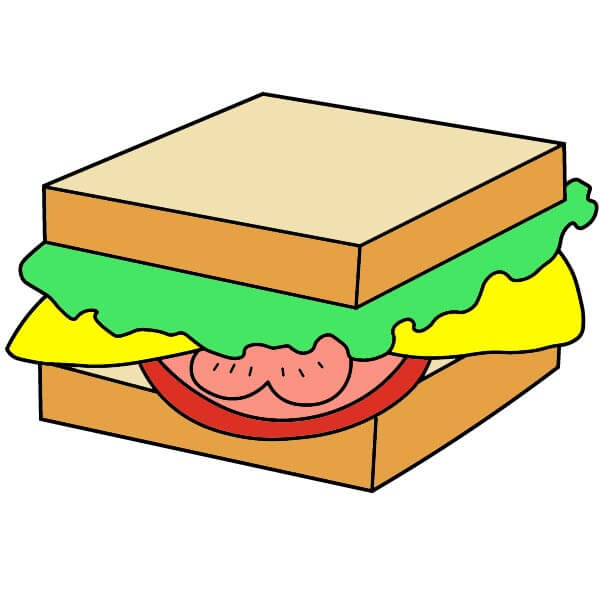
Color your drawing! Use light beige or brown for the bread, green for the lettuce, yellow for the cheese, and pinkish-red for the tomato.
▶Drawing tips
- Draw lightly with a pencil first, then darken the lines when you're satisfied.
- You don't need to draw exactly like the sample — add your own style!
- After finishing your drawing, you can color it directly on Tomau.AI to make it more vibrant.