How to Draw Popcorn
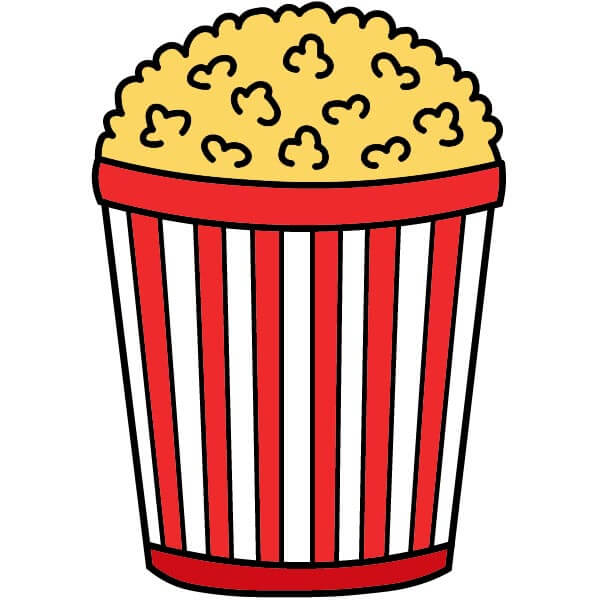
Want to learn how to draw how to draw popcorn? This tutorial will help you do it in just 33 simple steps, with clear illustrations for each step. Whether you're a beginner or experienced, the steps below are easy to understand and follow.
You just need a pencil, drawing paper, and an eraser — then start drawing step by step!
This lesson includes 5 different ways to draw. Choose the one that suits you best!
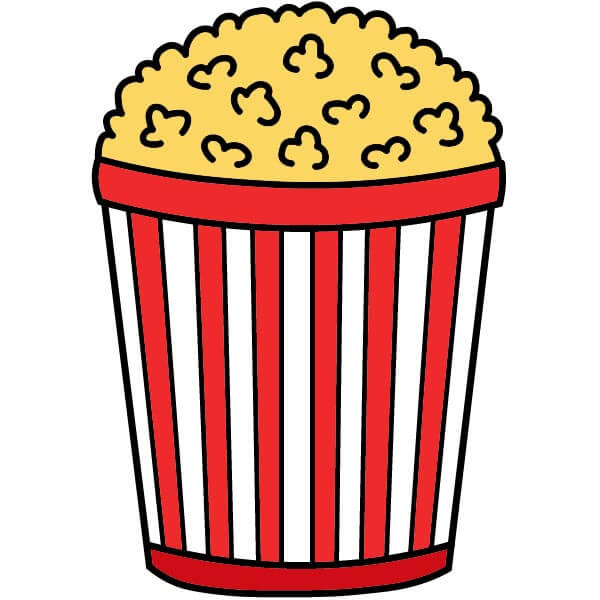
Step-by-Step Guide to Drawing a Popcorn Bucket
7 steps
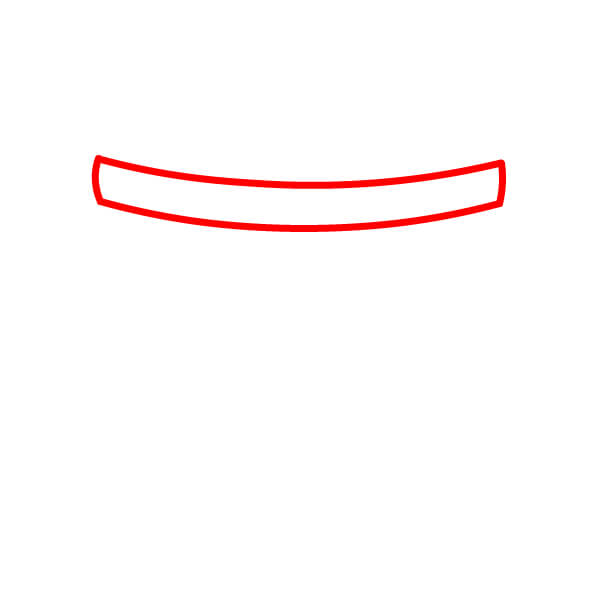
Step 1
Draw a slightly curved rectangle with rounded corners. This will be the top opening of the popcorn bucket.
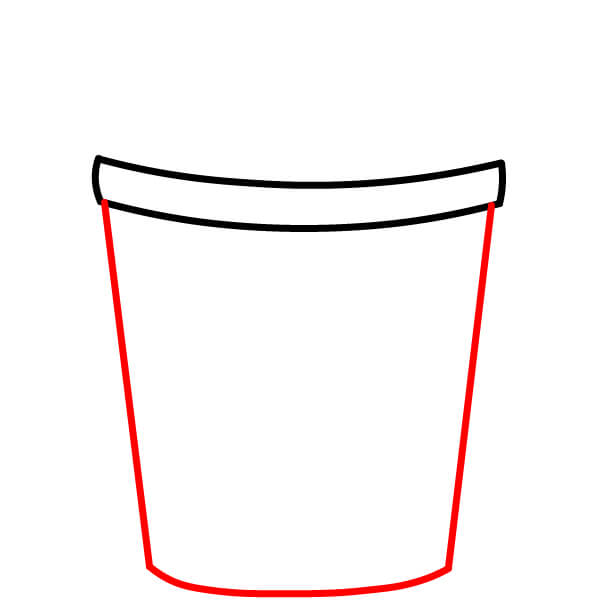
Step 2
From the two bottom corners of the shape you drew in Step 1, draw two straight lines going down and slightly outward. Then connect the lower ends of these lines with a curve to form the bottom of the bucket.
Step 3
Draw a short curve parallel to the curve at the bottom, forming the base of the bucket.
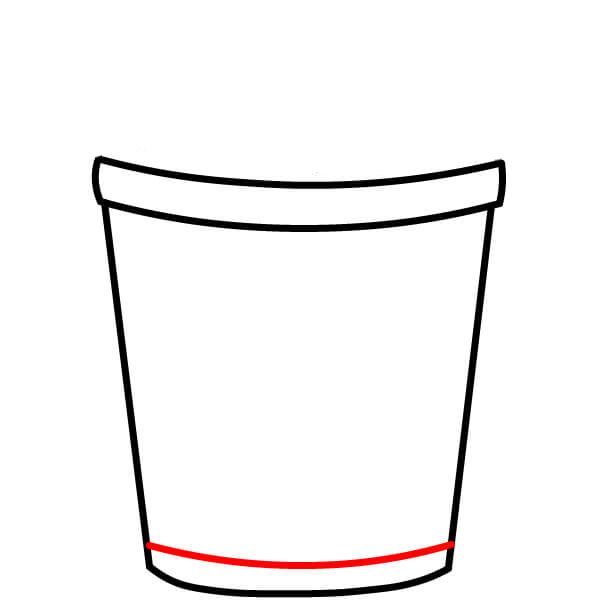
Step 4
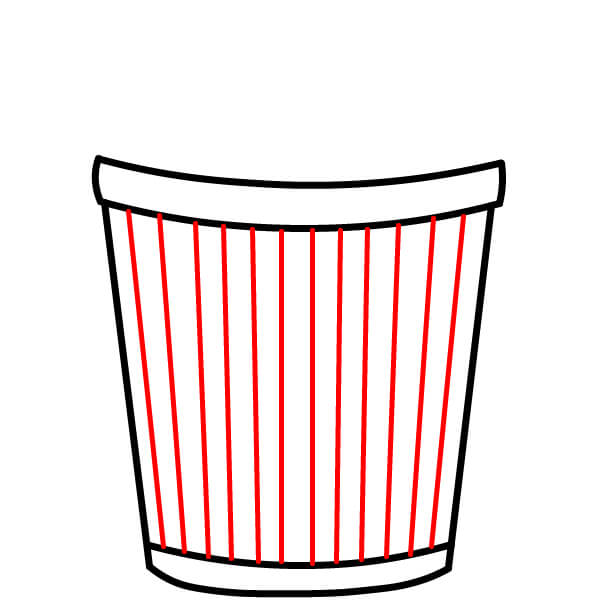
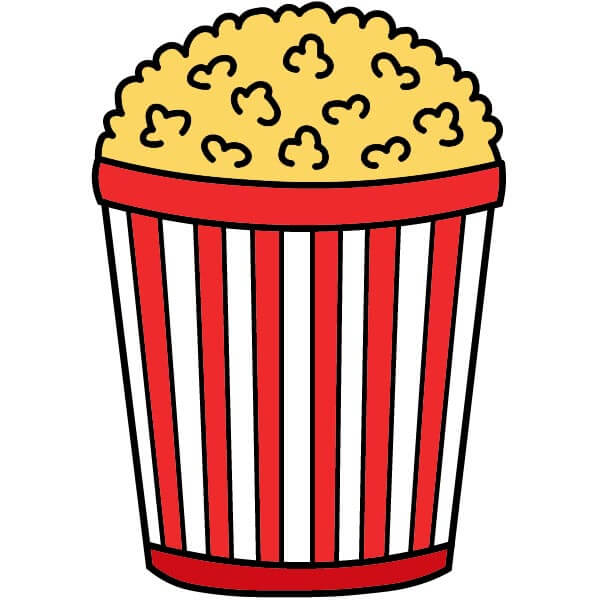
Draw several vertical lines inside the bucket, from the top down to near the base. These lines will create stripes on the popcorn bucket.
Step 5
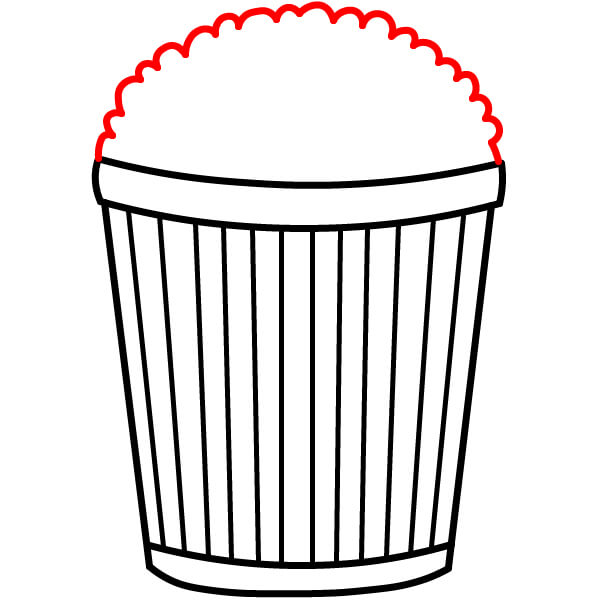
Draw a wavy, jagged shape protruding from the top of the bucket, symbolizing the overflowing popcorn.
Step 6
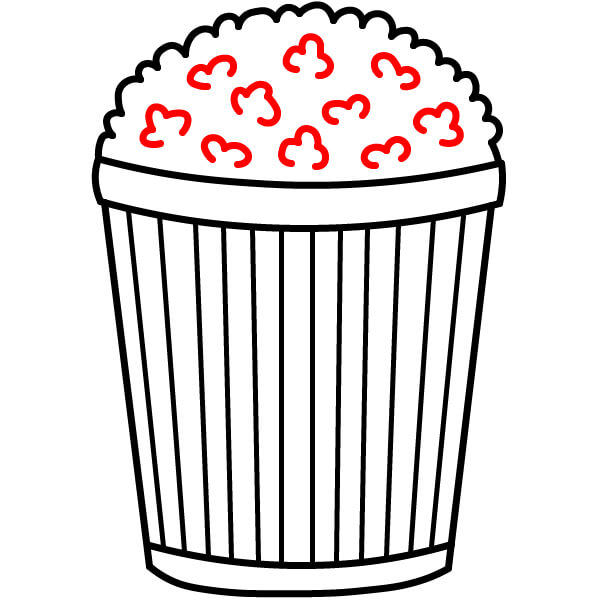
Inside that jagged shape, draw many small shapes resembling clouds to represent individual popcorn kernels.
Step 7
Now let's color! Color the stripes on the bucket red, the spaces in between white, and the popcorn a light yellow.
Simple Popcorn Drawing Guide for Kids
6 steps
Step 1
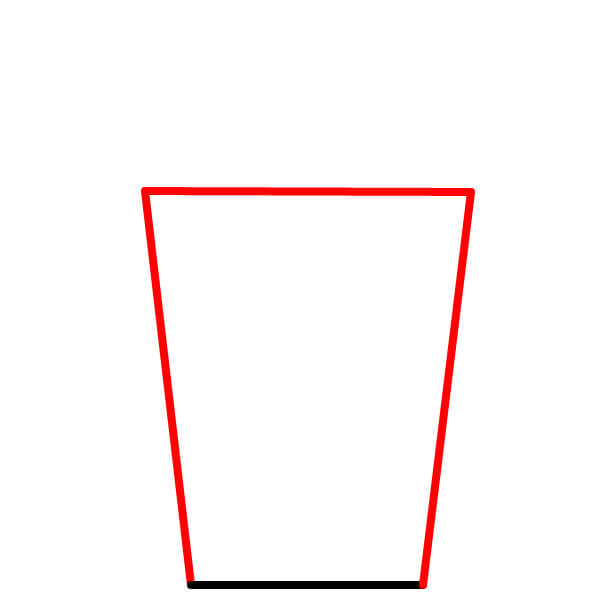
Start by drawing the basic shape of the popcorn box. It should look like a trapezoid, with a flat bottom and a slightly wider top opening.
Step 2
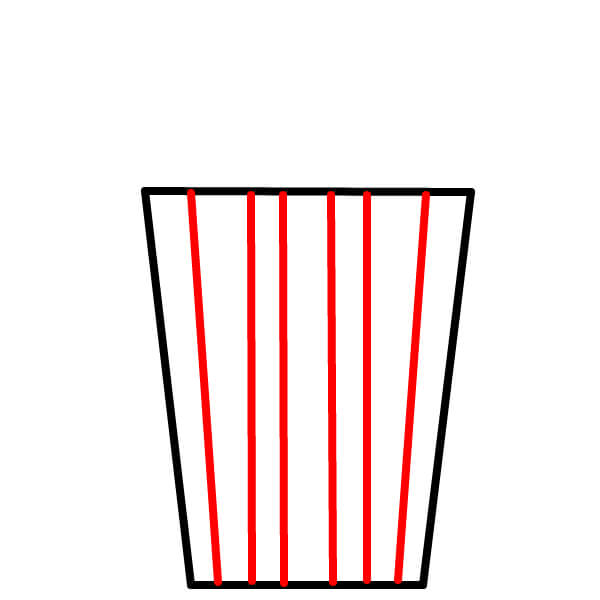
Draw a few vertical lines from the top of the box down to the bottom. These lines will create decorative stripes on the box.
Step 3
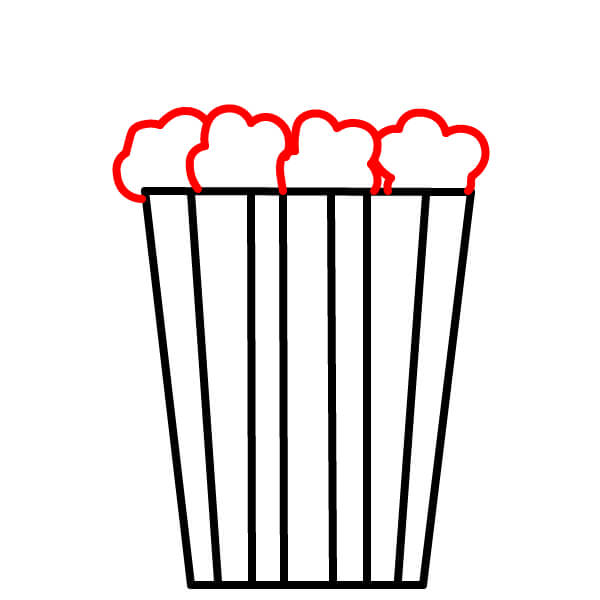
At the top of the box, draw some soft, fluffy shapes resembling clouds piled together. This will be the popcorn overflowing from the box.
Step 4
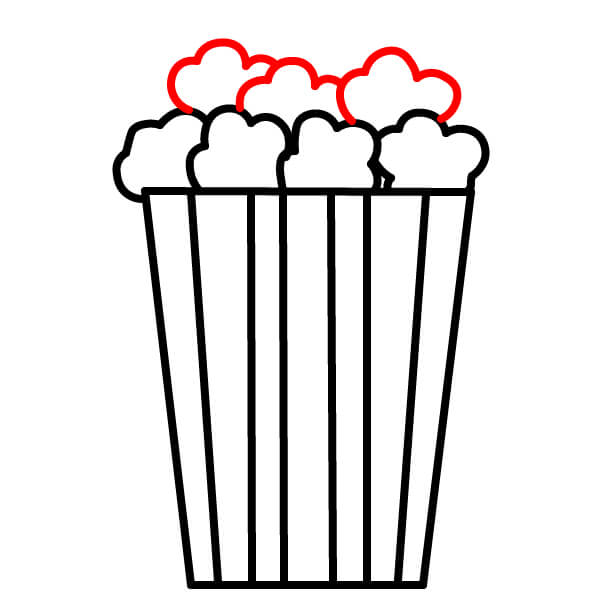
Continue to draw more fluffy shapes around and above the ones you've already drawn to make the pile of popcorn look fuller.
Step 5
Keep adding more fluffy popcorn shapes to fill in the gaps so that the pile looks thick and abundant.

Step 6
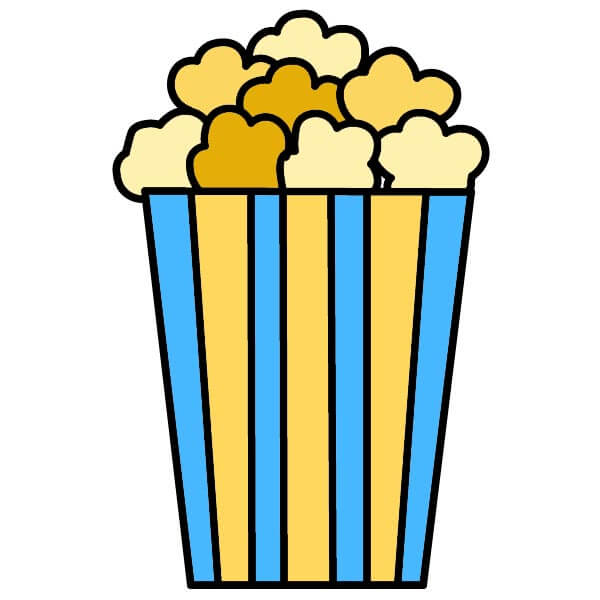
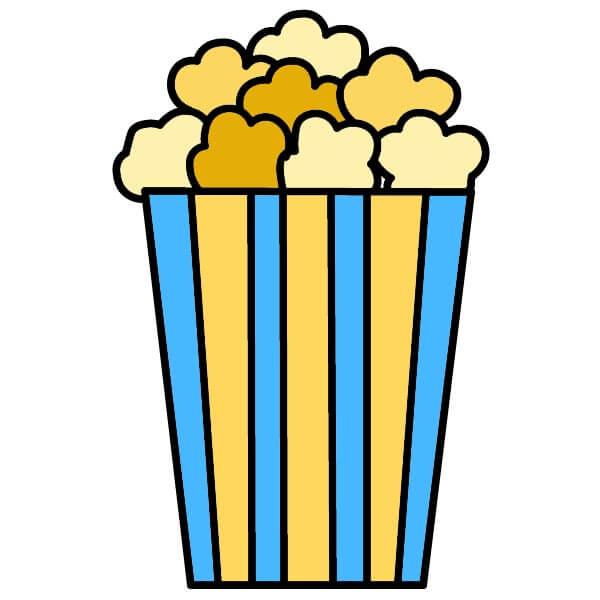
Now it's time to color! Alternate coloring each vertical stripe on the box blue, with the remaining stripes yellow. For the popcorn on top, use various shades of yellow and light brown to make it look natural and realistic.
Draw a Popcorn Bucket – A Simple Guide for Kids
6 steps
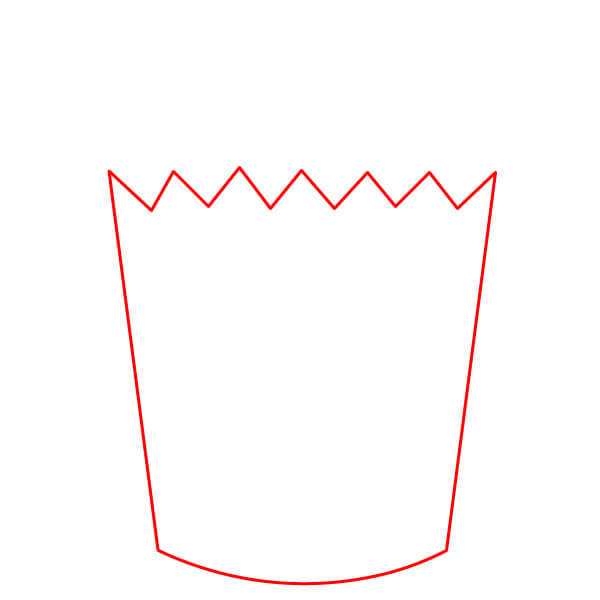
Step 1
Start by drawing the basic shape of the popcorn bucket. It resembles a trapezoid, but the bottom edge is slightly curved and the top has a zigzag line forming peaks and valleys.
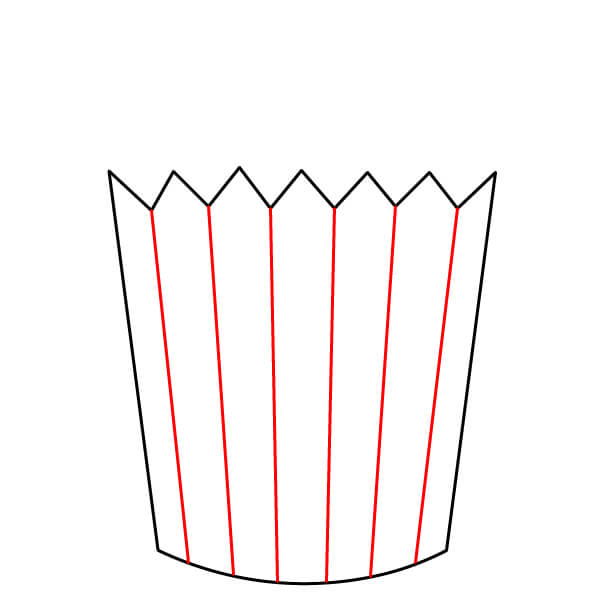
Step 2
Draw a few vertical lines from the top edge of the zigzag down to the curved bottom. These lines will create stripes on the popcorn bucket.
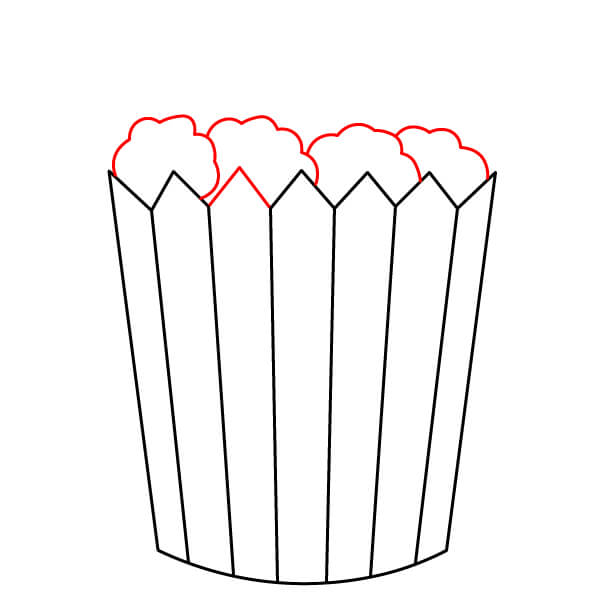
Step 3
Above the zigzag mouth of the bucket, start drawing some irregular shapes resembling clouds. These will be the first popcorn kernels.
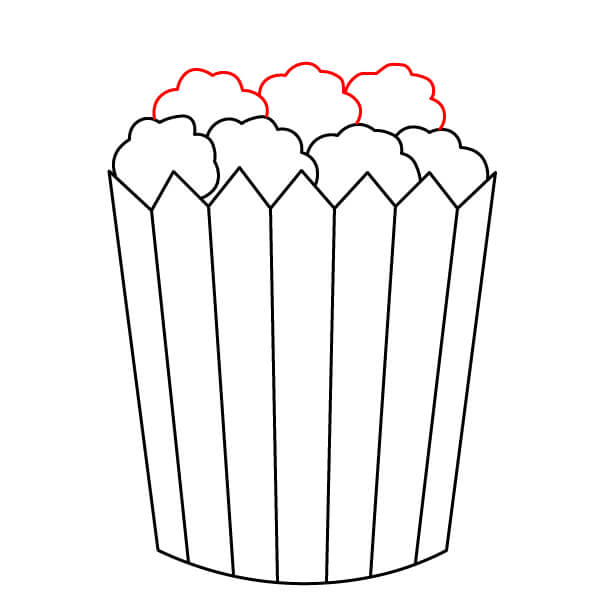
Step 4
Continue adding more popcorn shapes to create a fuller pile. Let some shapes overlap and vary the sizes a bit for a more natural look.
Step 5
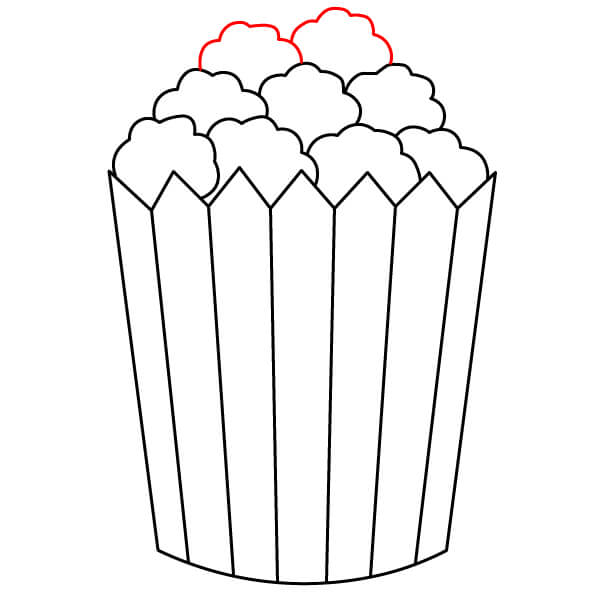
Keep drawing more popcorn shapes to fill in the remaining gaps so that the top of the bucket looks overflowing with fluffy popcorn.
Step 6
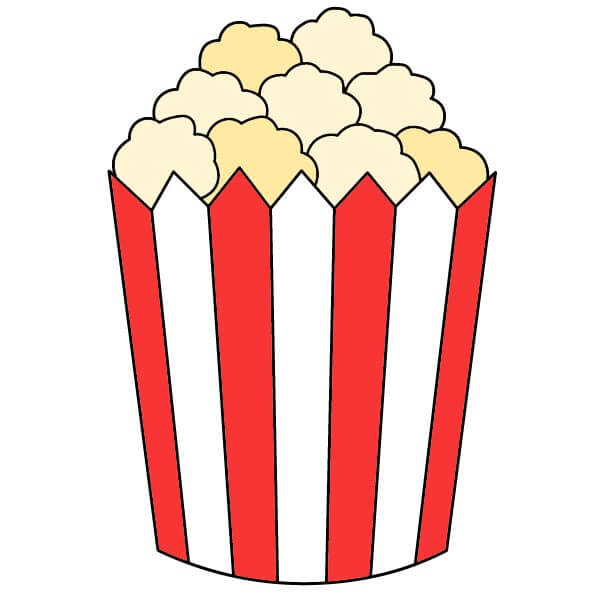
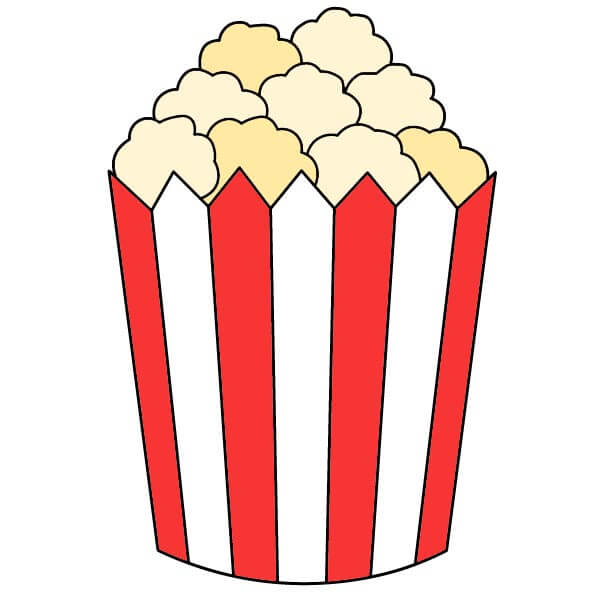
It's time to color! Color the alternating stripes on the bucket red, leaving the other stripes white. Color the popcorn a light yellow to make it look delicious.
Popcorn Explosion! An Exciting Drawing Lesson
7 steps
Step 1
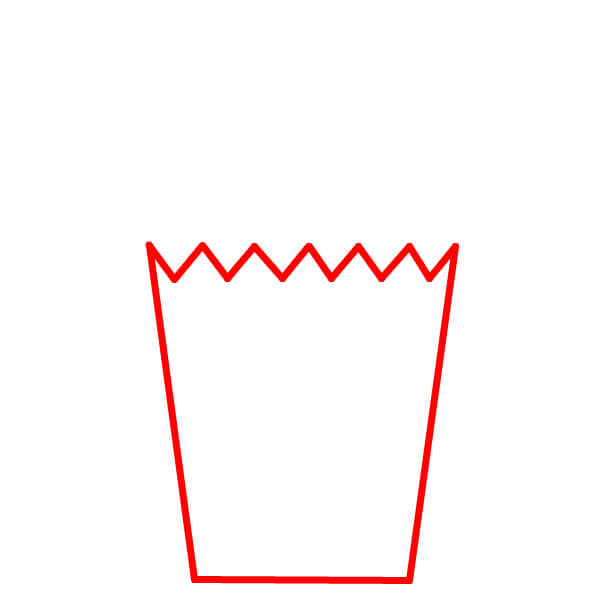
Start by drawing the outline of the popcorn box. The shape is trapezoidal, with a flat bottom and a zigzag top, resembling a folded or wavy edge.
Step 2
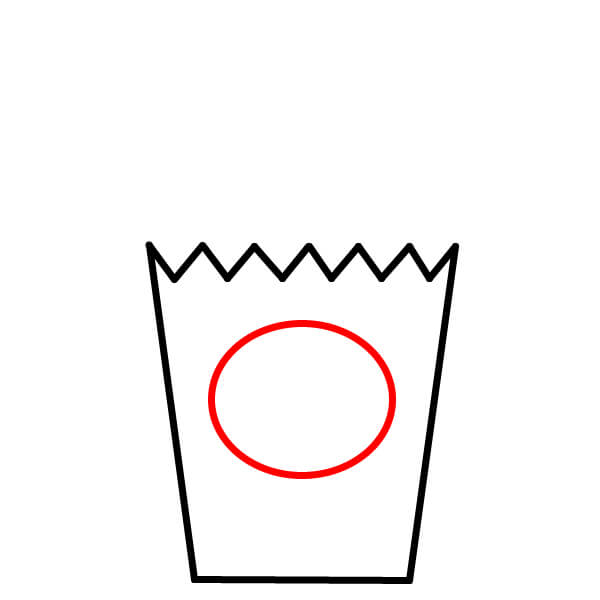
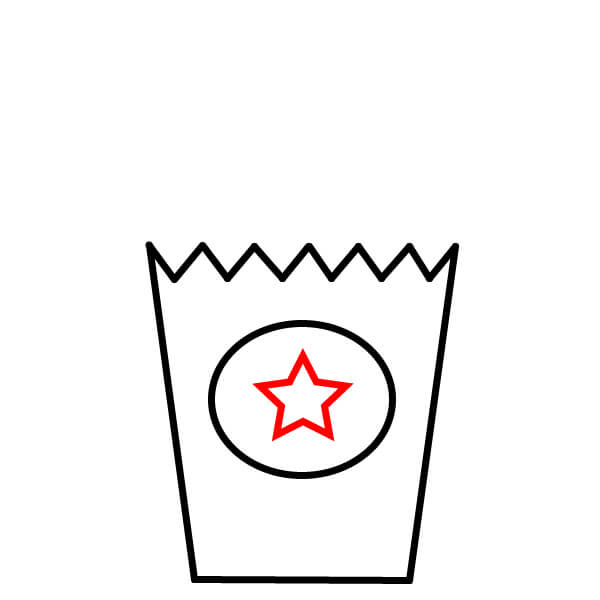
In the middle of the box, draw an oval. This will be the emblem (logo) on the front of the popcorn box.
Step 4
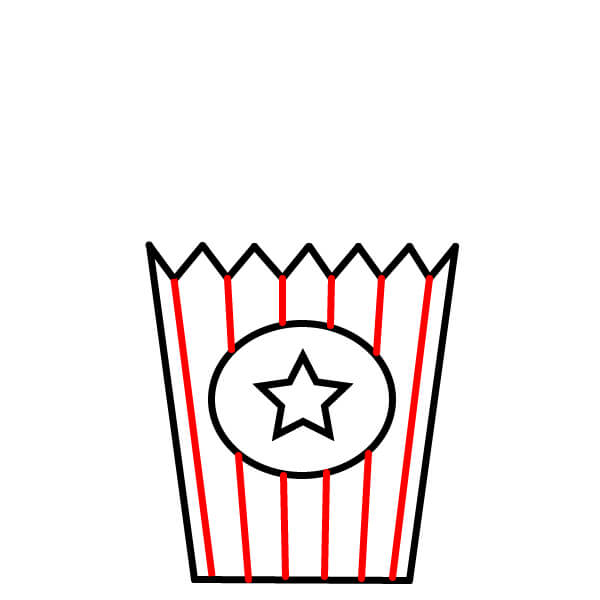
Draw straight lines from the top edge of the zigzag down to the bottom of the box. Make sure these lines go behind the oval in the center. These lines will form the characteristic stripes of the popcorn box.
Step 5
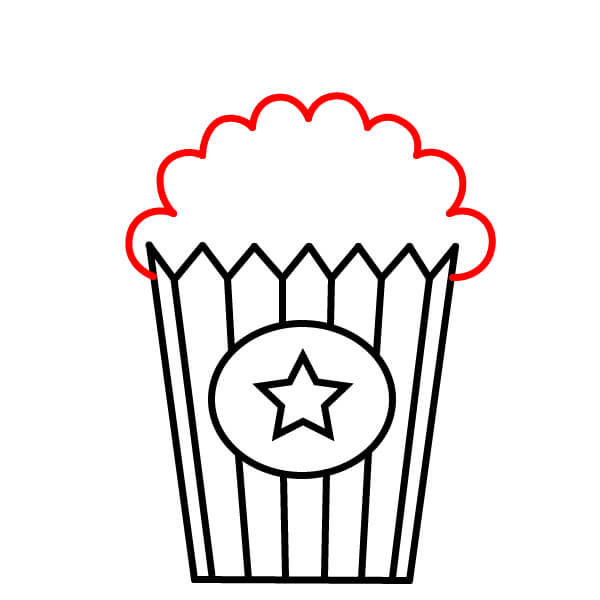
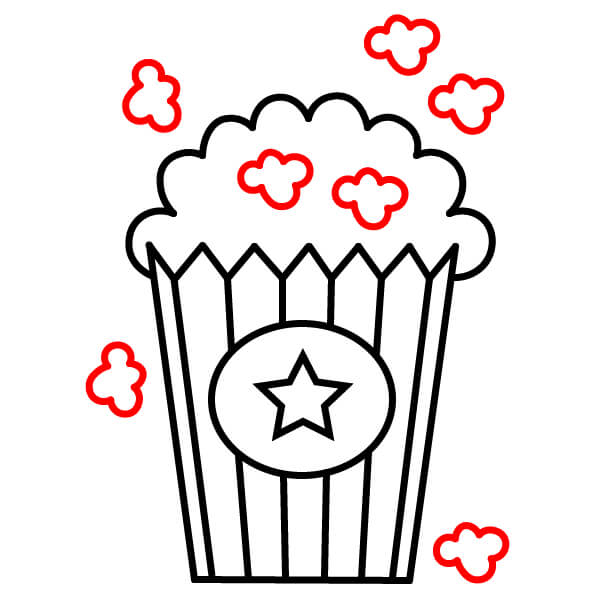
Above the zigzag edge of the box, draw a large, irregular shape resembling a cloud. This will be the main pile of popcorn overflowing from the box.
Step 6
Add smaller popcorn shapes around the main pile and a few kernels falling near the bottom of the box, as if they just spilled out.
Step 7
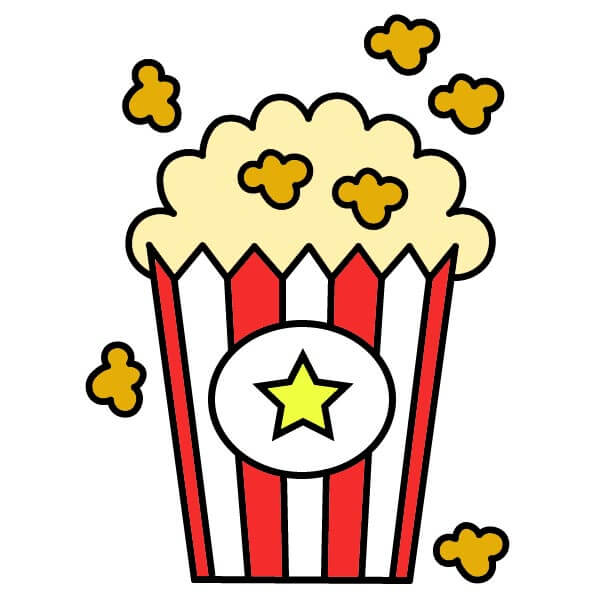
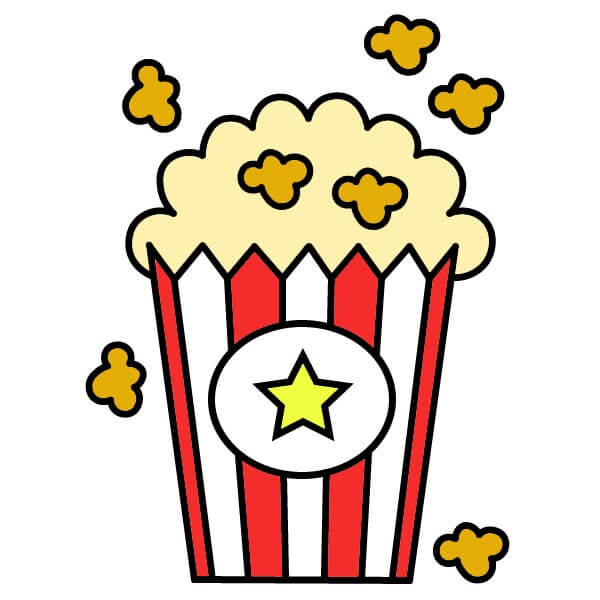
Now let's color! Color the alternating stripes on the box red, with the remaining stripes white. Color the star yellow and the oval around it white. The popcorn should be light yellow, while the small kernels that fell out should be a darker yellow.

Let's draw a cute popcorn bucket with a face.
7 steps
Step 1
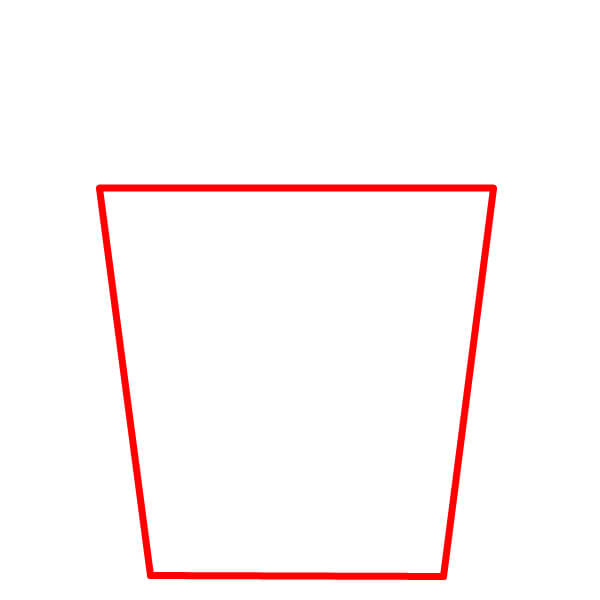
Draw the basic shape of the popcorn box. It's a trapezoid, wider at the top than the bottom, with flat top and bottom edges.
Step 2
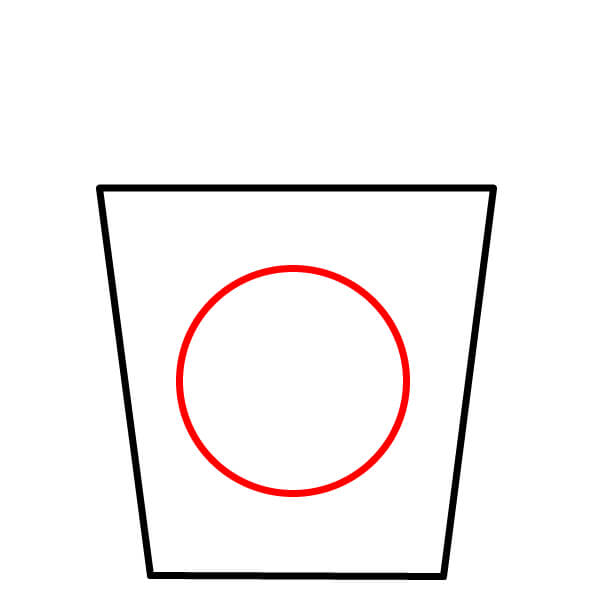
In the middle of the box, draw a large circle. This will be the face of the popcorn box.
Step 3
Inside the large circle, draw two smaller circles for the eyes. Inside each of those circles, draw an even smaller circle for the pupils.
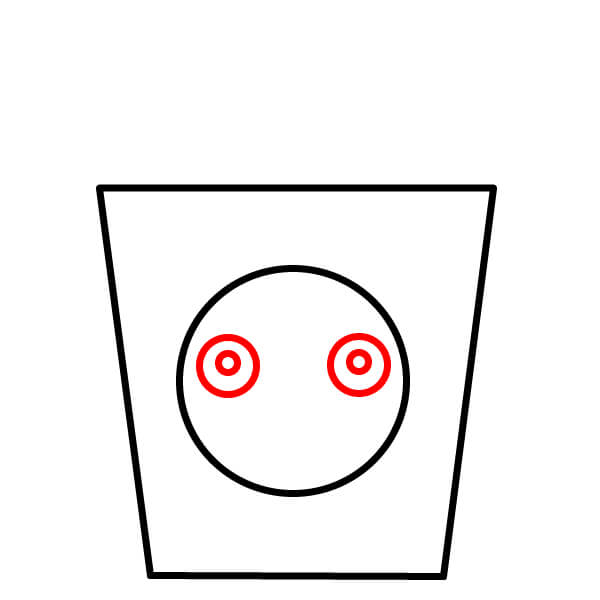
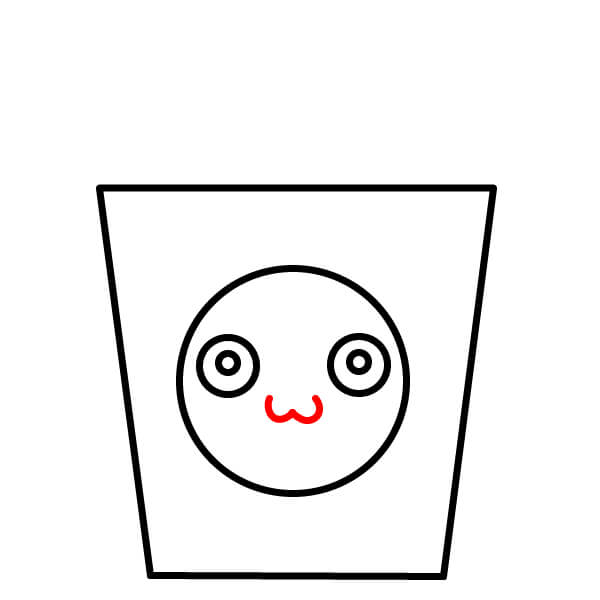
Step 5
Draw vertical stripes on the box, extending from the top edge to the bottom edge, and remember to place these stripes behind the round face.
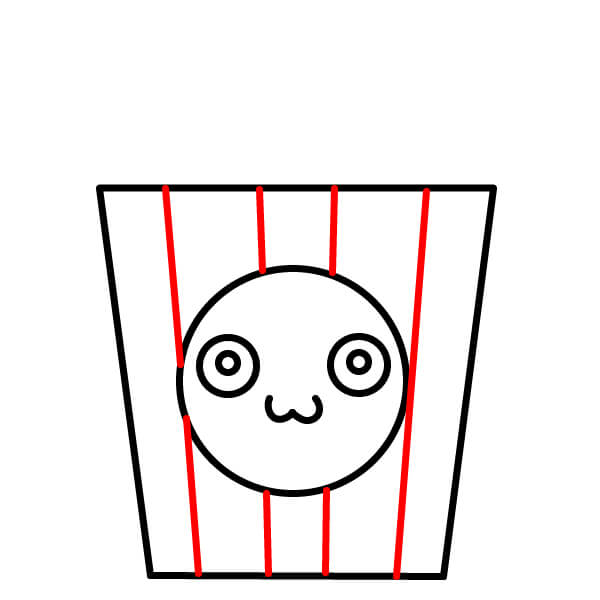
Step 6
At the top of the box, draw a large, bumpy shape resembling a cloud to represent popcorn overflowing. Make it lumpy and full.
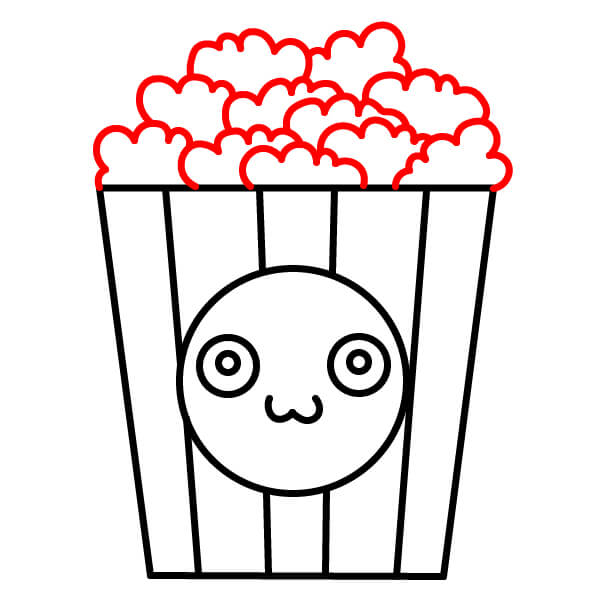
Step 7
Finally, color it in! Alternate the vertical stripes on the box with blue and yellow. Color the popcorn on top light yellow. For the face, keep the main circle white, color the inside of the eyes black and the pupils white (or vice versa) for a sparkling effect.

▶Drawing tips
- Draw lightly with a pencil first, then darken the lines when you're satisfied.
- You don't need to draw exactly like the sample — add your own style!
- After finishing your drawing, you can color it directly on Tomau.AI to make it more vibrant.