Tomau.AITomau.AI

How to Draw a Trumpet
Other
How to Draw a Trumpet

Want to learn how to draw how to draw a trumpet? This tutorial will help you do it in just 35 simple steps, with clear illustrations for each step. Whether you're a beginner or experienced, the steps below are easy to understand and follow.

You just need a pencil, drawing paper, and an eraser — then start drawing step by step!

This lesson includes 5 different ways to draw. Choose the one that suits you best!
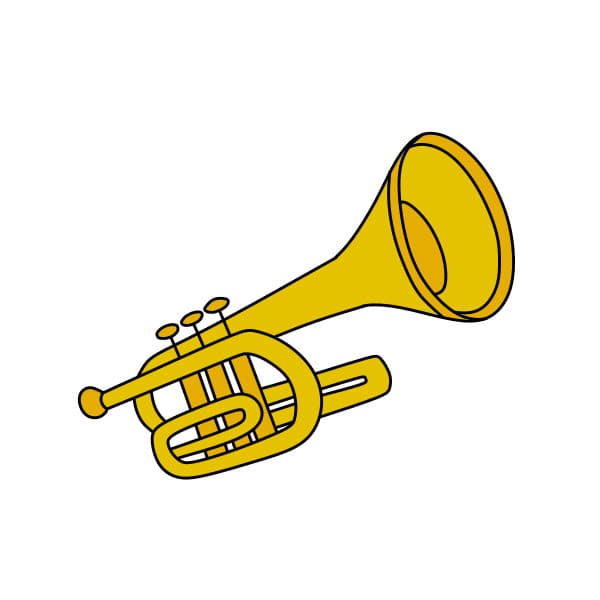
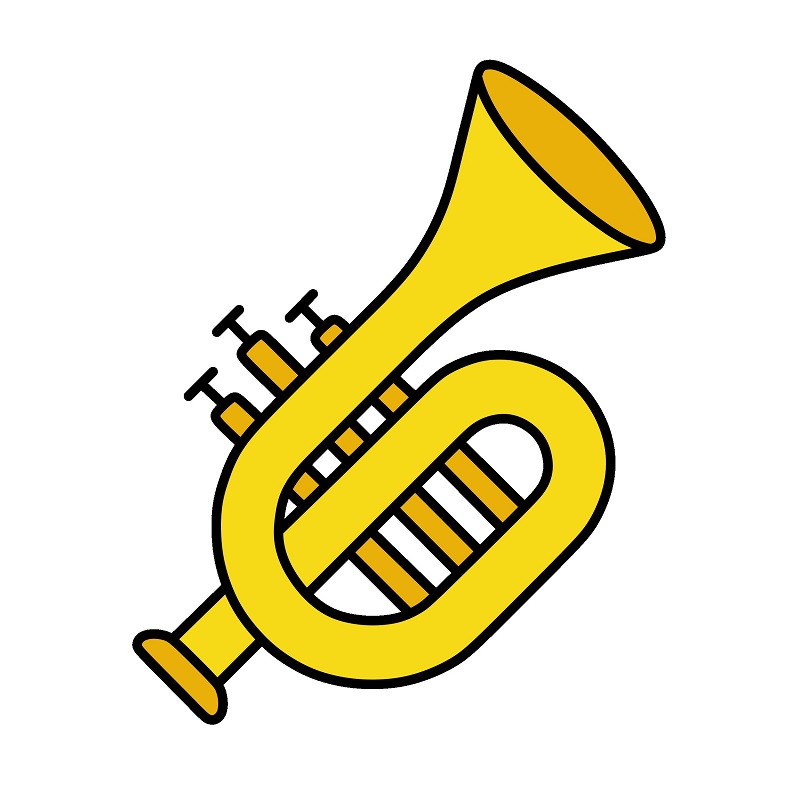
Guide to Drawing a Simple and Beautiful Trumpet for Kids

Guide to Drawing a Simple and Beautiful Trumpet for Kids

5 steps

1

Step 1

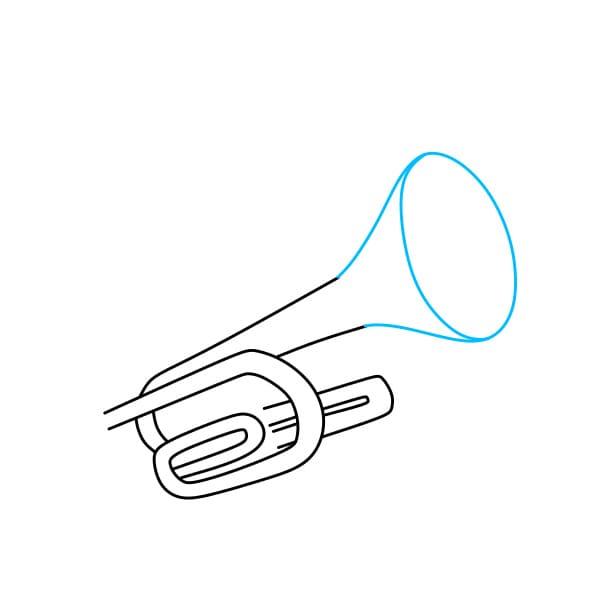
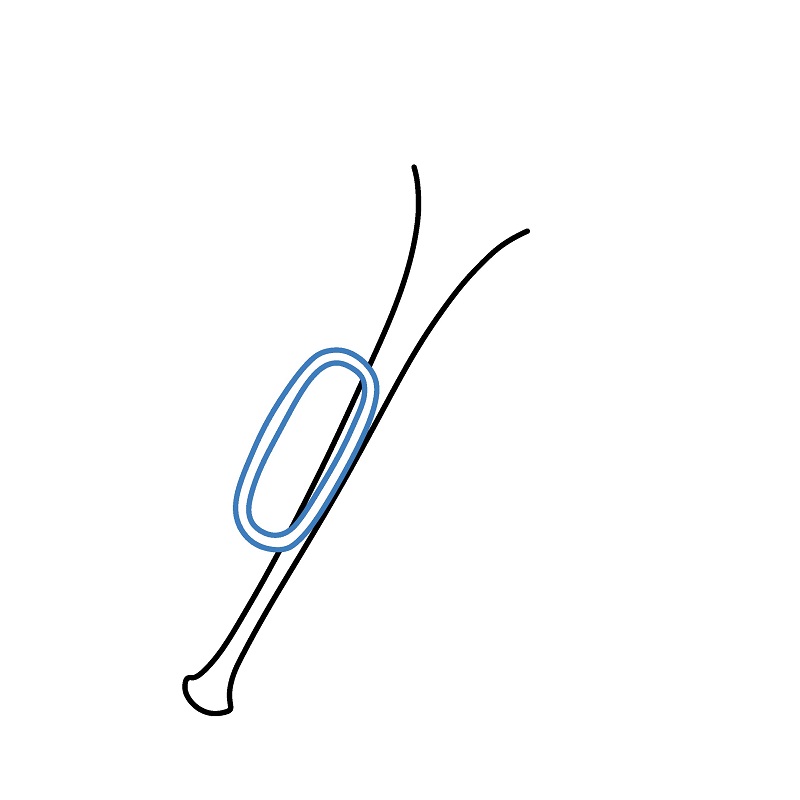
First, draw the curved brass tubes

Practice
Guide to Drawing a Simple and Beautiful Trumpet for Kids - Step 1
2

Step 2

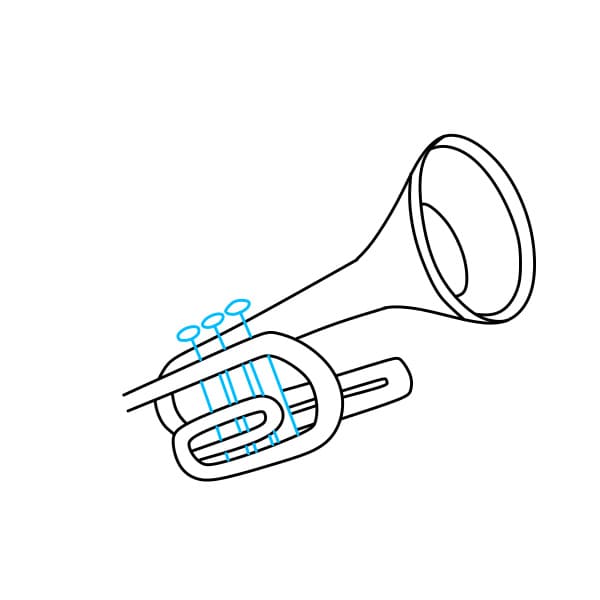
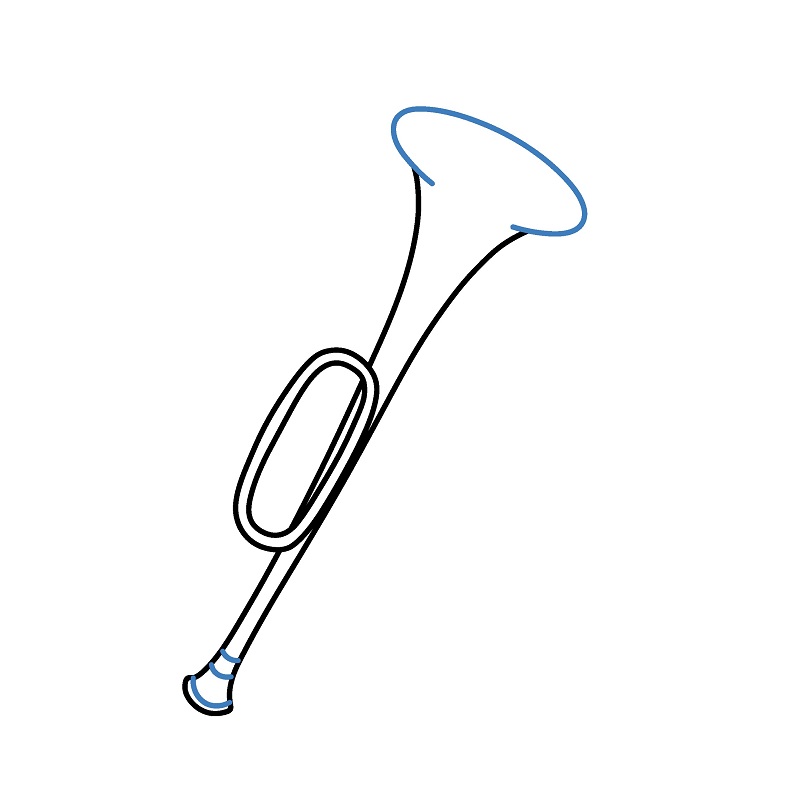
Draw the large and wide mouthpiece

Practice
Guide to Drawing a Simple and Beautiful Trumpet for Kids - Step 2
3

Step 3

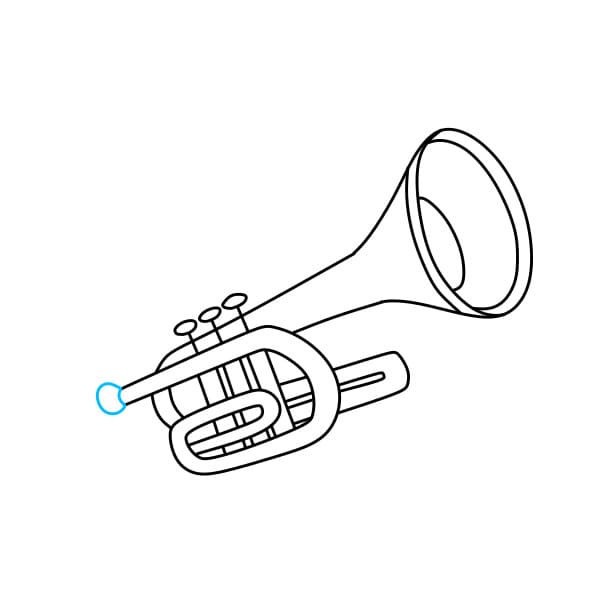
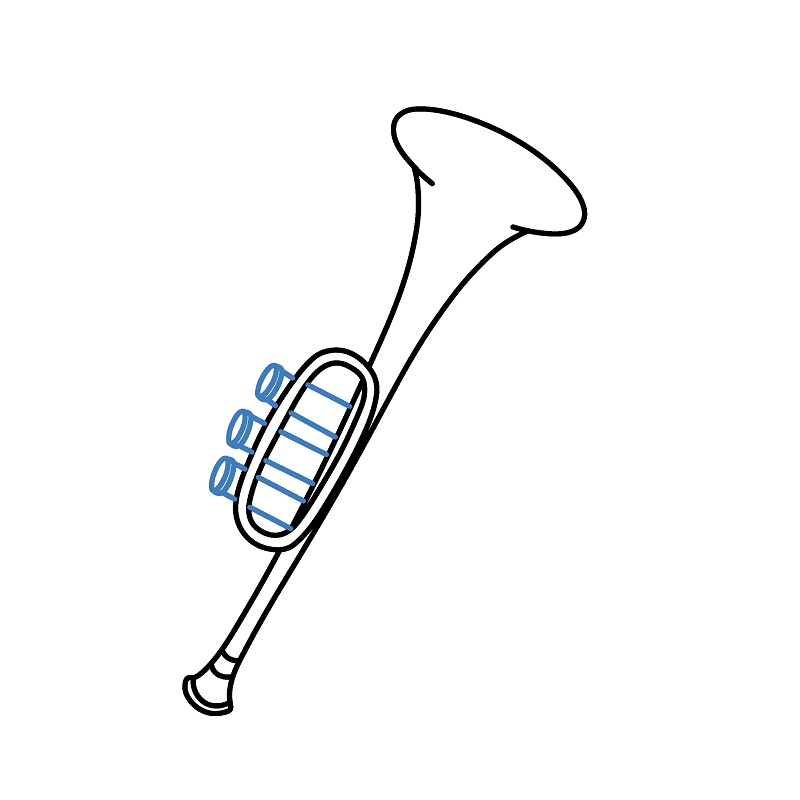
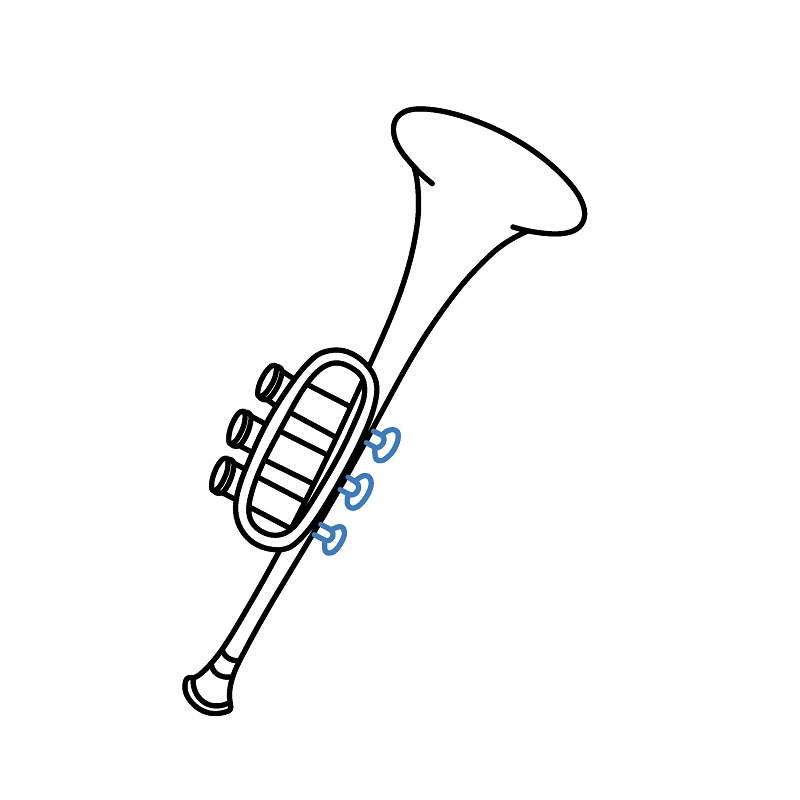
Draw the keys to adjust the trumpet's sound

Practice
Guide to Drawing a Simple and Beautiful Trumpet for Kids - Step 3
4

Step 4

Don't forget to draw the bell of the trumpet

Practice
Guide to Drawing a Simple and Beautiful Trumpet for Kids - Step 4
5

Step 5

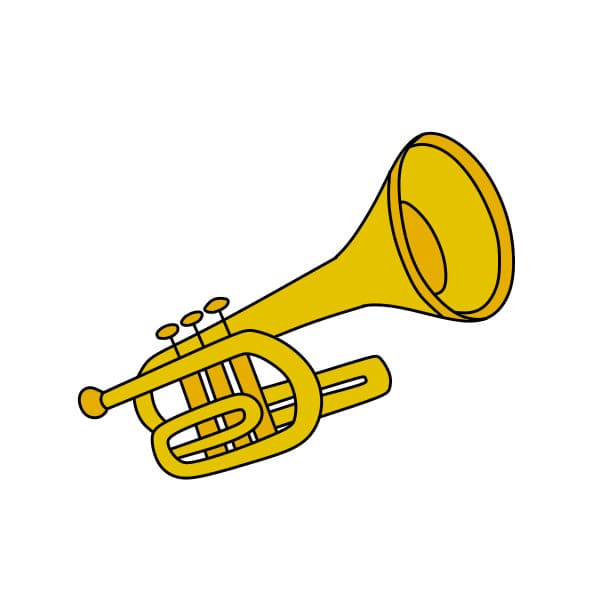
Color it in to make the picture more beautiful

Practice
Guide to Drawing a Simple and Beautiful Trumpet for Kids - Step 5
Guide to Drawing a Detailed and Beautiful Trumpet

Guide to Drawing a Detailed and Beautiful Trumpet

8 steps

1

Step 1

Draw parallel lines to create the main part of the valve and trumpet.

Practice
Guide to Drawing a Detailed and Beautiful Trumpet - Step 1
2

Step 2

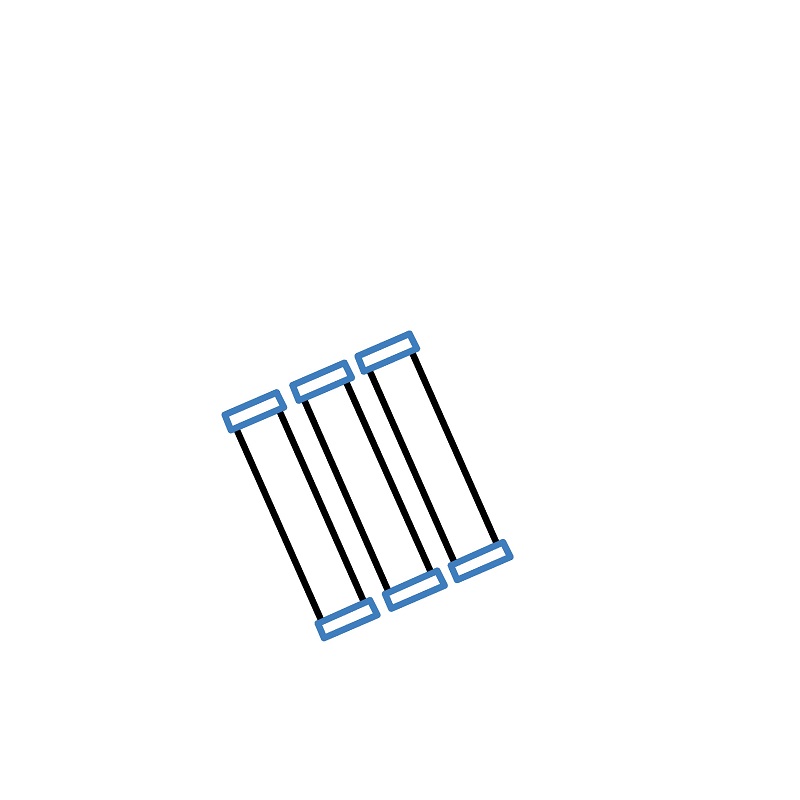
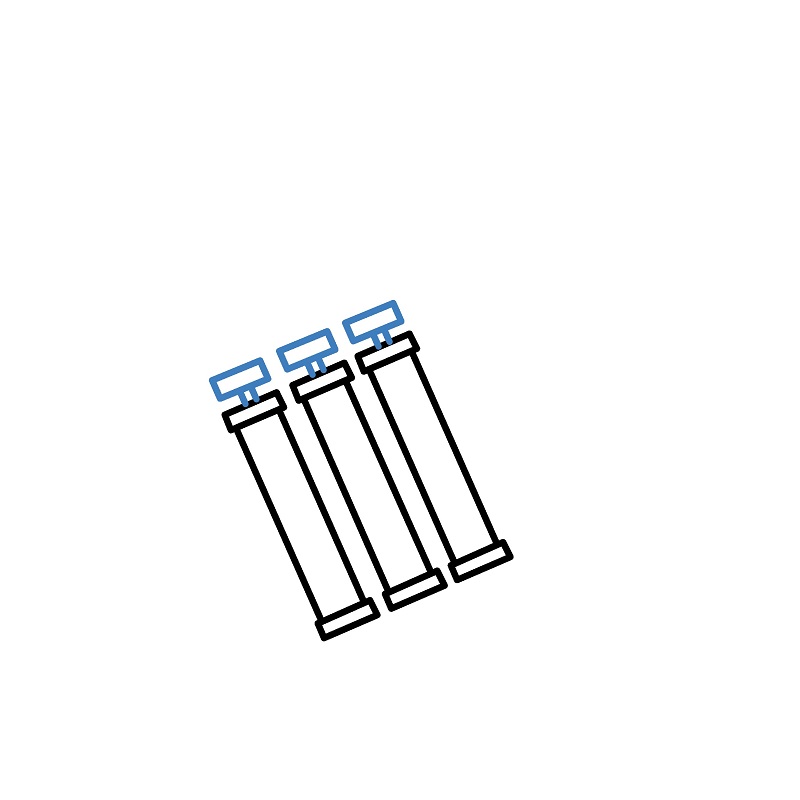
Complete the parallel lines by adding the ends of the valves, making them look like cylindrical bars.
Practice
Guide to Drawing a Detailed and Beautiful Trumpet - Step 2
3

Step 3

Add small details on top of each valve to finish the valve section.

Practice
Guide to Drawing a Detailed and Beautiful Trumpet - Step 3
4

Step 4

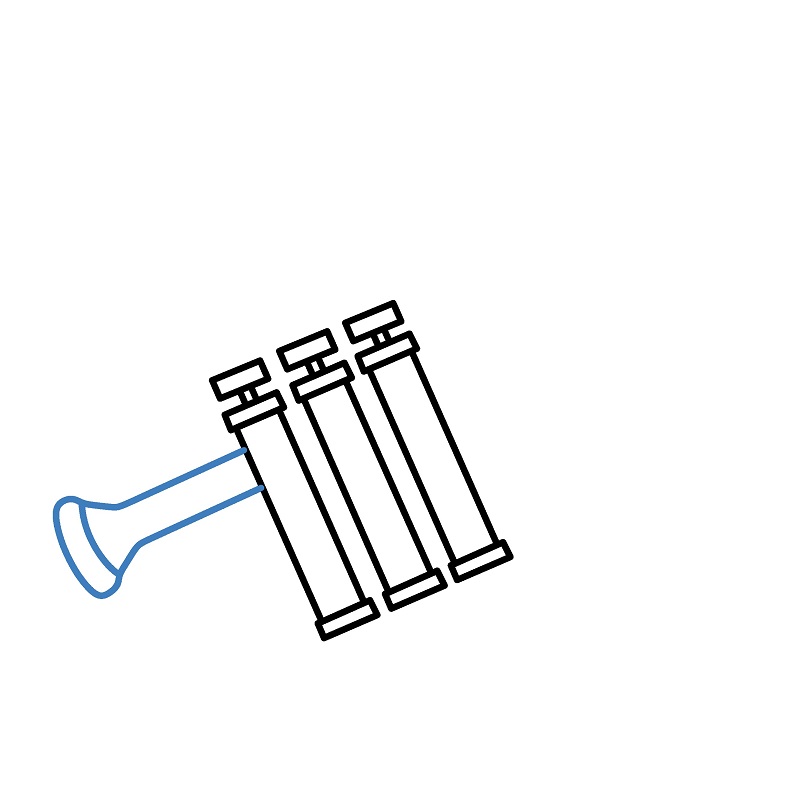
Sketch the main body of the trumpet, starting with a small curve connecting to the valve section.
Practice
Guide to Drawing a Detailed and Beautiful Trumpet - Step 4
5

Step 5

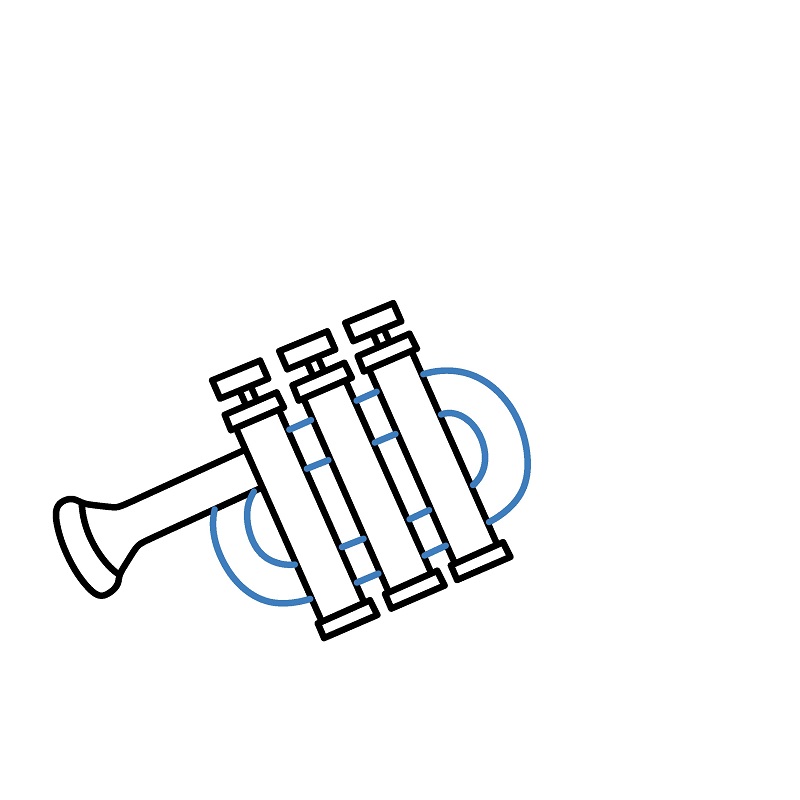
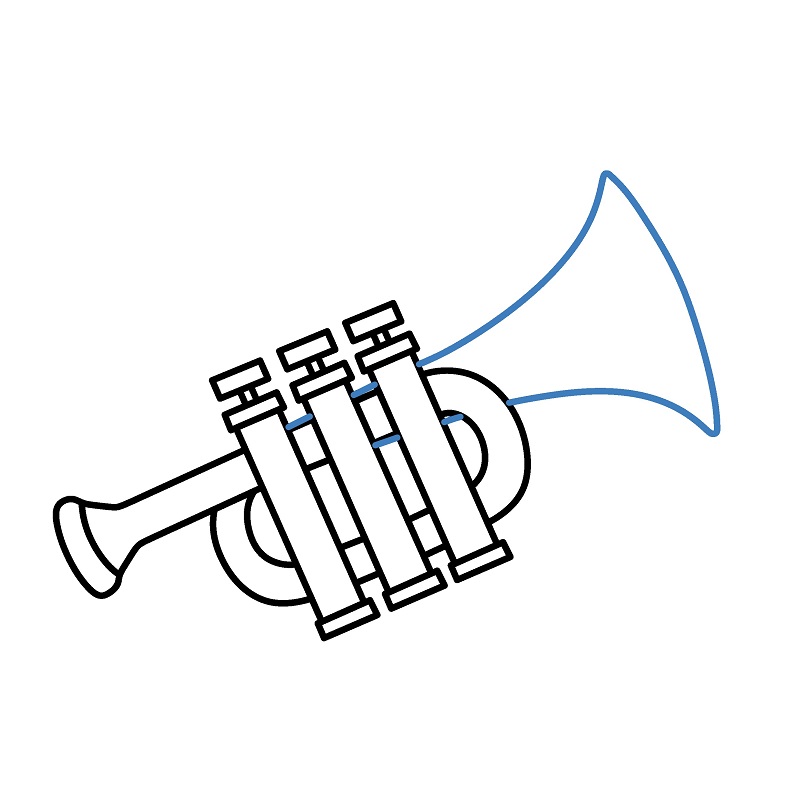
Continue to extend the trumpet body, adding the rounded bell at the back and the handle on the left side.
Practice
Guide to Drawing a Detailed and Beautiful Trumpet - Step 5
6

Step 6

Draw the bell of the trumpet on the right side to complete the overall shape.

Practice
Guide to Drawing a Detailed and Beautiful Trumpet - Step 6
7

Step 7

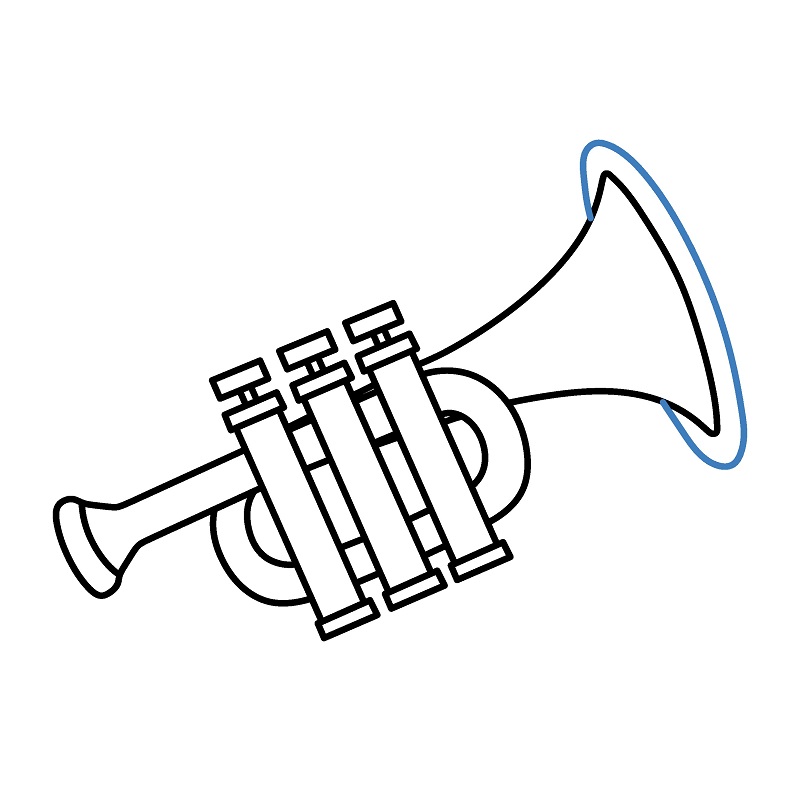
Draw a curve to outline the bell of the trumpet.

Practice
Guide to Drawing a Detailed and Beautiful Trumpet - Step 7
8

Step 8

Color the drawing.

Practice
Guide to Drawing a Detailed and Beautiful Trumpet - Step 8
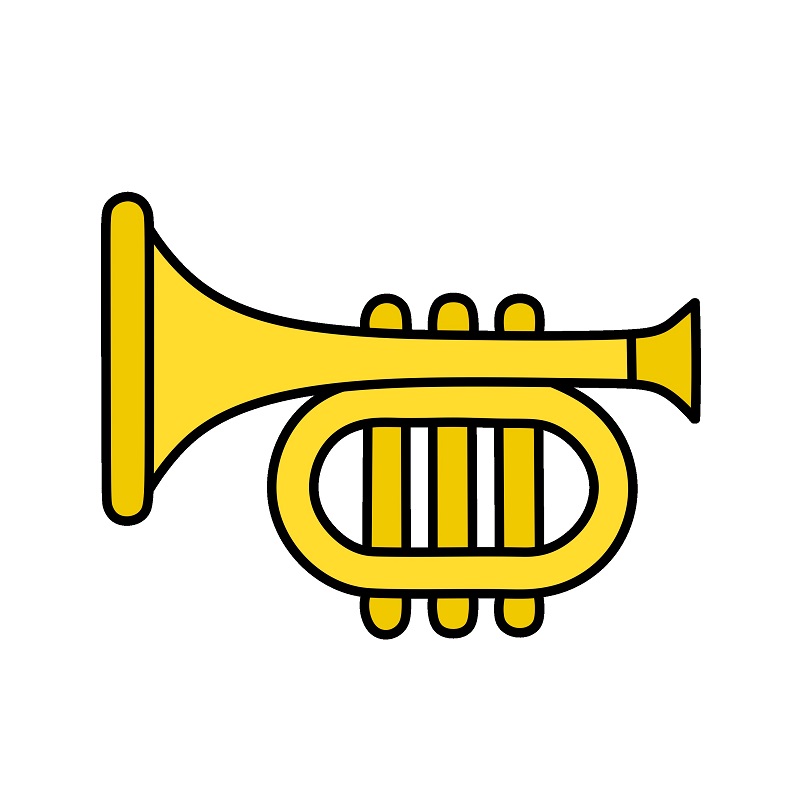
Simple Guide to Drawing a Small Trumpet

Simple Guide to Drawing a Small Trumpet

7 steps

1

Step 1

: Draw a small vertical rectangle to create the rim of the trumpet bell.

Practice
Simple Guide to Drawing a Small Trumpet - Step 1
2

Step 2

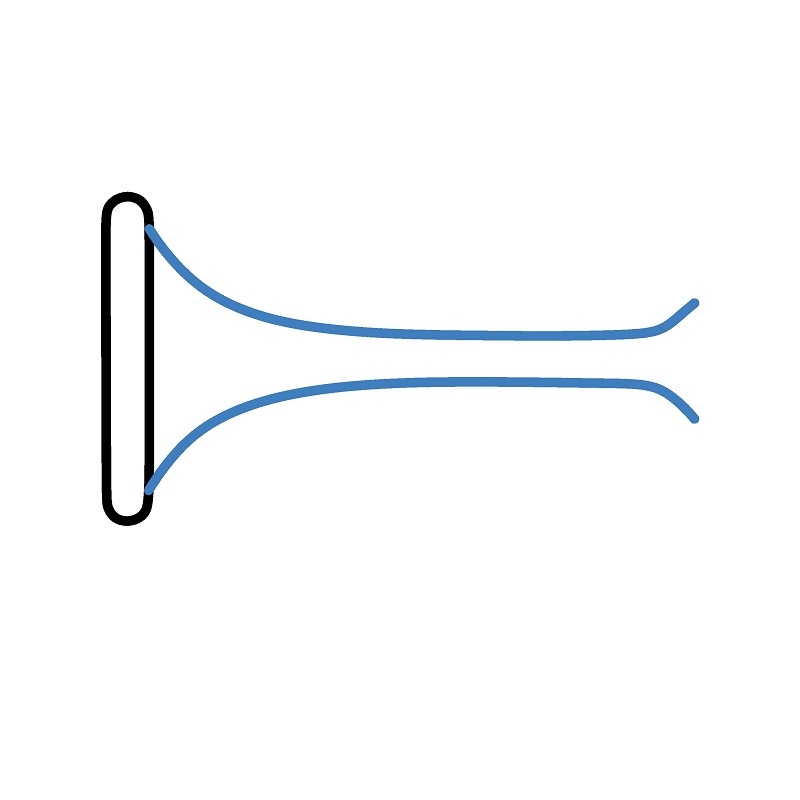
: Sketch the bell of the trumpet by drawing two curves extending from the mouth of the trumpet.
Practice
Simple Guide to Drawing a Small Trumpet - Step 2
3

Step 3

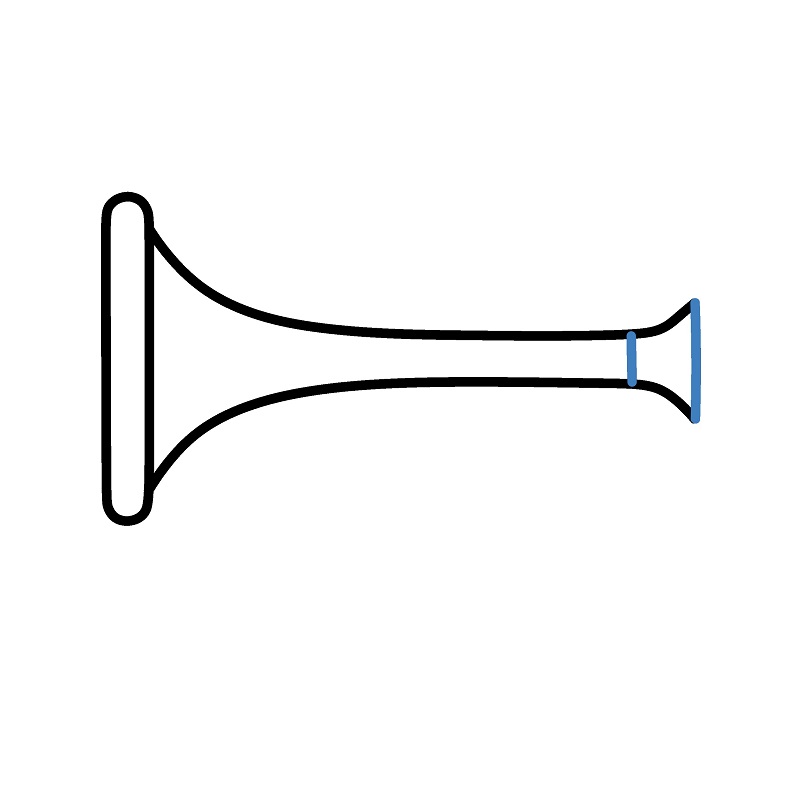
: Draw the mouthpiece of the trumpet.

Practice
Simple Guide to Drawing a Small Trumpet - Step 3
4

Step 4

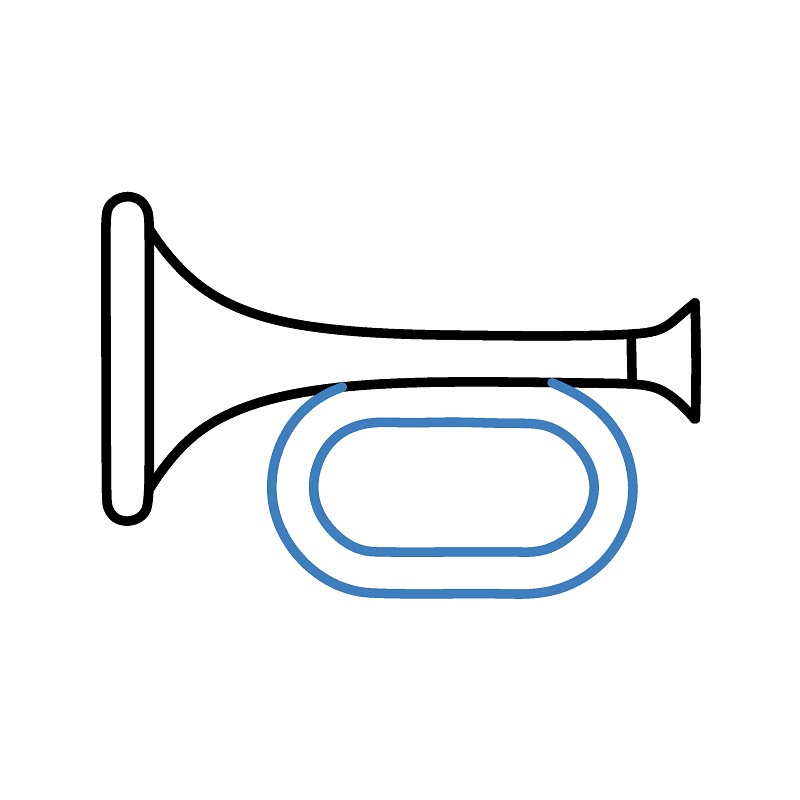
: Draw a horizontal oval below the trumpet body to form the characteristic bend of the trumpet.
Practice
Simple Guide to Drawing a Small Trumpet - Step 4
5

Step 5

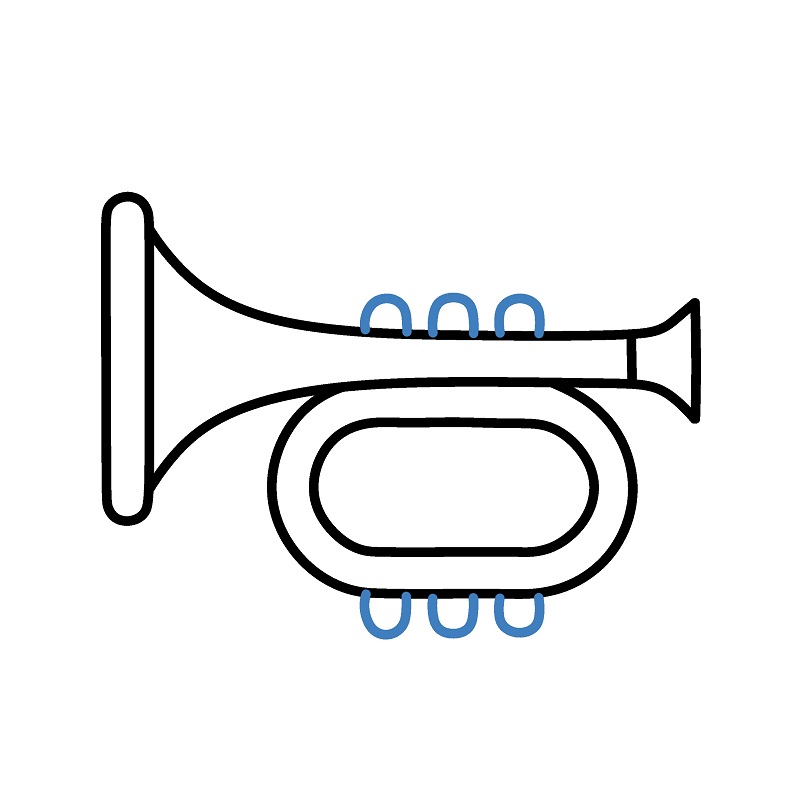
: Add the valves on top of the trumpet body and the connection between them and the oval below.
Practice
Simple Guide to Drawing a Small Trumpet - Step 5
6

Step 6

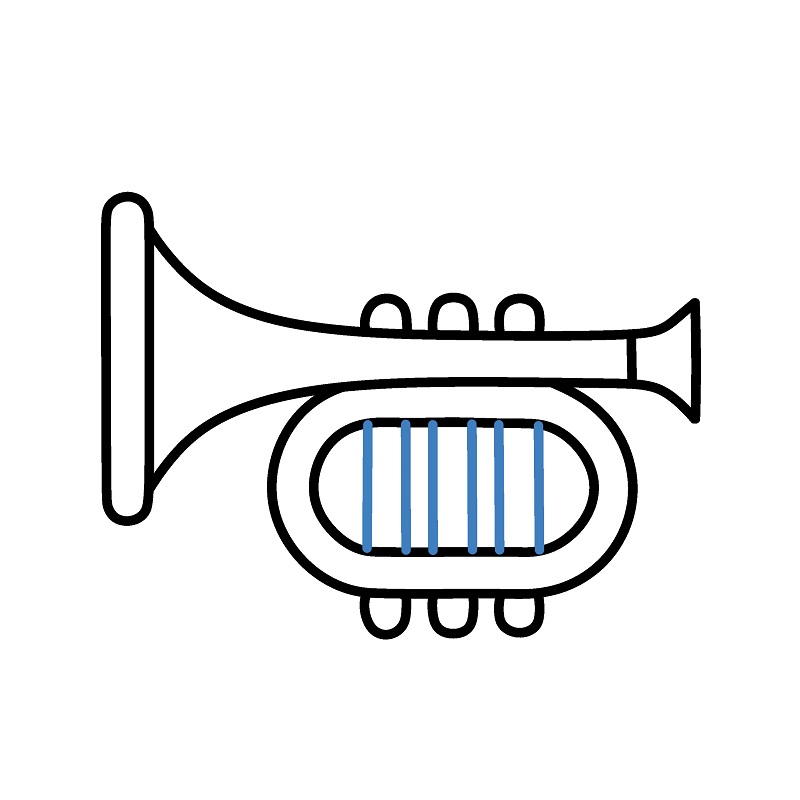
: Add parallel lines inside the oval to highlight the details of the trumpet.

Practice
Simple Guide to Drawing a Small Trumpet - Step 6
7

Step 7

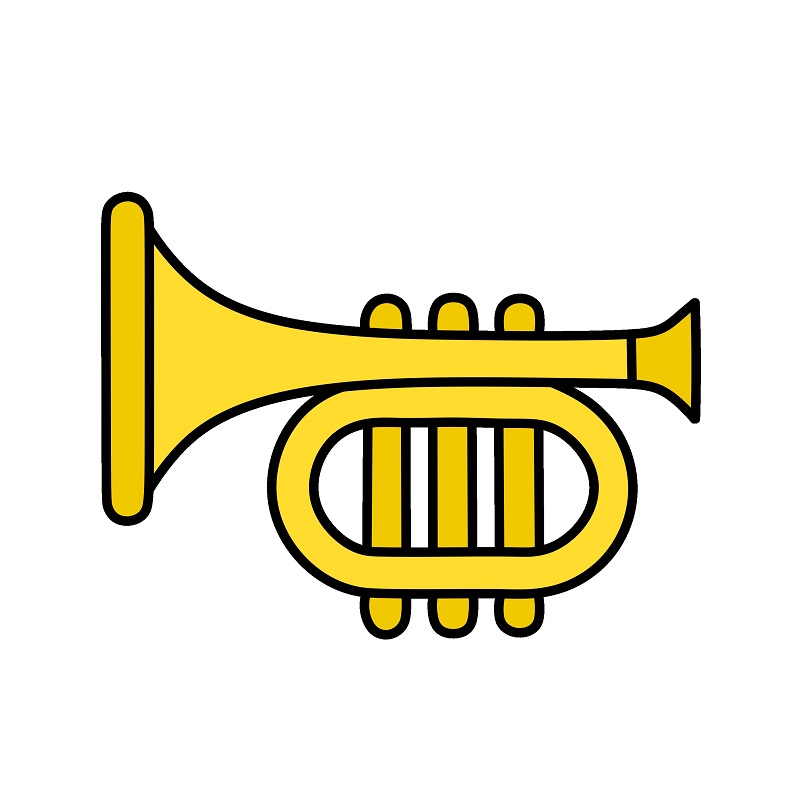
: Color the drawing.

Practice
Simple Guide to Drawing a Small Trumpet - Step 7
Guide to Drawing a Classic Trumpet.

Guide to Drawing a Classic Trumpet.

6 steps

1

Step 1

Draw the mouthpiece of the trumpet with a basic shape, resembling a rounded rectangle.

Practice
Guide to Drawing a Classic Trumpet. - Step 1
2

Step 2

Draw the body of the trumpet, sketching a double curve that forms the characteristic spiral shape.


Practice
Guide to Drawing a Classic Trumpet. - Step 2
3

Step 3

Complete the bell of the trumpet by drawing a flared end at the top of the body.

Practice
Guide to Drawing a Classic Trumpet. - Step 3
4

Step 4

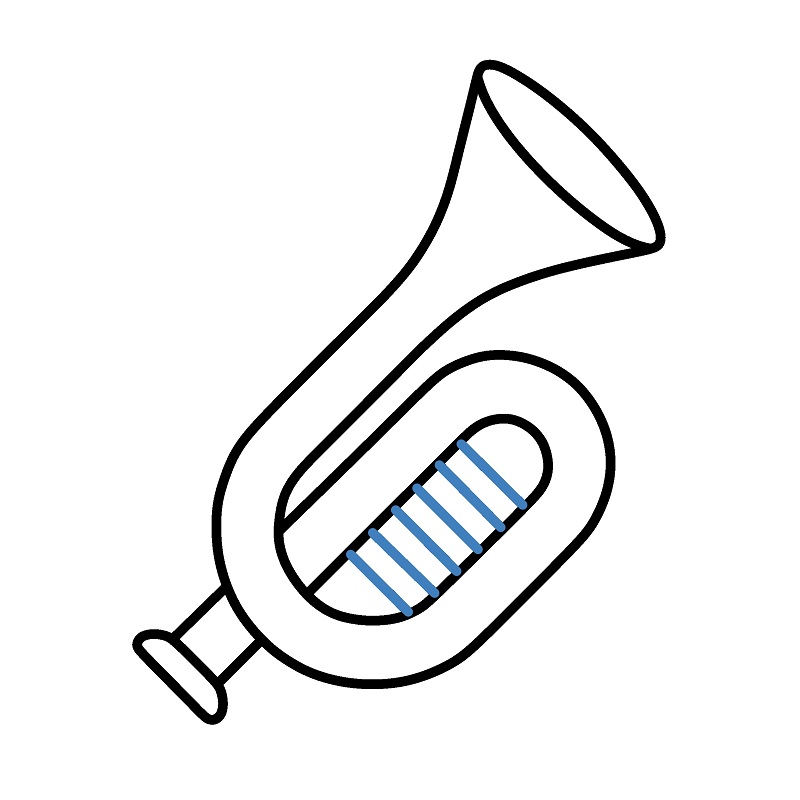
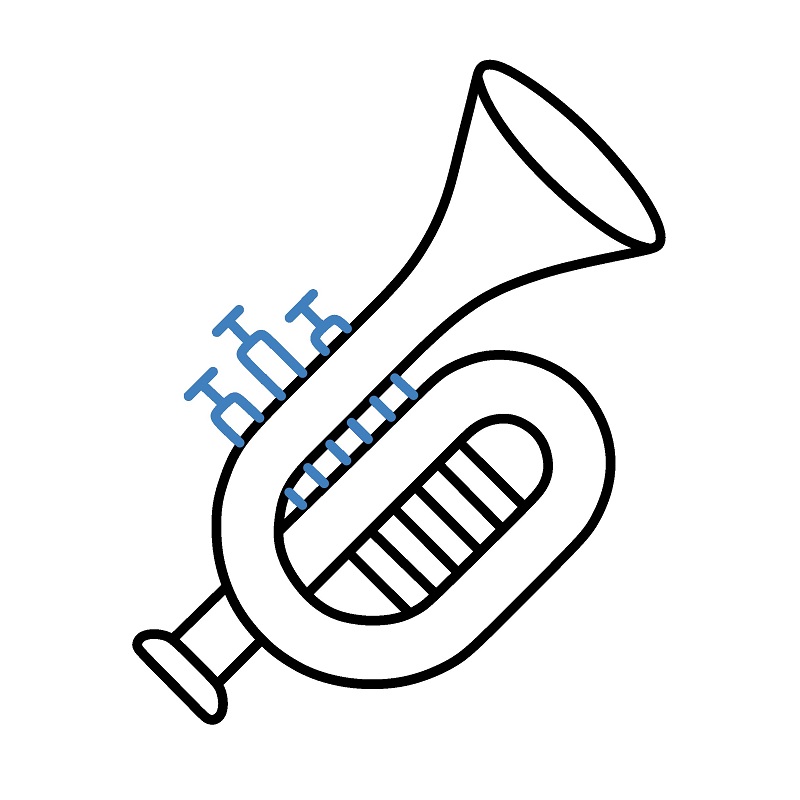
Add details inside the curved part of the trumpet's body by drawing parallel lines to create depth.
Practice
Guide to Drawing a Classic Trumpet. - Step 4
5

Step 5

Add the keys on top of the trumpet's body and finish the small details around.

Practice
Guide to Drawing a Classic Trumpet. - Step 5
6

Step 6

Color the drawing.

Practice
Guide to Drawing a Classic Trumpet. - Step 6
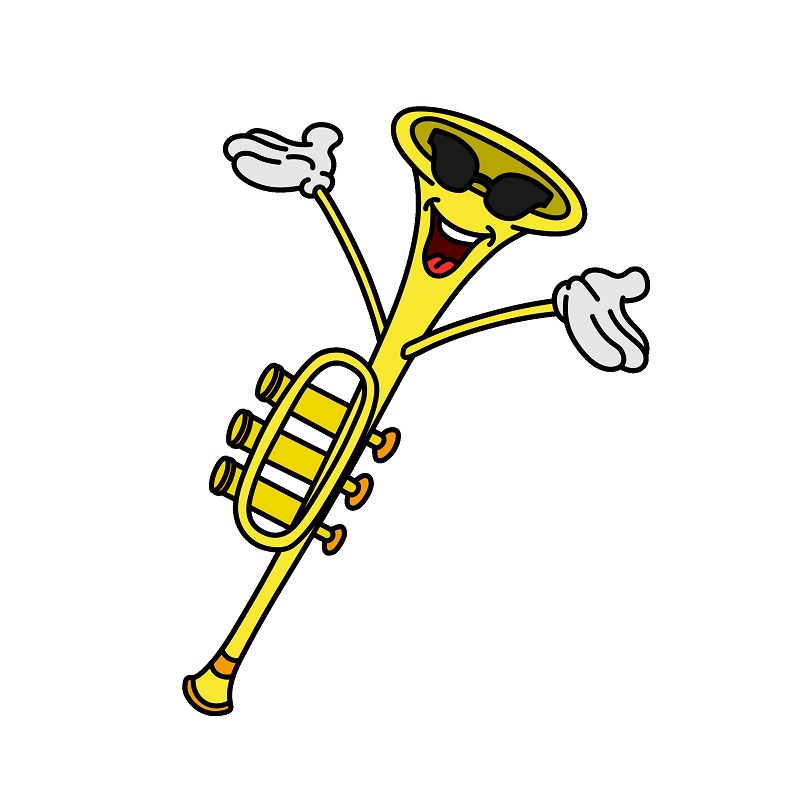
How to Draw a Cute Cartoon Trumpet

How to Draw a Cute Cartoon Trumpet

9 steps
1

Step 1

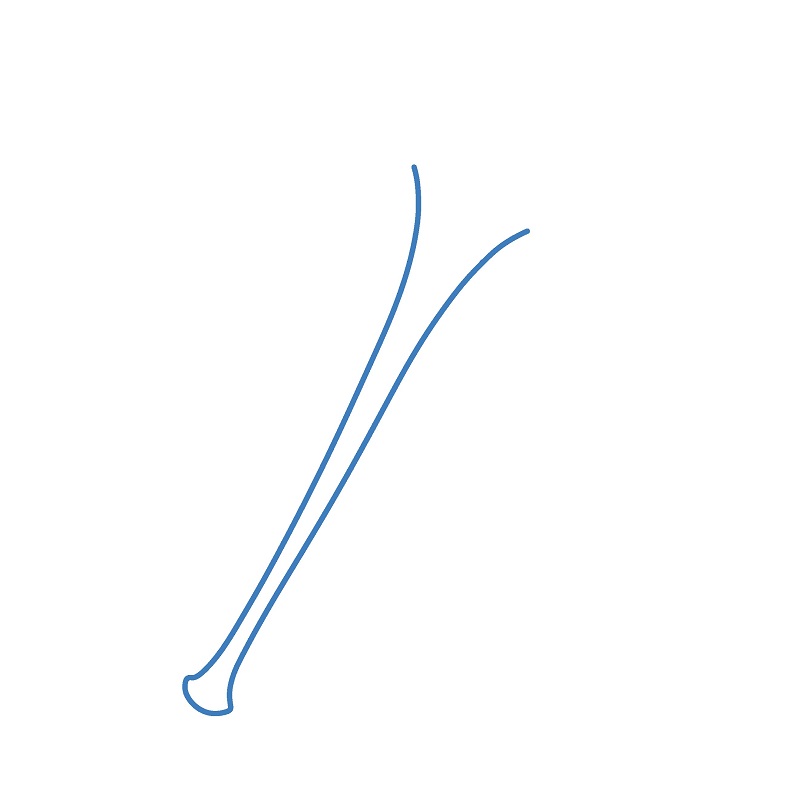
Draw the trumpet's body extending from the mouth to the bell with two curves.

Practice
How to Draw a Cute Cartoon Trumpet - Step 1
2

Step 2

Draw a curve to form an oval shape at the edge of the trumpet's body.

Practice
How to Draw a Cute Cartoon Trumpet - Step 2
3

Step 3

Outline the mouth and bell of the trumpet.

Practice
How to Draw a Cute Cartoon Trumpet - Step 3
4

Step 4

Draw parallel lines inside the trumpet's body.

Practice
How to Draw a Cute Cartoon Trumpet - Step 4
5

Step 5

Draw the buttons on the trumpet's body.

Practice
How to Draw a Cute Cartoon Trumpet - Step 5
6

Step 6

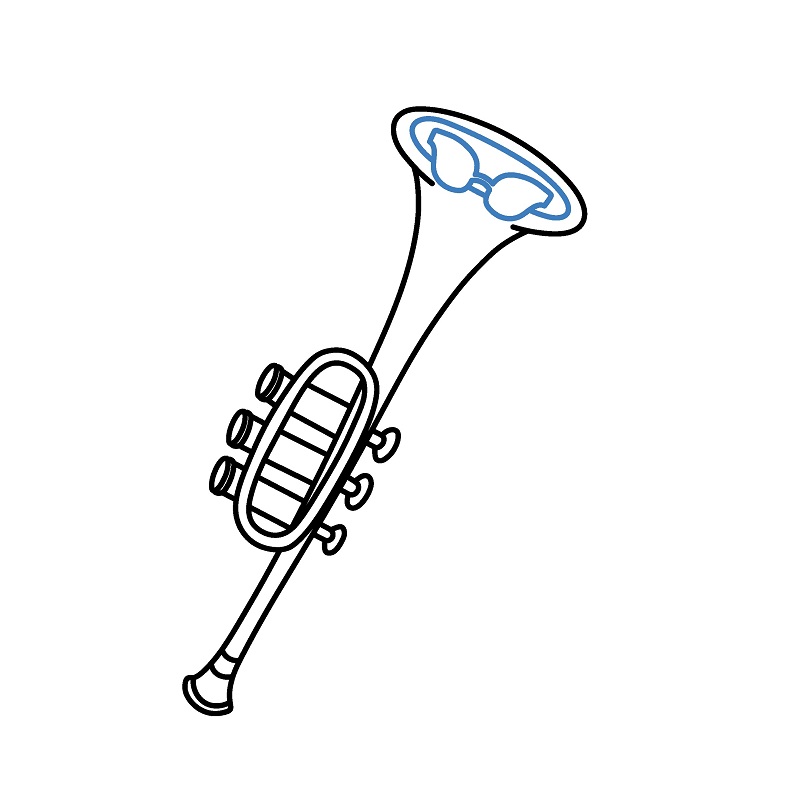
Draw a pair of glasses on the bell of the trumpet.

Practice
How to Draw a Cute Cartoon Trumpet - Step 6
7

Step 7

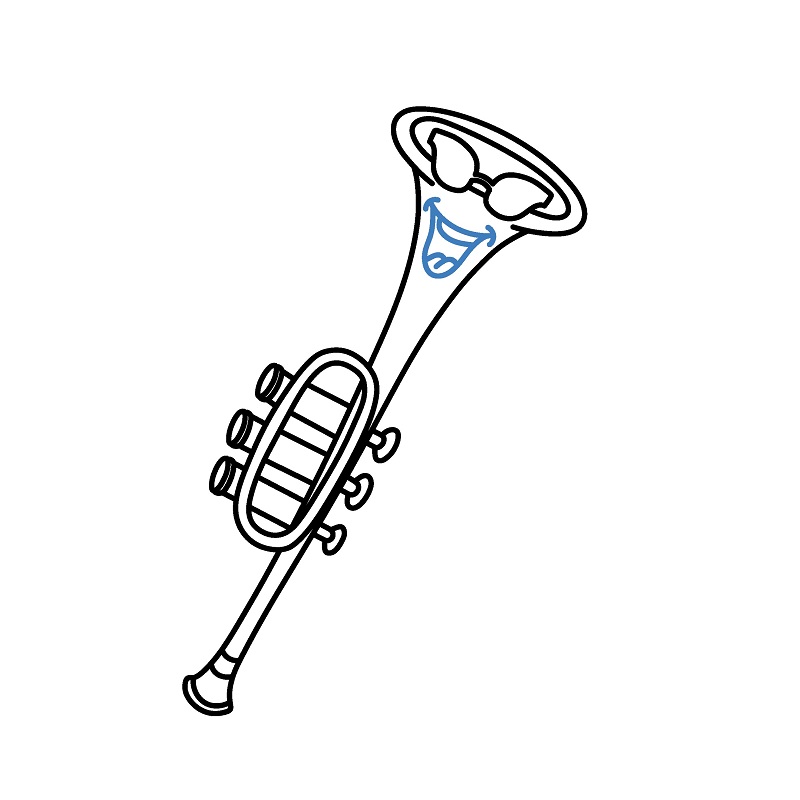
Draw a small mouth.

Practice
How to Draw a Cute Cartoon Trumpet - Step 7
8

Step 8

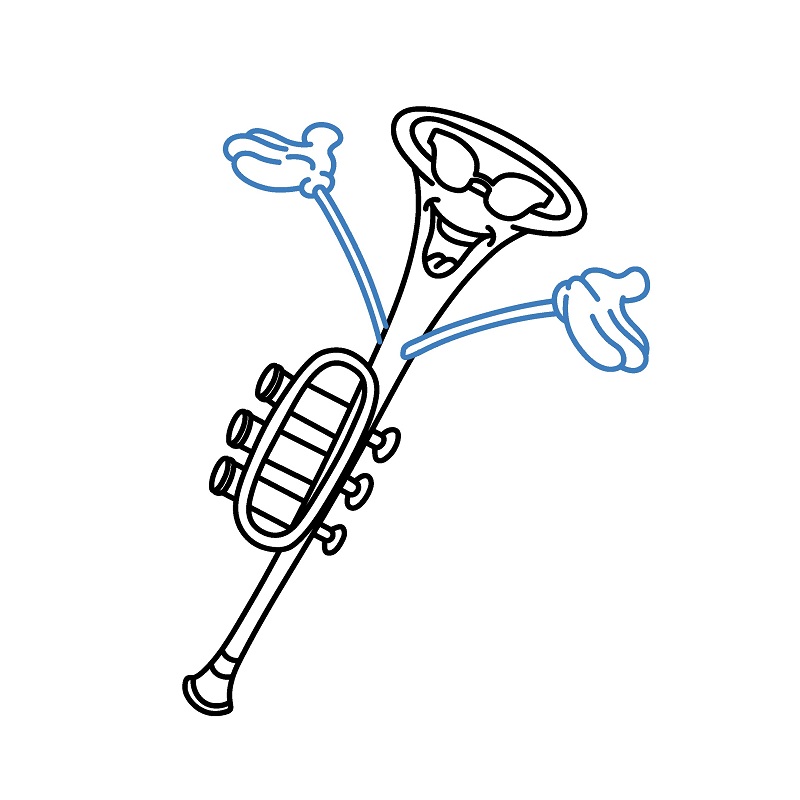
Draw two arms stretched out to the sides.

Practice
How to Draw a Cute Cartoon Trumpet - Step 8
9

Step 9

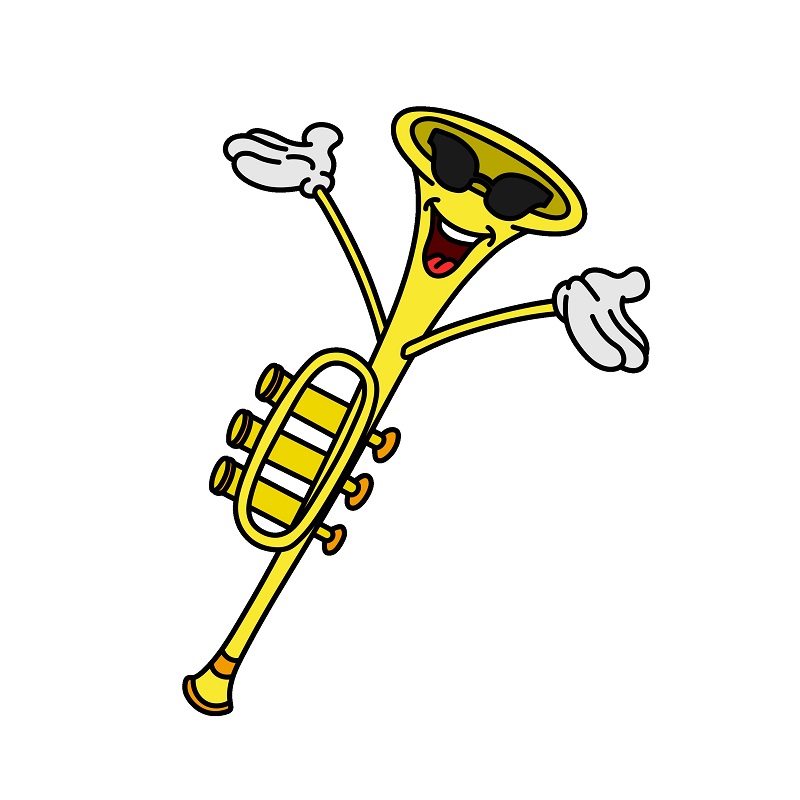
Color the drawing.

Practice
How to Draw a Cute Cartoon Trumpet - Step 9
▶Drawing tips
  • Draw lightly with a pencil first, then darken the lines when you're satisfied.
  • You don't need to draw exactly like the sample — add your own style!
  • After finishing your drawing, you can color it directly on Tomau.AI to make it more vibrant.
More Other drawing tutorials

View all