How to Draw a Cup

Want to learn how to draw how to draw a cup? This tutorial will help you do it in just 37 simple steps, with clear illustrations for each step. Whether you're a beginner or experienced, the steps below are easy to understand and follow.
You just need a pencil, drawing paper, and an eraser — then start drawing step by step!
This lesson includes 5 different ways to draw. Choose the one that suits you best!

Guide to Drawing a Simple Cup.
8 steps

Step 2
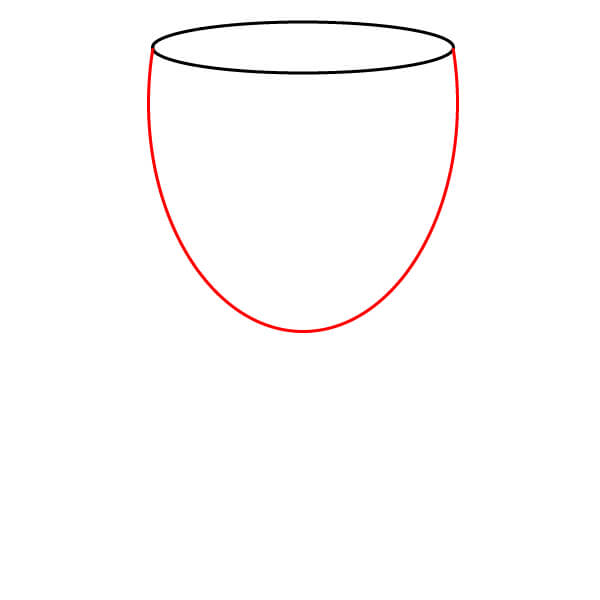
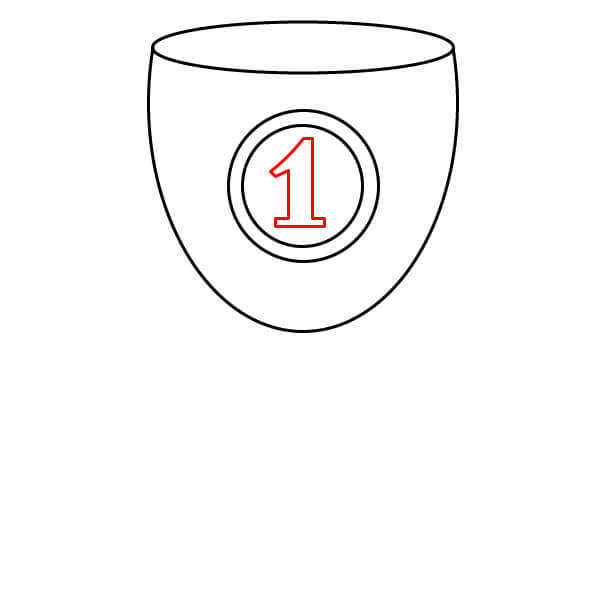
Draw the sides of the cup. Start from both ends of the oval and draw two curved lines downwards, meeting at a round point. Add a horizontal line connecting the two lower ends of the oval to form the cup's mouth.
Step 3
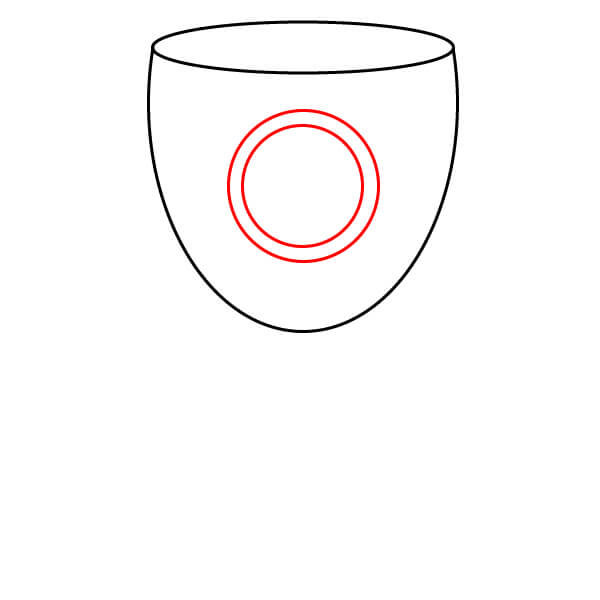
Draw a circle in the middle of the cup. Inside this circle, draw a smaller concentric circle.
Step 5
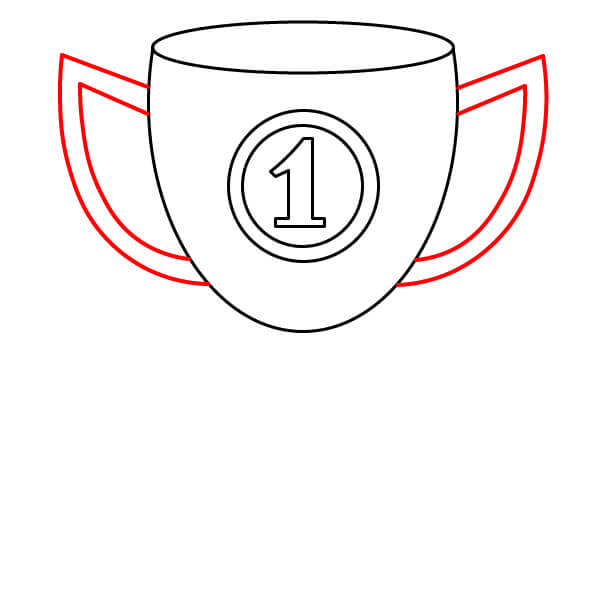
Draw the handle of the cup. Draw two curved shapes extending outwards from the sides of the cup, symmetrical to each other.
Step 6
Draw the stem of the cup. Start from the bottom of the cup and draw two curved lines downwards, slightly flaring out towards the bottom.

Step 7
Draw the base of the cup. Draw a wide, slightly curved shape at the bottom of the stem to form a sturdy base.



Simple Cup Drawing Guide for Beginners
8 steps

Step 2
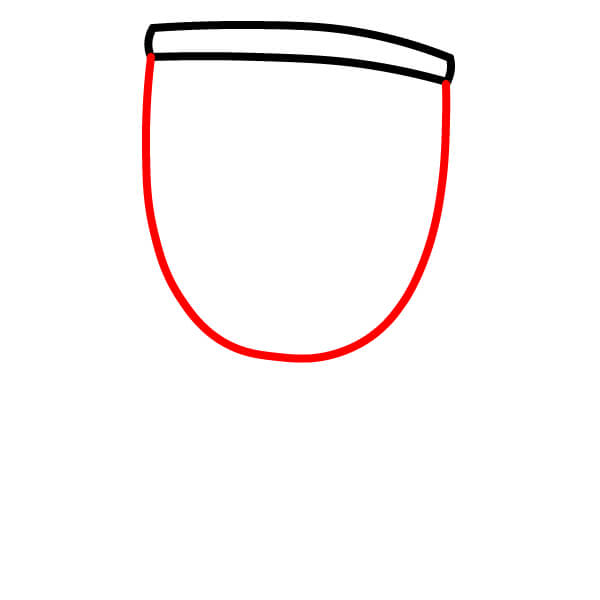
Draw the main shape of the cup. Starting from both ends of the line drawn in Step 1, draw two curves going down and slightly inward, meeting at the round bottom.
Step 3
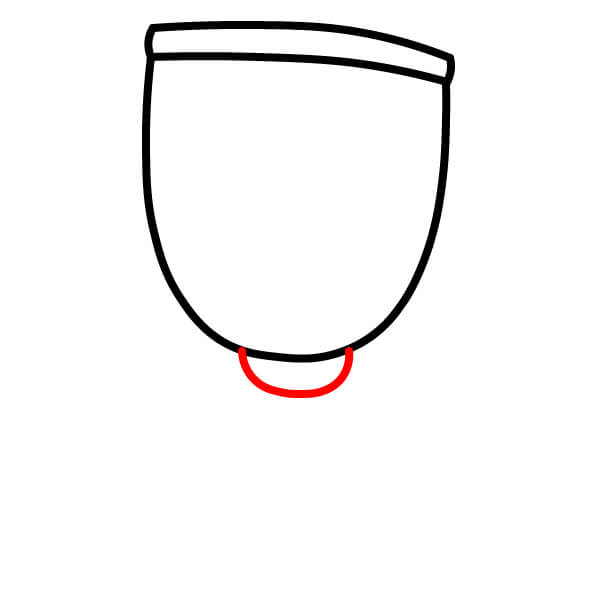
Add a small curve at the bottom of the cup to suggest a small base where it connects to the stem.
Step 4
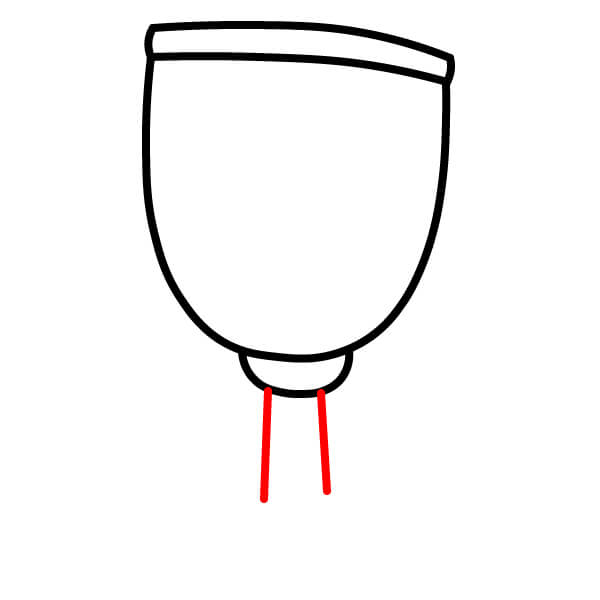
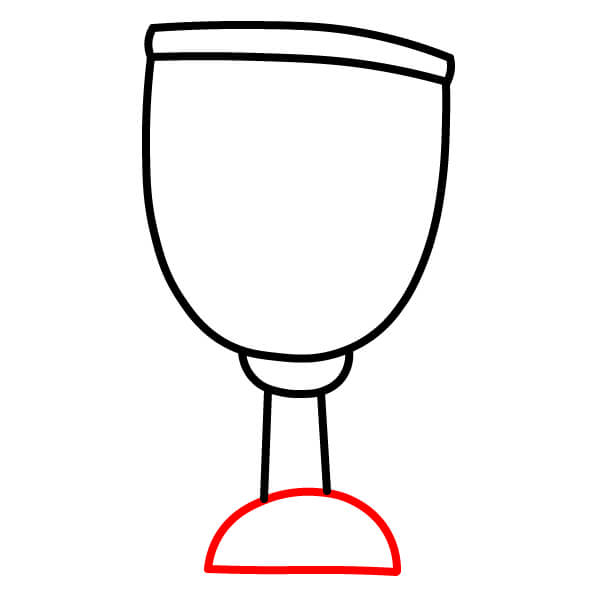
Draw the top part of the cup's stem. Below the small curve, draw two parallel vertical lines going down.
Step 6
Draw the handles of the cup. On each side of the cup, draw a curve starting near the top, going outward and then curving back inward, connecting to the cup's body. Add a parallel line inside each handle for thickness.


Step 8
Color the cup. Typically, the main body and handles are gold or light yellow. The base can be a darker color or another color like brown or dark yellow. Outline the drawing in black to make the shapes clearer.


Quick and Fun Cup Drawing Guide for Kids
7 steps
Step 1
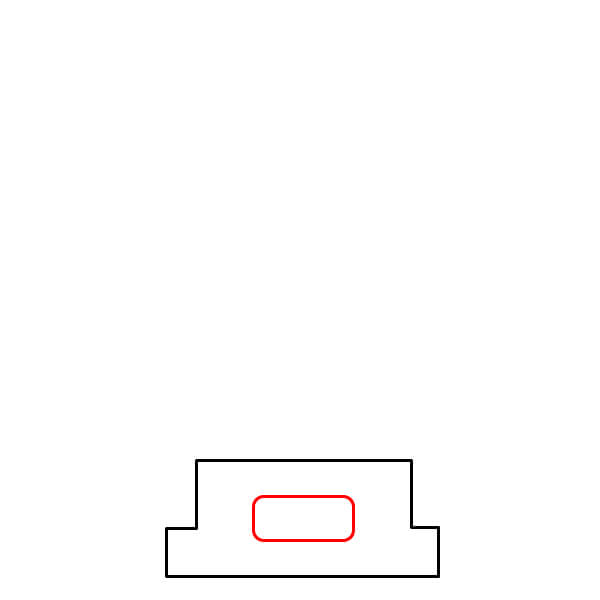
Start by drawing the base of the cup. Draw a rectangle with a smaller rectangle on top. This is the base's foundation.

Step 3
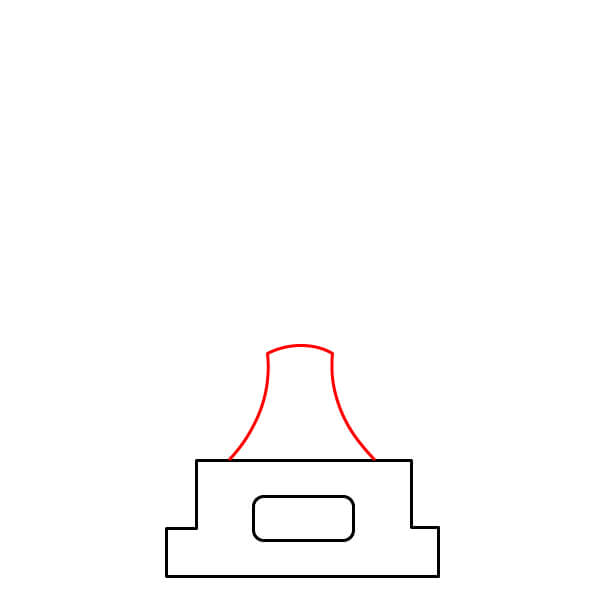
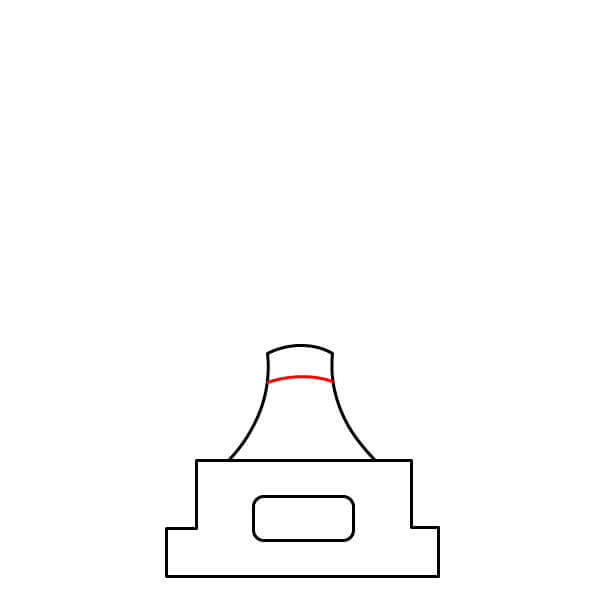
Draw the top of the cup's stem. Above the base, draw two outward-curving lines. Connect the tops of these lines with a small curve.
Step 5
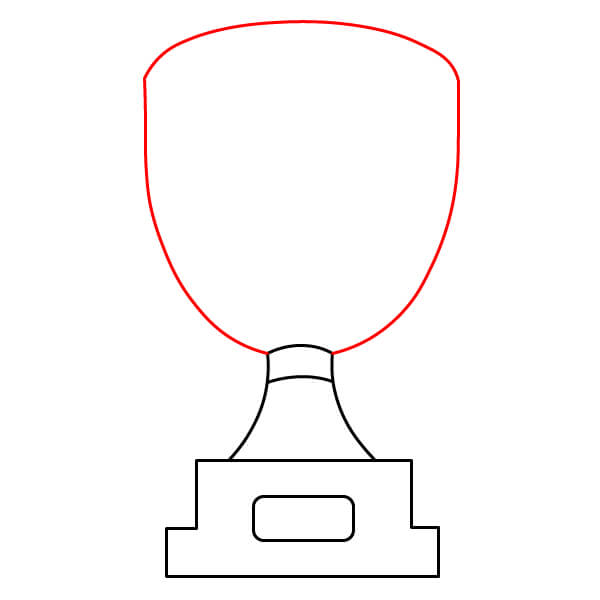
Draw the main body of the cup. Starting from the top of the stem, draw two long curves going upward and slightly inward, then bend them sharply to meet at a flat top.
Step 6
Draw the handles of the cup. On each side of the cup, draw a curved shape starting near the top, curving outward and then back inward to connect with the cup's body. Add a parallel line inside each handle for thickness.

Step 7
Color the cup. The body and handles should be gold, the flared stem a slightly darker brown, and the base dark gray or black. You can also color the engraving area on the base.


Step-by-Step Guide to Drawing a Trophy for Young Artists
8 steps

Step 2
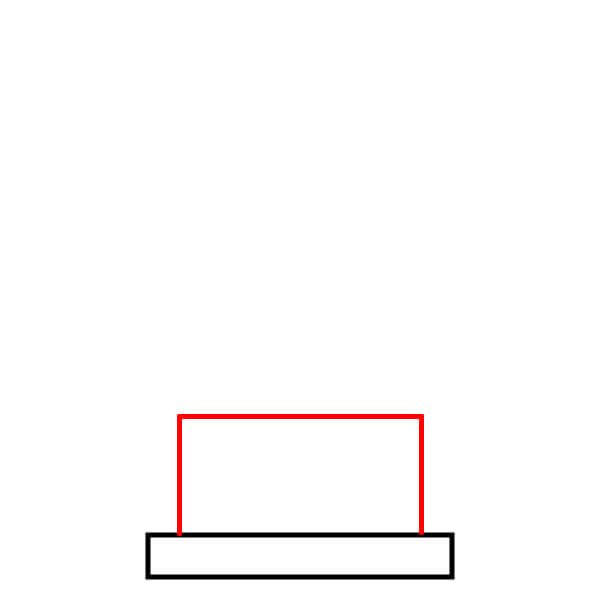
Draw a taller rectangle above the first rectangle. This part forms the main part of the base.
Step 3
Draw a smaller rectangle inside the top part of the base for engraving text or images.

Step 4
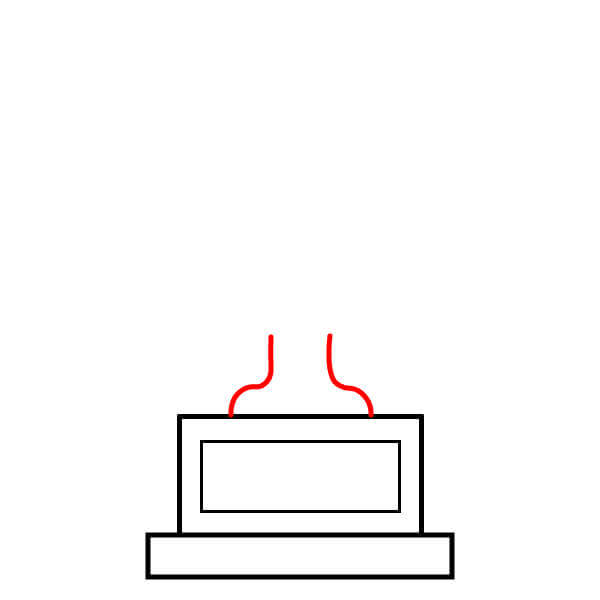
Draw the top part of the trophy stem. Above the base, draw two short wavy lines connecting the base to the body of the trophy.
Step 5
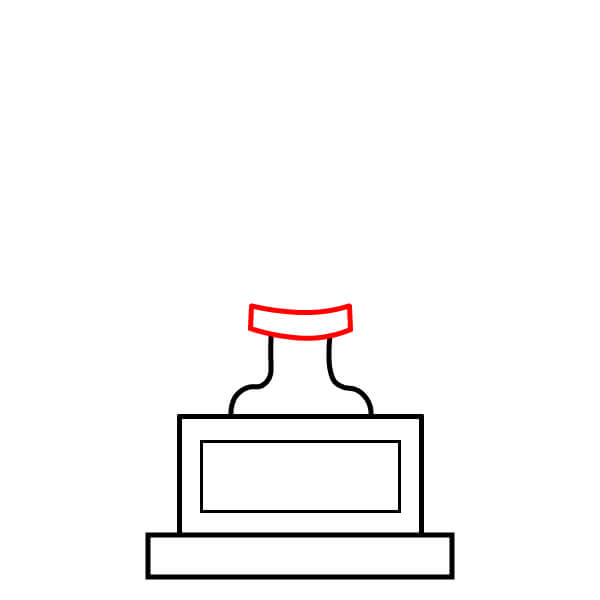
Draw a small curve to connect the two wavy lines from the previous step. This part forms the collar or decorative part of the trophy stem.
Step 6
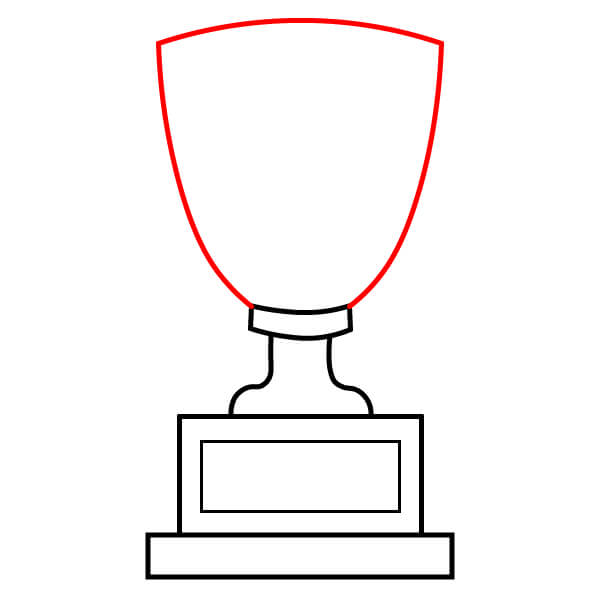
Draw the main body of the trophy. Starting from the collar, draw two long curves going upwards and slightly inward, then connect them with a curve at the top. This creates the classic trophy shape.
Step 7
Draw the handles. On each side of the trophy, draw a curved shape starting near the top, curving outward, then bending back inward to connect with the trophy body. Add a parallel line inside each handle for thickness.

Step 8
Color the trophy. Use gold or light yellow for the trophy body and handles. The base can be a different color, such as black or brown, for contrast.


Step-by-Step Guide to Drawing a Simple Trophy for Kids
6 steps
Step 1
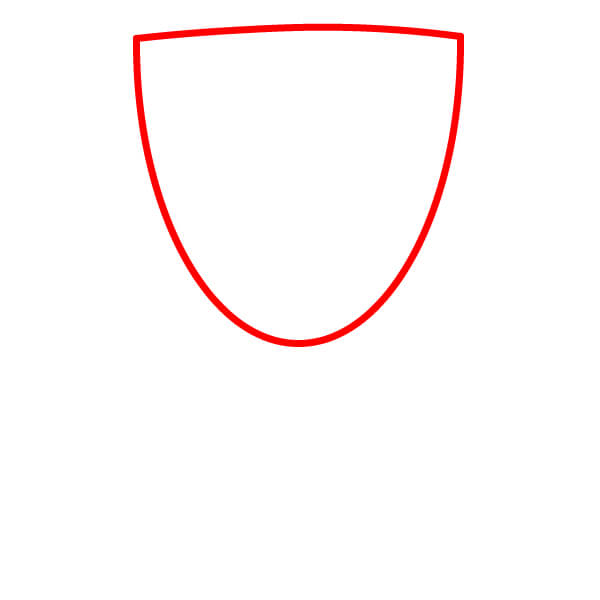
Draw the main body of the trophy. It has a shield-like shape, with a flat top and a curved bottom.
Step 2
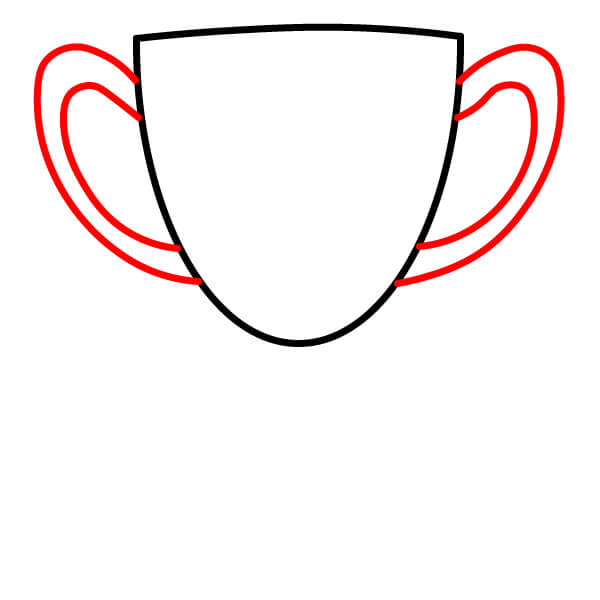
Draw two handles on either side of the trophy. Each handle is an oval shape, connecting to the trophy's body. Draw a parallel line inside each handle to add thickness.
Step 3
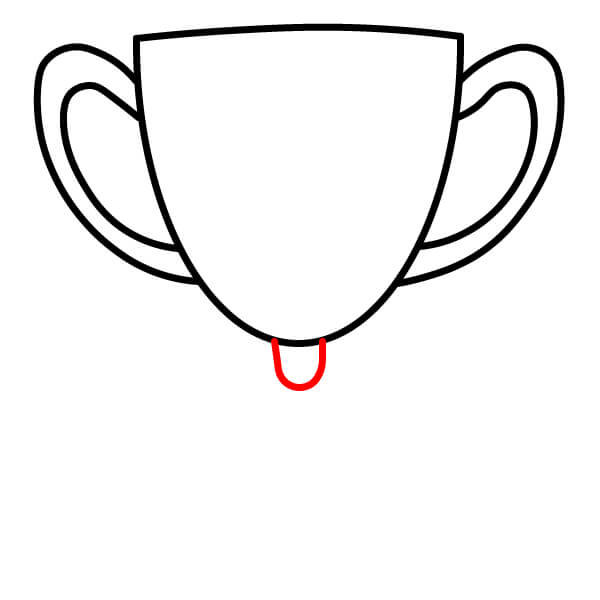
Draw a small U-shaped line at the bottom of the trophy. This will be the base where the trophy connects to the pedestal.
Step 4
Draw the pedestal of the trophy and the base it sits on. The pedestal is an inverted trapezoid, and the base is a larger trapezoid with a flat bottom.


Step 6
Color the trophy. Use gold or yellow for the trophy and handles. The body and the area around the handles can be dark brown, while the rest can be darker brown or black.

▶Drawing tips
- Draw lightly with a pencil first, then darken the lines when you're satisfied.
- You don't need to draw exactly like the sample — add your own style!
- After finishing your drawing, you can color it directly on Tomau.AI to make it more vibrant.