How to Draw a Landline Phone
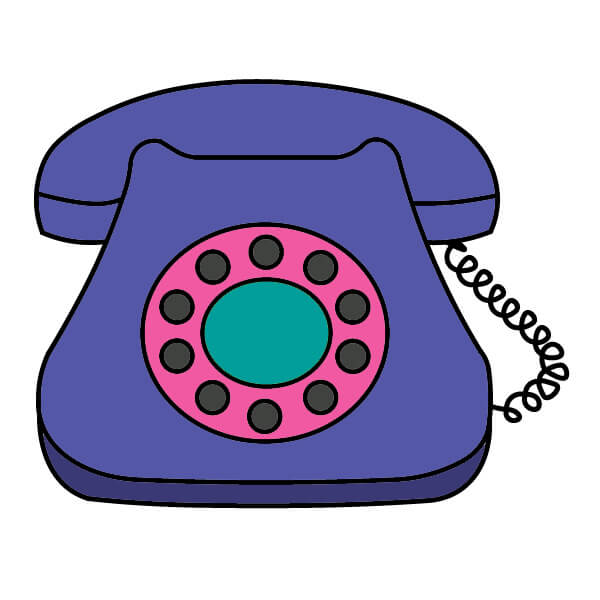
Want to learn how to draw how to draw a landline phone? This tutorial will help you do it in just 37 simple steps, with clear illustrations for each step. Whether you're a beginner or experienced, the steps below are easy to understand and follow.
You just need a pencil, drawing paper, and an eraser — then start drawing step by step!
This lesson includes 4 different ways to draw. Choose the one that suits you best!
Step-by-Step Drawing Guide for a Landline Phone for Kids
9 steps
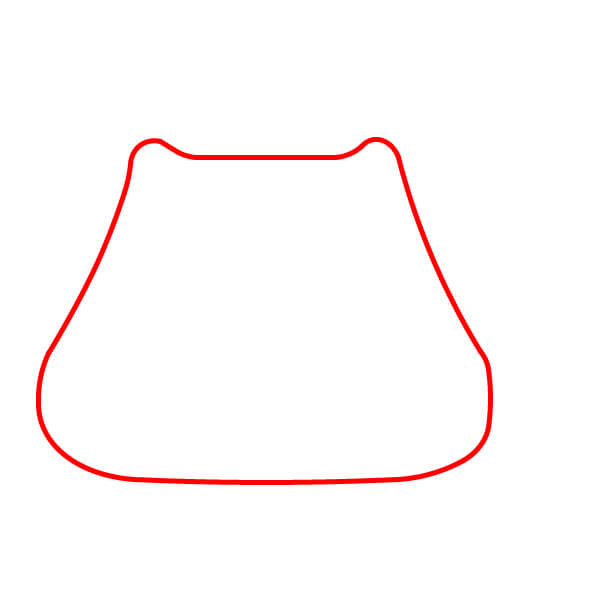
Draw the Basic Shape
Start by drawing the main body of the phone. It should have a rounded trapezoid shape with slightly curved edges and a small, gently concave curve at the top center. The overall shape is wider at the bottom and narrower at the top.
Draw the Base
Add a small curve at the bottom to define the base of the phone, creating a slight 3D effect or suggesting the lower edge.
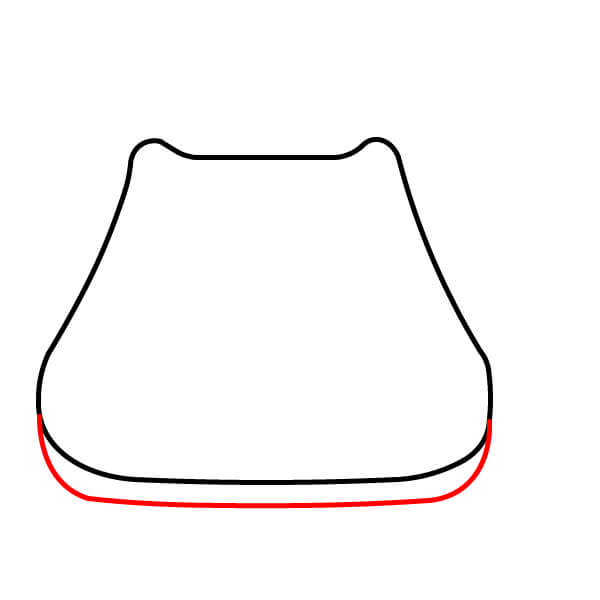
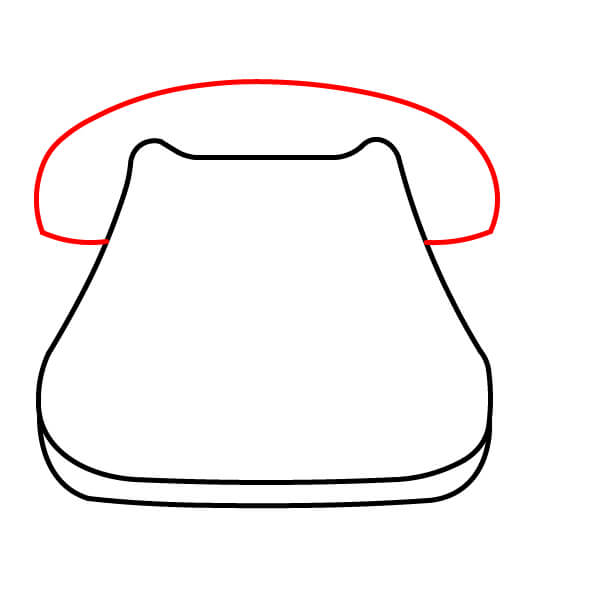
Draw the Handset (Part 1)
Draw the main outline of the handset (receiver) placed on the base. It is a large, elongated, rounded shape that curves up from the body.
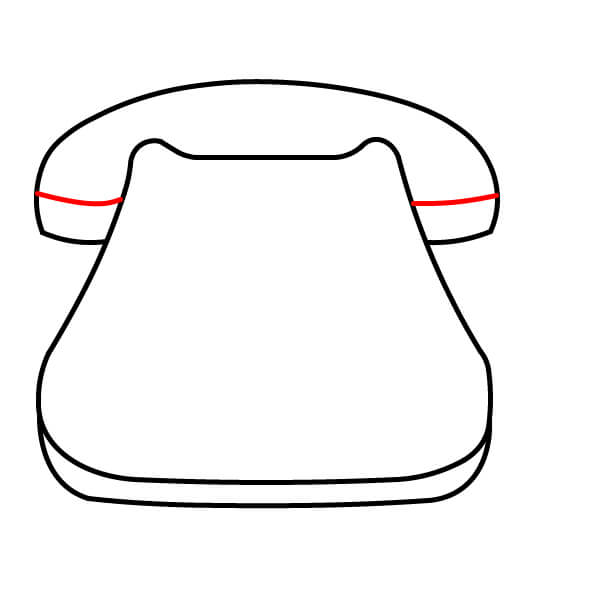
Draw the Handset (Part 2)
Add two small horizontal lines at both ends of the handset, creating separate areas for the earpiece and microphone.
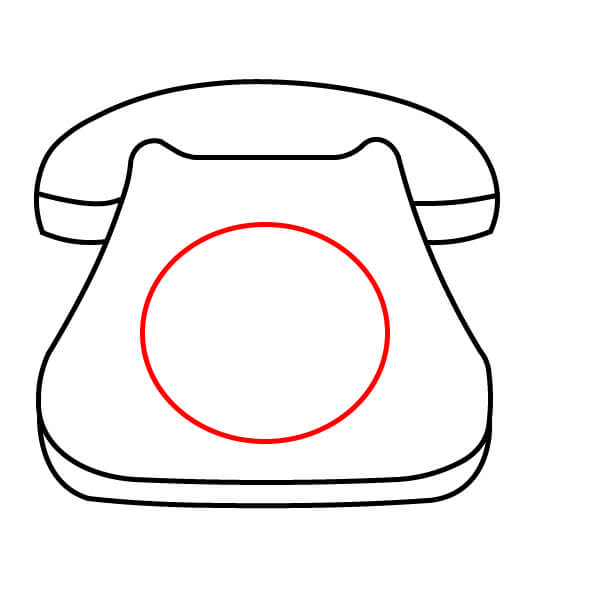
Draw the Dial (Outer Ring)
In the middle of the phone body, draw a large outer circle to represent the dialing mechanism.
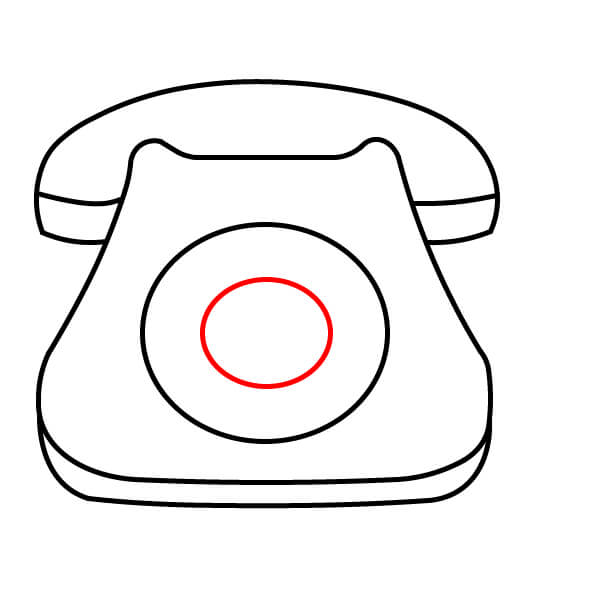
Draw the Dial (Inner Ring)
Draw a smaller, concentric circle inside the larger circle. This circle represents the area for placing fingers in the middle of the dial.
Draw the Number Holes
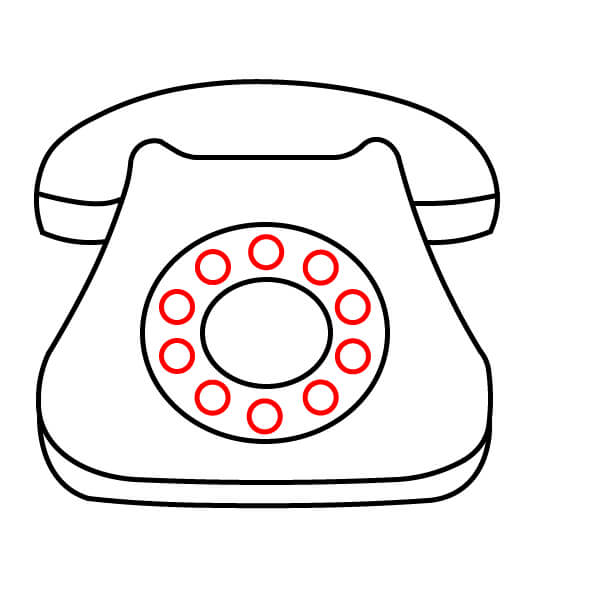
Around the inner circle, on the larger dialing area, draw ten small circles. These circles represent the finger holes where the numbers are.
Draw the Cord
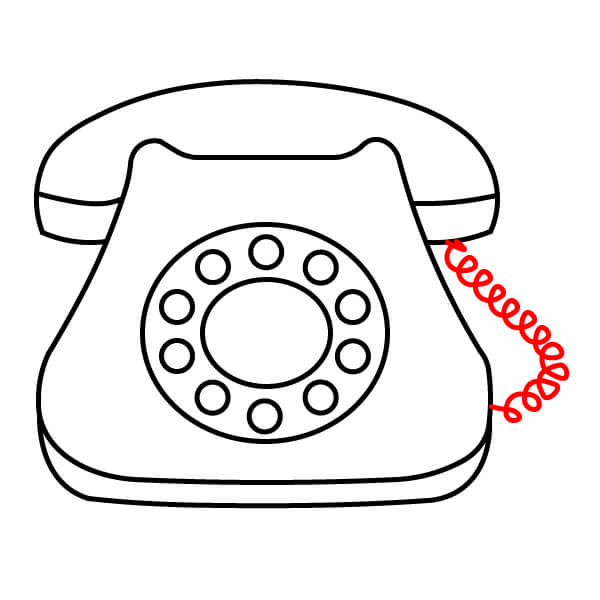
Add a coiled cord connecting the base to the handset. Draw a series of tightly twisted circles, resembling a spring, from the edge of the base up to where the handset connects.
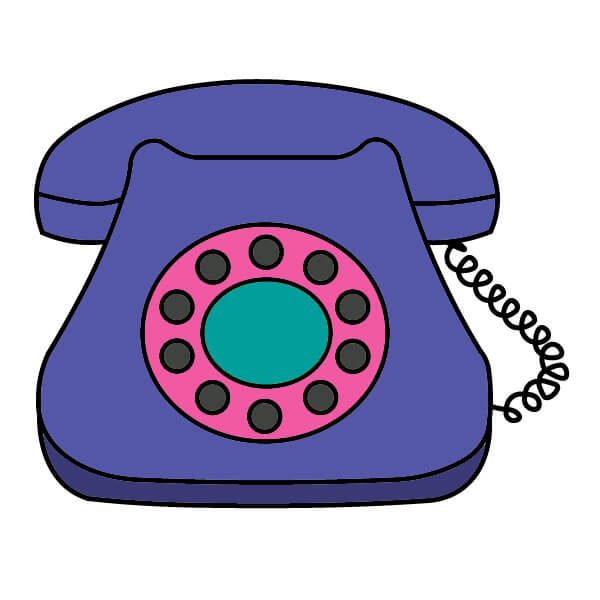
Color Your Drawing
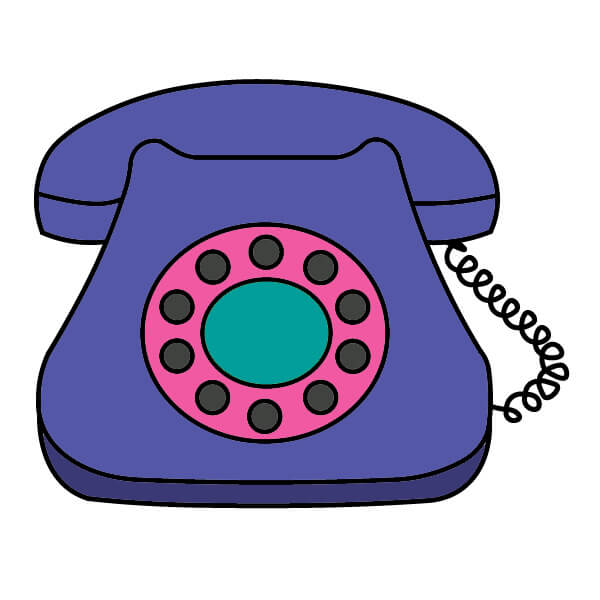
Finally, color your drawing! Use dark purple for the body and handset, bright pink for the dialing area, and turquoise for the middle part, with black highlights for the number holes and cord.
Simple Steps to Draw a Landline Phone for Kids
9 steps
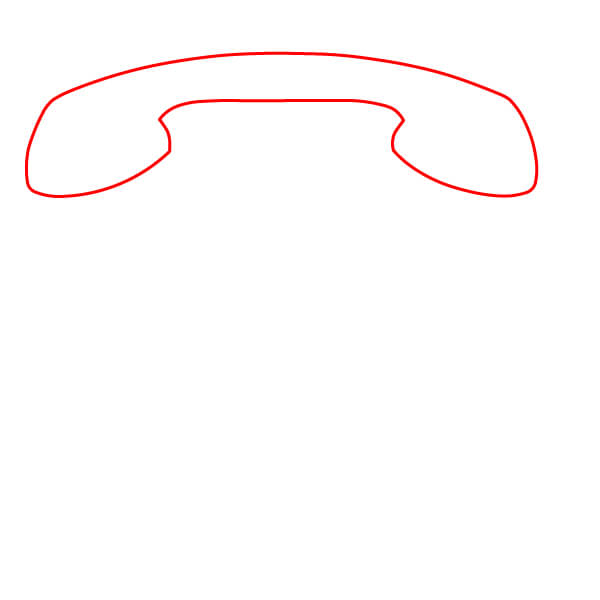
Draw the Receiver Outline
Start by drawing the main outline of the receiver. It is a long, curved shape, wider at both ends and narrower in the middle, with a slight indentation in the middle top.
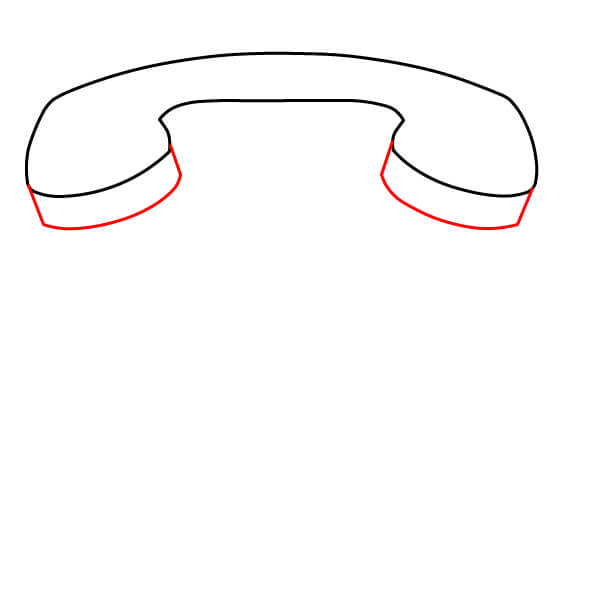
Add Depth to the Receiver
Create a 3D effect for the receiver by adding a curve along the bottom edge of each end, mirroring the outer curve.
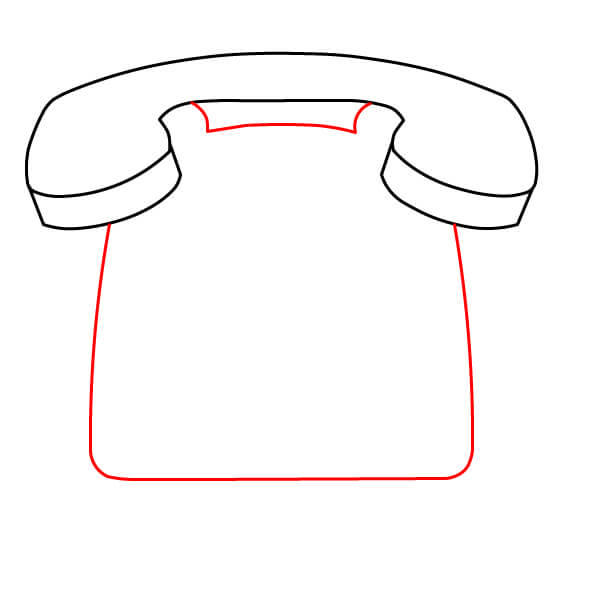
Draw the Phone Base
Now, draw the main body or base of the phone. It resembles a trapezoid, wider at the bottom than at the top, fitting snugly under the center of the receiver. There should be a small inverted 'U' shape in the middle top of the base where the receiver sits.
Define the Bottom of the Base
Add a curved, slightly wavy line at the bottom of the phone base. This creates a separate base or bottom part.
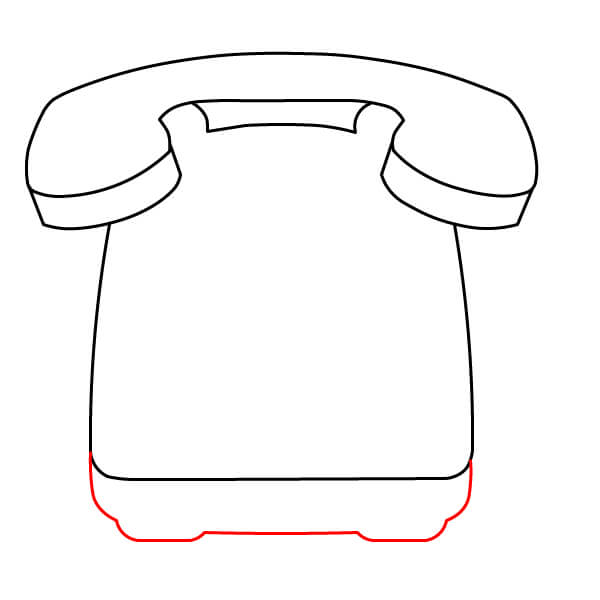
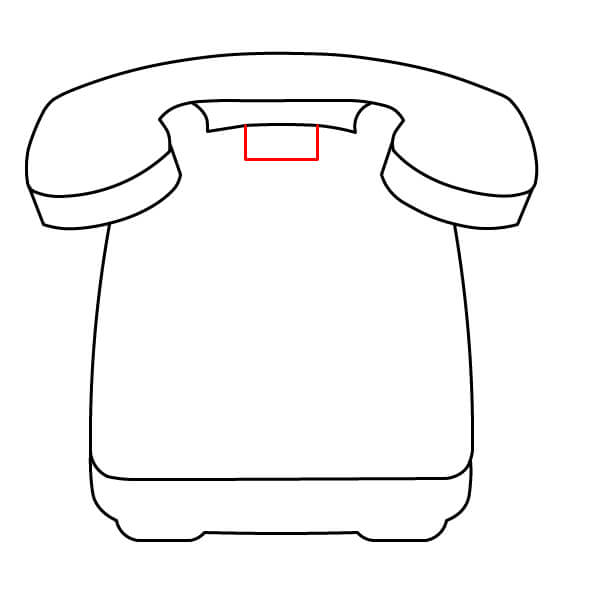
Draw the Receiver Stand
Draw a small rectangle in the center top of the phone base, just below the receiver.
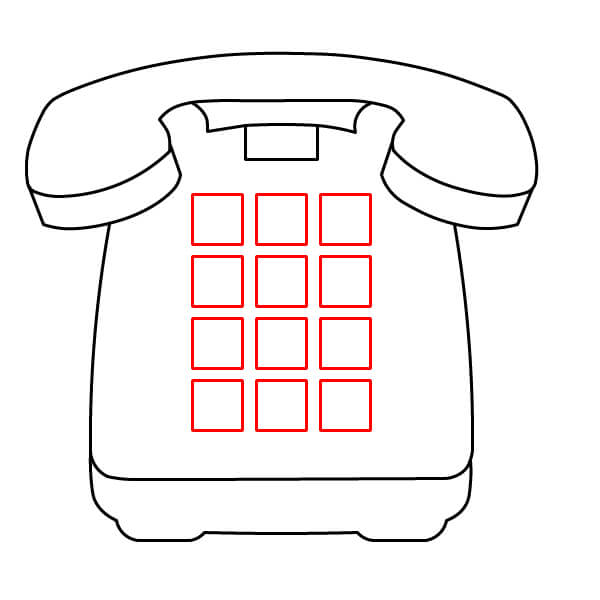
Draw the Keypad Outline
On the main body of the phone, draw a grid of twelve squares for the keypad. Arrange them in four rows, three squares each.
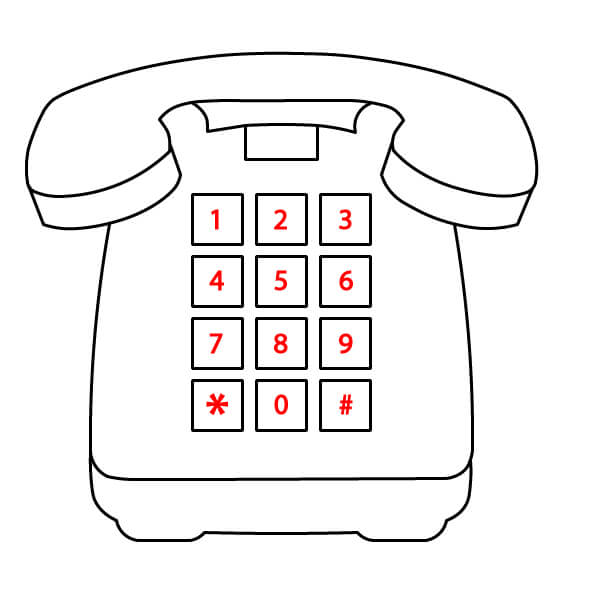
Add Numbers and Symbols to the Keypad
Inside each square, add the numbers from 1 to 9, the asterisk (*), the number 0, and the pound sign (#), just like a standard phone keypad.
Draw the Coiled Cord
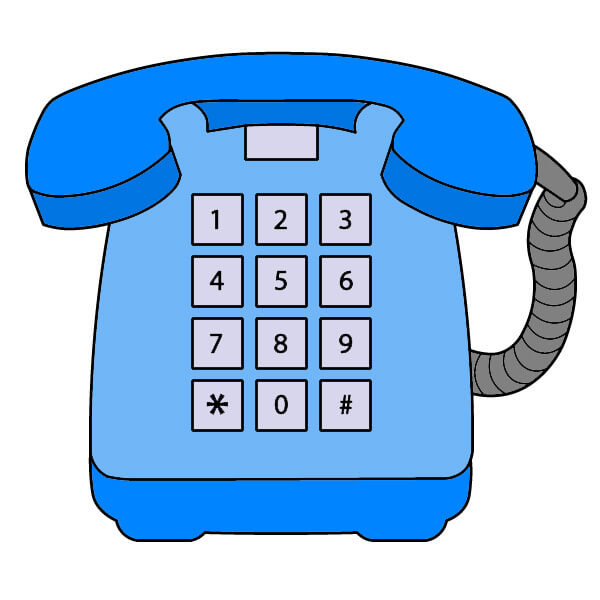
Draw the coiled cord connecting the receiver to the phone base. Start from the edge of the receiver and extend to the edge of the base with a series of parallel, wavy, tight lines.
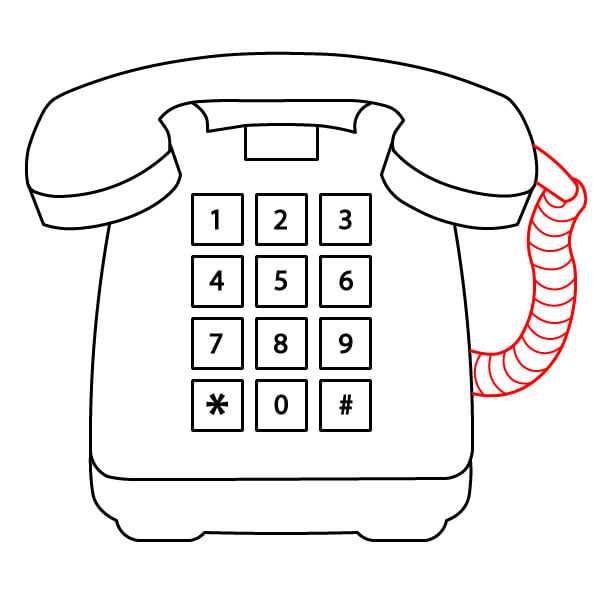
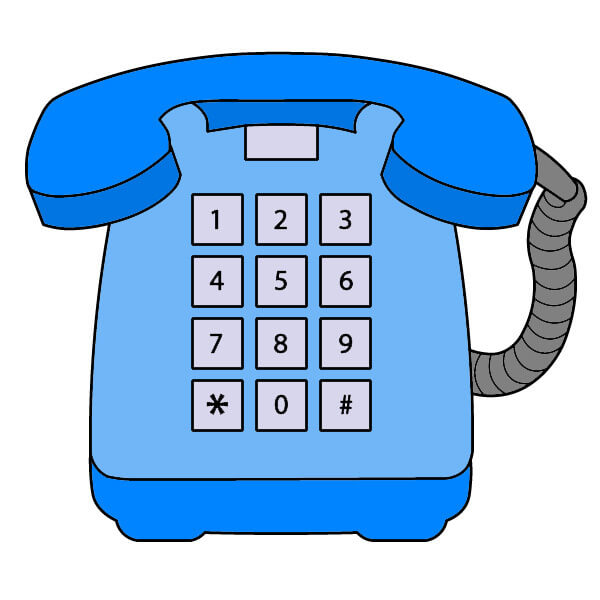
Color the Drawing
Finally, color your phone! Use light blue for the body and receiver, with a slightly darker blue for the base and the inside of the receiver. The keypad buttons should be light gray or off-white, and the cord should be medium gray.

Simple Drawing Guide for a Landline Phone for Kids
9 steps
Draw the Base Outline
Start by drawing a long, horizontally rounded rectangle to form the base of the phone.

Draw the Main Body
Draw the main body of the phone, placed on the base outline. It should have an inward curve, resembling a bell or pedestal, with a straight edge at the top.
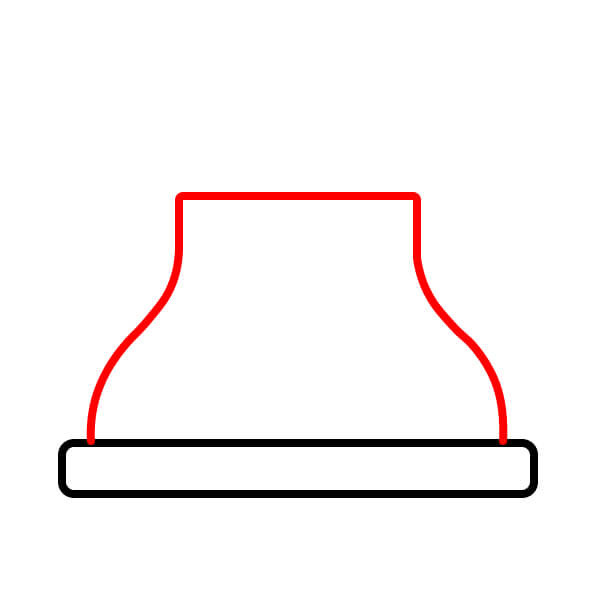
Draw the Base Legs
Draw two short, parallel U shapes (base legs) on the top surface of the main body. These are the supports for the handset.
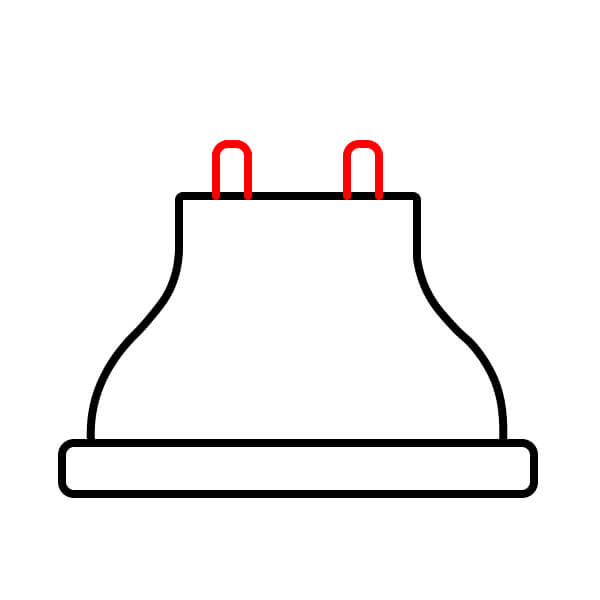
Connect the Base Legs
Draw a small horizontal line connecting the two base legs, and add a small curve extending down from each leg towards the edge of the body.


Draw the Earphone and Handset
Draw two small, angular rectangles attached to the handset on either side of the body. They represent the earphone and handset, viewed from the front.
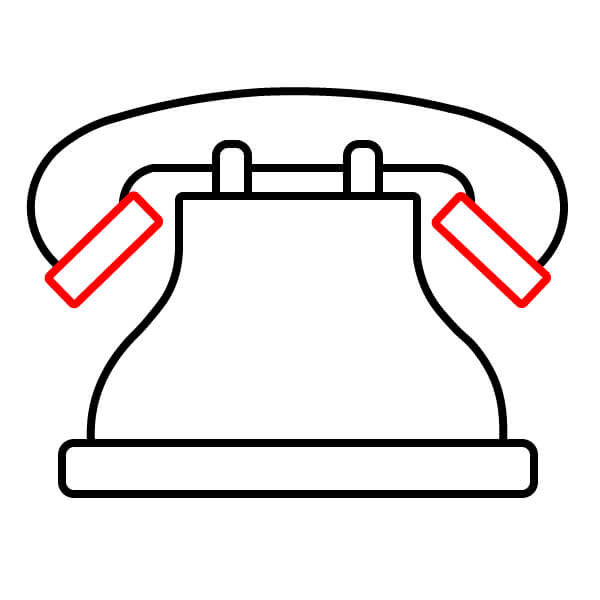
Draw the Dial (Outer and Inner Ring)
In the center of the phone body, draw a large outer circle and a smaller concentric inner circle for the dial.

Draw the Dial Holes
Draw ten small circles between the inner and outer rings. These are the finger holes for dialing.

Color the Drawing
Color the final drawing. Use red for the body and handset, green for the outer dial, blue for the dial holes, and yellow for the center.


Simple Classic Phone Drawing Lesson for Beginners.
10 steps
Draw the Base Outline
Start by drawing the main body or base of the phone. It should resemble a bell or pedestal, wide and round at the bottom, tapering towards the top. Draw two rectangular supports in the center at the top.
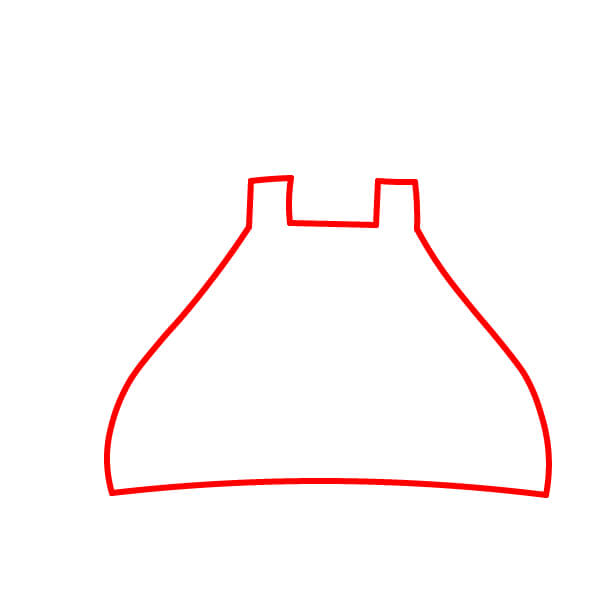
Define the Bottom Edge
Add a small curve at the bottom to define the bottom edge or base of the phone.
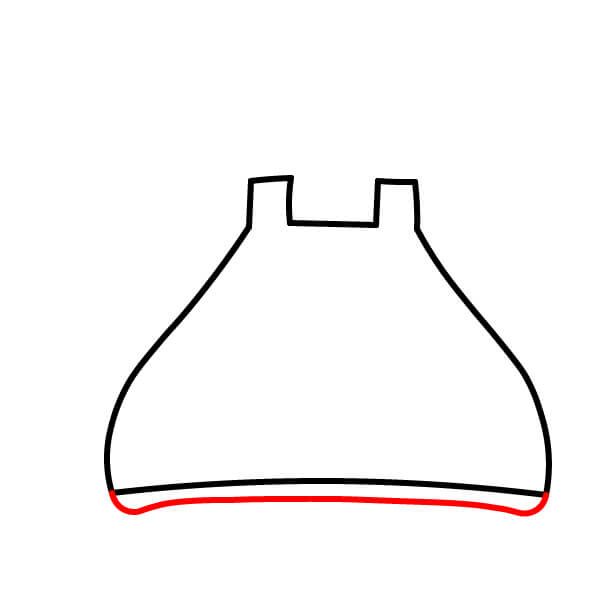
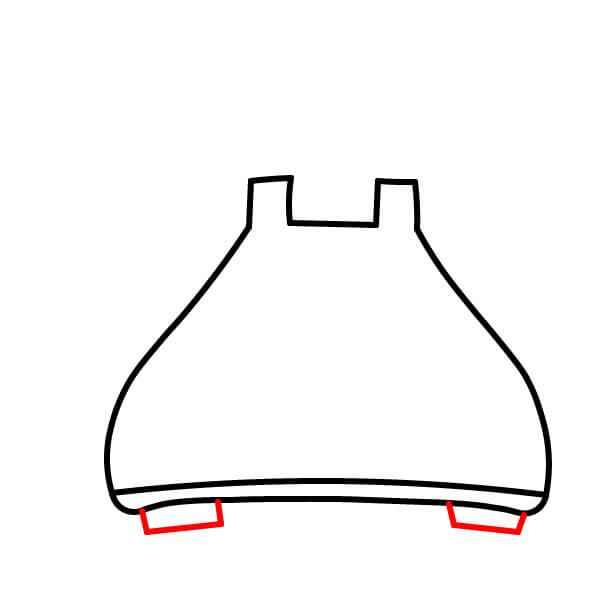
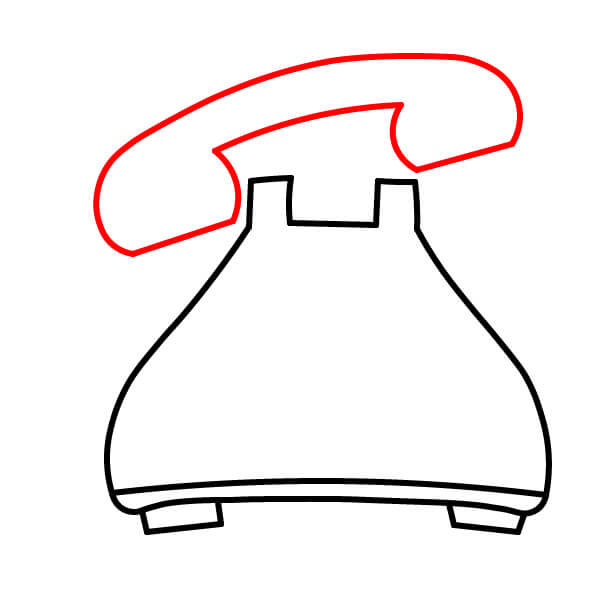
Draw the Receiver
Draw the receiver placed on the supports. It should be long and curved with a slight indentation or curve where the microphone is located.
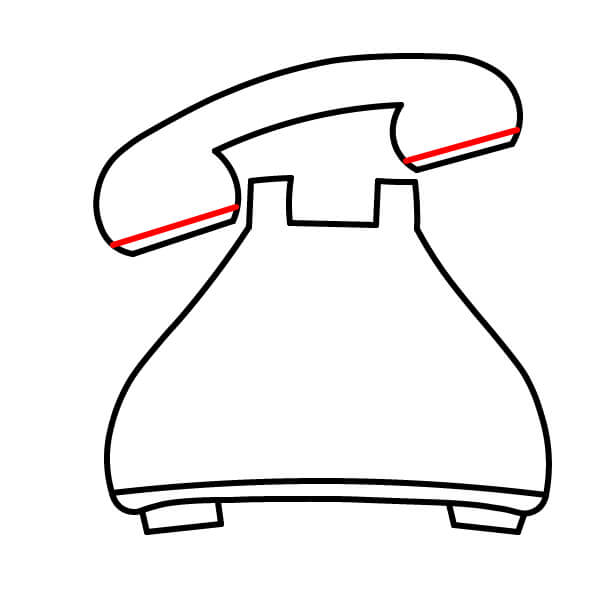
Add Depth to the Receiver
Draw a small horizontal line near the edge of both the receiver and microphone to create a sense of thickness and depth for the receiver.
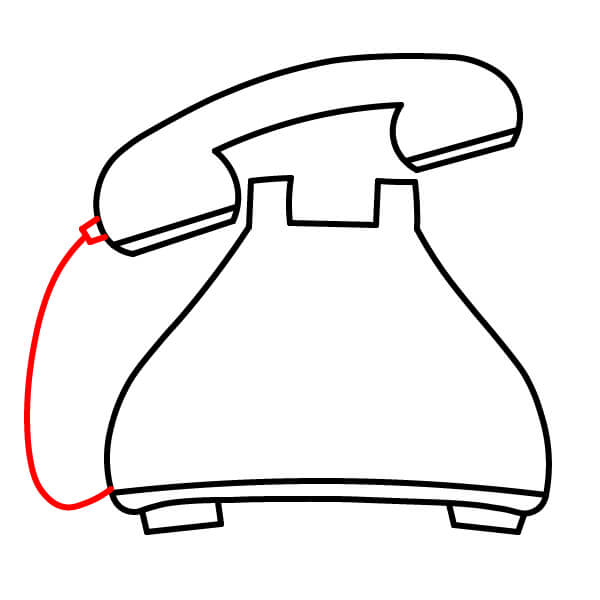
Draw the Cord
Draw the cord of the receiver. Start with a small rectangle next to the receiver and draw a simple curve connecting it to the bottom of the base. This cord should not be coiled like in previous examples.
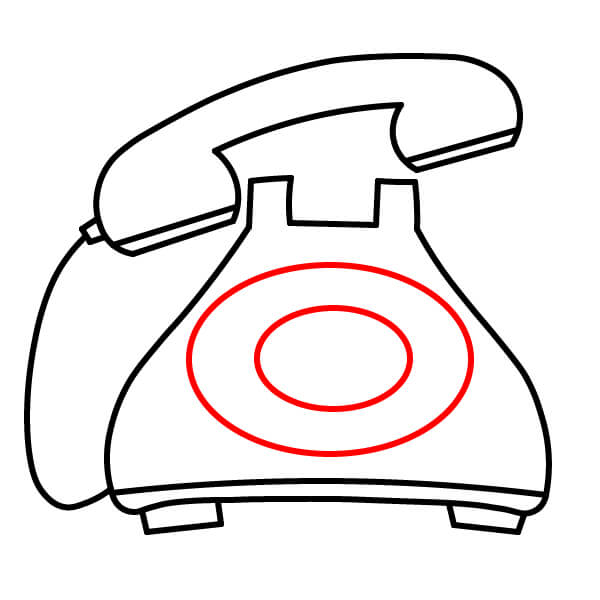
Draw the Dial
In the center of the front of the phone body, draw a large oval/circle outside and a smaller, concentric oval/circle inside for the dial mechanism.
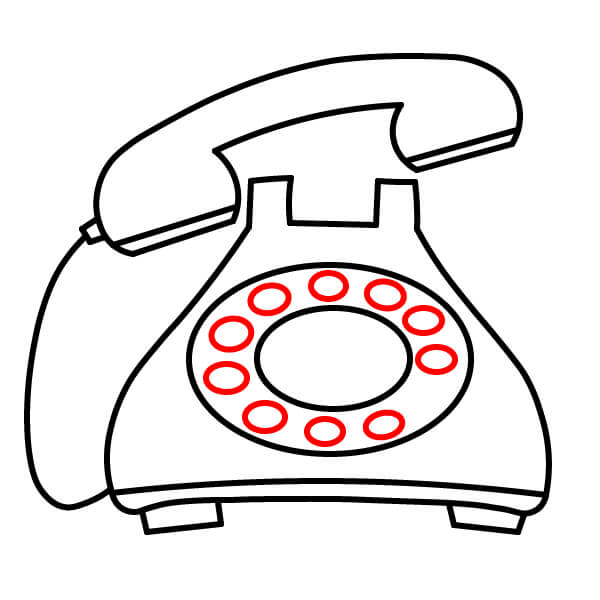
Draw the Number Holes
Draw ten small circles between the inner and outer rings. These represent the finger holes for dialing.
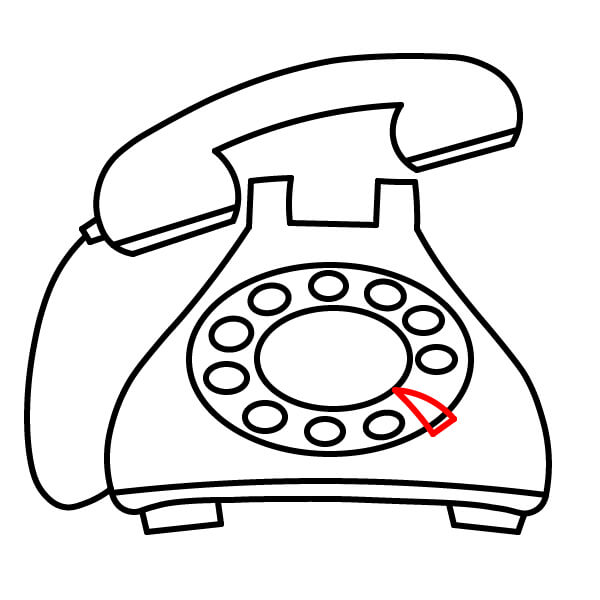
Draw the Finger Stop
Draw a small triangular finger stop (or pointer) pointing towards one of the number holes. This is the mechanism used for dialing.
Color the Drawing
Color the phone. Use light blue for the body and receiver, light yellow/brown for the feet and finger stop, and light purple and dark gray for the dial parts.

▶Drawing tips
- Draw lightly with a pencil first, then darken the lines when you're satisfied.
- You don't need to draw exactly like the sample — add your own style!
- After finishing your drawing, you can color it directly on Tomau.AI to make it more vibrant.