How to Draw a Wristwatch
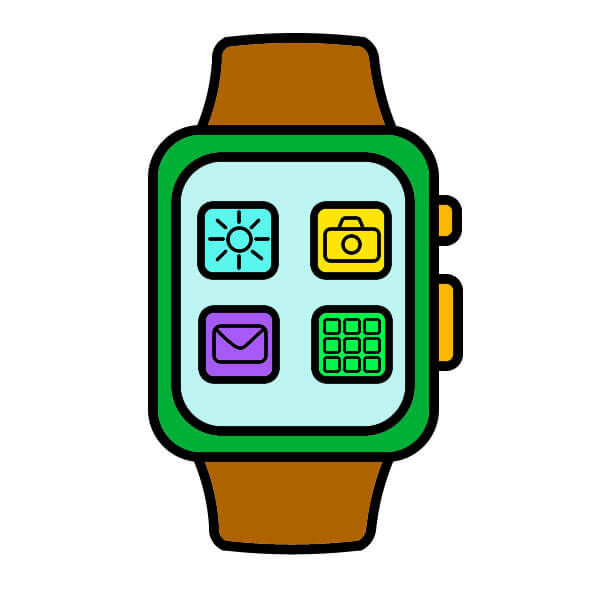
Want to learn how to draw how to draw a wristwatch? This tutorial will help you do it in just 35 simple steps, with clear illustrations for each step. Whether you're a beginner or experienced, the steps below are easy to understand and follow.
You just need a pencil, drawing paper, and an eraser — then start drawing step by step!
This lesson includes 4 different ways to draw. Choose the one that suits you best!
Guide to Drawing a Smartwatch for Kids
9 steps
Step 1
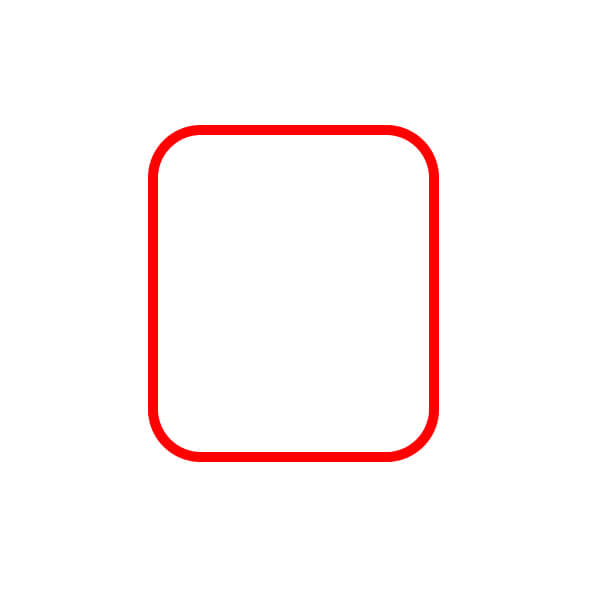
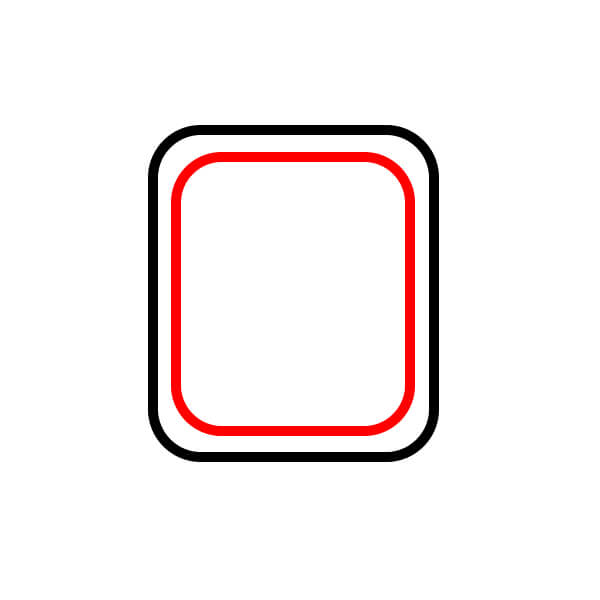
Start by drawing a simple rounded rectangle. This forms the main body or casing of the watch.
Step 2
Inside the main shape, draw a slightly smaller rounded rectangle. This inner shape represents the screen area and the surrounding bezel.
Step 3
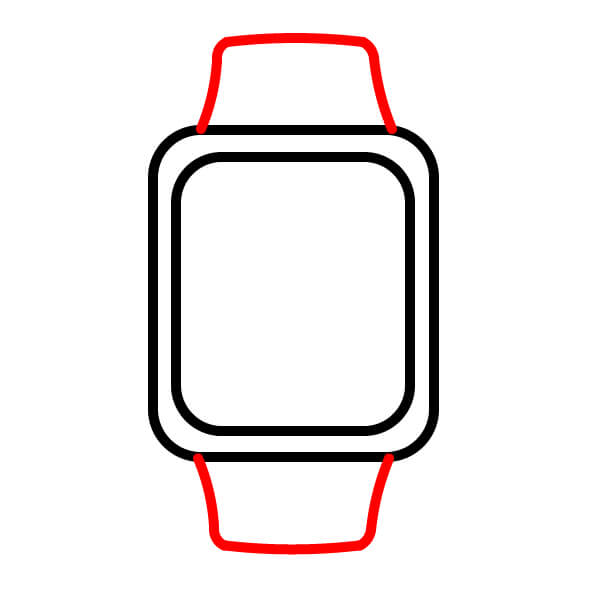
Draw two curved shapes that taper, attached to the top and bottom of the watch casing. They represent the watch straps.
Step 4
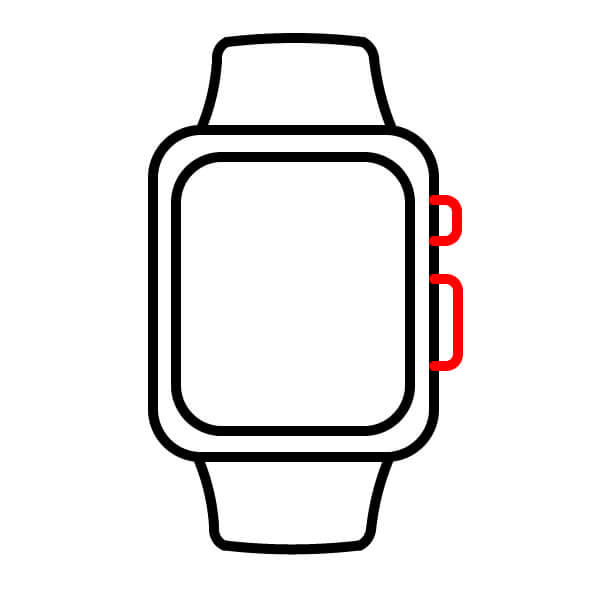
On the right side of the watch casing, draw two small, elongated circles. These are the side buttons or the digital crown.
Step 5
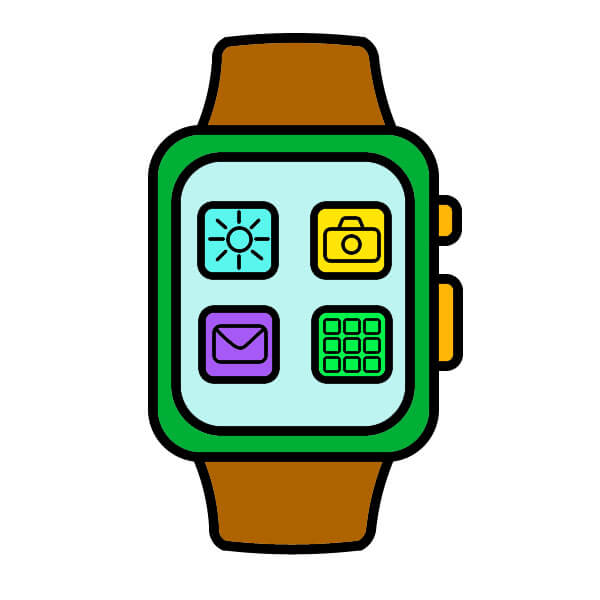
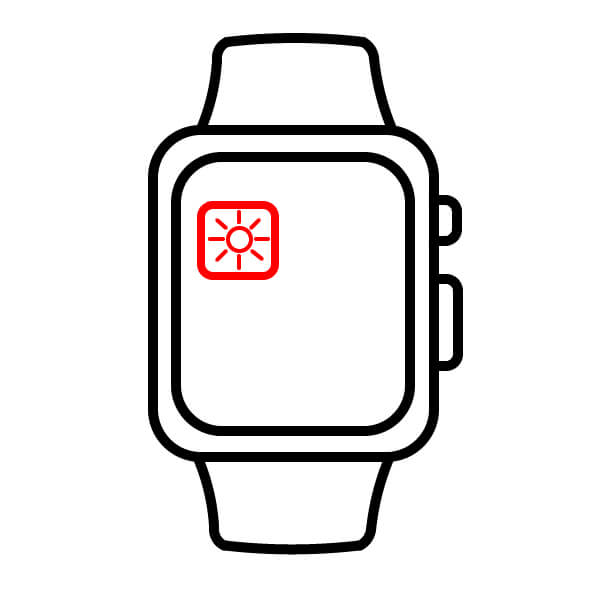
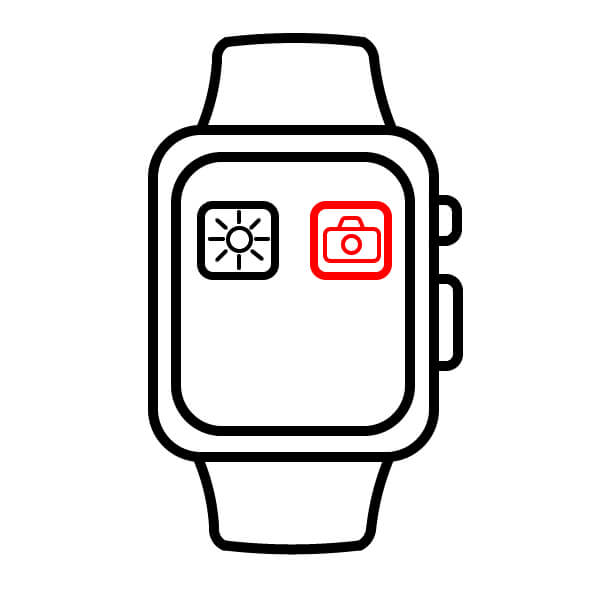
Inside the screen area, draw the first app icon. This example shows a rounded square with a sun/brightness icon inside.
Step 6
Draw the second app icon next to the first icon. This icon is a rounded square with a camera symbol.
Step 7
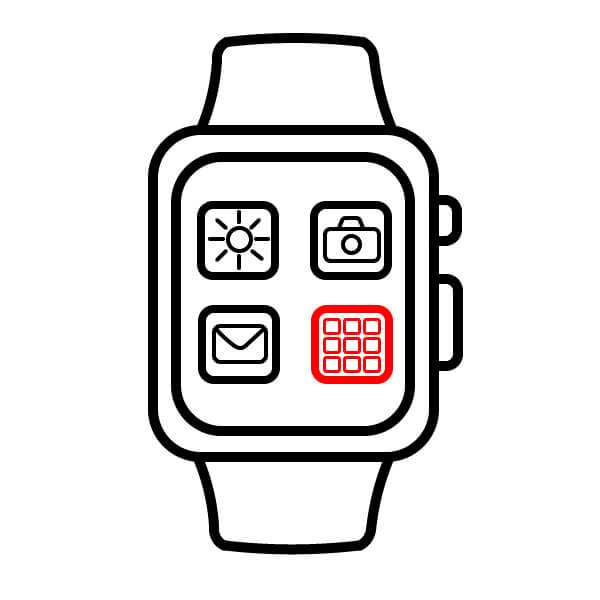
Below the sun/brightness icon, draw the third app icon. This is a rounded square containing an envelope/mail icon.

Step 8
Complete the set of four icons by drawing the fourth icon below the camera icon. This icon is a rounded square with a 3x3 grid (representing the app drawer or main menu).
Step 9
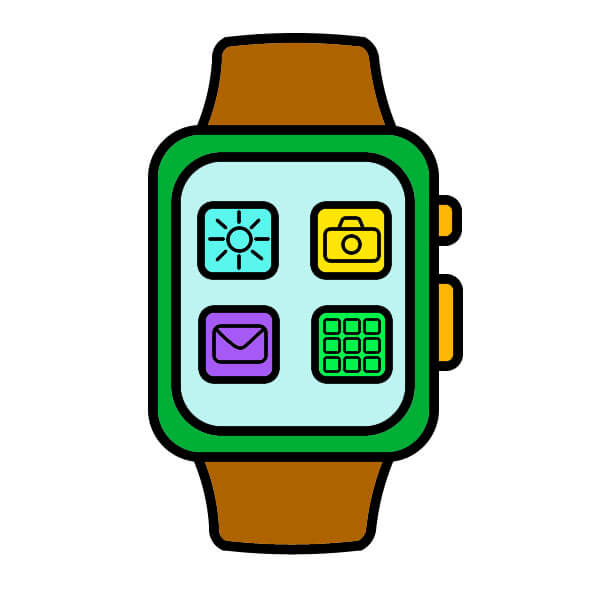
Finally, color the drawing. The watch casing and buttons can be colored green, the straps can be brown, and the screen background can be light blue. Color the app icons with different bright colors (e.g., yellow for the camera, purple for the mail, etc.).
Step-by-Step Watch Drawing Guide for Beginners
7 steps
Step 1
Start by drawing a simple rounded rectangle. This will form the basic shape of the smartwatch body.
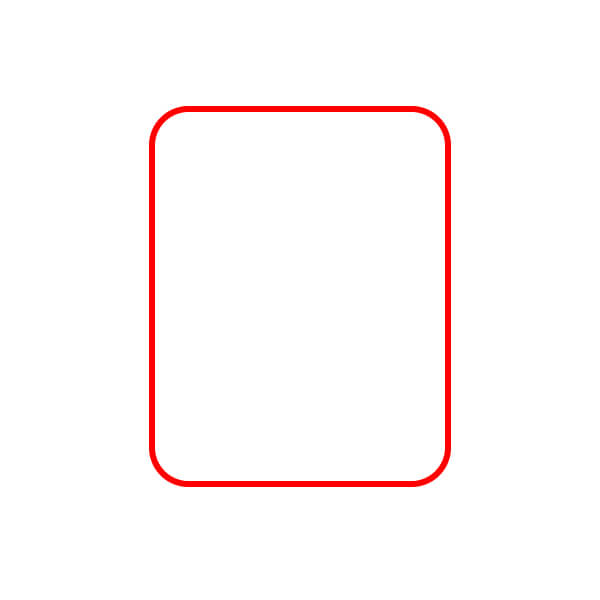
Step 2
Draw a slightly smaller rounded rectangle inside the one drawn in Step 1. This will outline the screen area within the casing.
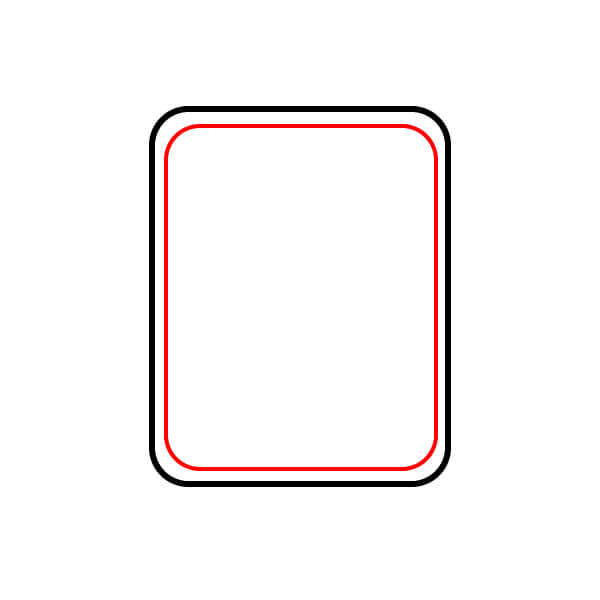
Step 3
Draw two U-shaped curves extending from the top to the bottom of the watch casing. These represent the watch straps.
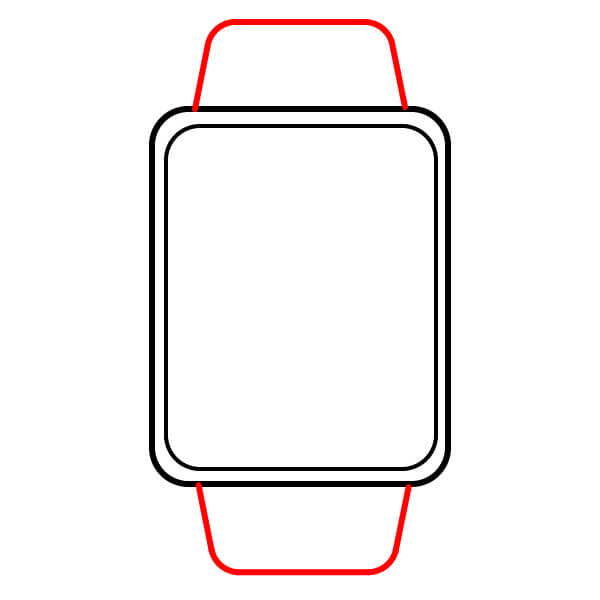
Step 4
On the right side of the watch casing, draw two small, short circles. These are the side buttons.
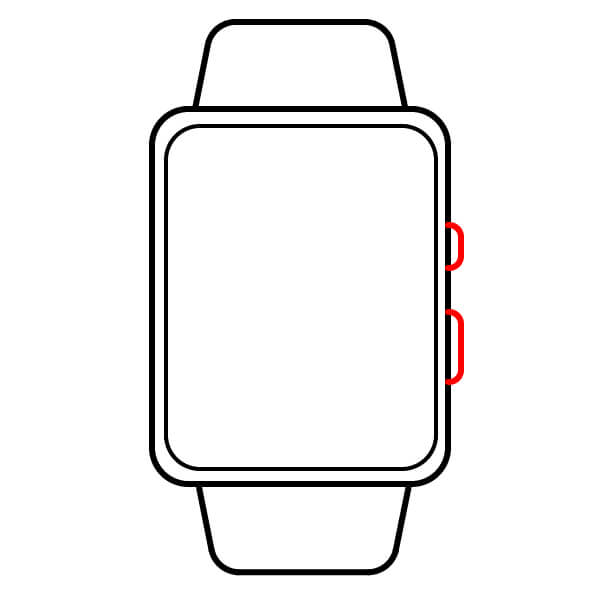
Step 5
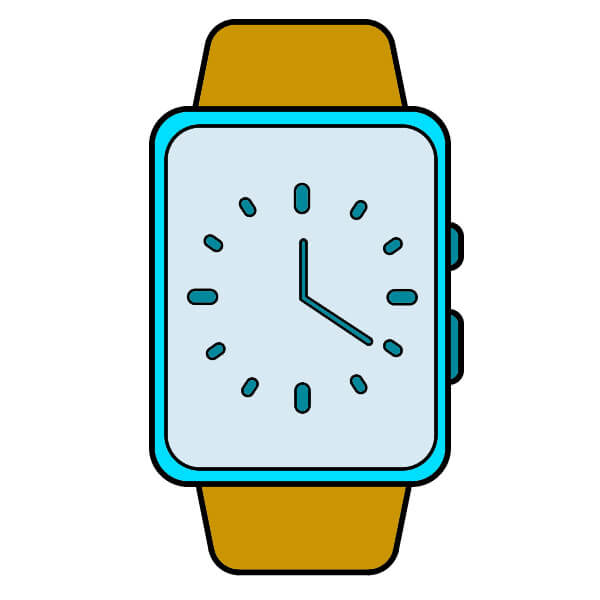
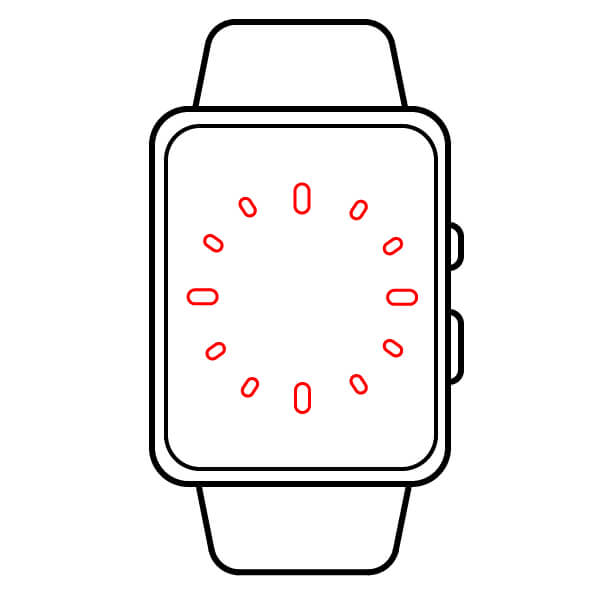
Inside the screen area, draw a circle made up of evenly spaced small ovals or capsules around the center. These represent the hour markers on the analog watch face (leave space in the middle for the hands).
Step 6
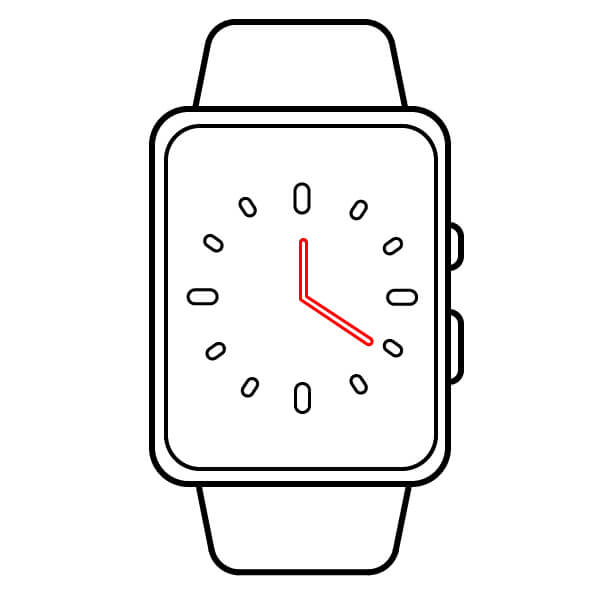
From the center of the watch face, draw two analog hands: a shorter hand for the hour and a slightly longer hand for the minutes. For example, show the minute hand pointing at 12 and the hour hand pointing at 3.
Step 7
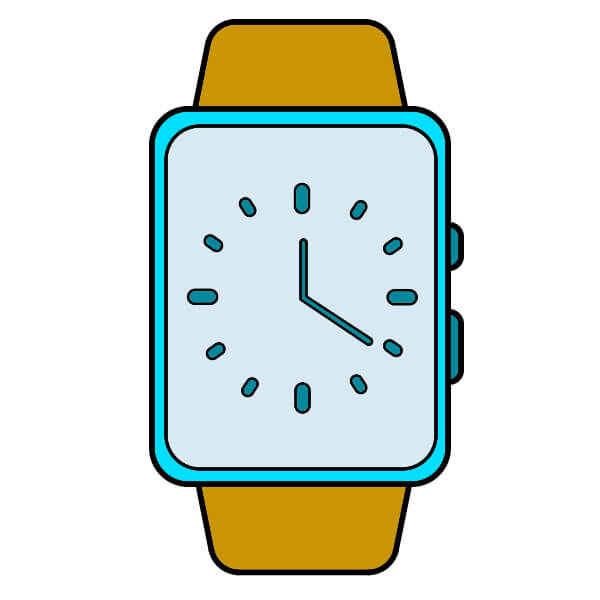
Finally, color the drawing. The watch casing and side buttons can be light blue or cyan. The screen background can be a lighter blue/cyan tone. The watch strap can be colored brown or tan. The hour markers and watch hands are colored a darker blue/cyan.
Easy Guide to Drawing a Classic Round Clock for Young Artists
8 steps
Step 1
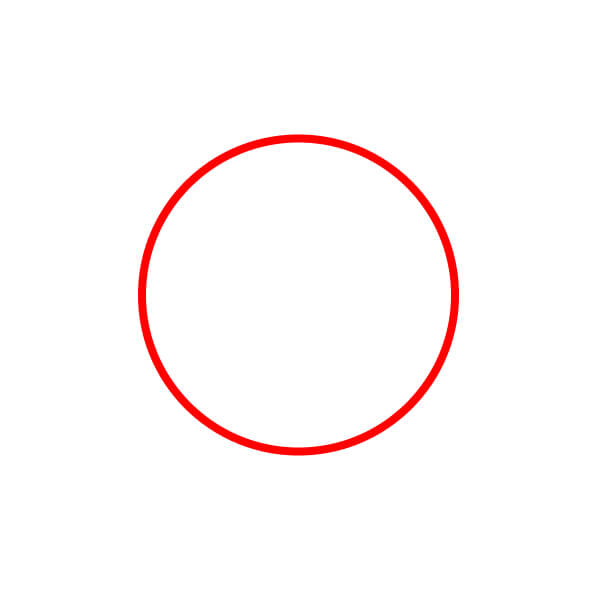
Start by drawing a large circle. This will be the main frame or outer shell of the clock.
Step 2
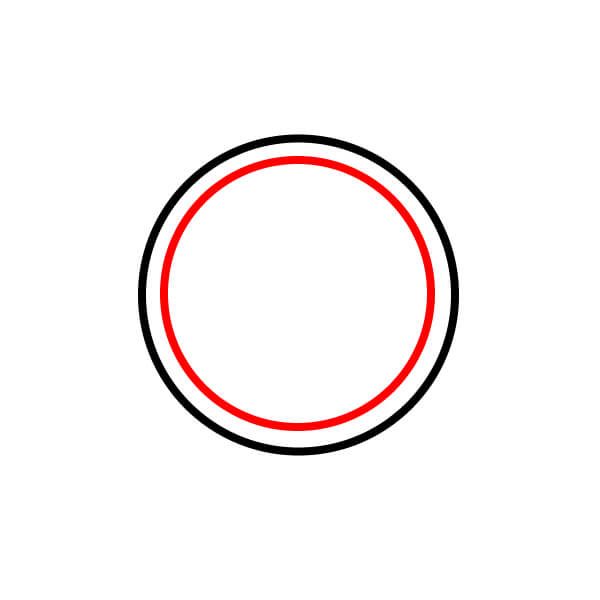
Draw a smaller concentric circle inside the first circle. The space between the two circles is the clock bezel, and the inner circle represents the clock face.
Step 3
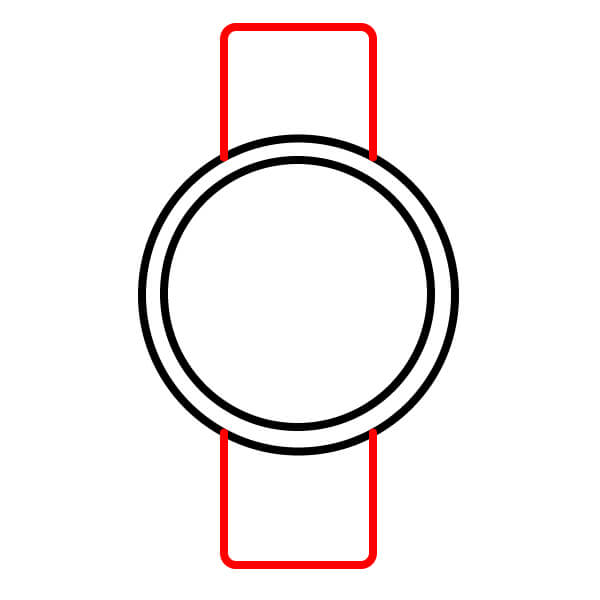
Draw two vertically elongated rectangles from the top and bottom of the clock case. These represent the straps.
Step 4
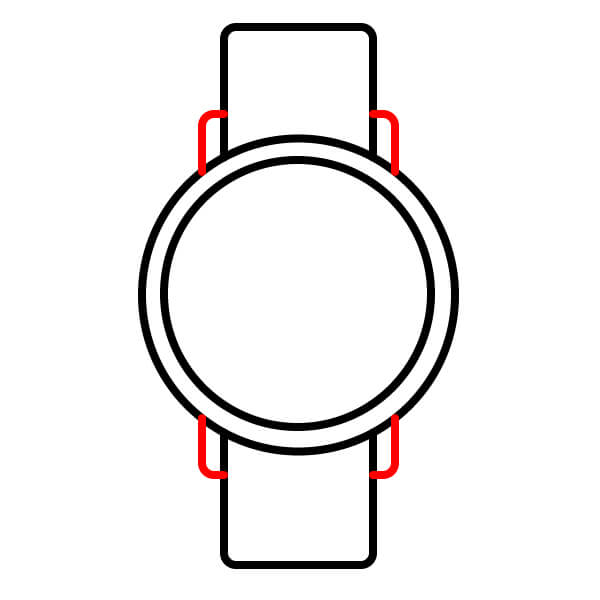
Draw four small, curved, slightly rectangular shapes connecting the straps to the main clock case (two on top and two on the bottom). These are the lugs.
Step 5
On the right side of the clock case, draw a small extension, either a semicircle or a D shape. This is the crown used to set the time.
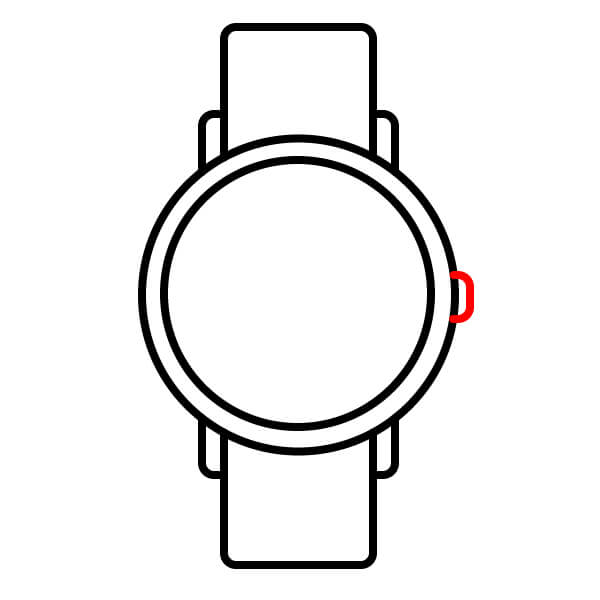
Step 6
On the clock face (the inner circle), draw twelve short, evenly spaced lines around the perimeter. These are the hour markers.
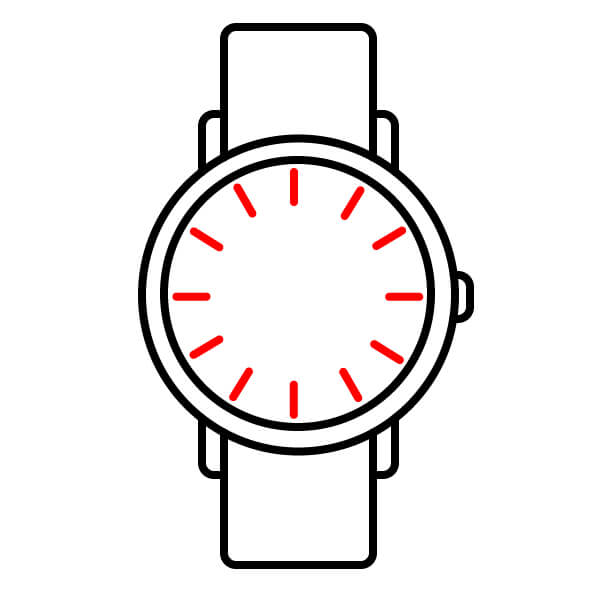
Step 7
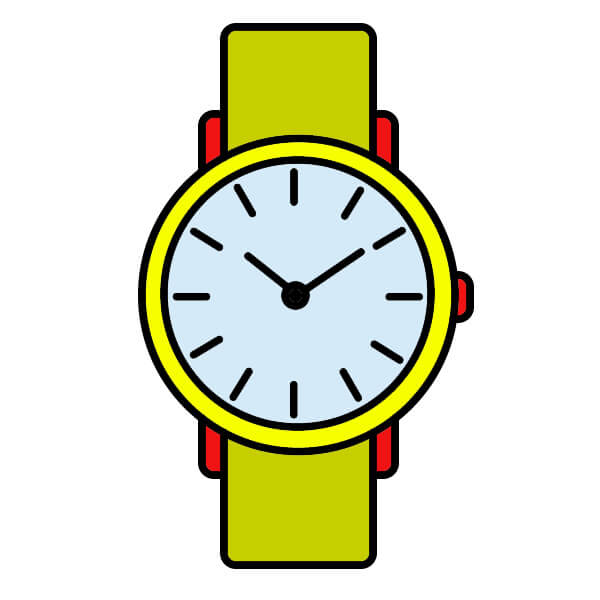
Draw the hour and minute hands extending from the center of the clock face. For example, the minute hand points to 10 and the hour hand points to 2.
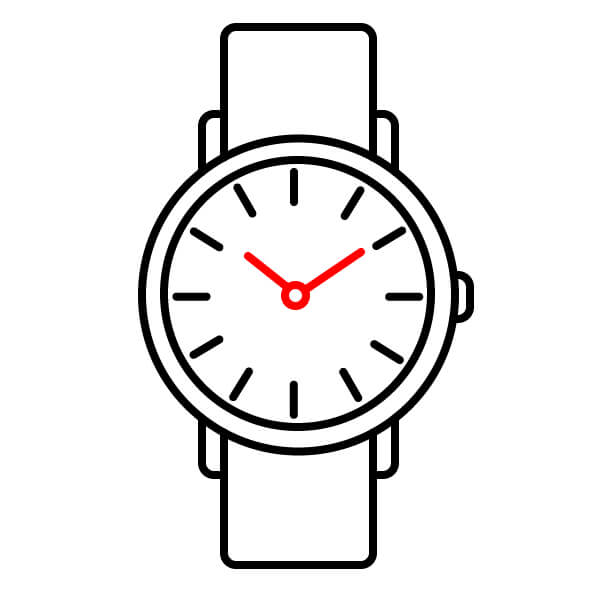
Step 8
Complete the drawing by coloring. The clock bezel can be bright yellow. The straps can be lime green. The lugs and crown are shown in red. The clock face is light blue. The hour markers and hands are colored black.
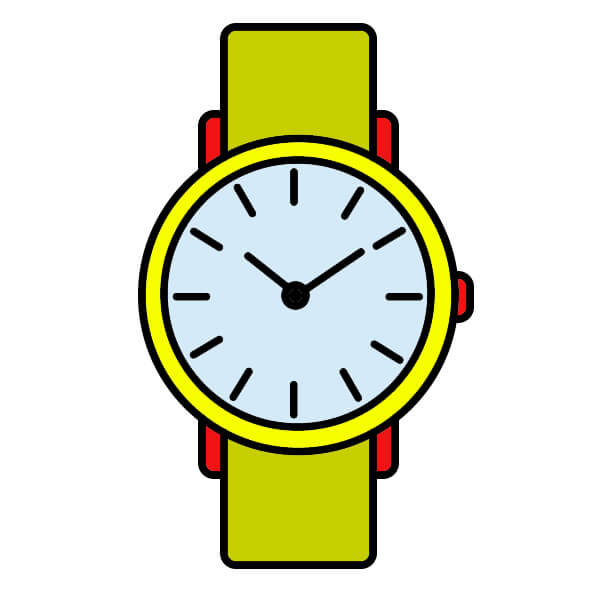
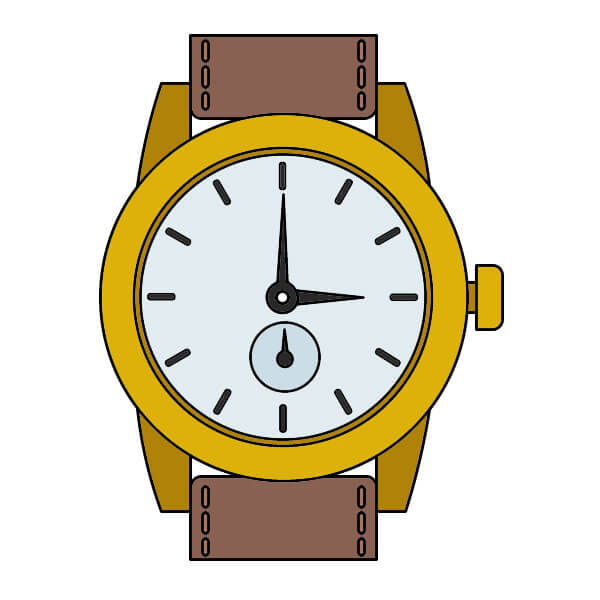
Learn to Draw a Stopwatch for Kids
11 steps
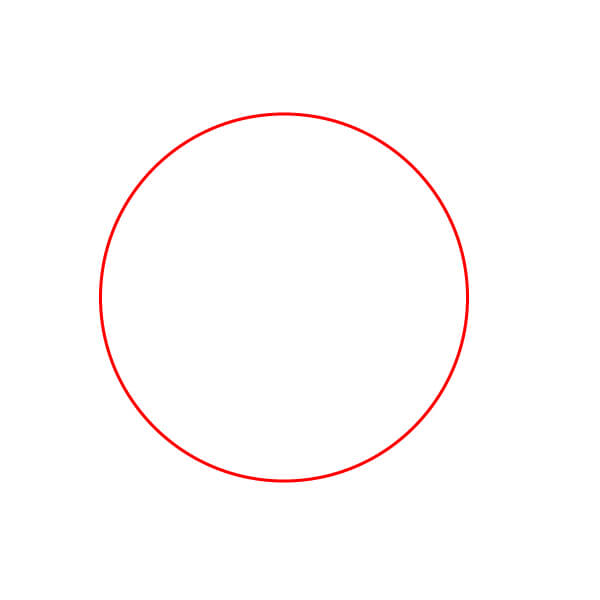
Step 2
Inside the first circle, draw two close concentric circles. The space between the outer circle and the inner circles defines the bezel, and the innermost circle is the clock face or dial.
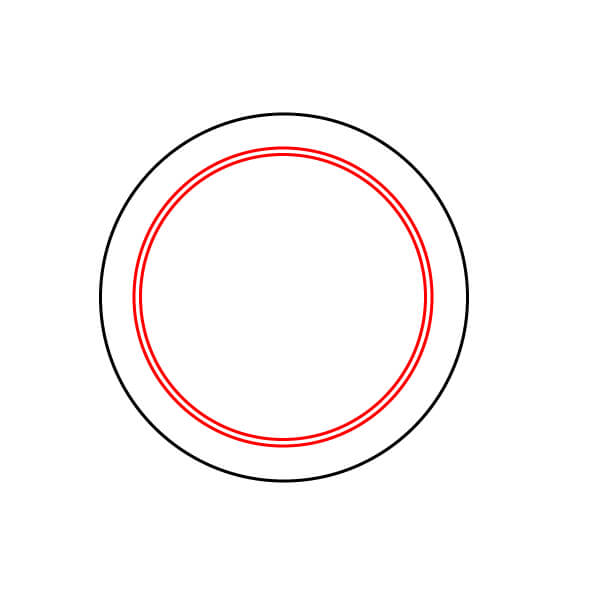
Step 3
On the right side of the clock casing, draw a small rounded rectangle. This represents the knob used to set the time.
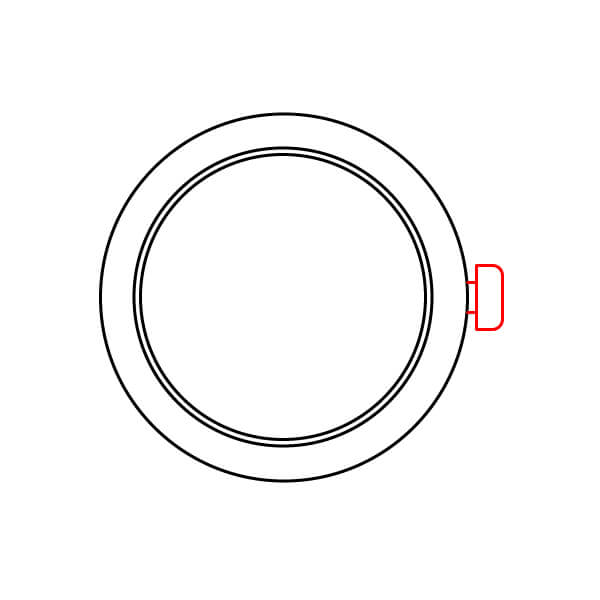
Step 4
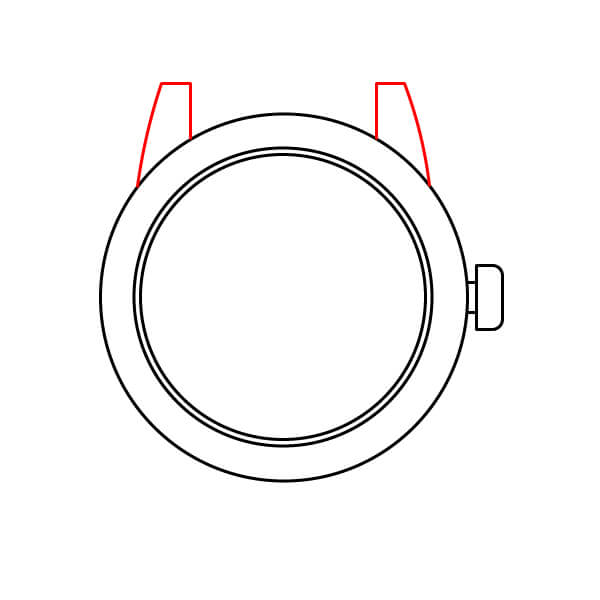
At the top of the clock casing, draw two short, tapering trapezoids. These are the lugs that will hold the strap.
Step 5
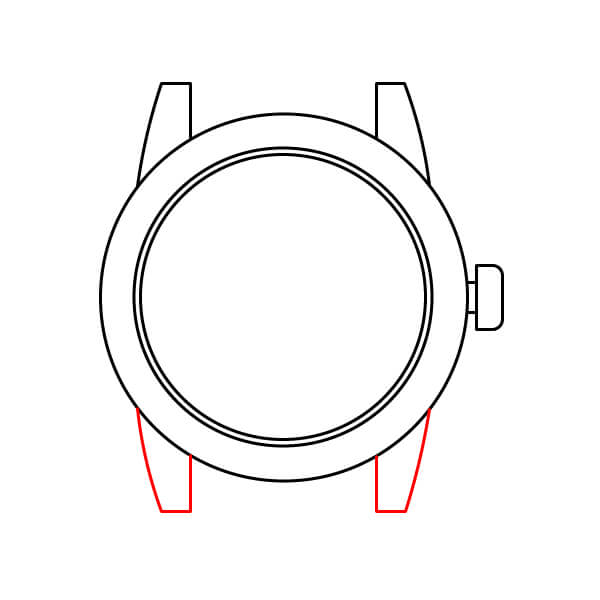
Repeat the previous step at the bottom of the clock casing, drawing two corresponding tapering shapes for the lower lugs.
Step 6
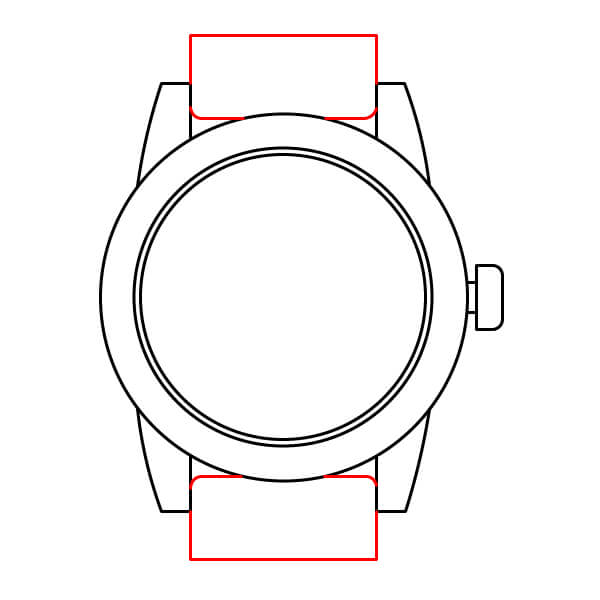
Draw two rectangular strips extending from the upper and lower lugs. These are the watch straps.
Step 7
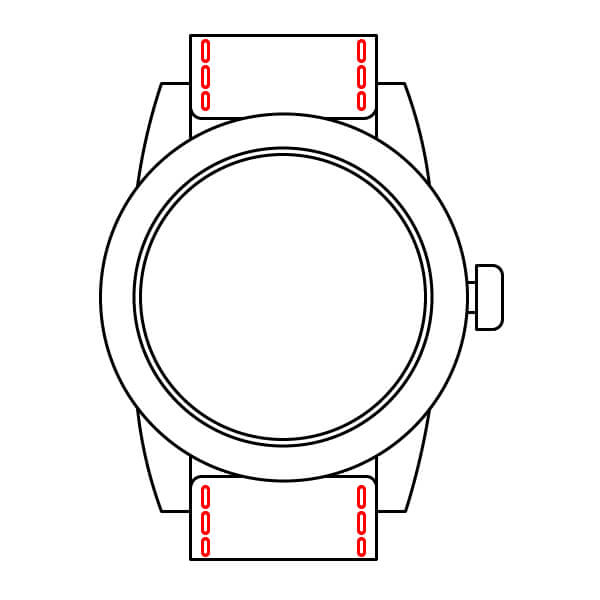
On both sides of the upper and lower straps, draw two small oval columns. They represent the adjustment holes on the strap.
Step 8
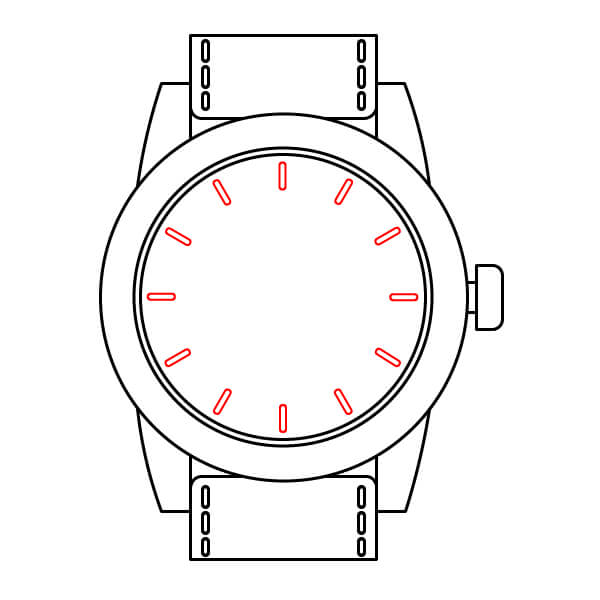
On the inner clock face, draw twelve short, rounded ticks evenly spaced around the center. These are the hour markers.
Step 9
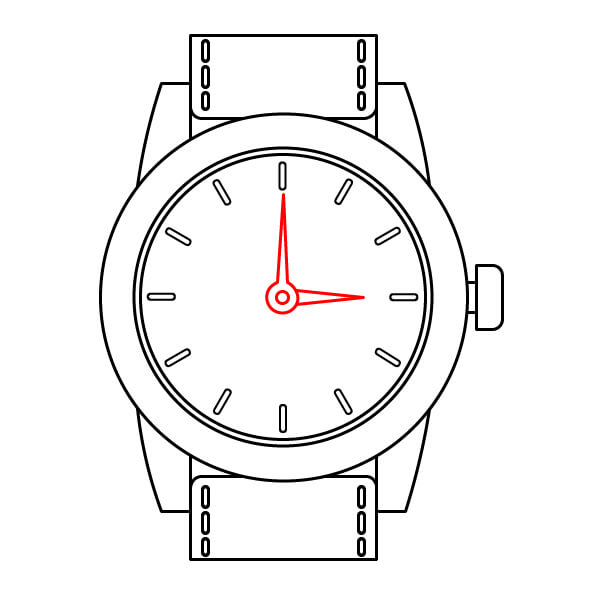
From the center of the clock face, draw the two main hands (hour and minute). For example, show the minute hand pointing at 12 and the hour hand pointing at 3, both in red. Add a small circle at the center where the hands rotate.
Step 10
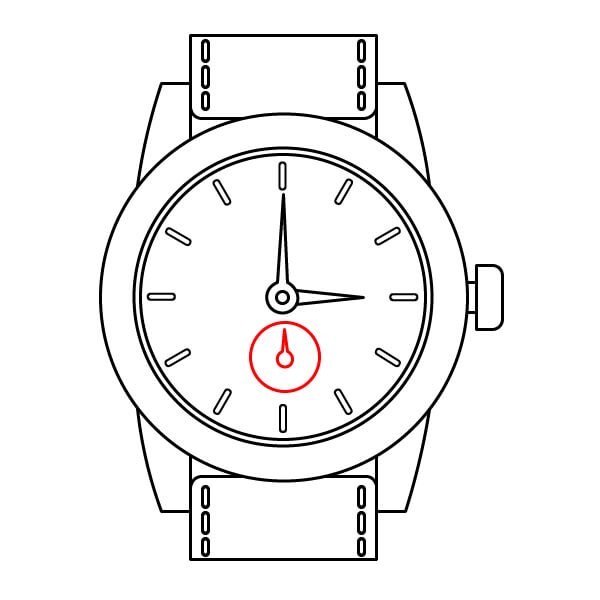
Draw a small circle at the bottom of the clock face (around the 6 o'clock position). This is a sub-dial, commonly seen on stopwatches, and add a small hand inside.
Step 11
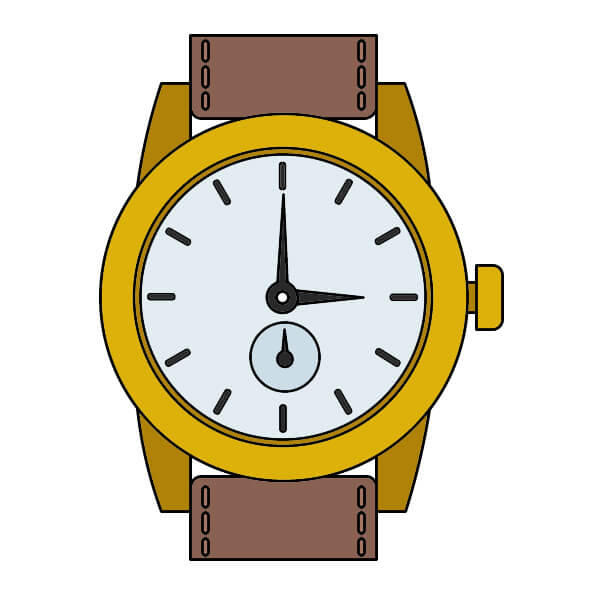
Finally, color the drawing to complete the clock. Color the outer casing, lugs, knob (side button), and bezel in bright yellow or brownish-yellow. Color the main body of the strap in dark brown, representing leather. Color the large main dial white or light blue, and the small sub-dial area in light gray or light blue.
▶Drawing tips
- Draw lightly with a pencil first, then darken the lines when you're satisfied.
- You don't need to draw exactly like the sample — add your own style!
- After finishing your drawing, you can color it directly on Tomau.AI to make it more vibrant.