How to Draw a Sofa
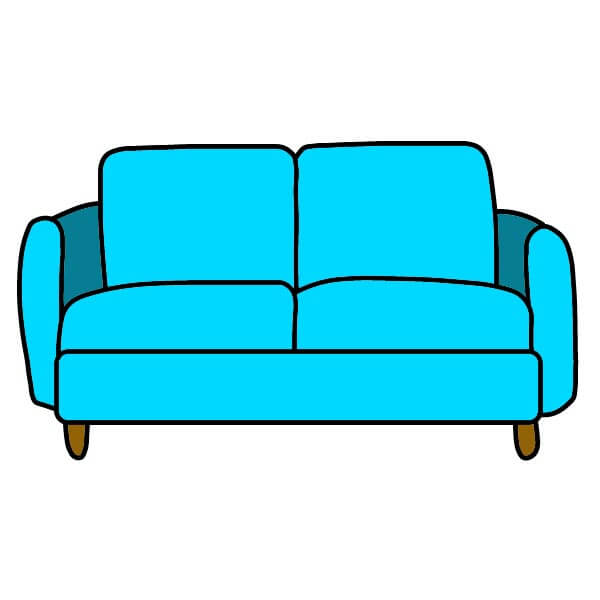
Want to learn how to draw how to draw a sofa? This tutorial will help you do it in just 37 simple steps, with clear illustrations for each step. Whether you're a beginner or experienced, the steps below are easy to understand and follow.
You just need a pencil, drawing paper, and an eraser — then start drawing step by step!
This lesson includes 5 different ways to draw. Choose the one that suits you best!
Step-by-Step Sofa Drawing Guide for Kids
7 steps
Step 1
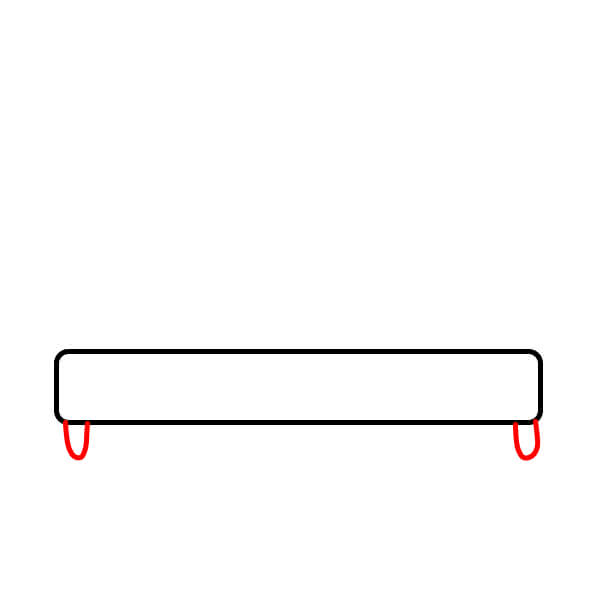
Draw a long horizontal rectangle with rounded corners. This will be the base of the sofa.

Step 2
Add two small U-shaped curves, bending downwards, evenly spaced at both ends. These will be the legs of the sofa.
Step 3
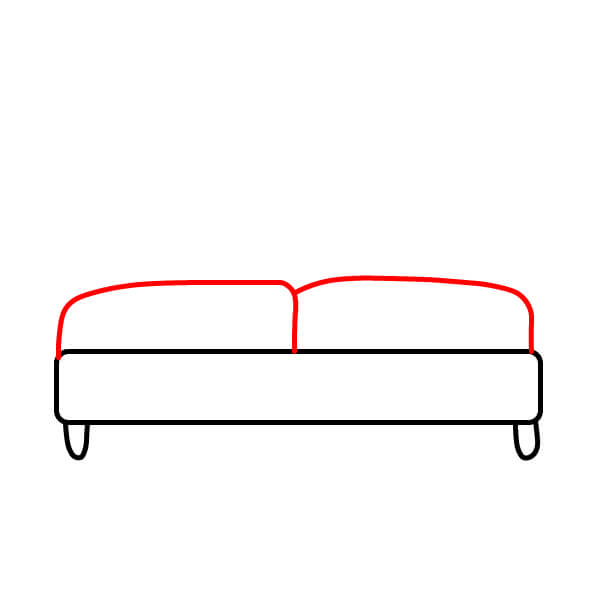
Sketch two cushions on top of the rectangular base. They should be rectangular with slightly curved tops, separated by a vertical line in the middle.
Step 4
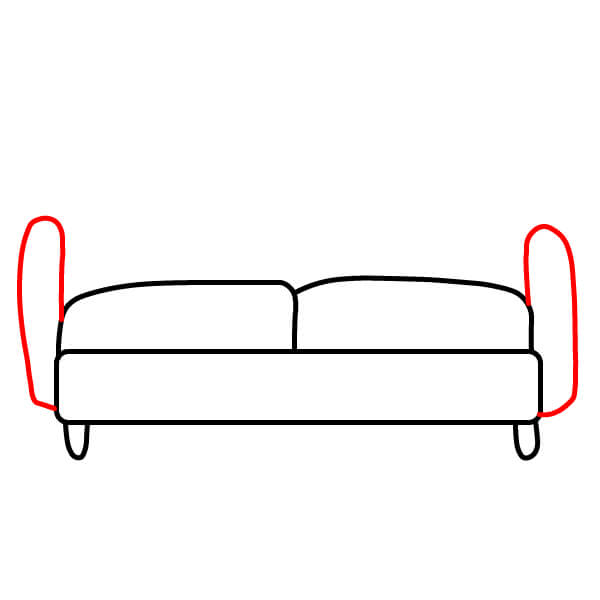
Add outlines for the armrests. Draw curved lines extending upwards and slightly outwards from the edges of the base, connecting to the top of the cushions.
Step 5
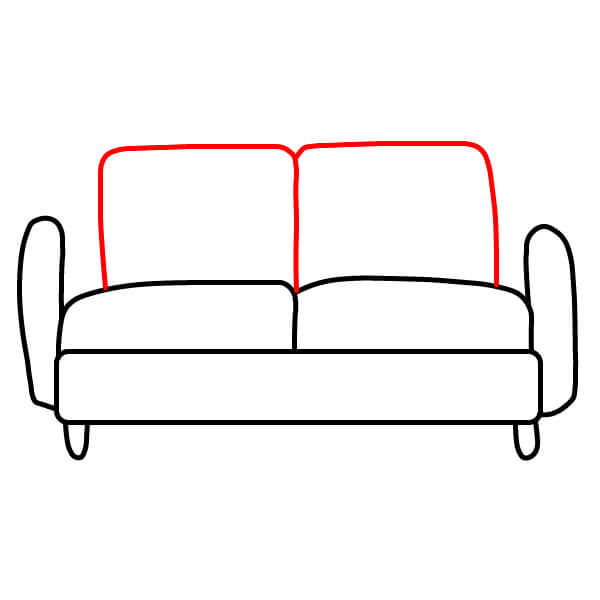
Draw the tops of the two back cushions with curved lines, separated by a vertical line in the middle.
Step 6
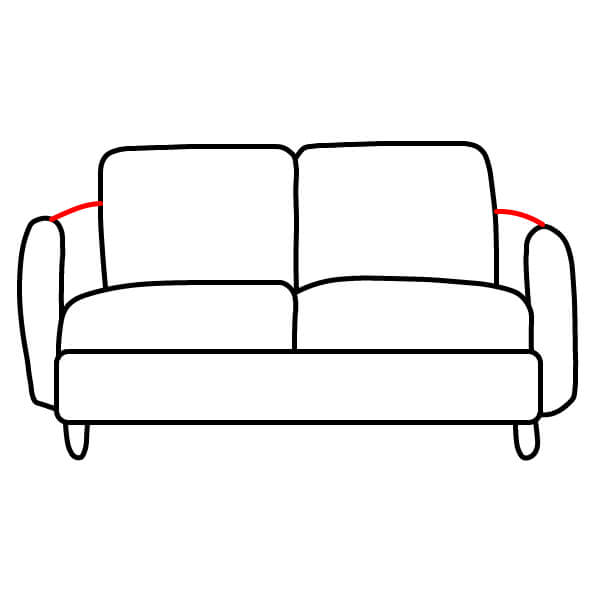
Add two small curves to connect the back cushions to the armrests, indicating the top of the sofa's back.
Step 7
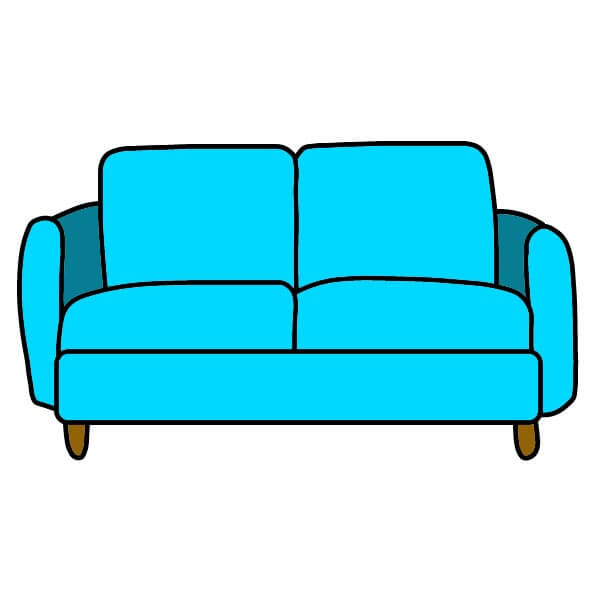
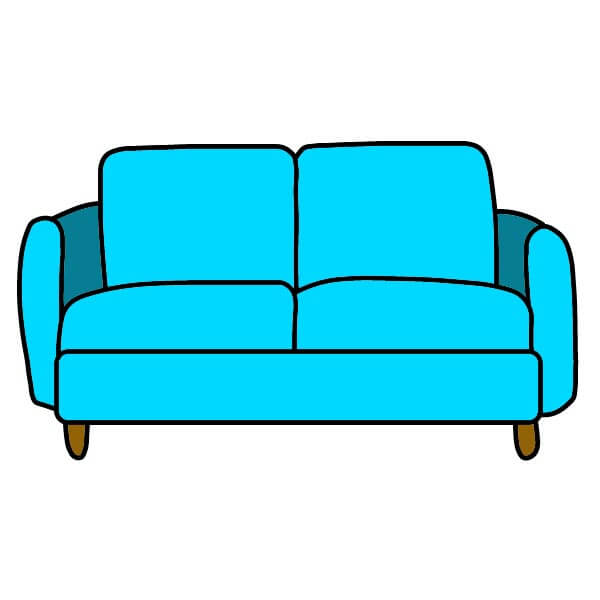
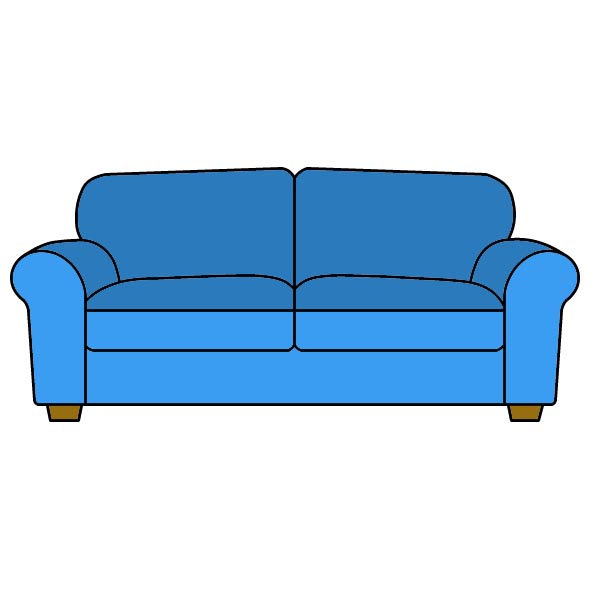
Color the drawing. Use bright blue for the main body of the sofa (base, cushions, and armrests). Color the visible legs brown.
Simple Sofa Drawing Guide for Beginners
7 steps

Step 2
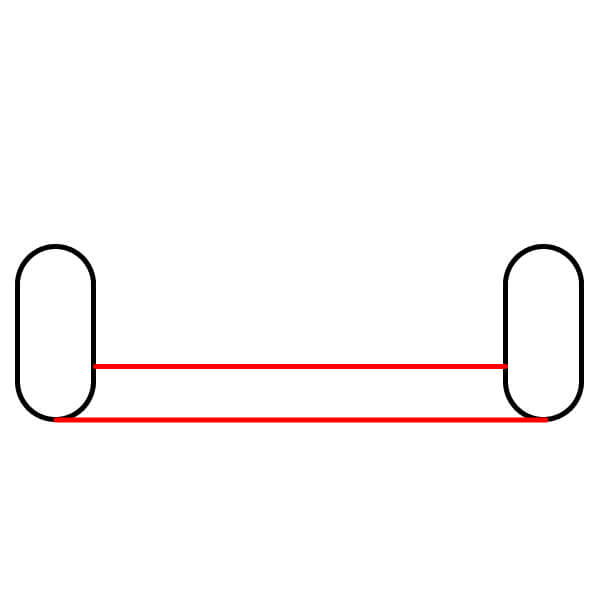
Connect the armrests with a pair of horizontal lines. This forms the base of the sofa.
Step 3
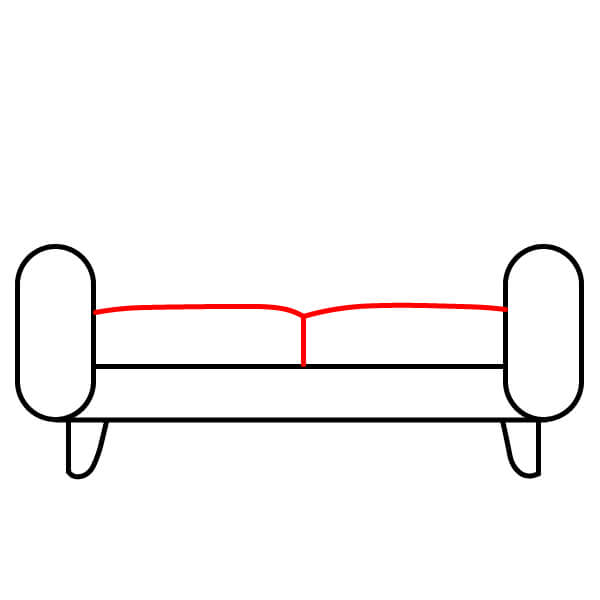
Outline the two seat cushions with a straight line, slightly curved in the middle, on the base.
Step 4
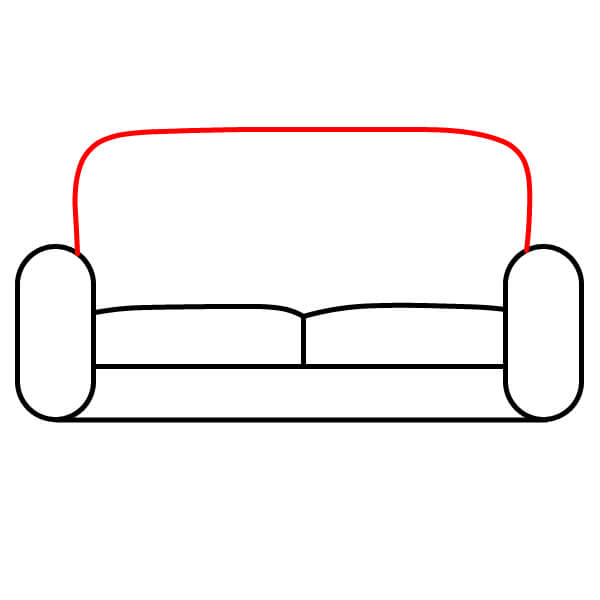
Add the outline for the backrest. It is a large rectangle with a rounded top, extending from one armrest to the other.
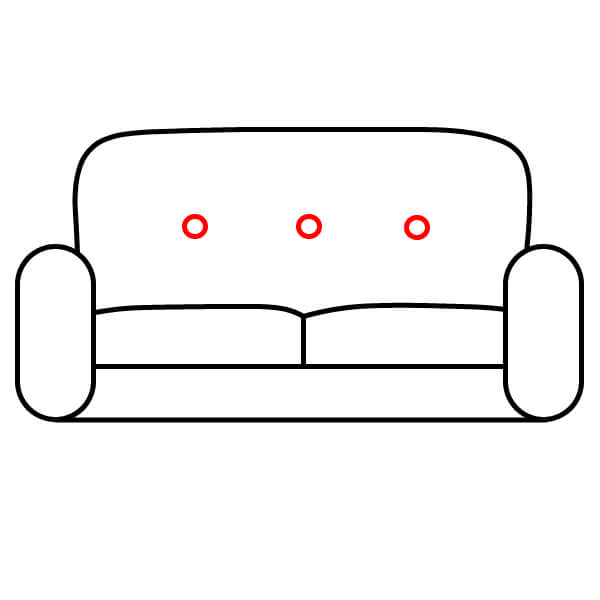
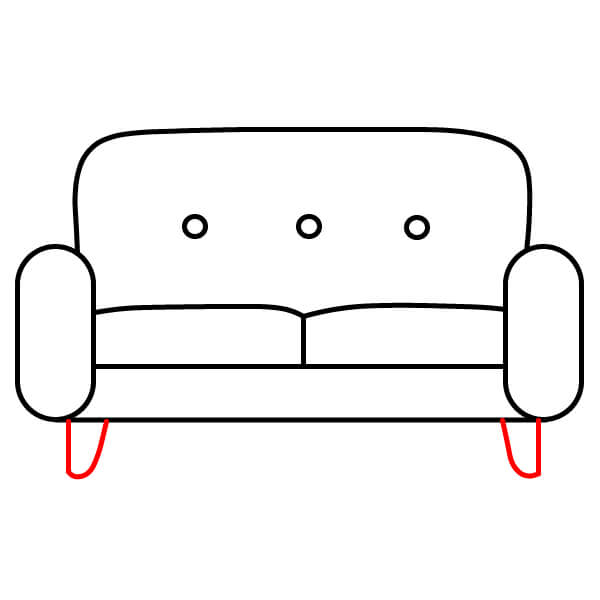
Step 7
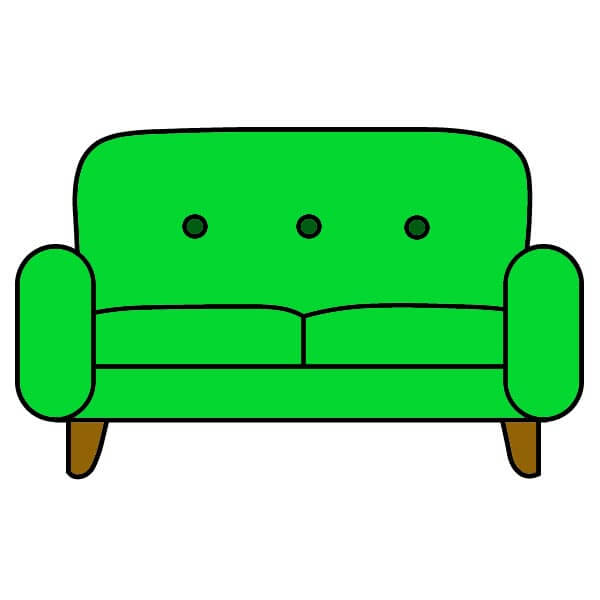
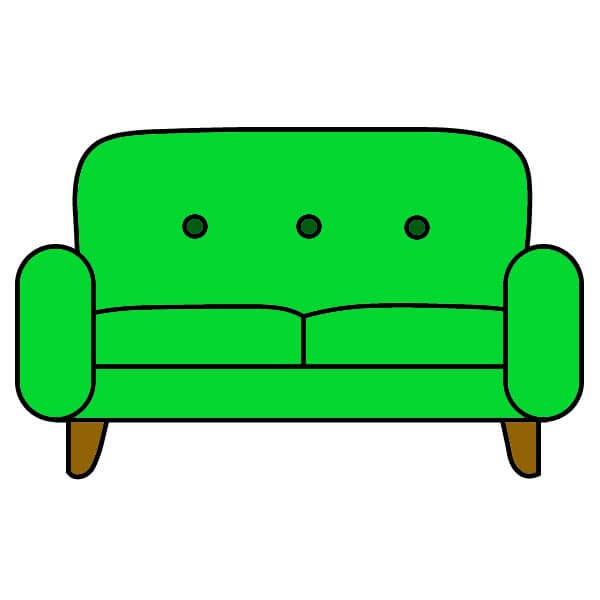
Color the drawing. Use green for the body and cushions. Color the decorative buttons with a darker green. Color the legs brown.
Simple Sofa Drawing Guide for Kids
7 steps
Step 1
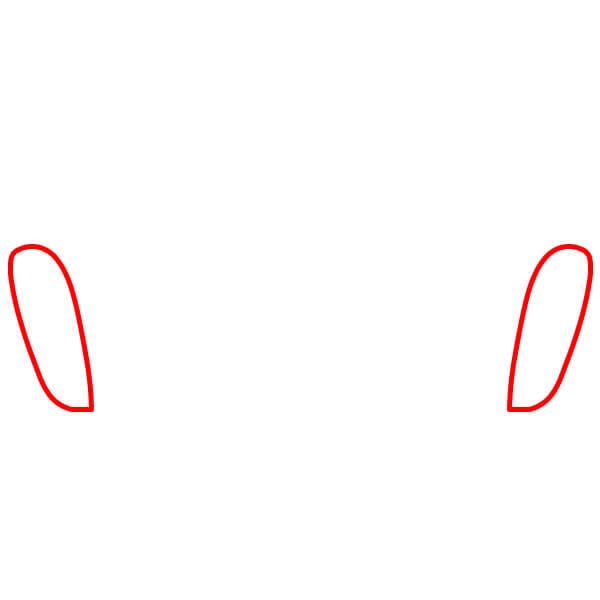
Start by drawing two slightly curved vertical lines with rounded tops. These will be the armrests of the sofa.
Step 2
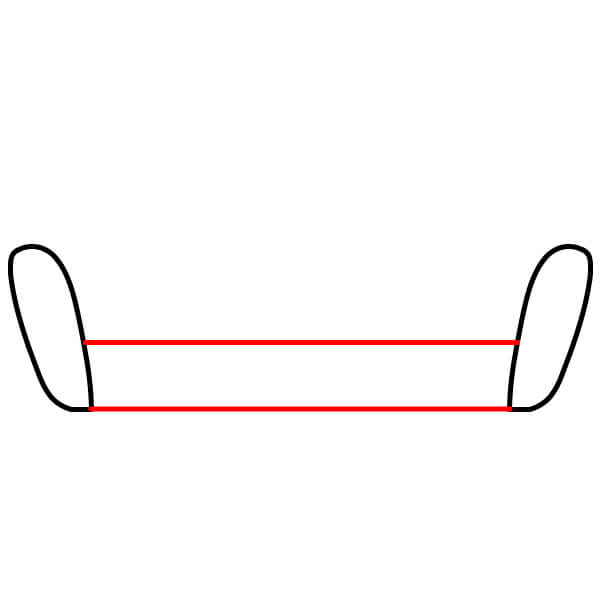
Connect the two armrests with a pair of horizontal lines to form the base of the sofa.
Step 3
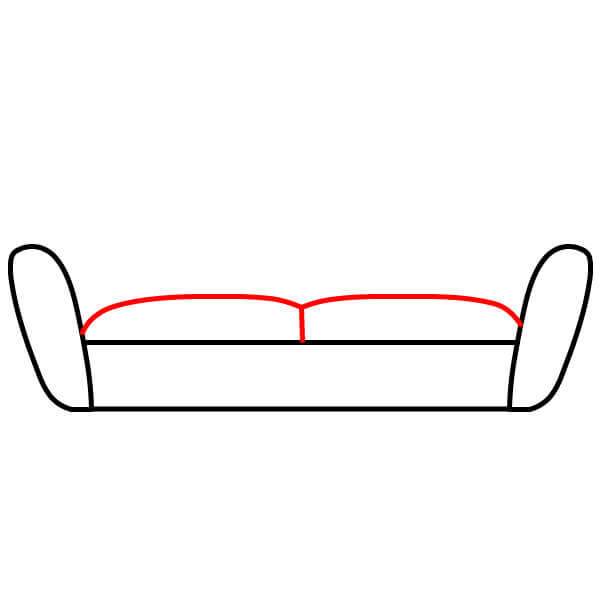
Draw the outline of two seat cushions on the base. The top line should be slightly curved with a vertical line in the middle to separate them.
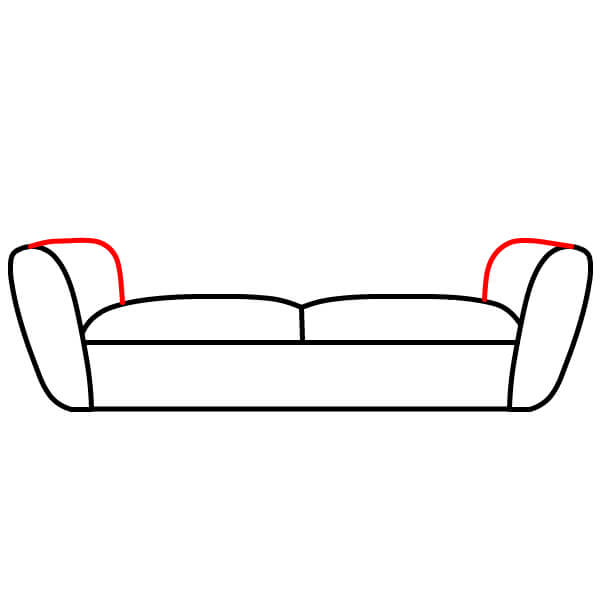
Step 5
Draw the outline of the backrest. It is a large rectangle with a rounded top, connecting the two armrests.
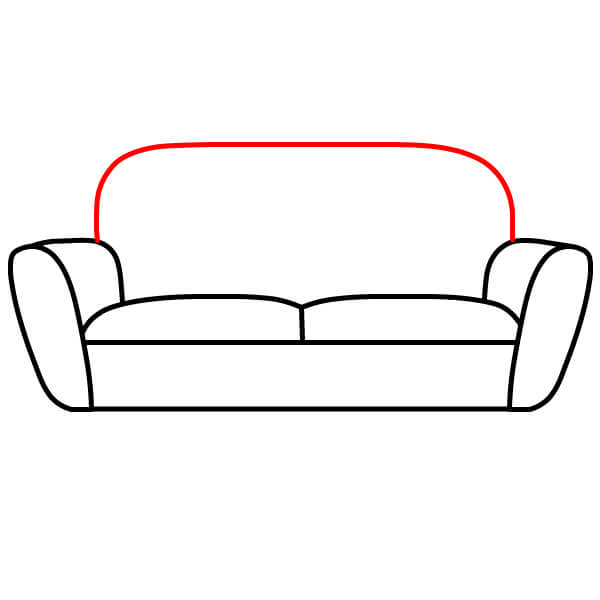
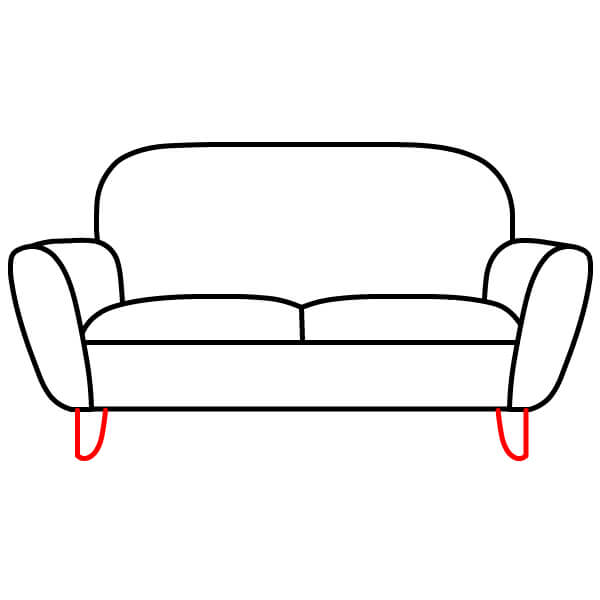
Step 7
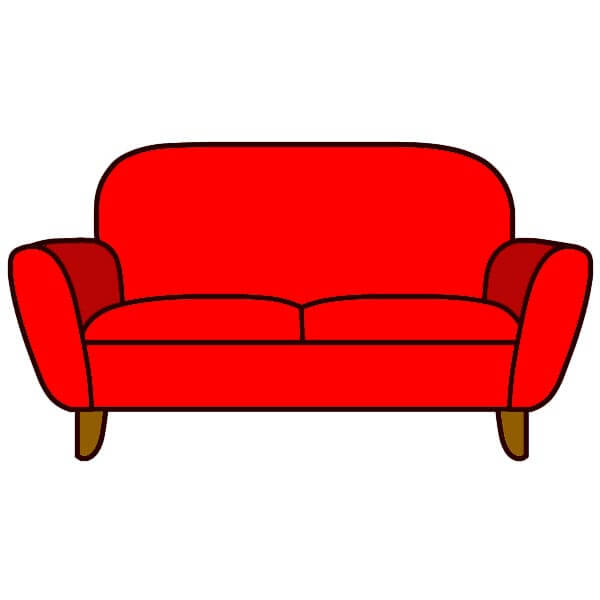
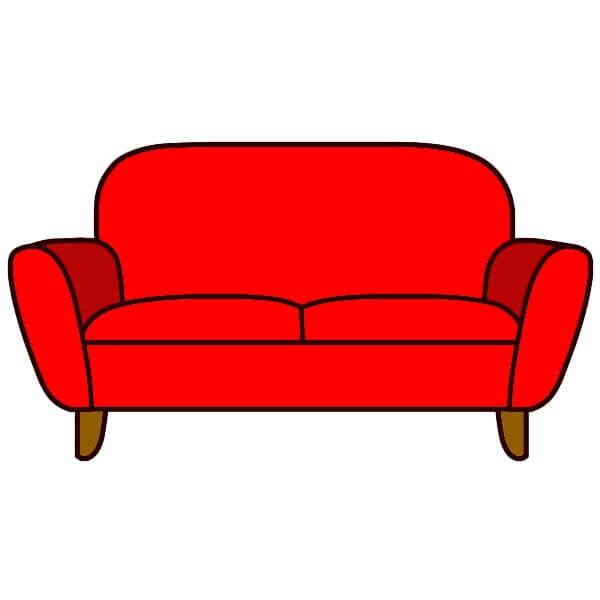
Color the drawing. Use red for the entire body of the sofa, with a darker red for the edges of the armrests and backrest. Color the legs light brown.
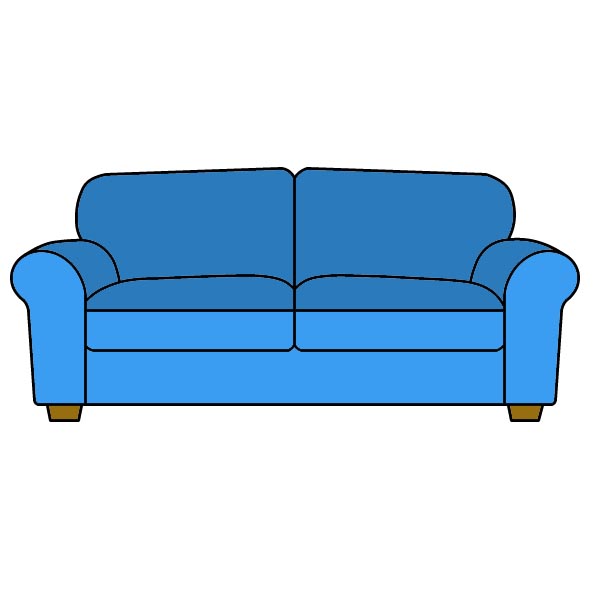
How to Draw a Sofa in 8 Simple Steps
8 steps
Step 1
Start by drawing two vertically rounded rectangles. These will be the armrests of the sofa.
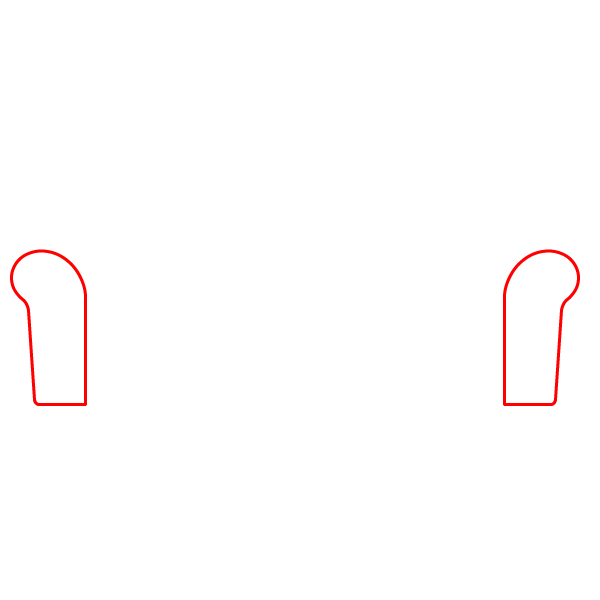
Step 2
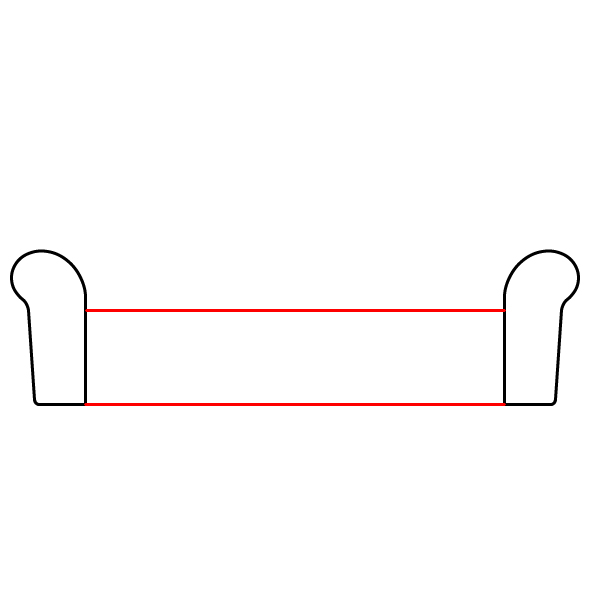
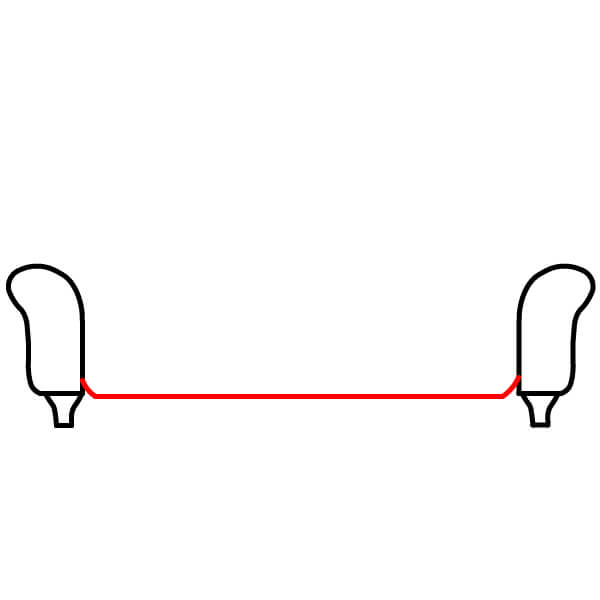
Connect the two armrests with a pair of horizontal lines to form the base of the sofa.
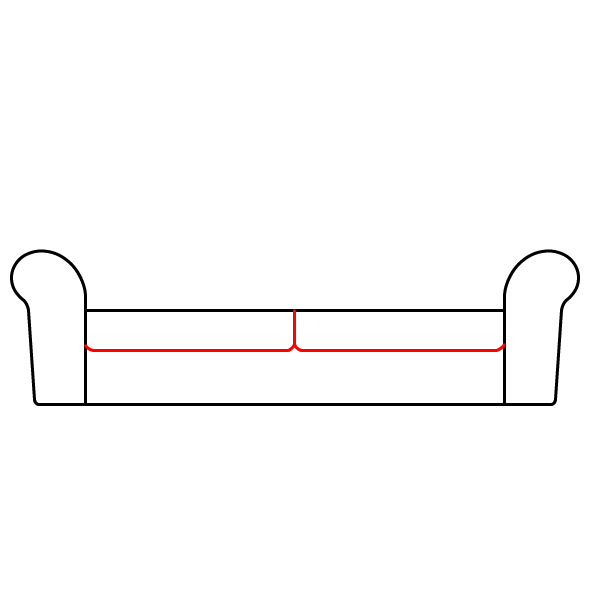
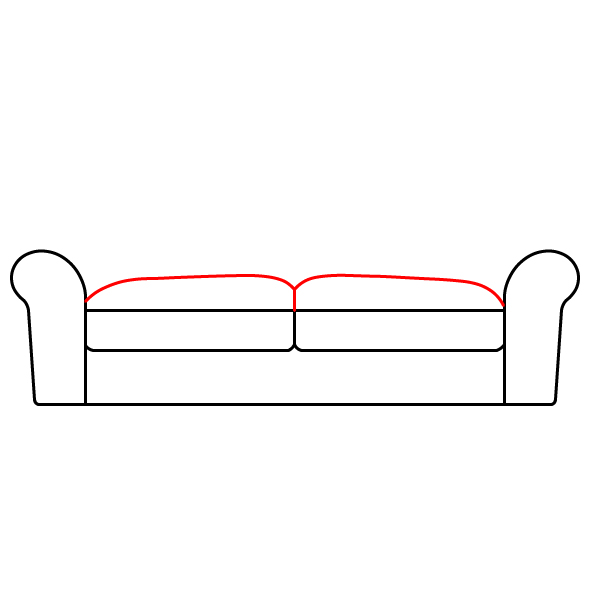
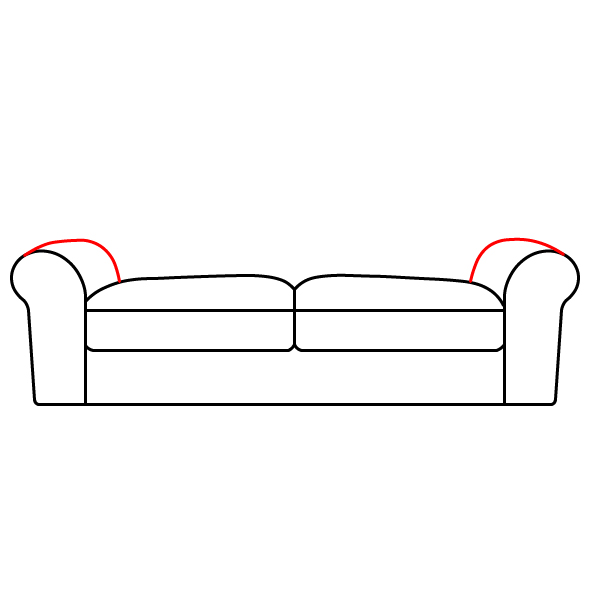
Step 6
Draw the backrest with an outline. It is a large rounded rectangle connecting the tops of the two armrests and extending back over the seat cushions.
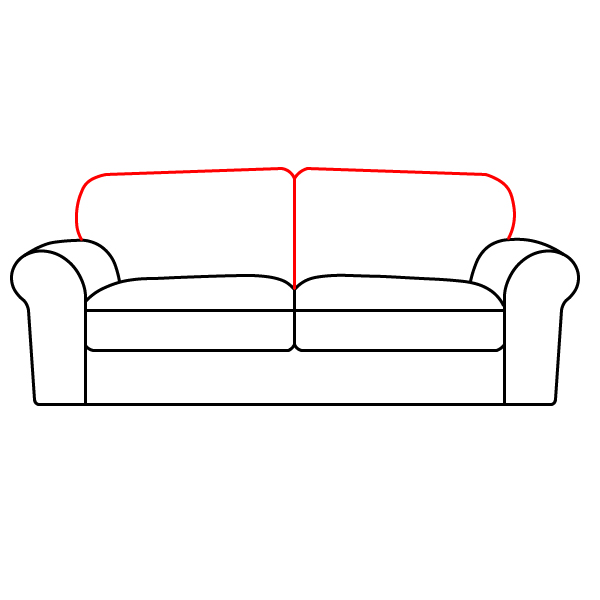
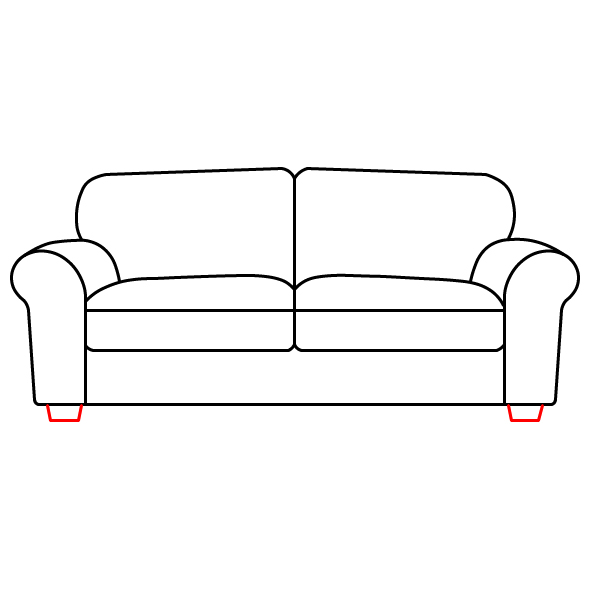
Step 8
Color the drawing. Use light blue for the entire body of the sofa. Color the legs light brown.
How to Draw a Child-Friendly Sofa
8 steps
Step 1
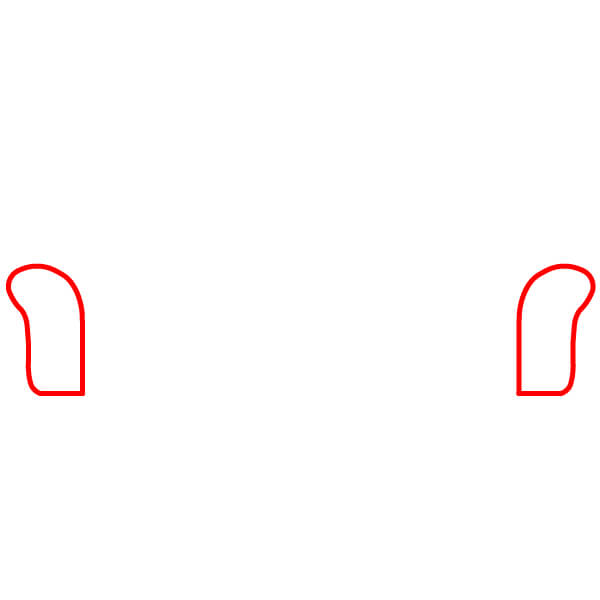
Start by drawing two uneven vertical shapes, slightly curved with a rounded top and flat bottom. These are the armrests.
Step 4
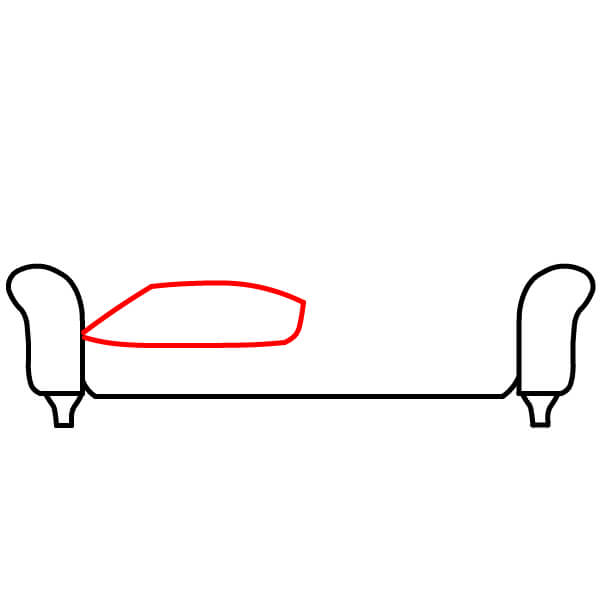
Draw the first seat cushion. It is a long, rounded shape sitting on the base and connecting to the left armrest.
Step 5
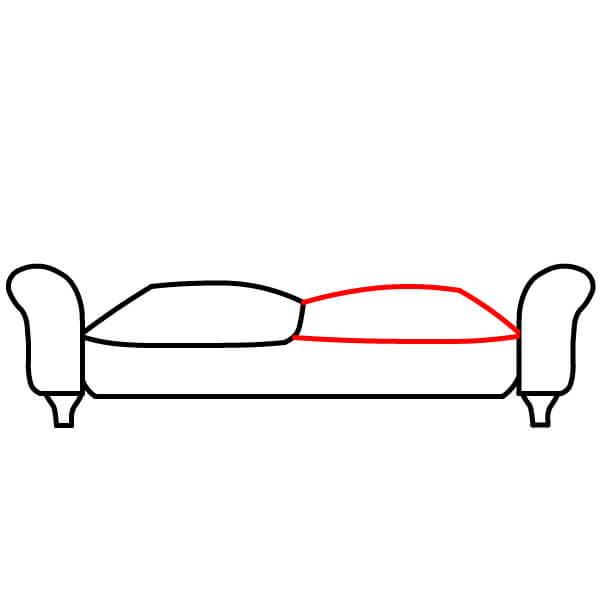
Draw the second seat cushion, completing the shape on the base and connecting to the right armrest. A vertical line separates the two cushions.
Step 7
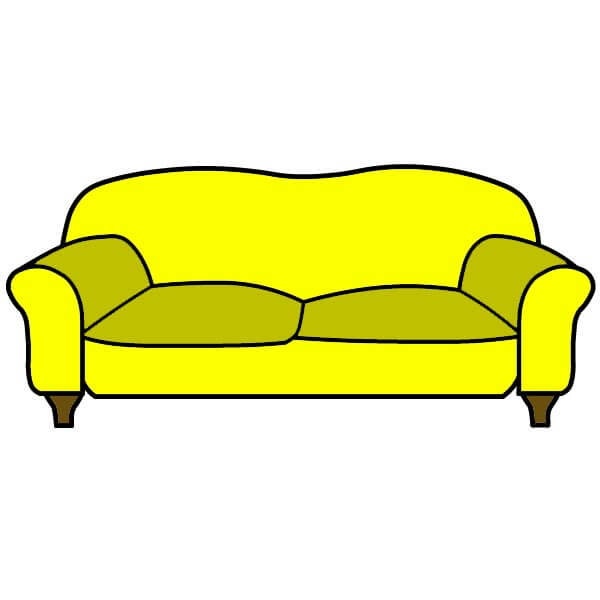
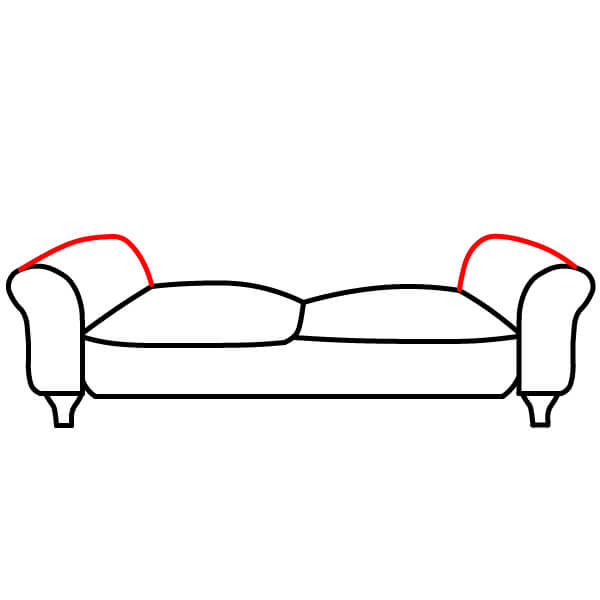
Draw the backrest. It is a long, curved shape, slightly concave in the middle, connecting to the inner side of the armrests.
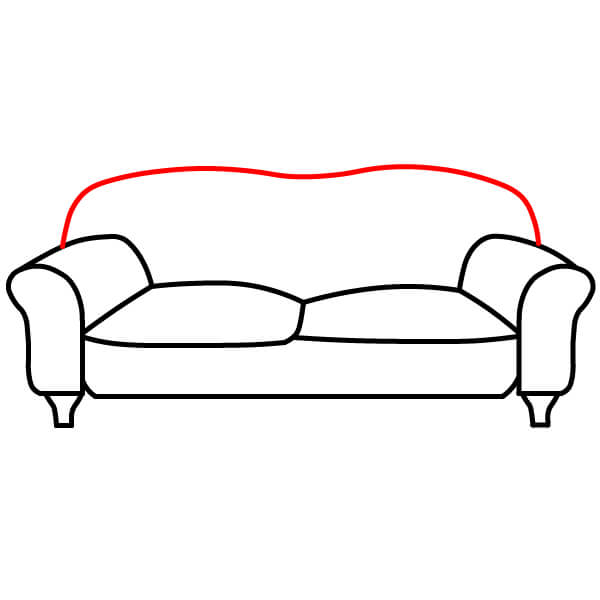
Step 8
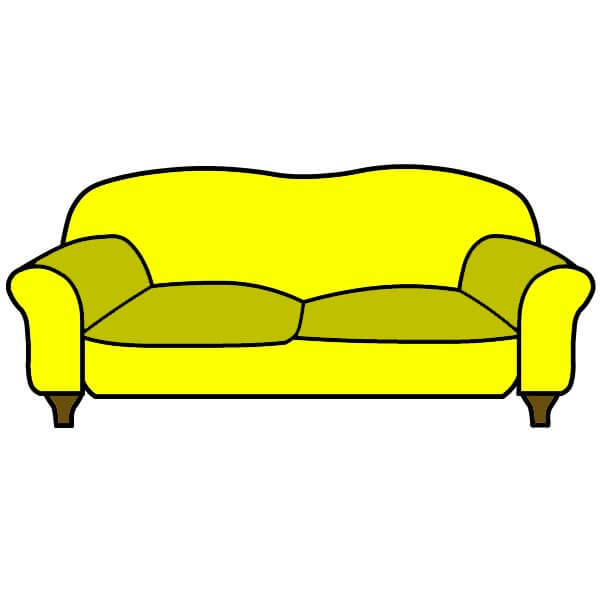
Color the drawing. Use bright yellow for the main body of the sofa and a slightly darker yellow for the cushions. Paint the legs dark brown.
▶Drawing tips
- Draw lightly with a pencil first, then darken the lines when you're satisfied.
- You don't need to draw exactly like the sample — add your own style!
- After finishing your drawing, you can color it directly on Tomau.AI to make it more vibrant.