How to Draw a Popsicle

Want to learn how to draw how to draw a popsicle? This tutorial will help you do it in just 36 simple steps, with clear illustrations for each step. Whether you're a beginner or experienced, the steps below are easy to understand and follow.
You just need a pencil, drawing paper, and an eraser — then start drawing step by step!
This lesson includes 6 different ways to draw. Choose the one that suits you best!

Simple Ice Cream Bar Drawing Tutorial for Kids – Fun and Easy to Understand
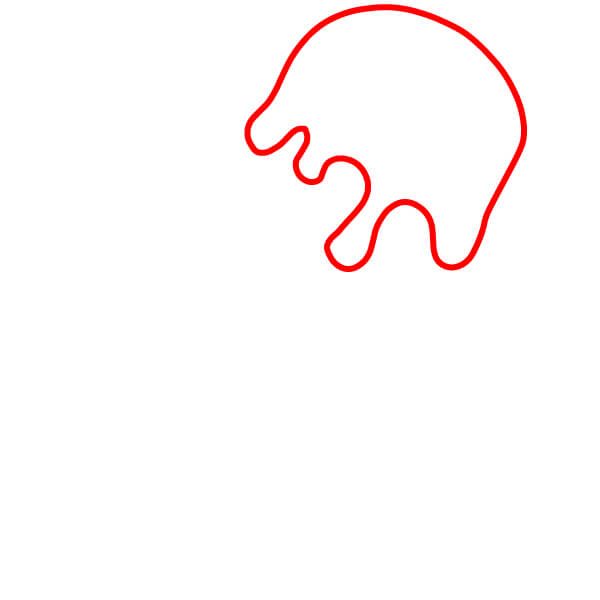
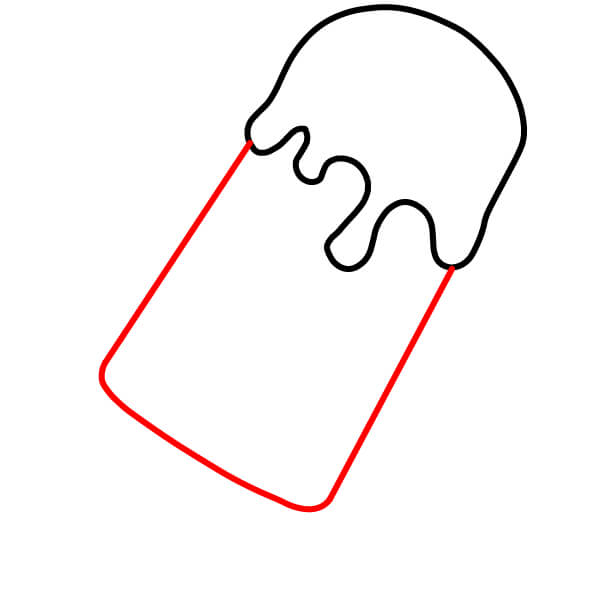
5 steps
Step 3
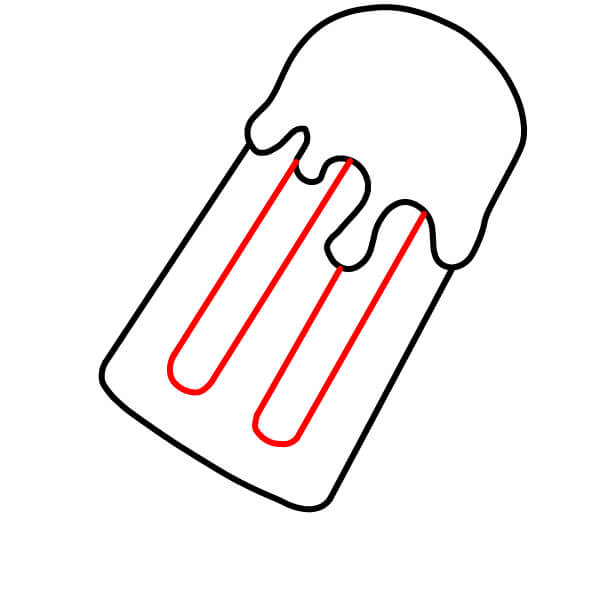
Draw two vertical lines inside the ice cream stick. These lines should be parallel to create the sections of the ice cream.
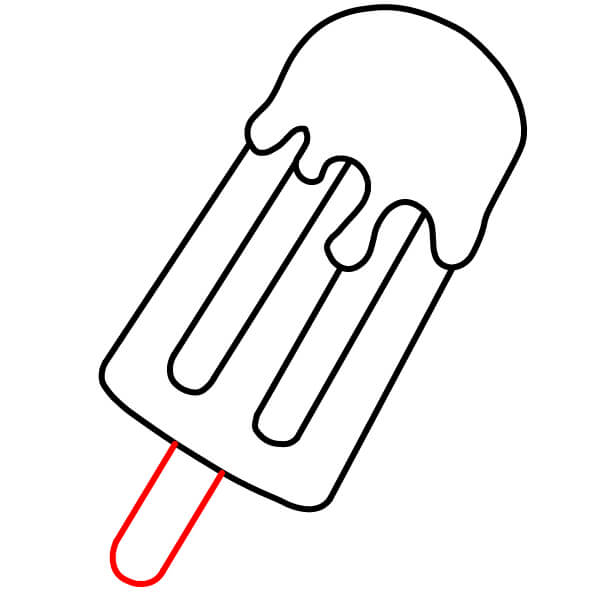
Step 5
Finally, color the ice cream. Color the melting part orange, the main ice cream body light yellow, the inner sections a slightly darker yellow, and the stick light beige.

Step-by-Step Ice Cream Bar Drawing Guide for Kids
6 steps
Step 1
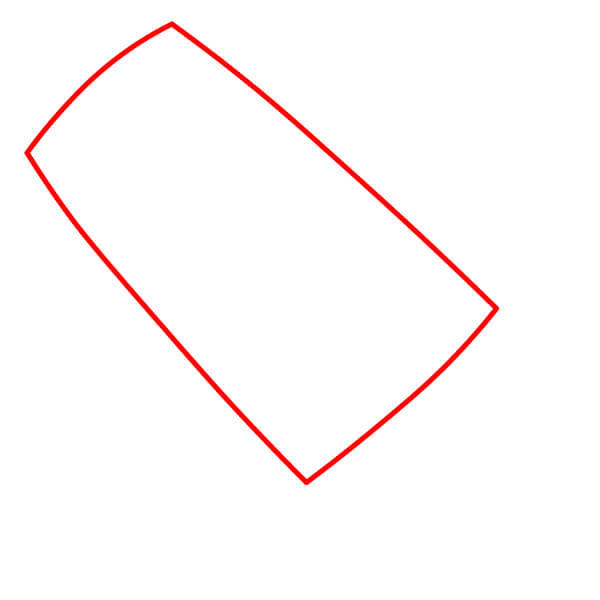
Start by drawing the basic shape of the ice cream bar, which is a rounded rectangle, wider at the top and slightly narrower at the bottom.
Step 2
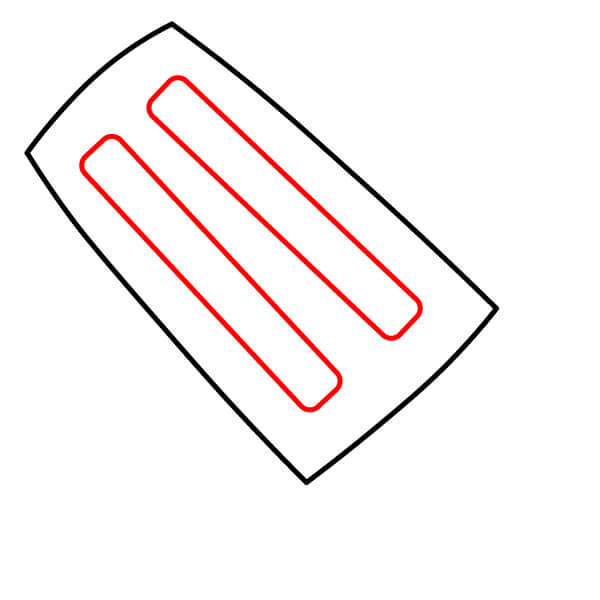
Inside the main ice cream shape, draw two long ovals or rounded rectangles parallel to each other. These are the inner parts of the ice cream.
Step 3
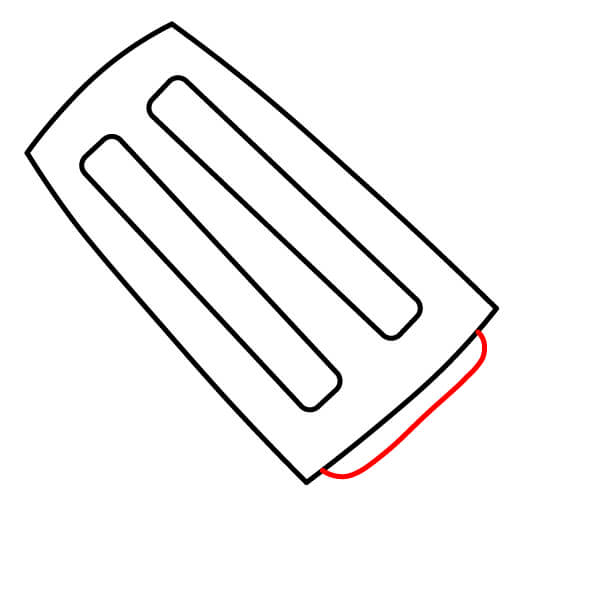
Next, draw a short curve at the bottom edge of the ice cream body. This line will create the top of the stick attachment.
Step 4
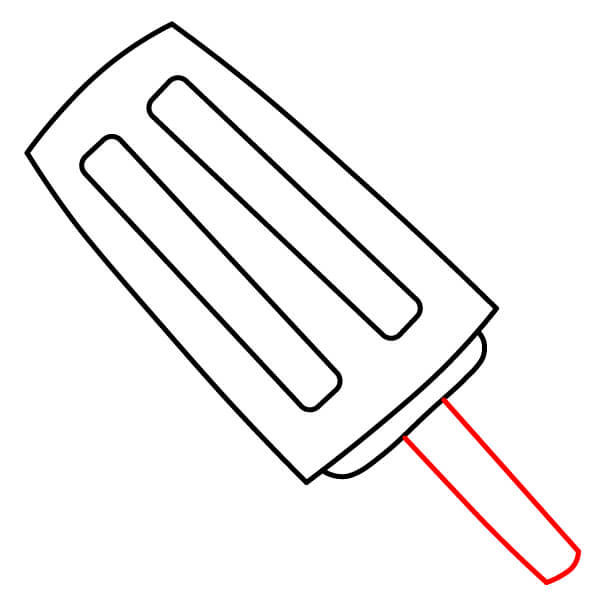
Draw the stick: the stick is a rectangular shape with one rounded end, extending downwards and slightly leaning to one side.
Step 6
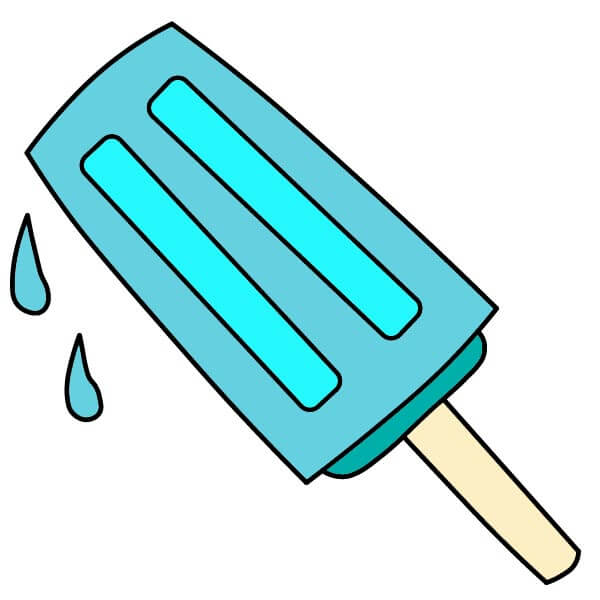
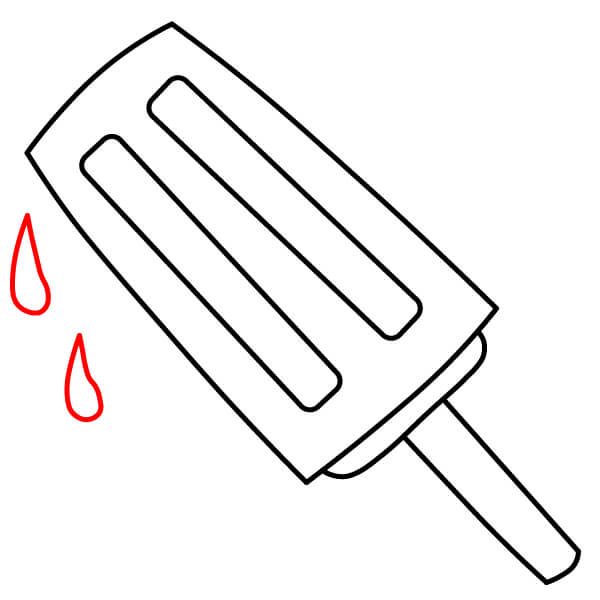
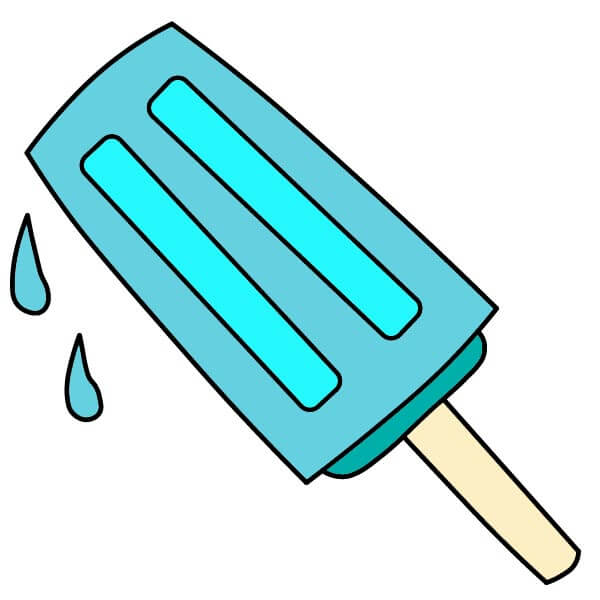
Color the main body and the inner parts with different shades of green (light green for the main body and a slightly brighter or darker green for the inner parts). Color the stick a light beige or cream color. The drips should also be colored green like the main body.
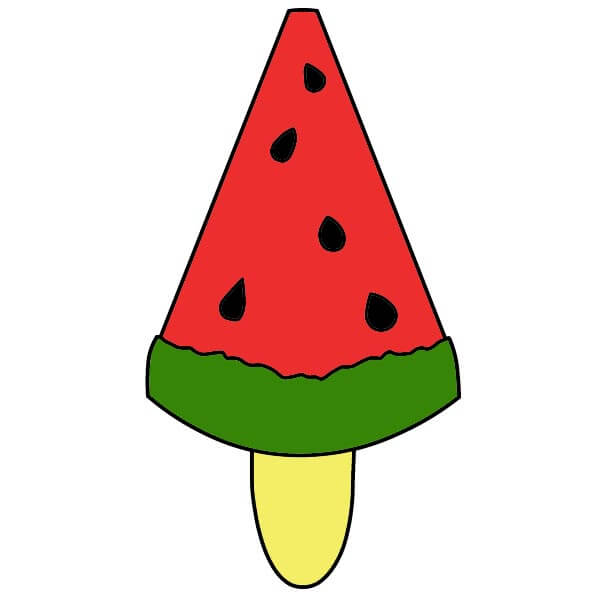
Step-by-Step Guide to Drawing a Watermelon Slice Ice Cream
5 steps
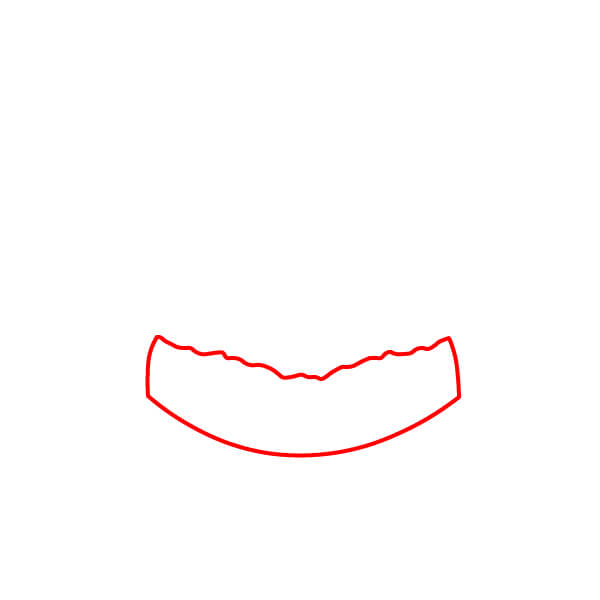
Step 1
Start by drawing the uneven, curved bottom of the watermelon slice. This shape should have a wavy top edge and a smooth curved bottom.
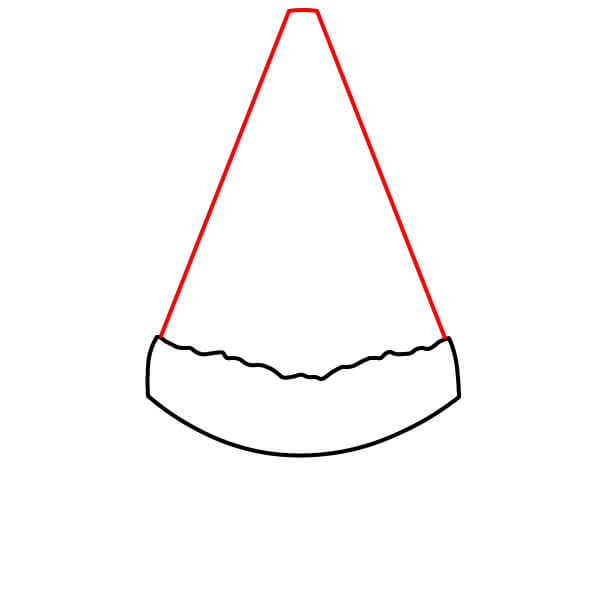
Step 2
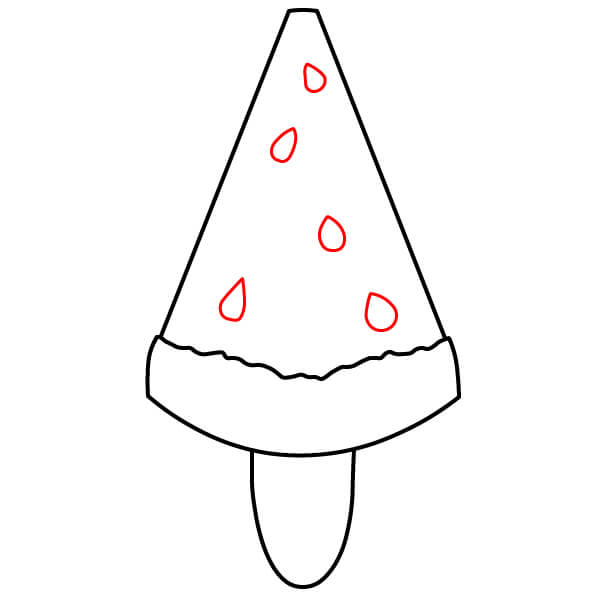
Next, draw the triangular top of the watermelon slice. Draw two straight lines extending upward and inward from both ends of the wavy edge drawn in Step 1, meeting at a point above.
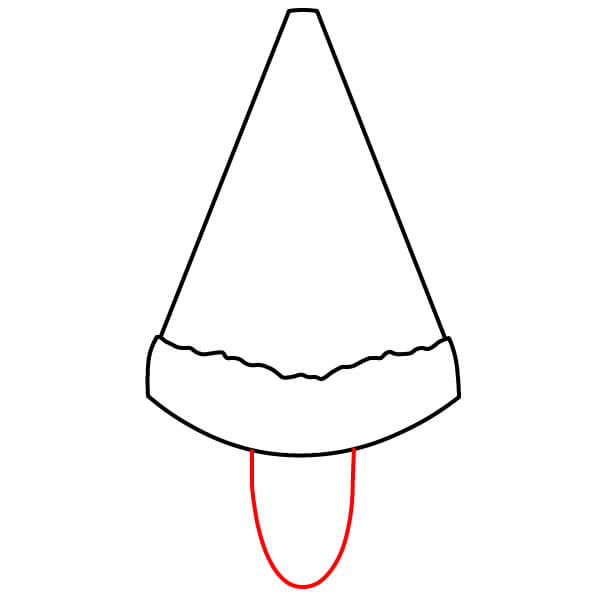
Step 3
Then, draw the ice cream stick. From the center of the curved bottom edge of the watermelon slice, draw a U-shaped line extending downward.
Step 4
Add watermelon seeds. Draw a few small oval or irregular teardrop shapes inside the triangular top of the watermelon.
Step 5
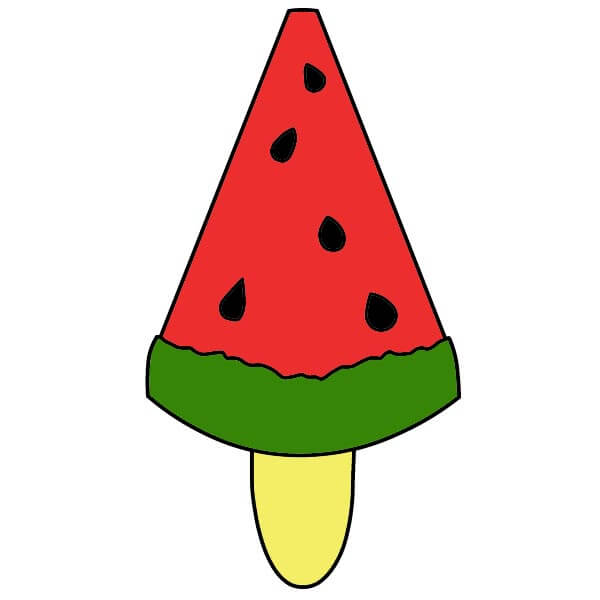
Color the triangular top bright red. Color the wavy-edged strip below dark green. Color the ice cream stick light yellow or cream. Finally, color the seeds black to complete the drawing.
Draw Your Favorite Ice Cream – Sweet and Creative!
8 steps
Step 1
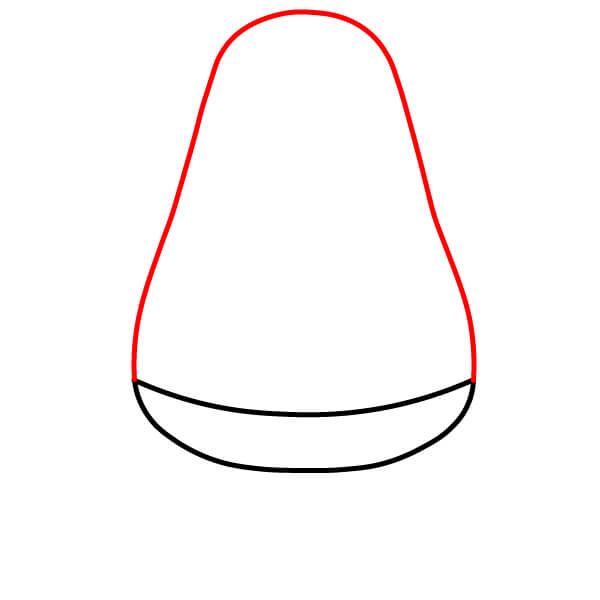
Start by drawing a wide, shallow curve to form the bottom edge of the ice cream. The ends of the curve should be slightly pointed.

Step 2
Next, draw the main body of the ice cream. Pull two lines from the ends of the curve upwards, slightly curving inward, and connect them with a rounded top.
Step 3
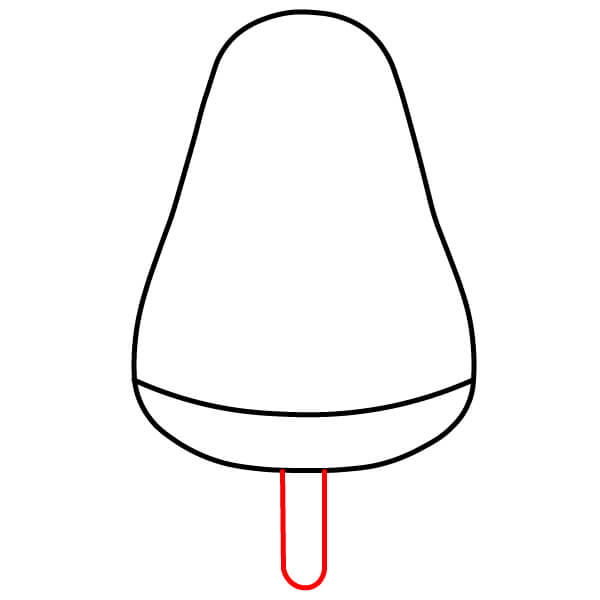
Draw the ice cream stick. From the center of the bottom of the ice cream, draw two parallel lines extending downwards and connect them with a rounded end.
Step 4
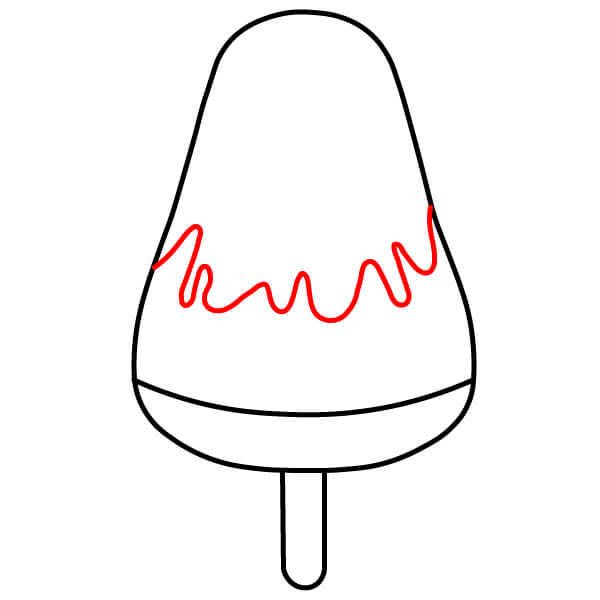
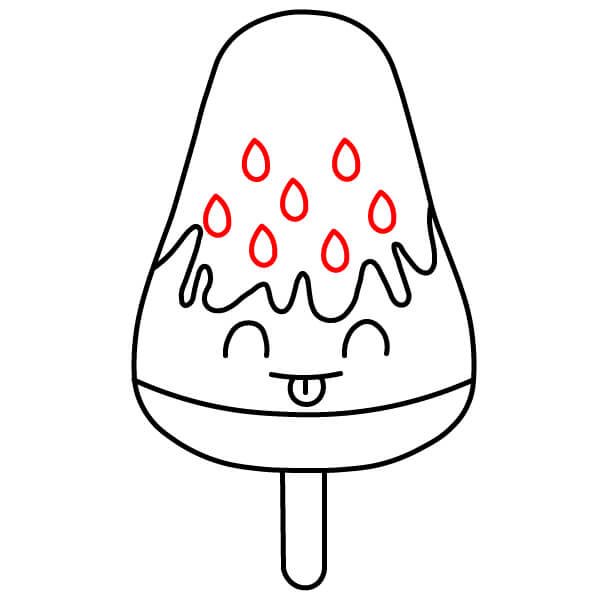
Add melting ice cream or 'icing'. Draw a wavy, uneven line across the middle of the ice cream to create the effect of melting.
Step 5
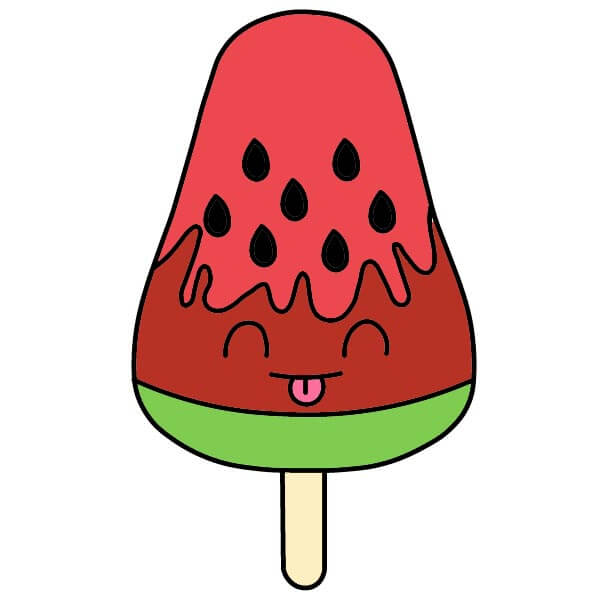
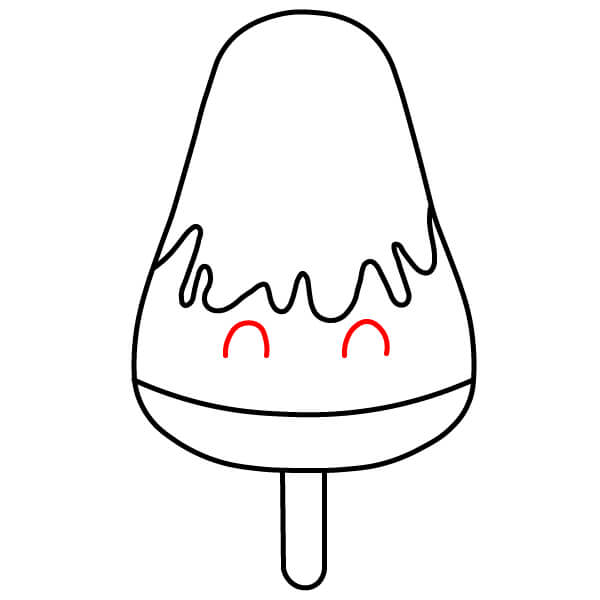
Draw two small curves just below the wavy line. These will be the closed eyes of the face on the ice cream.
Step 6
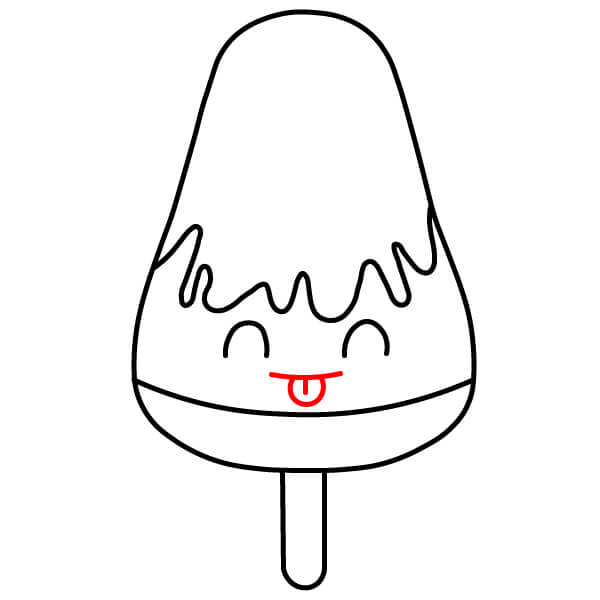
Next, draw the tongue. Draw a small U-shaped line with a small curve inside, located below the eyes, representing the tongue sticking out.
Step 7
Draw a few small drop-shaped or irregular oval shapes above the melting ice cream line. These are the watermelon seeds.
Step 8
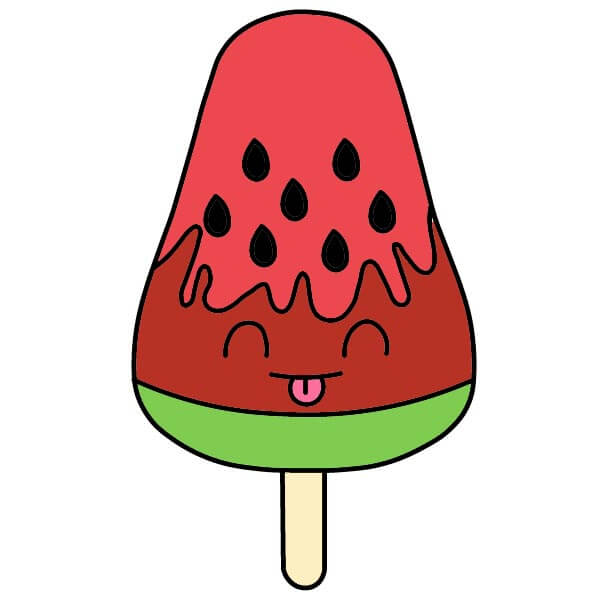
Color the top part of the ice cream (above the melting line) bright red. The part below the melting line should be dark red or reddish-brown. The curve at the bottom should be colored green. The stick should be light beige or cream. The seeds should be colored black, and the tongue should be dark pink or red.
Let's Draw a Delicious Ice Cream – Art for Young Artists
5 steps
Step 1
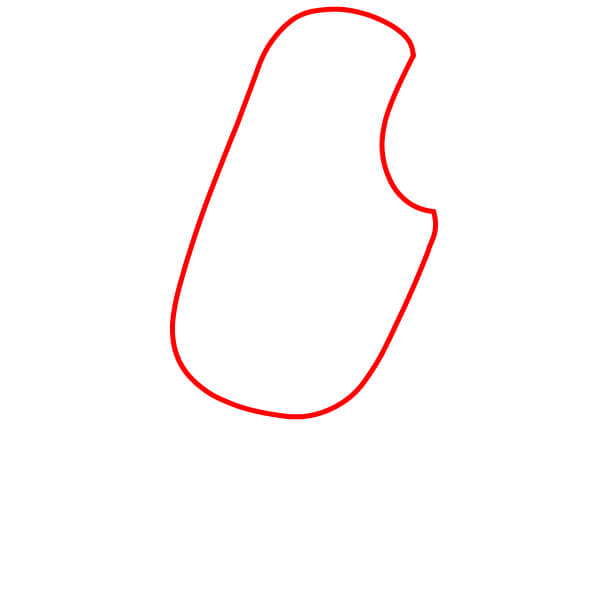
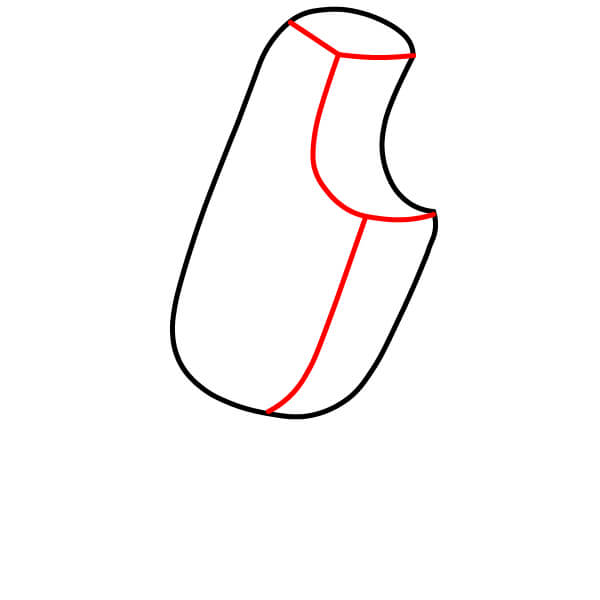
Start by drawing the irregular main shape of the bitten ice cream. This shape resembles a rounded rectangle with a curved bite on one side.
Step 2
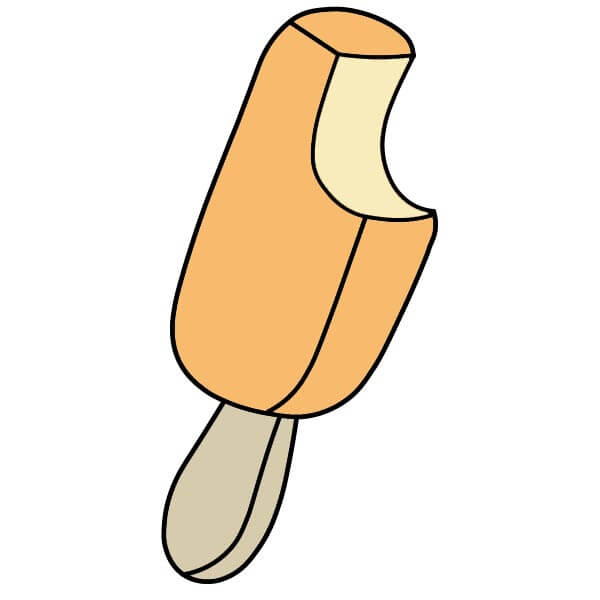
Add depth to the ice cream. Draw lines inside the outline of the bitten part as well as the top and bottom of the ice cream to create a three-dimensional effect.
Step 3
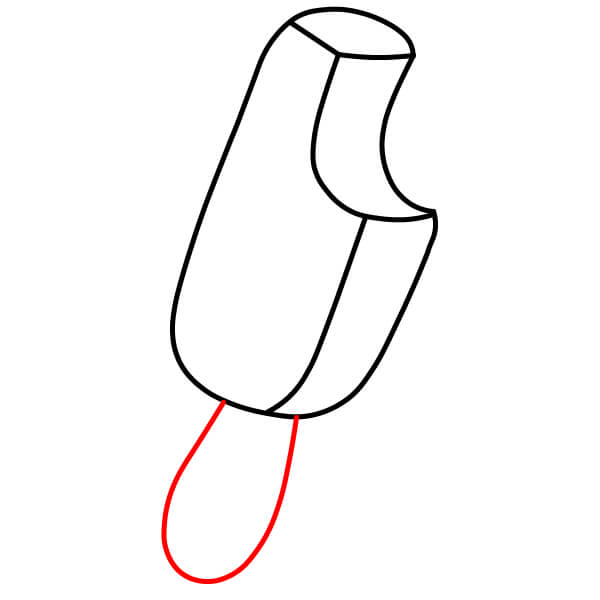
Next, draw the ice cream stick. From the center bottom of the ice cream, draw a U-shaped line extending downwards.
Step 4
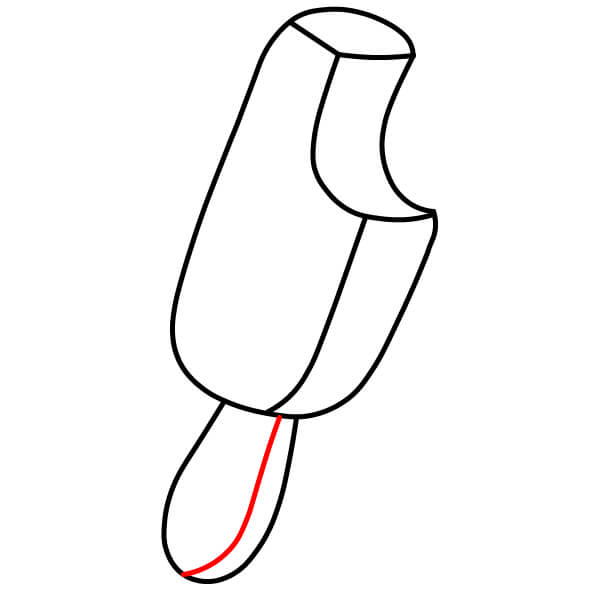
Add a line to create thickness for the ice cream stick. Draw a curved line inside the U-shaped stick to give the impression of a thicker stick.
Step 5
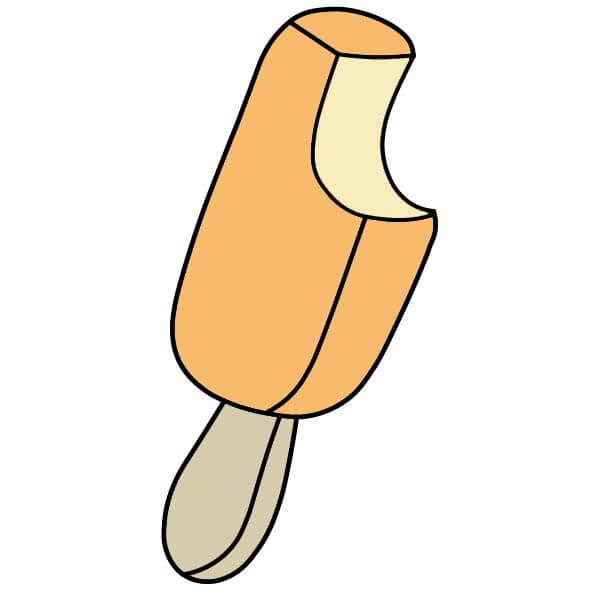
Color the main body of the ice cream with light orange or peach. Color the inside of the bitten part with light cream yellow. Color the stick with light beige or light brown.
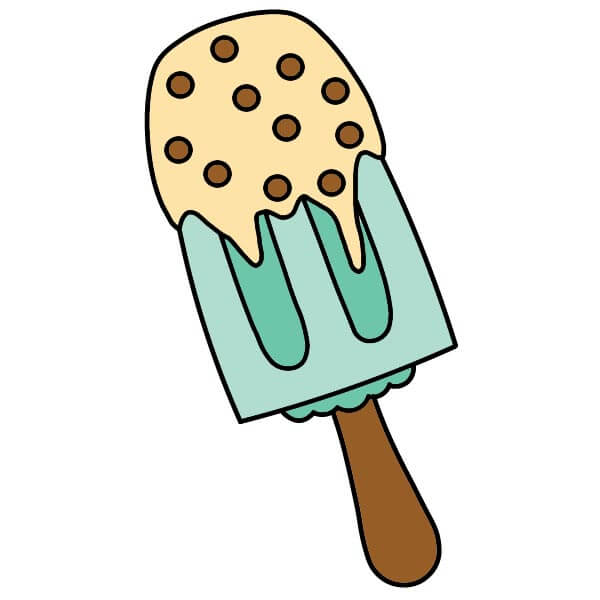
Draw a Sweet Popsicle for Kids – Easy and Fun
7 steps
Step 1
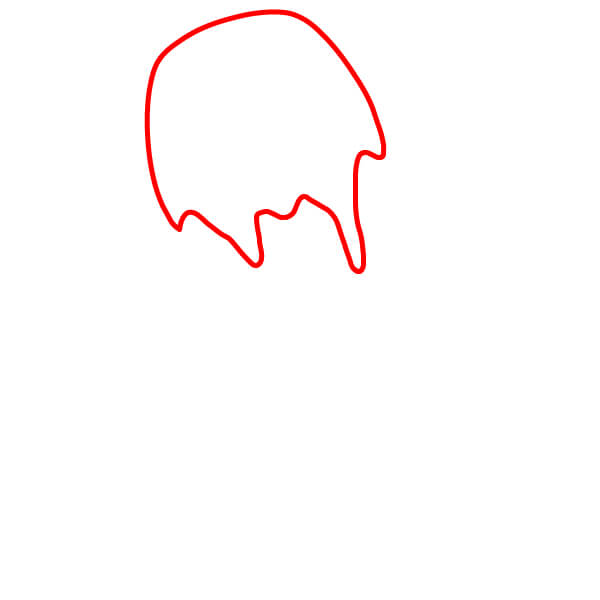
Start by drawing the top of the melting ice cream with a rounded and slightly uneven shape.
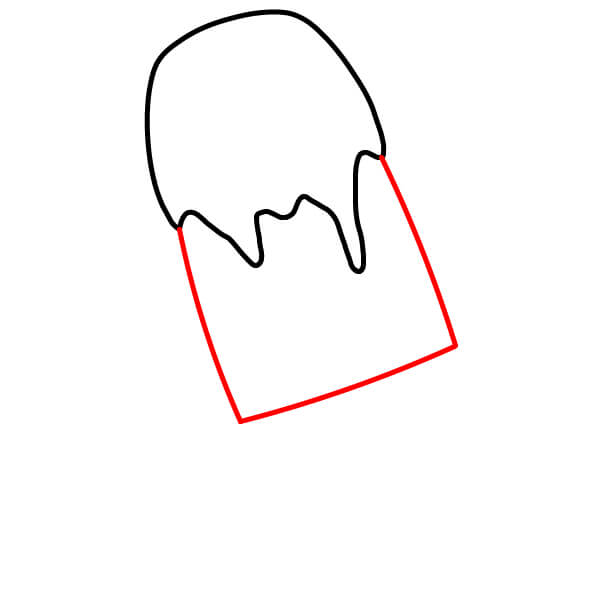
Step 3
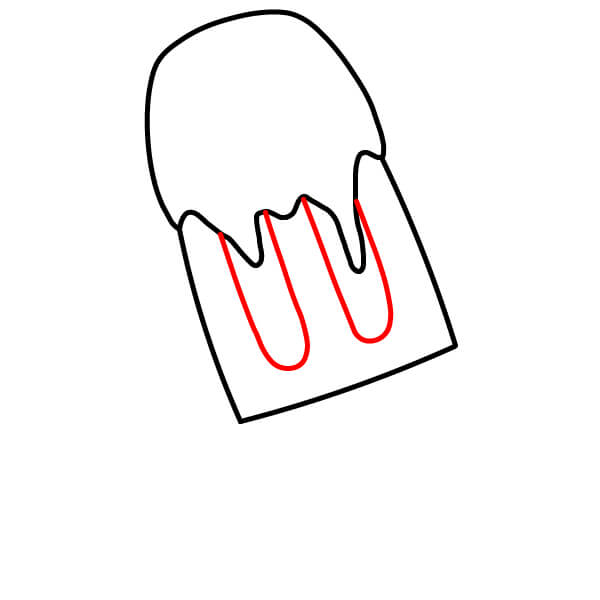
Inside the main rectangular body, draw two vertical U-shaped lines. These lines will create three separate sections inside the ice cream.
Step 4
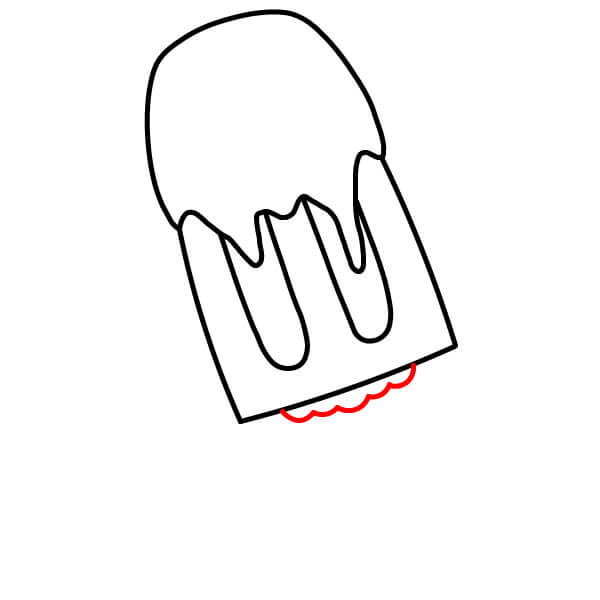
Add a wavy line along the bottom edge of the ice cream, just above the position of the stick. This detail suggests another layer or adds texture to the ice cream.
Step 5
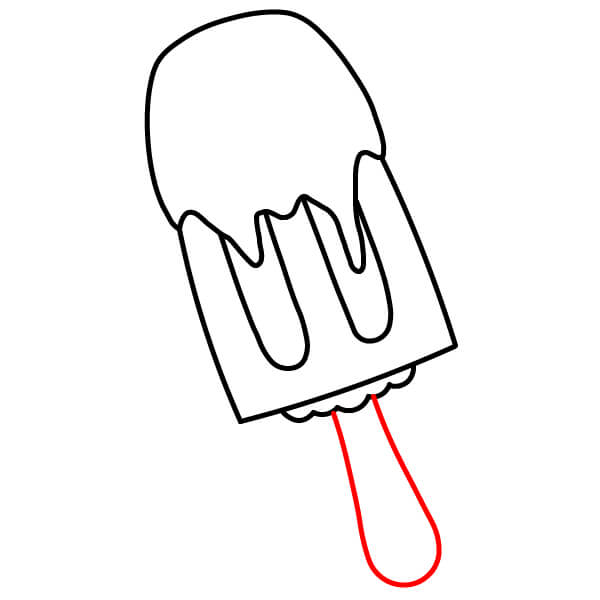
Draw the stick. Pull two parallel lines down from the center of the wavy line below and connect them with a rounded end.
Step 6
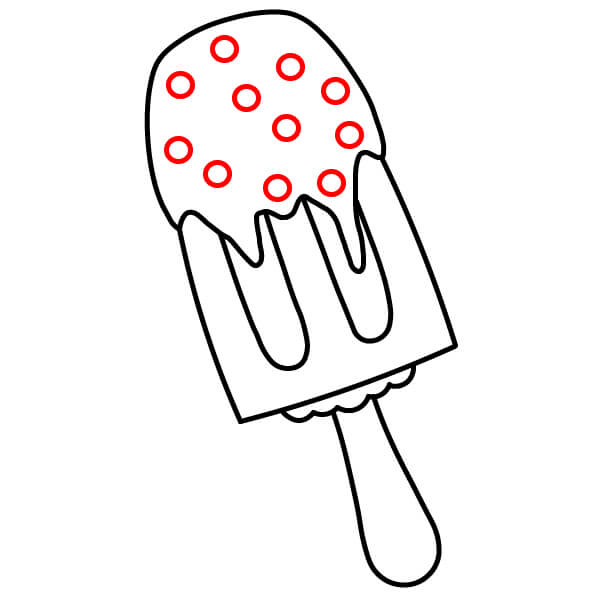
Add small circles scattered across the rounded top of the ice cream. These are chocolate chips.
Step 7
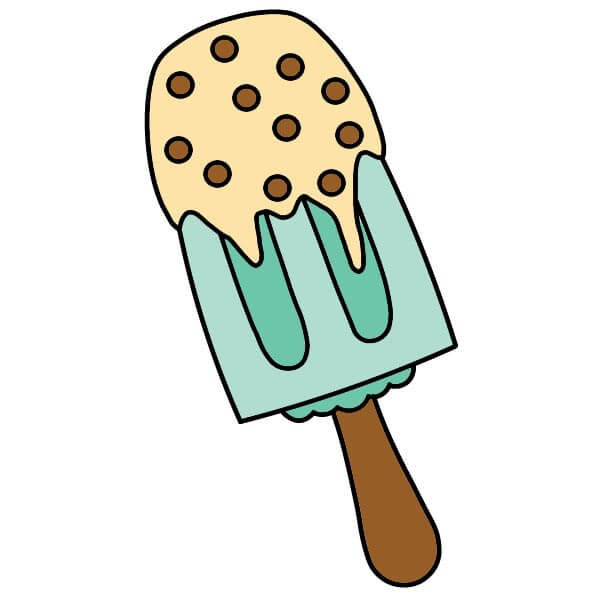
Color the rounded top with light cream yellow or beige, and color the small circles inside with light brown. Color the three vertical sections of the ice cream body with light mint green or mint. Color the wavy line below with a darker green. Finally, color the stick with medium brown. Hope this popsicle drawing guide helps you easily create a lovely drawing.
▶Drawing tips
- Draw lightly with a pencil first, then darken the lines when you're satisfied.
- You don't need to draw exactly like the sample — add your own style!
- After finishing your drawing, you can color it directly on Tomau.AI to make it more vibrant.