How to Draw a Witch Hat
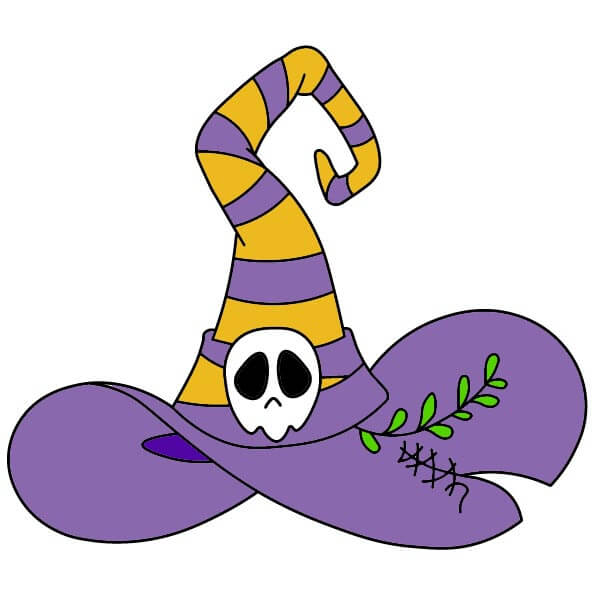
Want to learn how to draw how to draw a witch hat? This tutorial will help you do it in just 39 simple steps, with clear illustrations for each step. Whether you're a beginner or experienced, the steps below are easy to understand and follow.
You just need a pencil, drawing paper, and an eraser — then start drawing step by step!
This lesson includes 5 different ways to draw. Choose the one that suits you best!
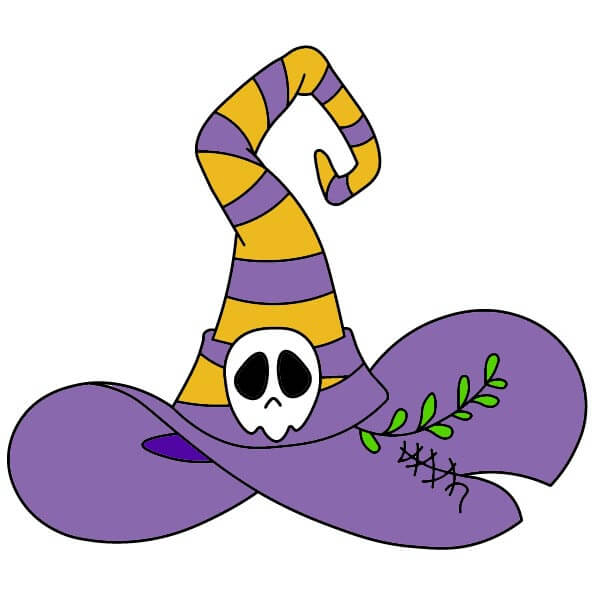
Simple Steps to Draw a Magical Witch Hat for Kids
9 steps
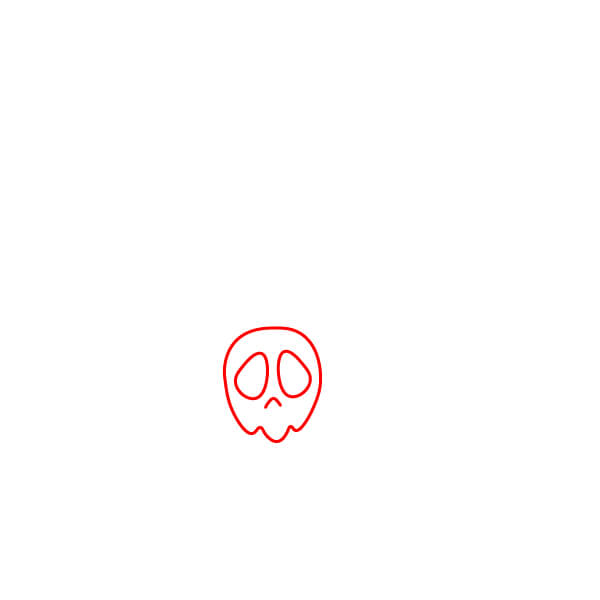
Step 1
Start by drawing a small skull shape near the bottom center of the page. This will be the emblem on the hat. Draw two large ovals for eyes and a small upside-down heart for the jawline.
Step 2
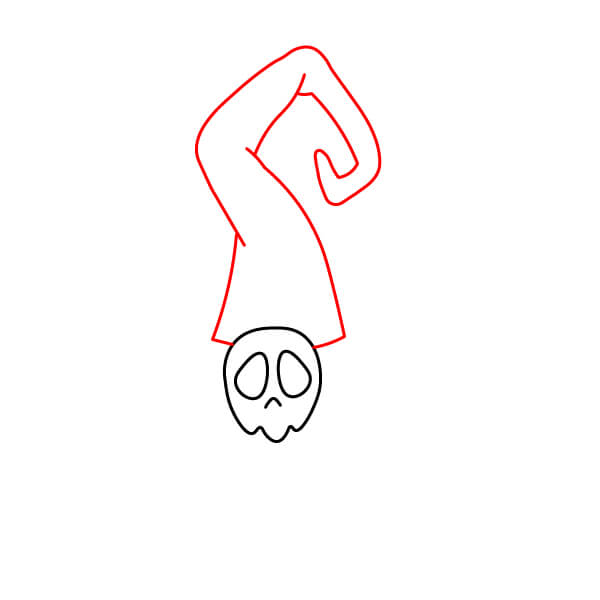
From the top of the skull, draw the main cone shape of the hat. This cone should curve sharply to the left near the top and curve down, ending in a swirl or hook shape.
Step 3
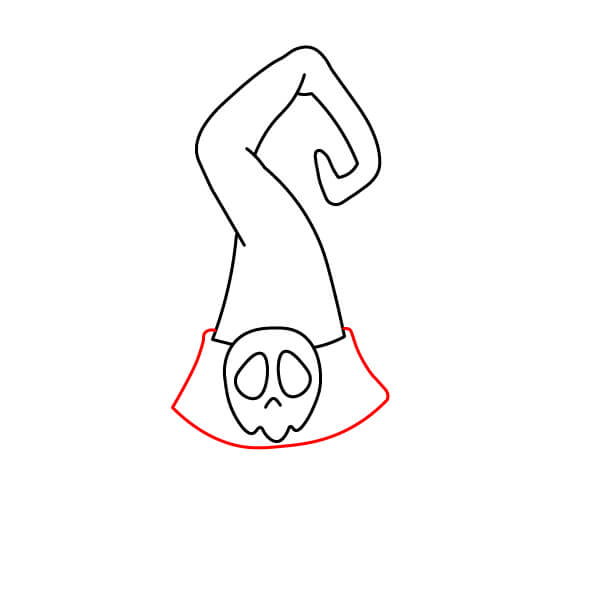
Draw a round band, like a collar, around the base of the cone, just above and surrounding part of the skull. The top should be a gentle curve, and the bottom should also be a gentle curve.
Step 4
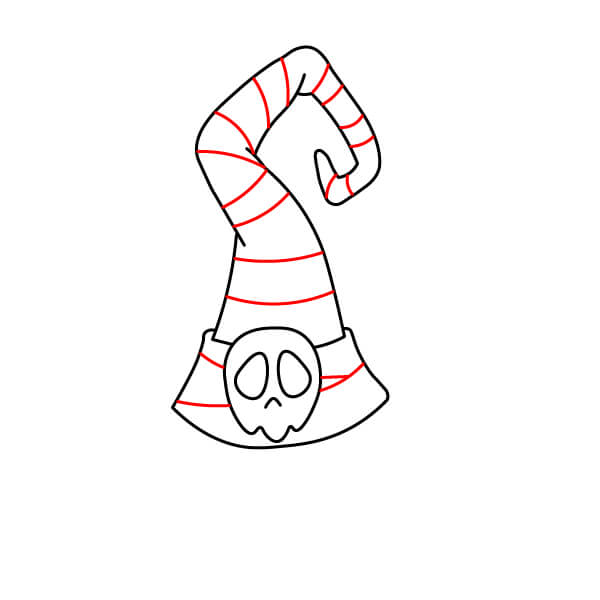
Add horizontal curves along the cone, following its shape, to create stripes. These lines should be evenly spaced, giving the hat a quirky, striped appearance.
Step 5
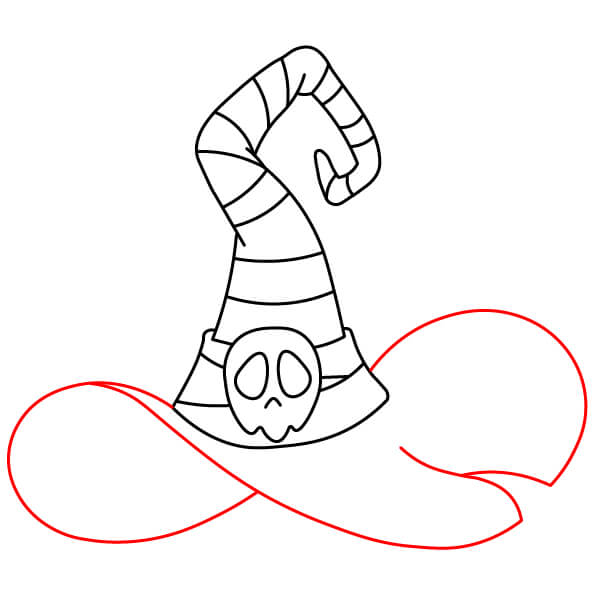
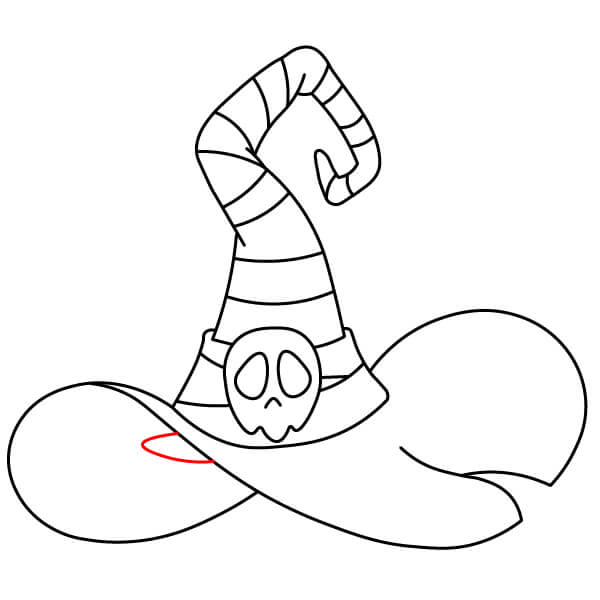
Draw a wide, wavy brim for a soft, impressive look. Create a large, natural curve for the outline.
Step 7
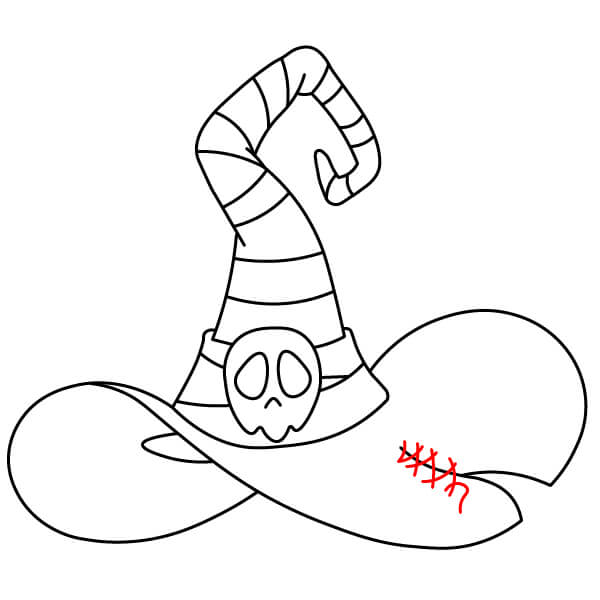
On the right side of the brim, add cross-stitch patterns to give the impression that the hat is magically patched or sewn. Draw a few small 'X' shapes connected vertically.
Step 8
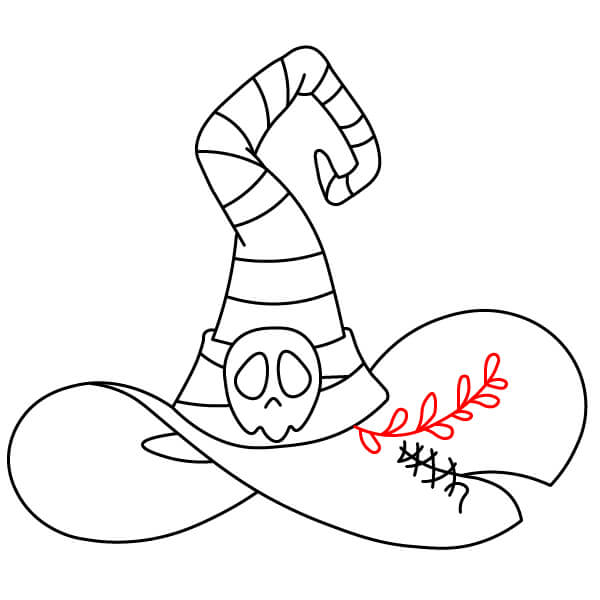
Draw a small vine or leaf branch protruding from under the hat band, sitting on the brim near the seam. The vine should have several small oval or teardrop shapes for leaves.
Step 9
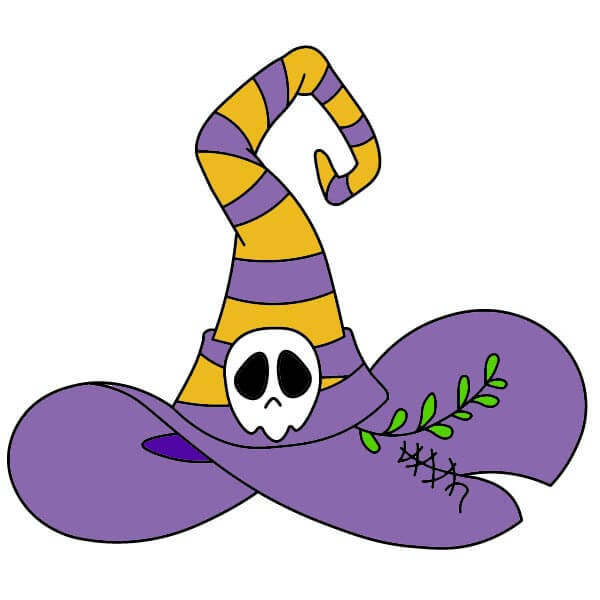
Finally, color the drawing. Color the main brim and all other stripes on the hat with dark purple. Color the remaining stripes on the hat with orange. The skull should be white with black eye sockets. Color the leaves green.
Simple Witch Hat Drawing Tutorial for Halloween
6 steps
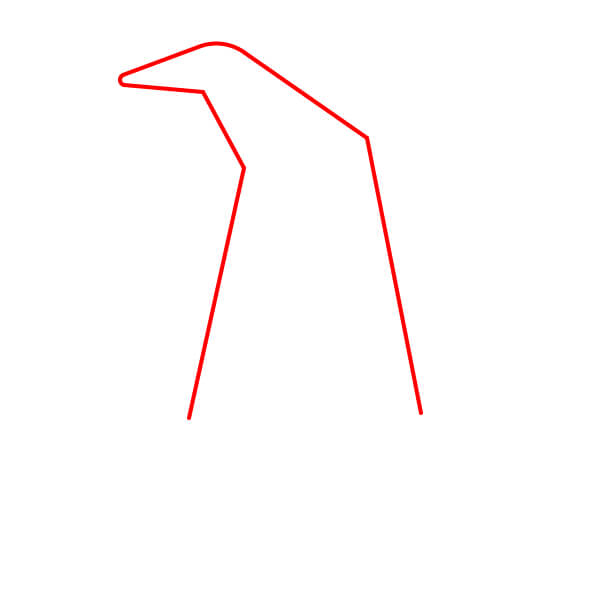
Step 1
Start by sketching the basic outline of the hat's top. The top resembles a long, slightly tilted cone with a pointed tip. The lines are mostly straight, forming the traditional witch hat shape, somewhat rigid.
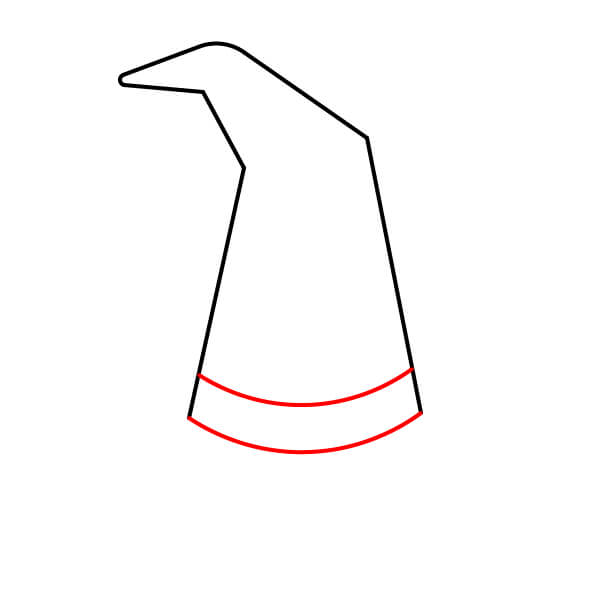
Step 3
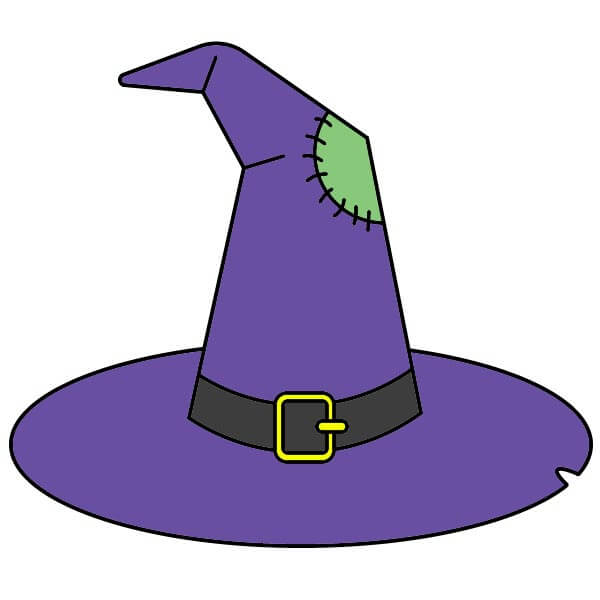
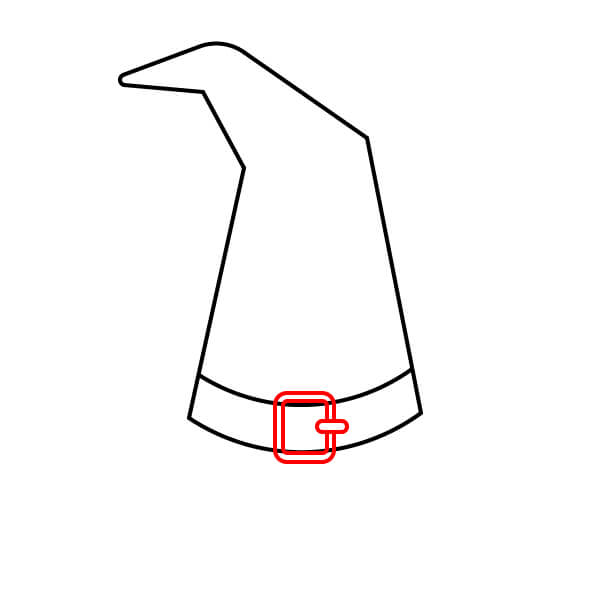
In the middle of the band, draw a rectangular buckle. Add a small bar inside the rectangle and a small pin protruding from it.
Step 4
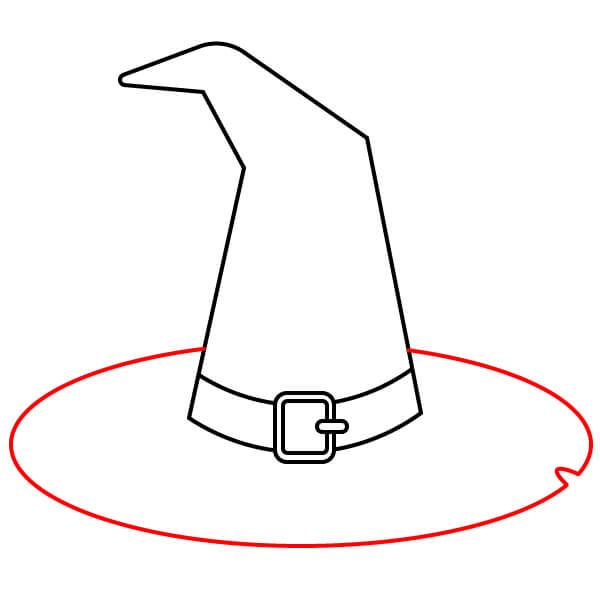
Draw a large, wide oval around the base of the hat, below the band, to form the brim. Add a notch or small tear on the right side of the brim for a worn effect.
Step 5
Draw a few short straight lines near the tip of the hat, then draw a curve at the edge of the cone, filling it in with small stitches to create a patch.
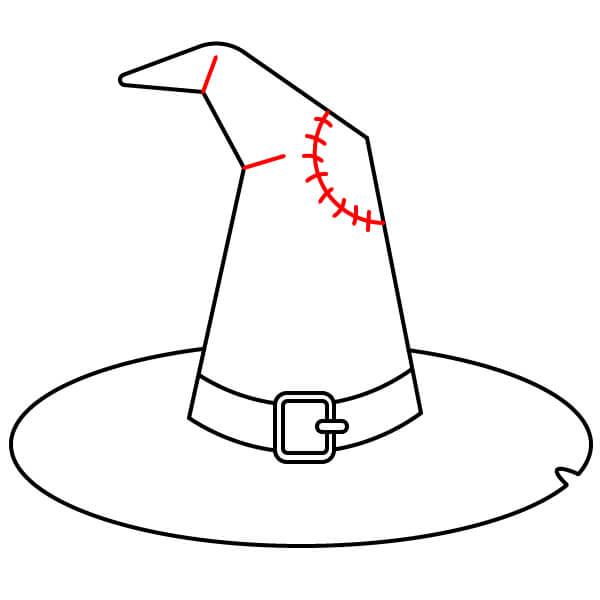
Step 6
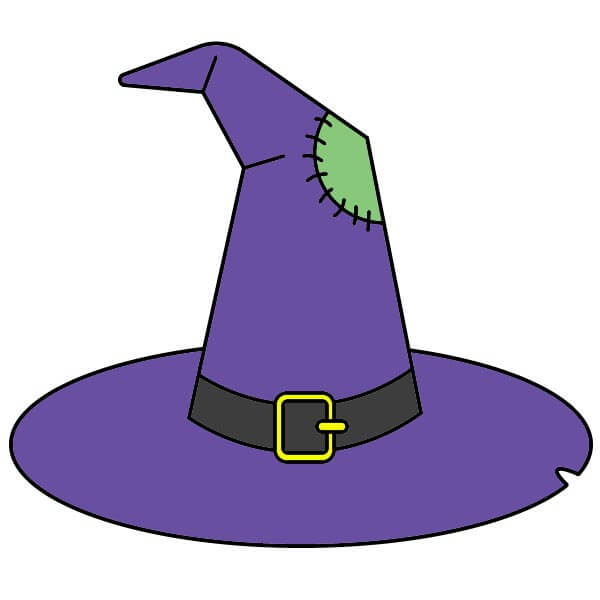
Color the main hat (cone and brim) dark purple, the band black, the buckle bright yellow, and the patch on the side of the hat light green.
Fun Witch Hat Drawing Tutorial
8 steps

Step 2
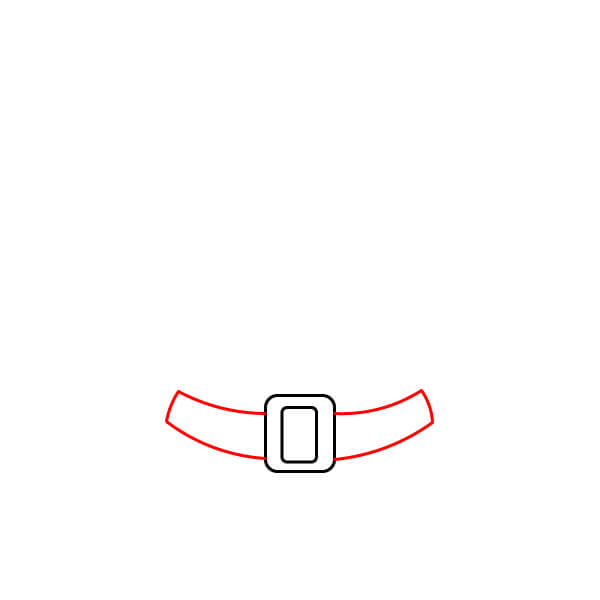
On each side of the band, draw two curved straps, horizontally, to form the hat's band.
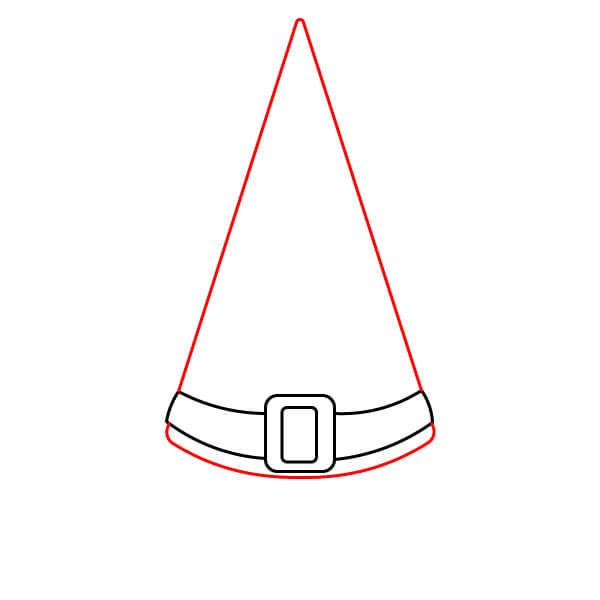
Step 4
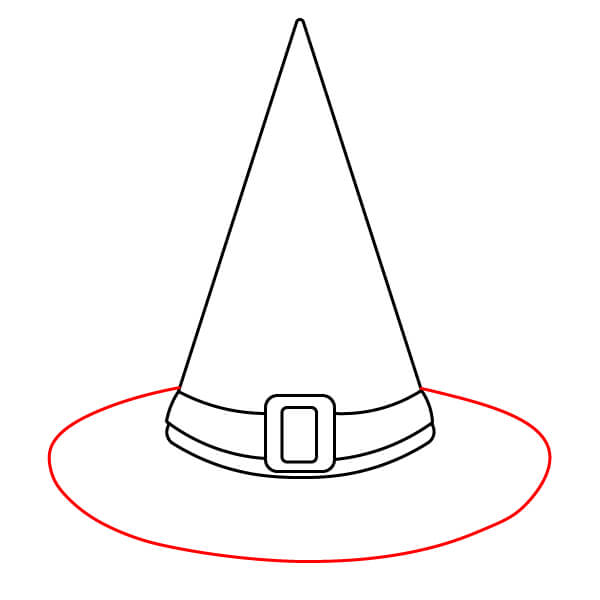
Draw a large, neat oval around the bottom of the band to create a completely symmetrical brim.
Step 7
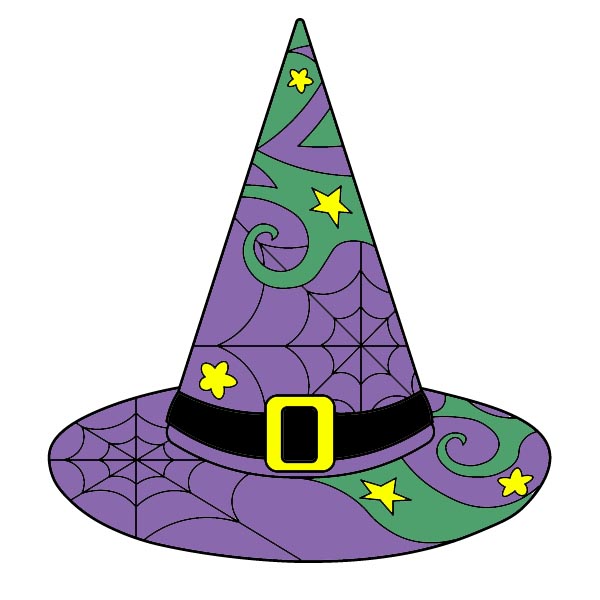
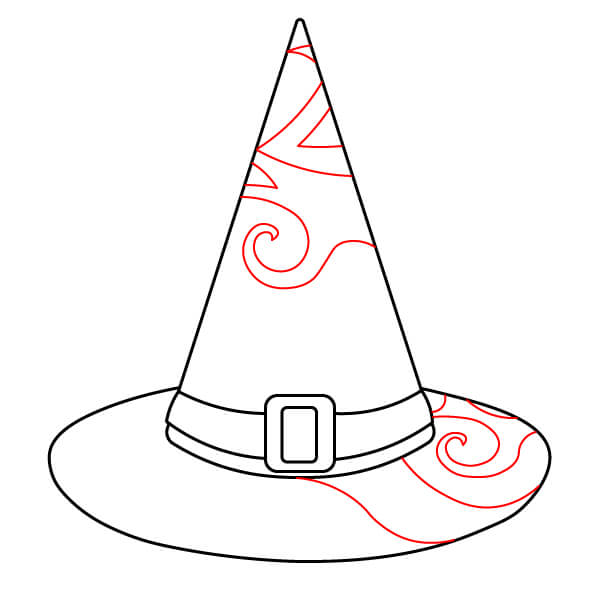
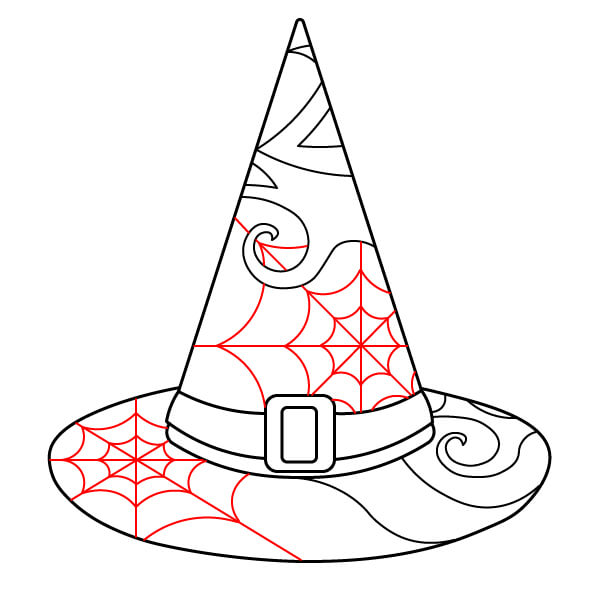
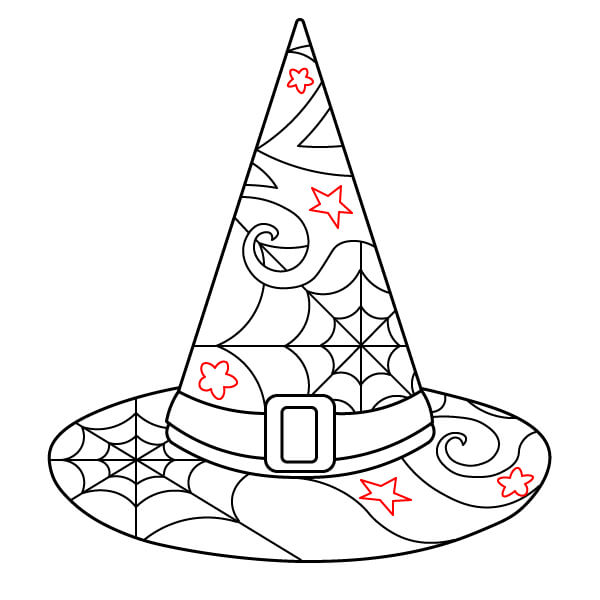
Draw some five-pointed stars and small star-like flowers in the open areas of the hat design.
Step 8
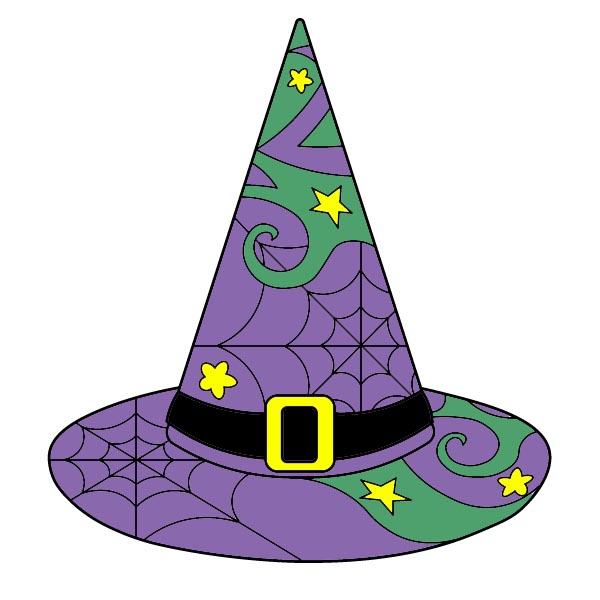
Color the band black and the buckle bright yellow. Alternate sections of the cone and brim with purple and green to highlight the swirling patterns. Color the small stars yellow.
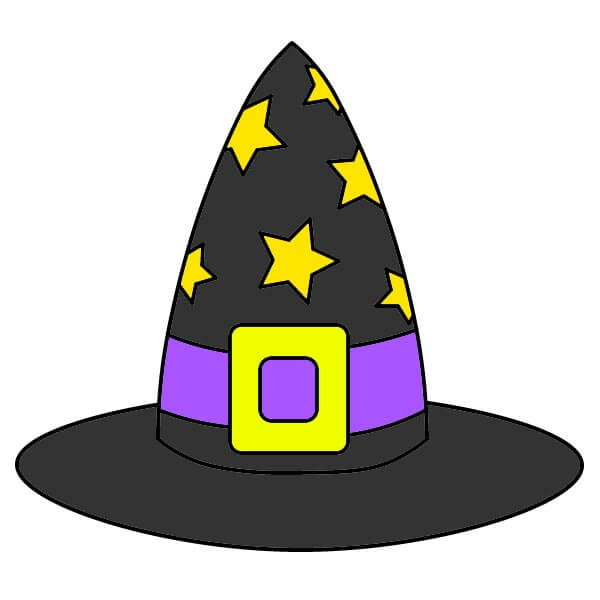
Starry Witch Hat Drawing Tutorial
6 steps
Step 1
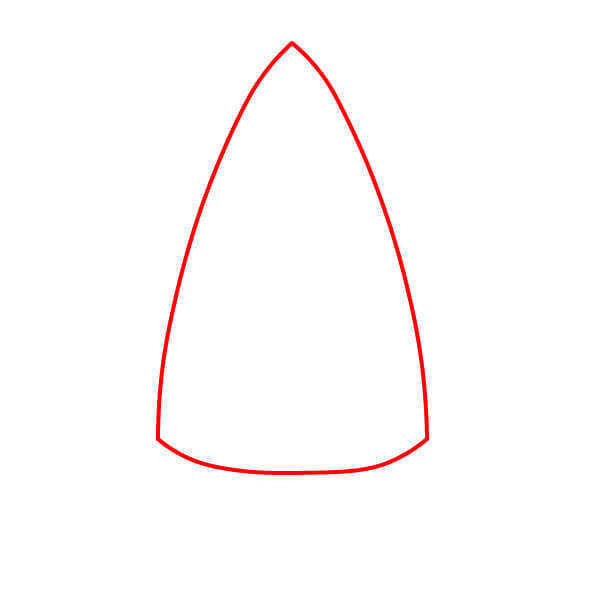
Start by drawing a tall, round, and pointed cone. Unlike a regular triangle, the edges of this cone should curve slightly outward before meeting at the top.
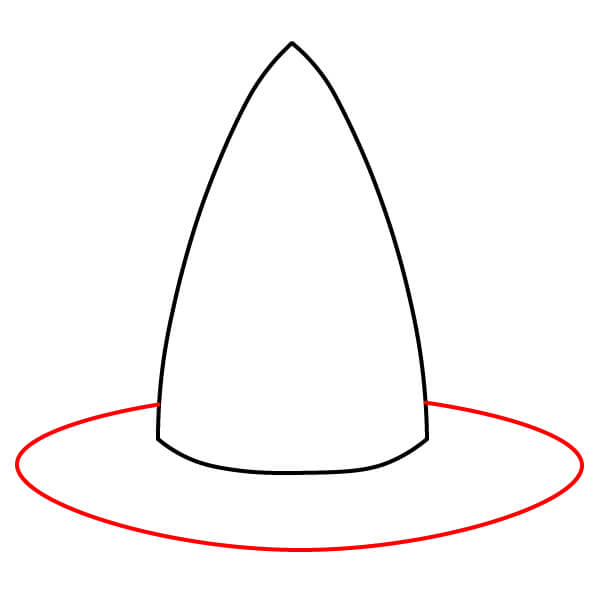
Step 3
Draw two short horizontal lines on the cone, spaced vertically apart, to mark where the hat's string will go through.
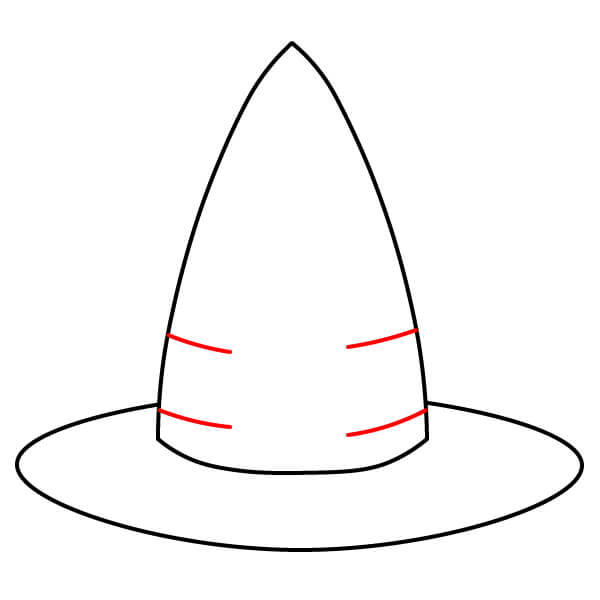
Step 4
In the middle of the strap area, draw a large, rounded square or rectangle to form the body of the buckle. Inside this shape, draw a smaller, similar shape to create the open part of the buckle.
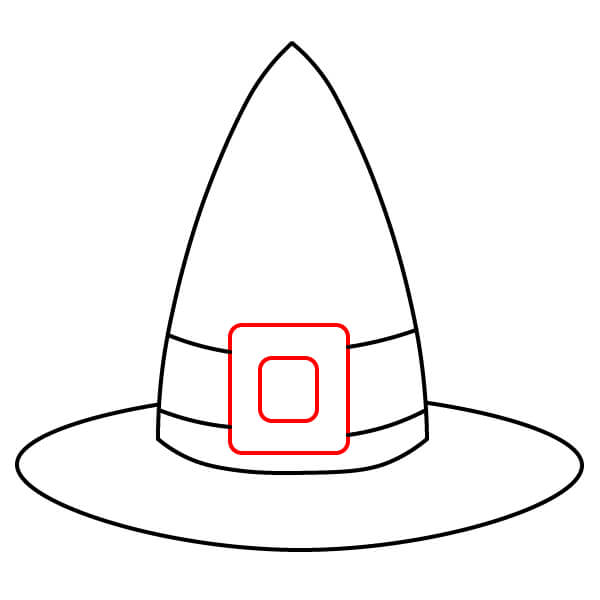
Step 5
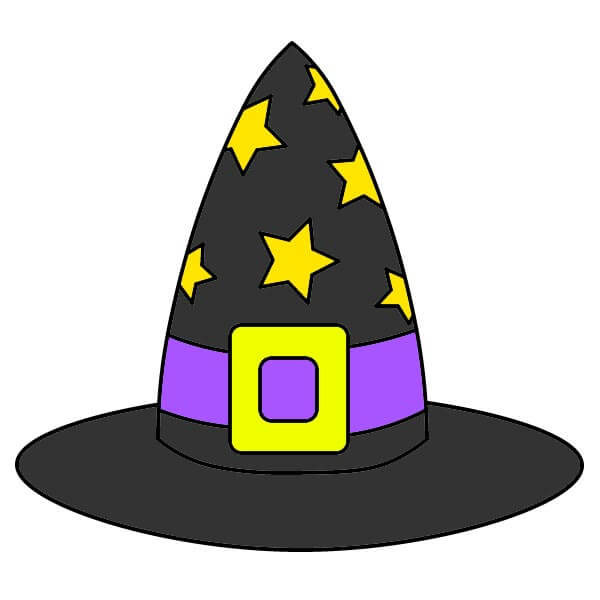
Decorate the main body of the hat (the cone) with some five-pointed stars. Draw them in various sizes and positions on the surface, ensuring they fit snugly along the hat's outline.
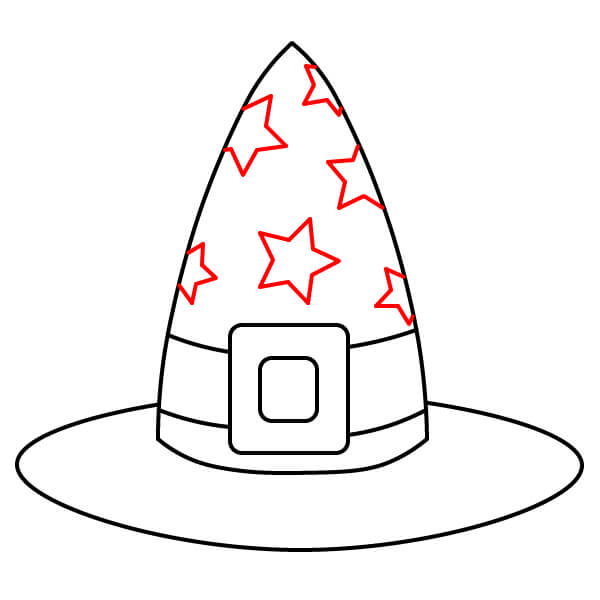
Step 6
Color the cone tip and brim of the hat black, color the stars yellow, color the hat band purple, and the buckle yellow with a purple rectangle inside.
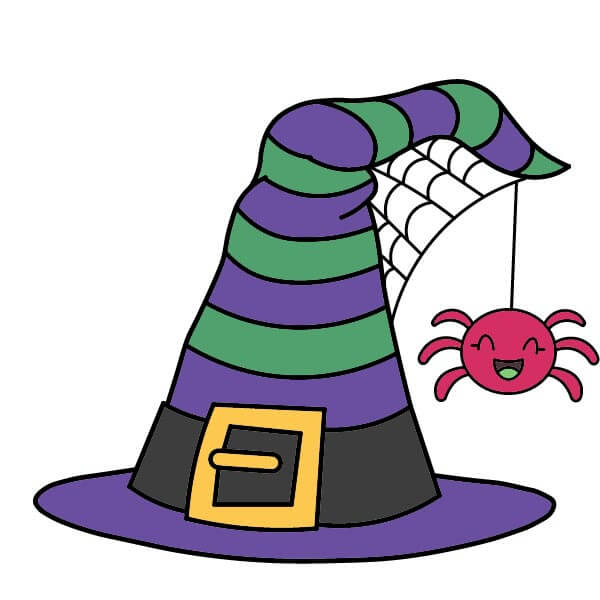
Learn to draw a striped witch hat with a spider
10 steps
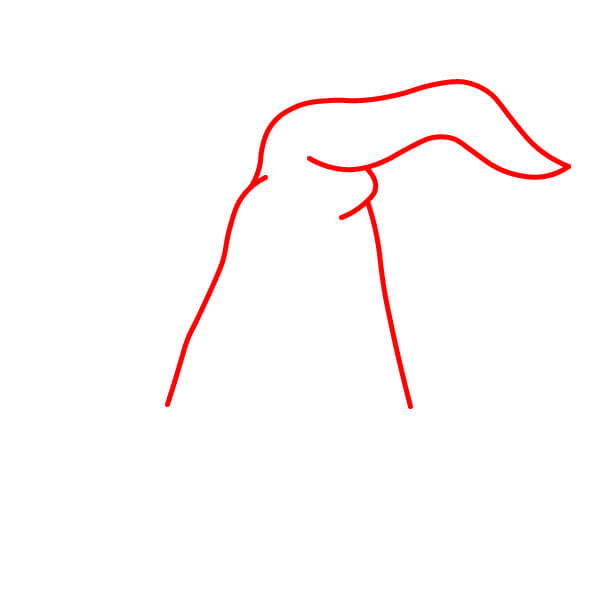
Step 1
Start by drawing a tall, curved cone shape for the hat. The base of the hat should be wide and taper upwards. The tip of the hat should curve to the right and widen into a soft, rounded point.
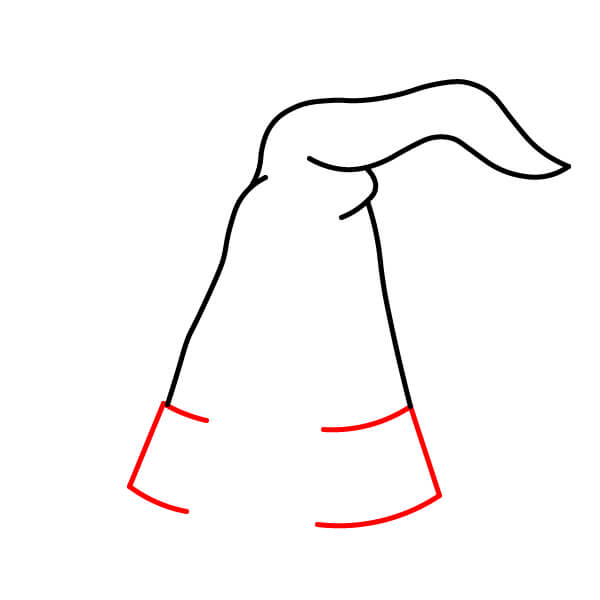
Step 2
Draw the lower edges of the hat brim. Add a curve on the left and a curve on the right, connecting them to the lower edges of the cone.
Step 3
Draw a large rectangle in the middle of the strap area. This is the outer frame of the buckle. Inside the frame, draw a smaller rectangle and a single horizontal line in the middle to represent the tongue of the buckle.
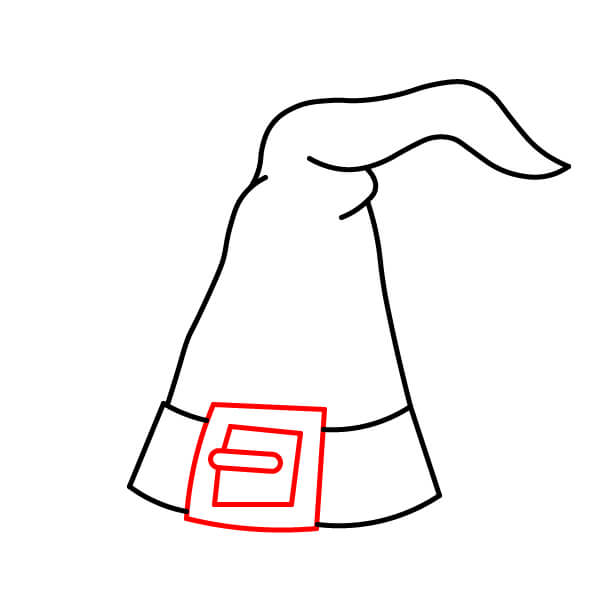
Step 4
Draw a wide, flat oval below the brim and body of the hat. This will form the hat's brim.
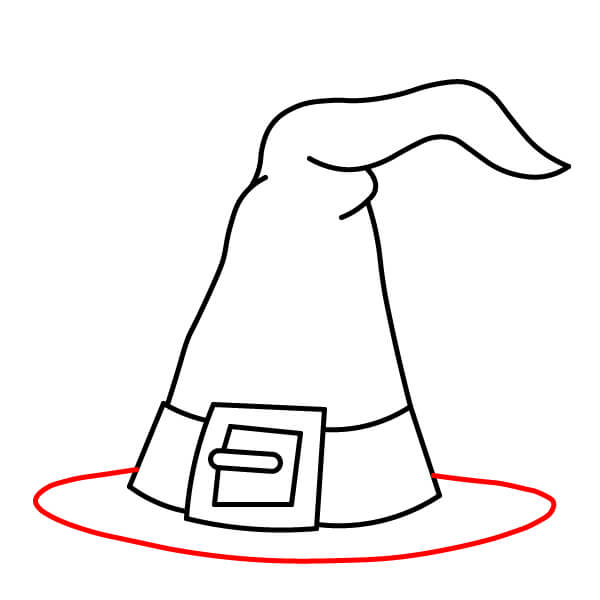
Step 5
Draw horizontal curves along the entire cone tip and the curved top of the hat. These lines follow the shape of the hat to create segments for the striped pattern.
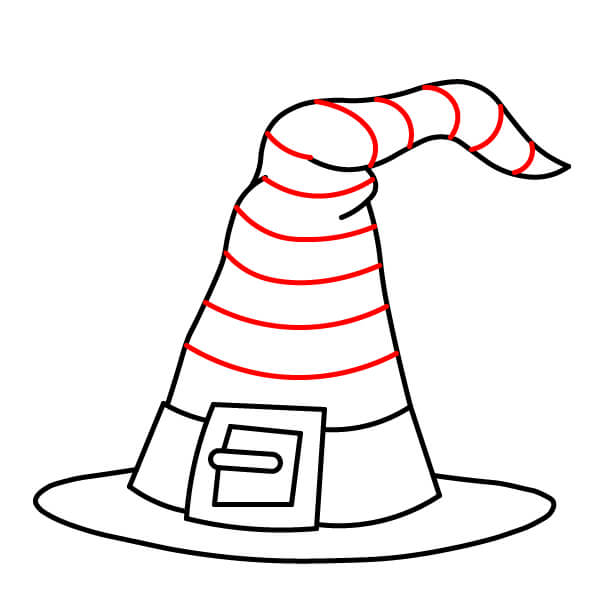
Step 6
Draw several radial lines extending from the tip of the hat, followed by short curves connecting the radial lines to form the sticky threads of the spider web. Draw a vertical line hanging down from the web to represent the spider silk.
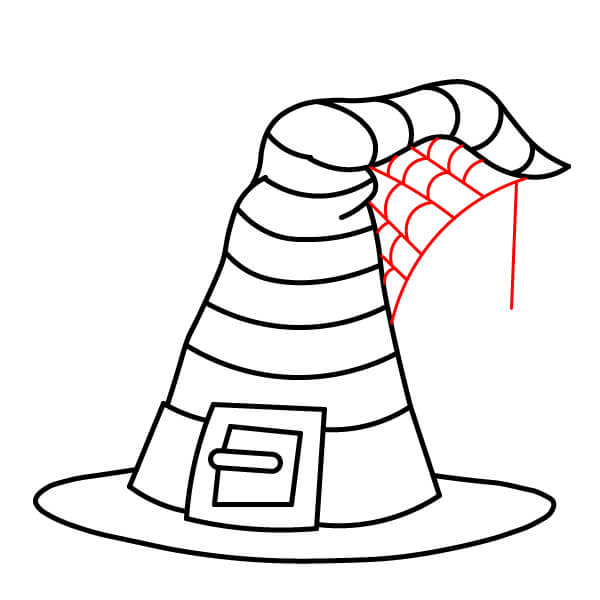
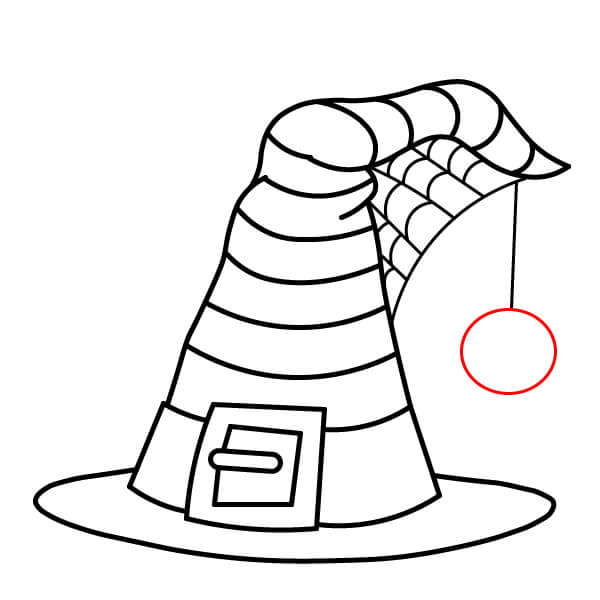
Step 8
Add the spider's eight legs. Draw three short curves extending from each side of the spider's body.
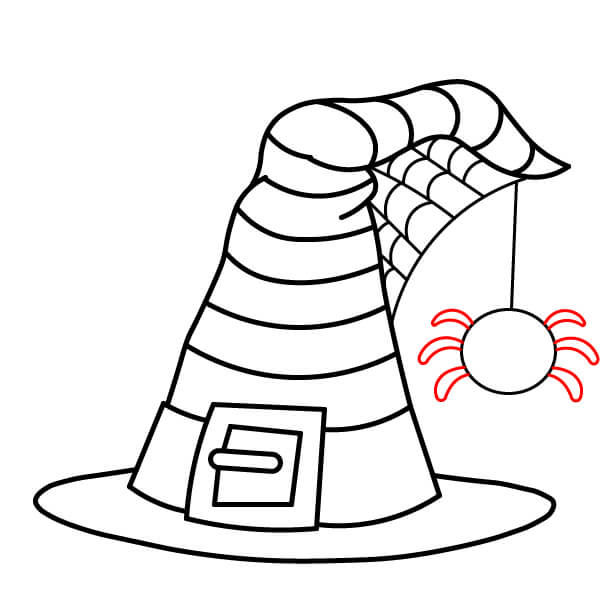
Step 9
Draw a cute cartoon face for the spider: Draw two small eyes, a bright smile, and a tongue inside the mouth.
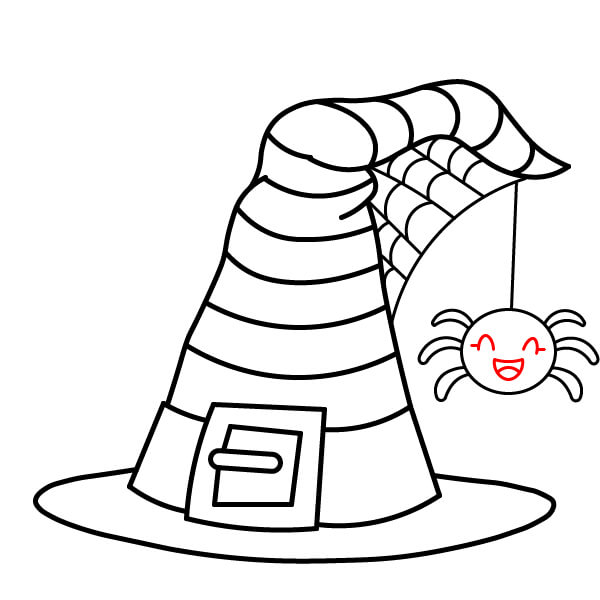
Step 10
Color the hat. Alternate stripes of purple and green. Color the hat brim dark gray. Color the top of the hat purple. Color the buckle yellow. Color the spider body pink or red.
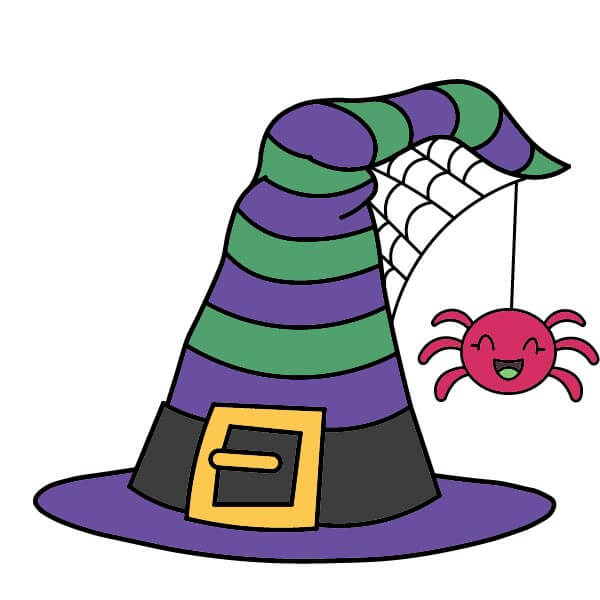
▶Drawing tips
- Draw lightly with a pencil first, then darken the lines when you're satisfied.
- You don't need to draw exactly like the sample — add your own style!
- After finishing your drawing, you can color it directly on Tomau.AI to make it more vibrant.