How to Draw a Sombrero
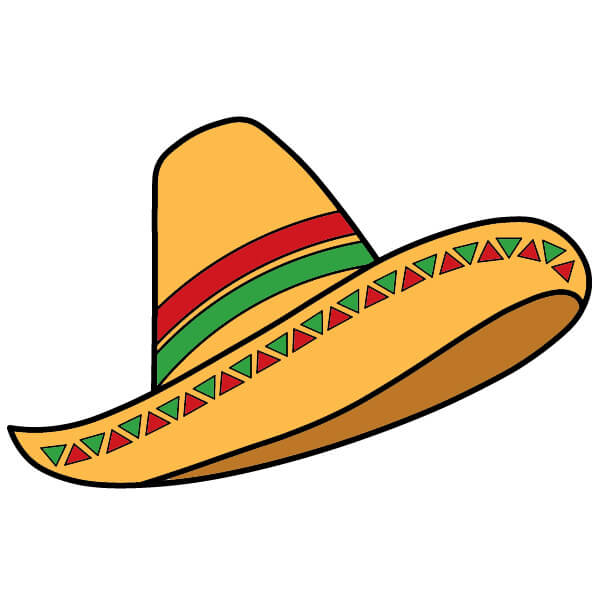
Want to learn how to draw how to draw a sombrero? This tutorial will help you do it in just 38 simple steps, with clear illustrations for each step. Whether you're a beginner or experienced, the steps below are easy to understand and follow.
You just need a pencil, drawing paper, and an eraser — then start drawing step by step!
This lesson includes 5 different ways to draw. Choose the one that suits you best!
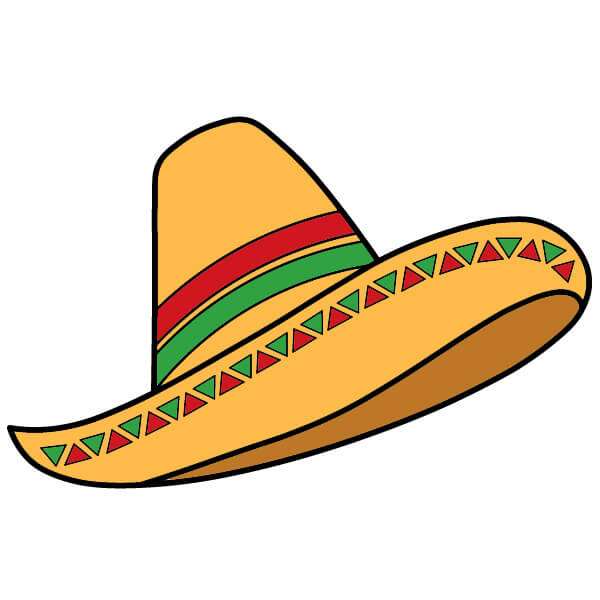
Guide to Drawing a Colorful Sombrero
6 steps
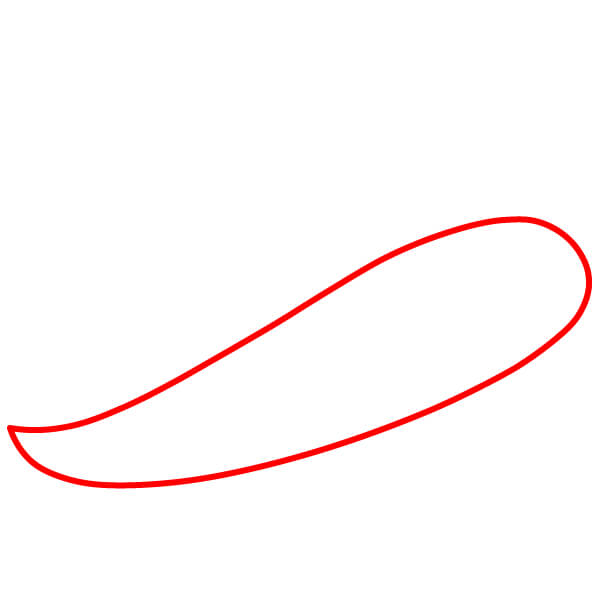
Start with the Base of the Hat
Draw a long, curved oval for the brim, making it wider on one side.
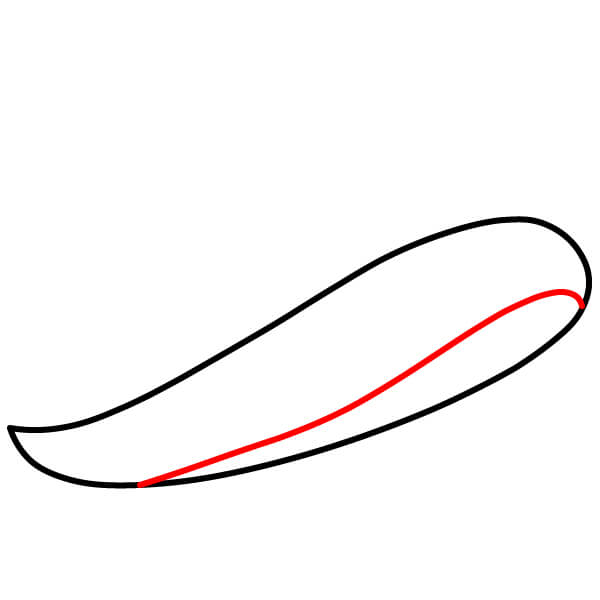
Draw the Bottom of the Brim
Draw a curved line inside the first shape, symmetrical to the bottom curve, to create depth for the brim.
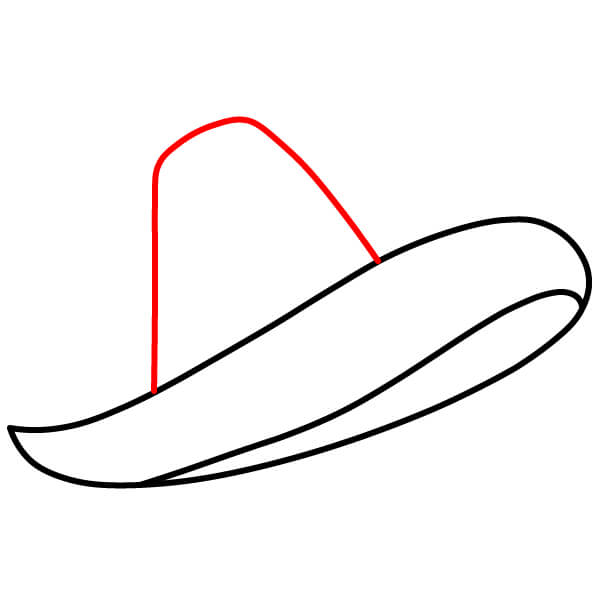
Draw the Top of the Hat
From the top of the brim, draw two upward-curving lines that meet at a rounded peak, forming the top of the sombrero.
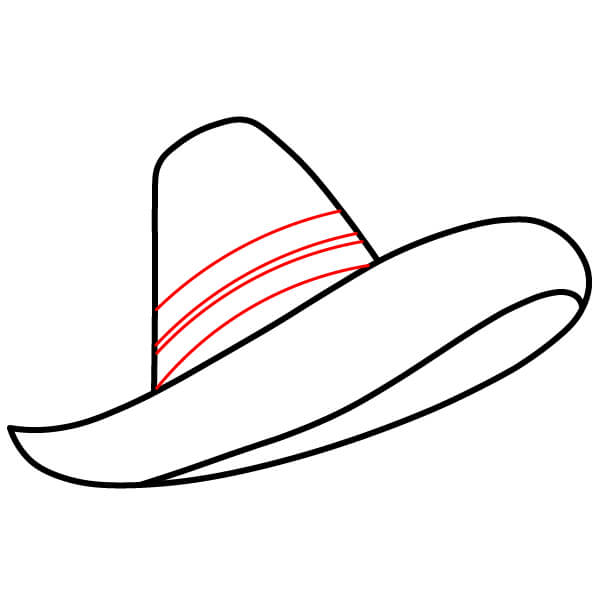
Add Decorative Stripes
Draw a few horizontal parallel lines around the base of the hat's peak to create decorative stripes.
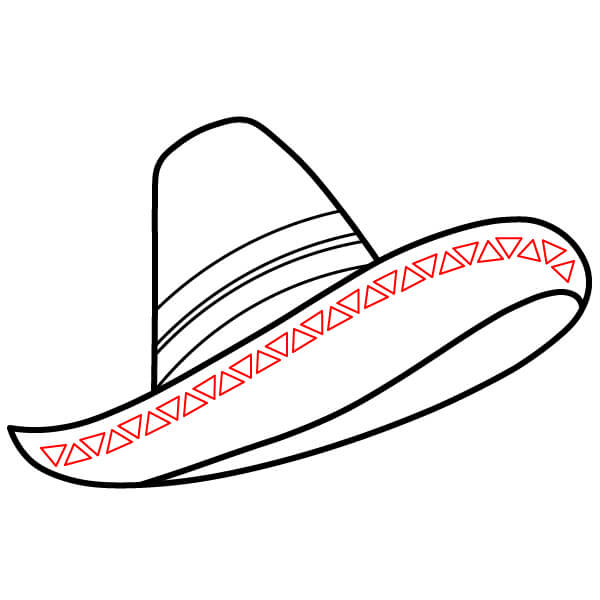
Add Patterns to the Brim
Draw a repeating pattern, such as small triangles, along the edge of the brim.
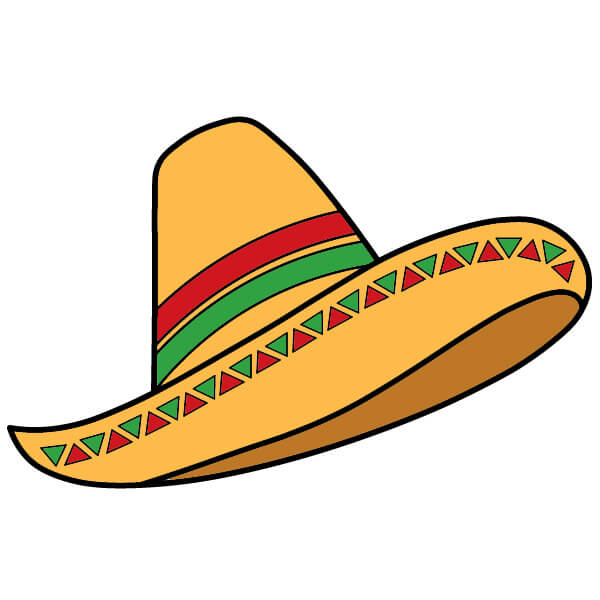
Color Your Sombrero
Color the hat with colors like yellow, red, and green to make your sombrero vibrant!
Step-by-Step Sombrero Drawing Guide for Kids
9 steps
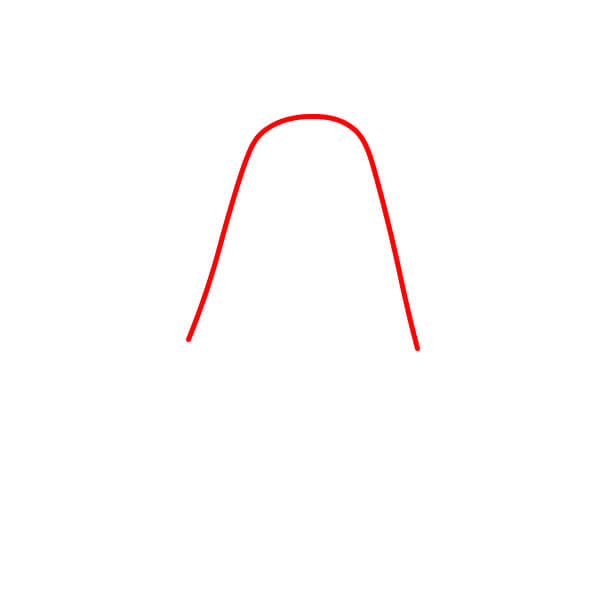
Sketch the Hat Top
Start by drawing a tall, curved arch for the top of the hat. This outline forms the upper part of the sombrero.
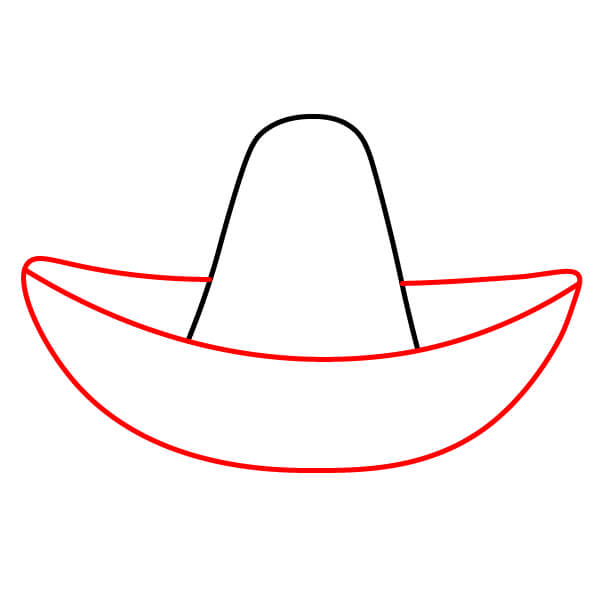
Hat Brim
Next, draw a wide, upward-curving brim. The brim is formed by a curve extending from the base of the hat top on both sides, and a large, wide curve below to complete the bottom edge of the brim.
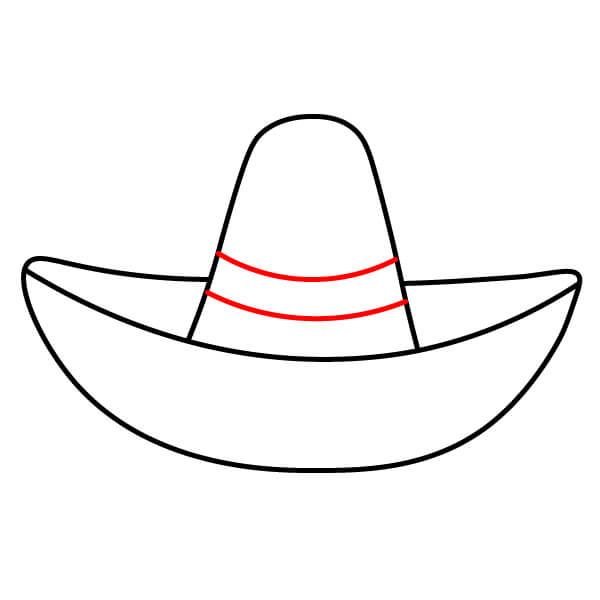
Outlines on the Hat Top
Draw two horizontal parallel lines around the base of the hat top to create a band.
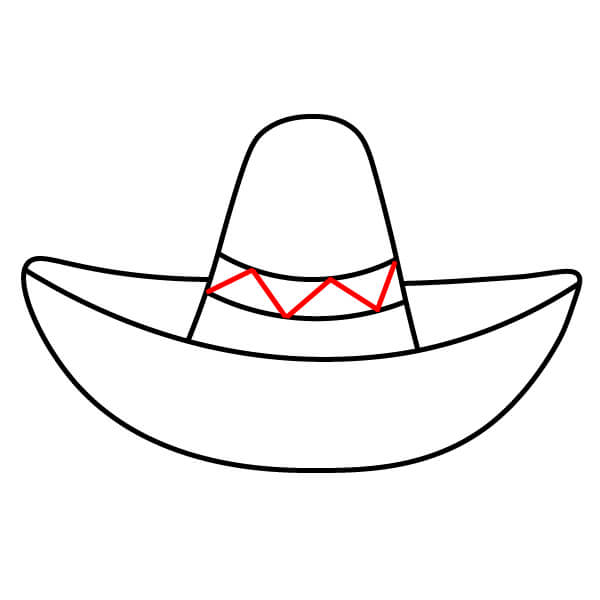
Zigzag Pattern on the Band
Add a zigzag pattern between the two parallel lines you drew in the previous step.
Lacing Holes on the Band
Draw a row of small circles along the bottom edge, representing decorative lacing holes.
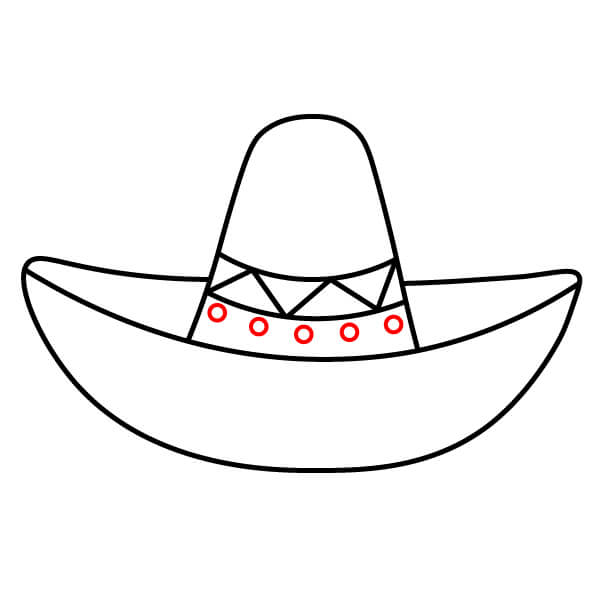
Detailing the Bottom Edge of the Band
Draw a single curve just below the row of lacing holes, outlining the bottom of the decorative pattern on the band.
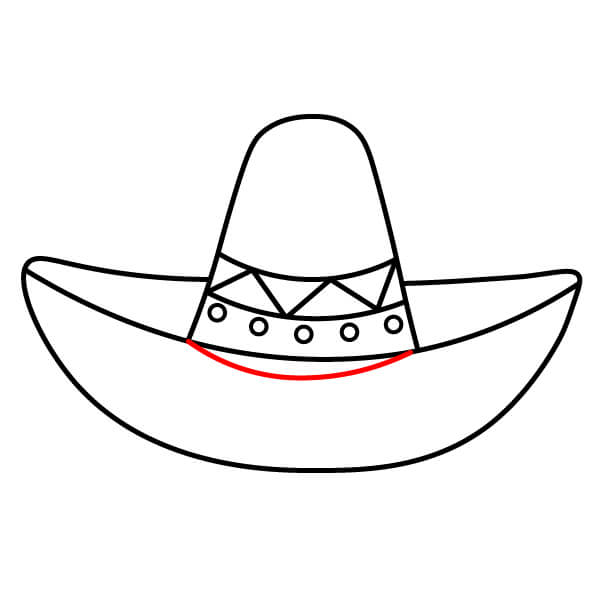
Zigzag Pattern on the Brim
Add a double zigzag pattern decorating the top surface of the brim, extending from the band outward.
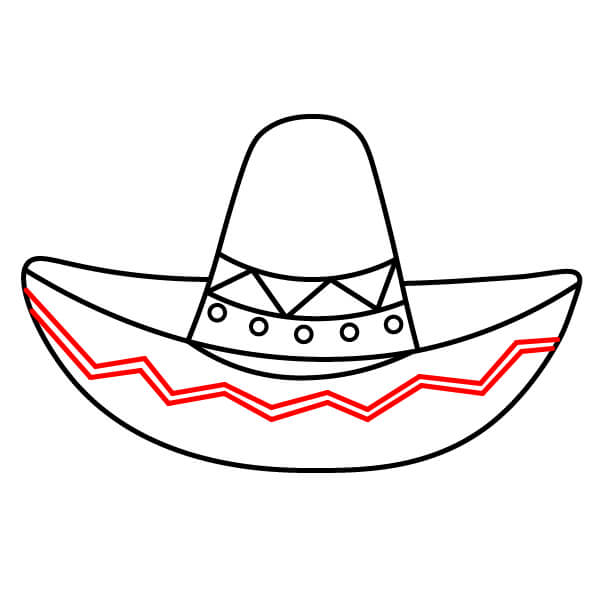
Decorative Circles on the Brim
Draw a row of larger circles along the brim, just below the zigzag pattern.
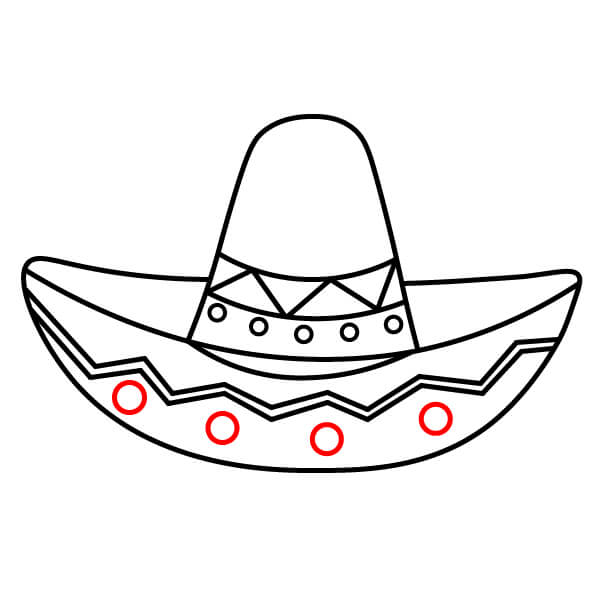
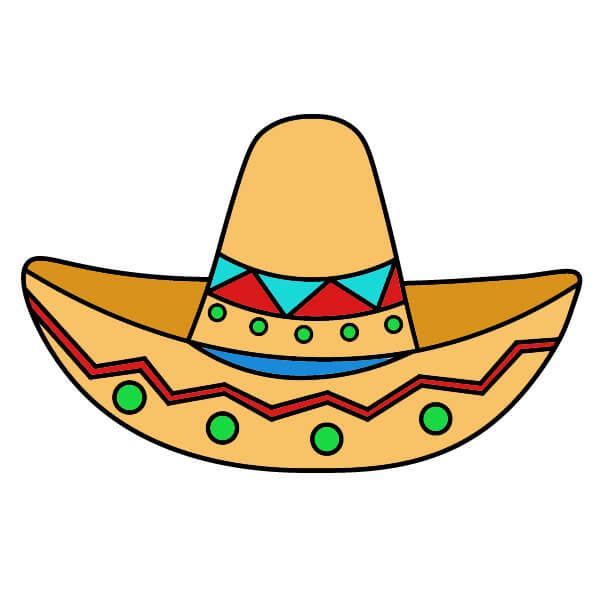
Coloring
Finally, color the sombrero. Use light brown/beige for the main body of the hat, and bright colors (like red, turquoise, and green) for the decorative bands, zigzag patterns, and circles.
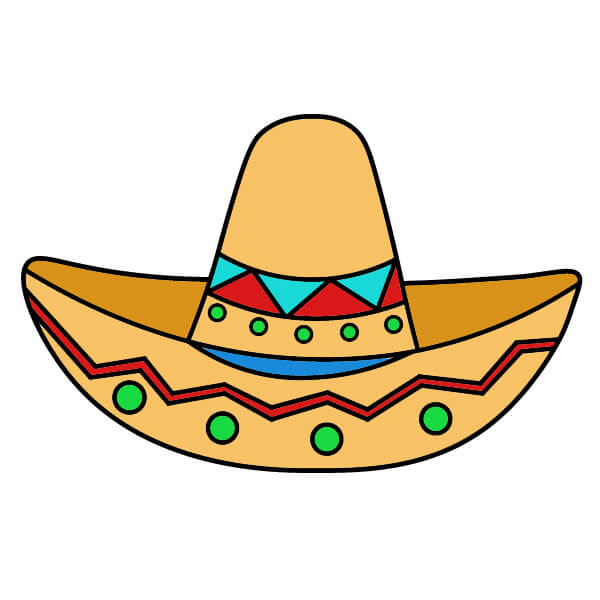
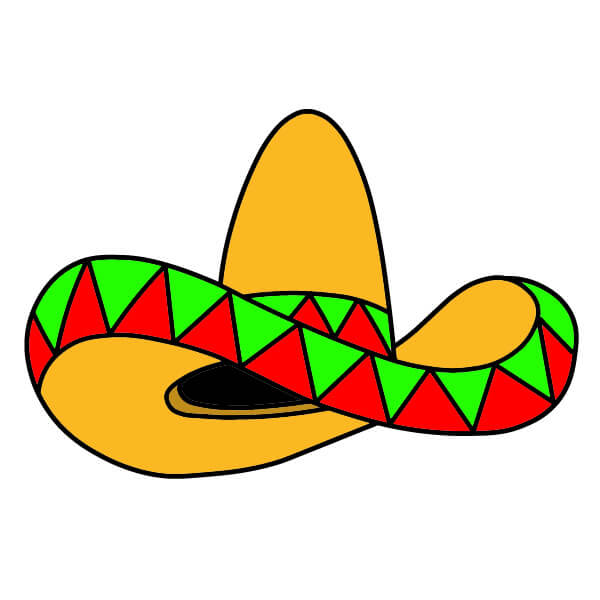
Simple Sombrero Drawing Guide for Young Artists
7 steps
Sketch the Top of the Hat
Start by drawing a soft, curved arc. This will form the top part of the sombrero.
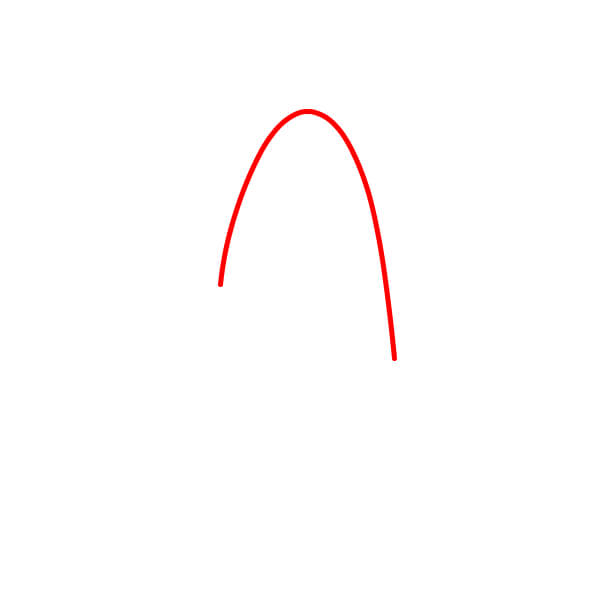
Hat Brim
Next, draw the wide, wavy brim of the sombrero. The brim should have an elegant arc shape, suggesting depth and a slightly folded appearance. Ensure the brim connects to the base of the hat's top.
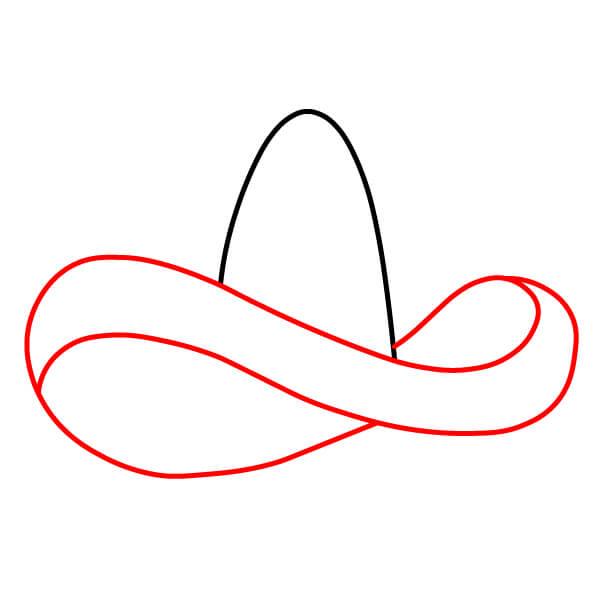
Inner Brim Details
Inside the brim on the left side, draw an oval to represent the opening where the head will go, and add a smaller oval inside to indicate the thickness of the brim.
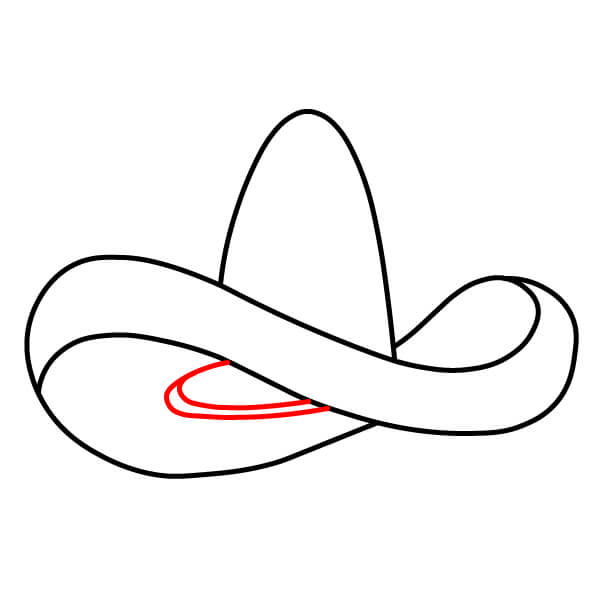
Base of the Decorative Band on the Hat
Draw a horizontal curve around the bottom of the hat, indicating the base of the decorative band.
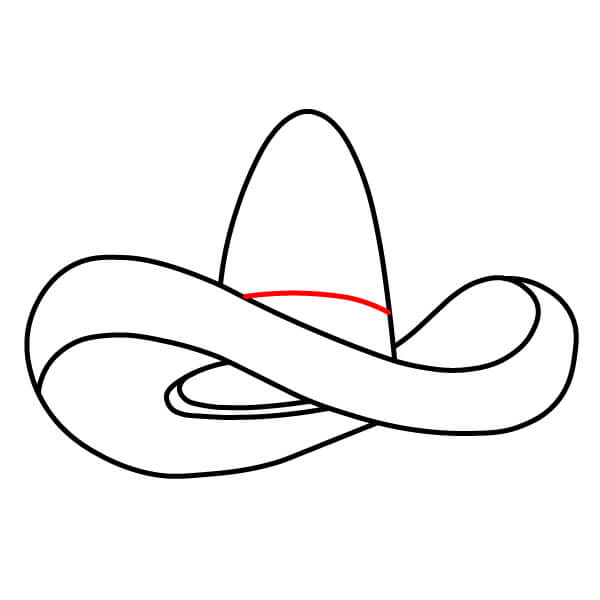
Zigzag Pattern on the Decorative Band
Add a zigzag pattern along the line you just drew in Step 4. This creates a decorative outline for the band on the hat.
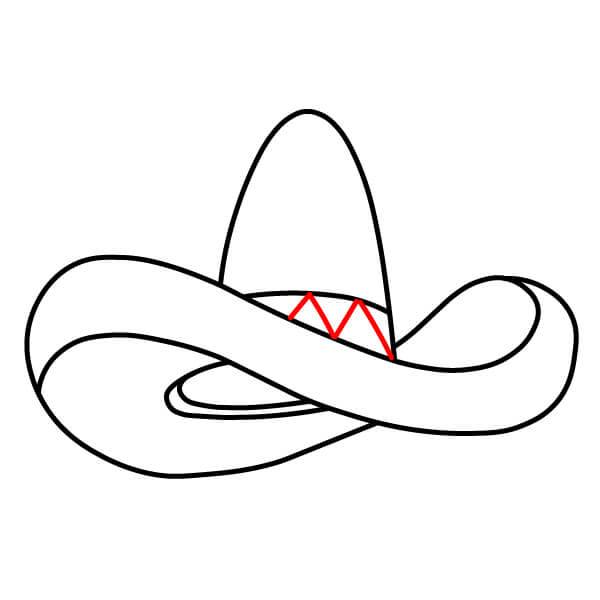
Zigzag Design Around the Brim
Extend the zigzag pattern around the entire edge of the brim. This creates a continuous decorative border around the hat.
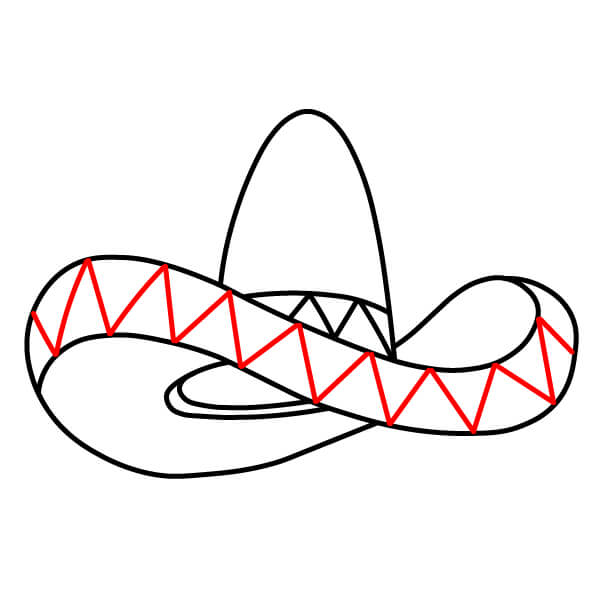
Coloring
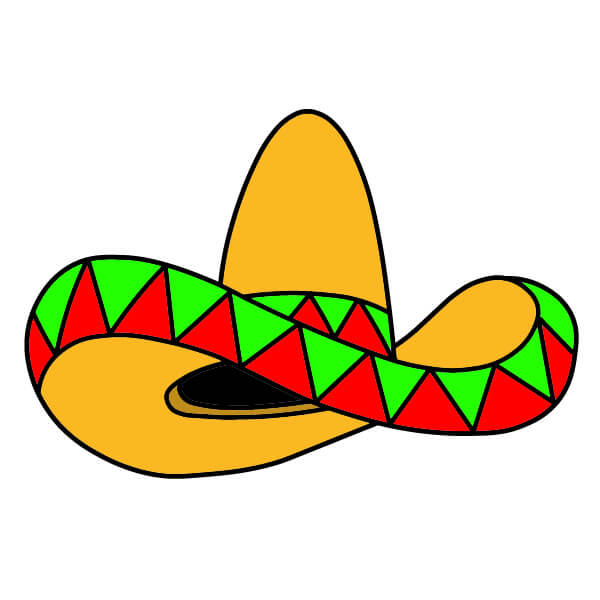
Finally, color the sombrero. Use a warm golden yellow or beige for the main body of the hat. Color the zigzag patterns with bright alternating colors, such as red and green, to highlight the decorative designs. Color the inside of the hat's opening black or dark to add depth.
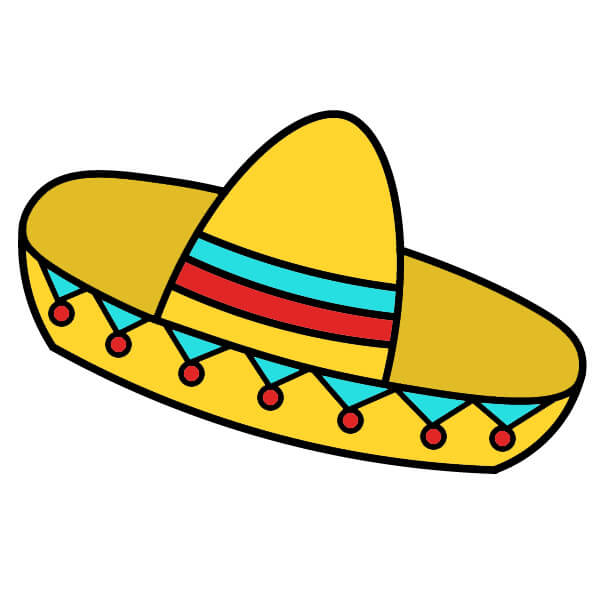
Simple Sombrero Drawing Guide for Beginners
7 steps
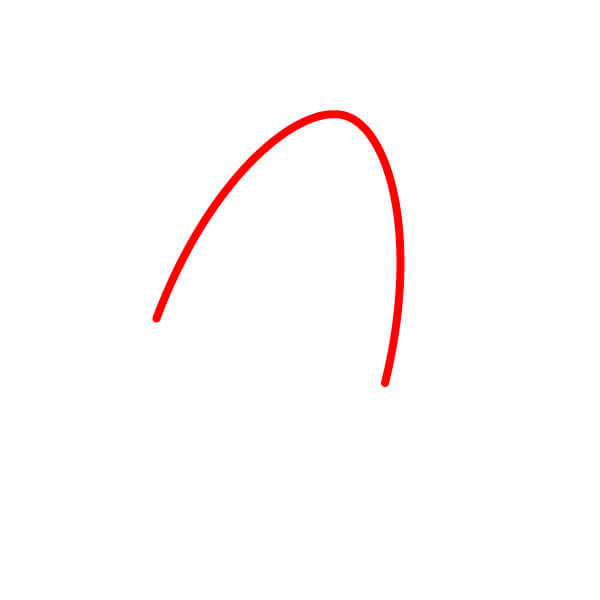
Sketch the Brim (Top View)
Draw a large oval around the base of the hat top to represent the flat, wide surface of the brim in perspective.
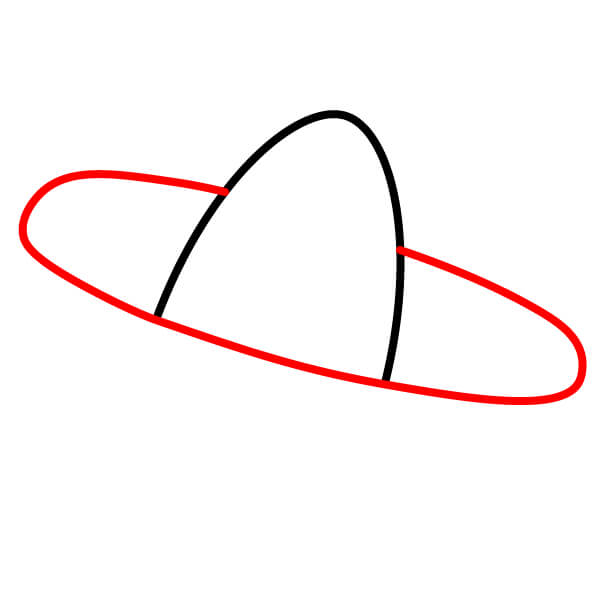
Outline the Brim
Draw the outer edge, the bottom of the brim with a long, slightly curved line at the bottom and two short curves on the sides to connect with the top edge of the brim, adding depth.
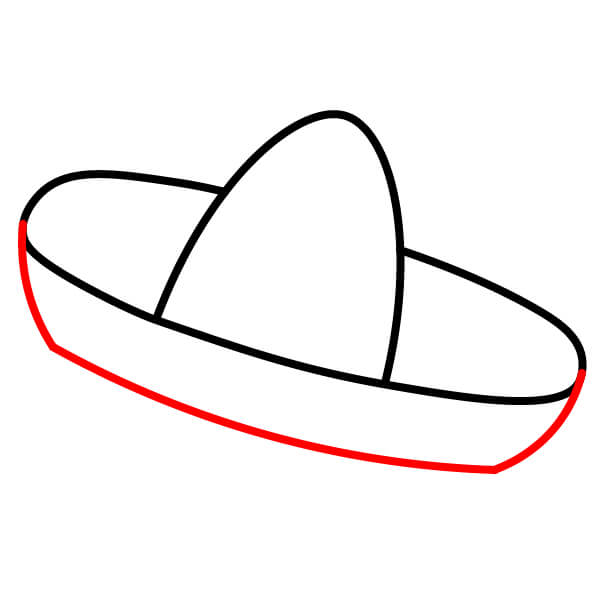
Lines on the Brim
Draw three parallel horizontal lines around the base of the hat top to create simple stripes for the brim.
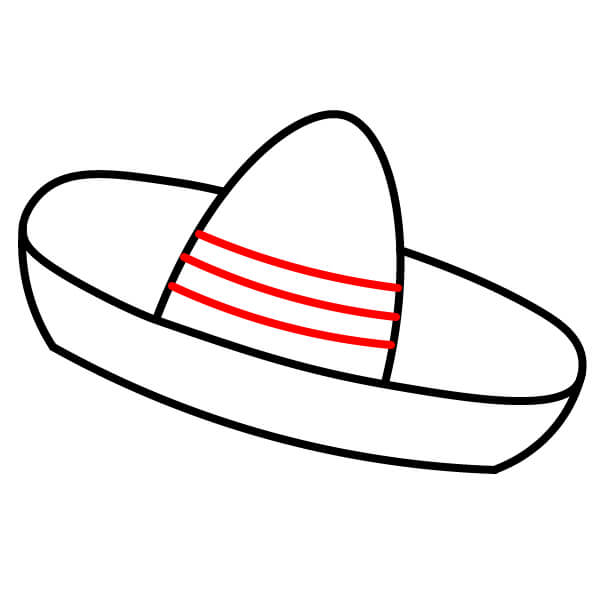
Zigzag Edge for the Brim
Draw a zigzag pattern at the intersection of the hat top and brim, extending around the visible edge.
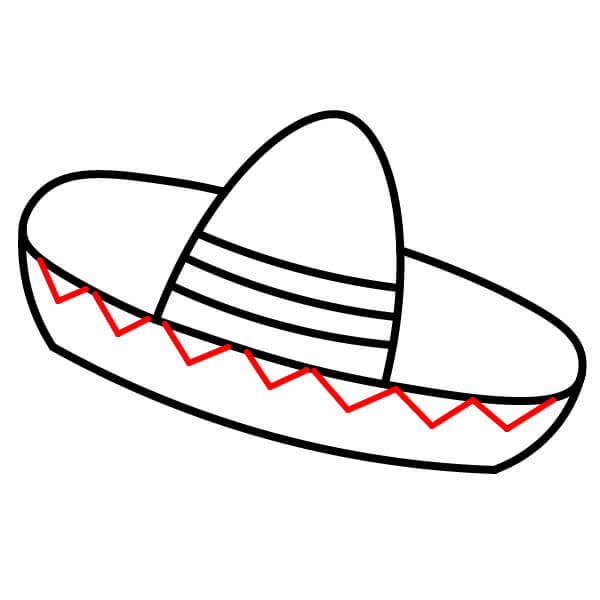
Draw Decorative Circles on the Brim
Draw a series of small circles along the bottom edge of the brim, placed between the triangular points of the zigzag pattern.
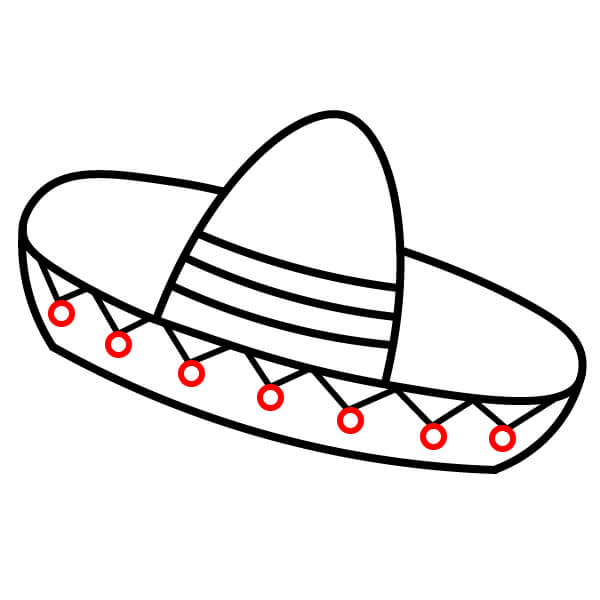
Coloring
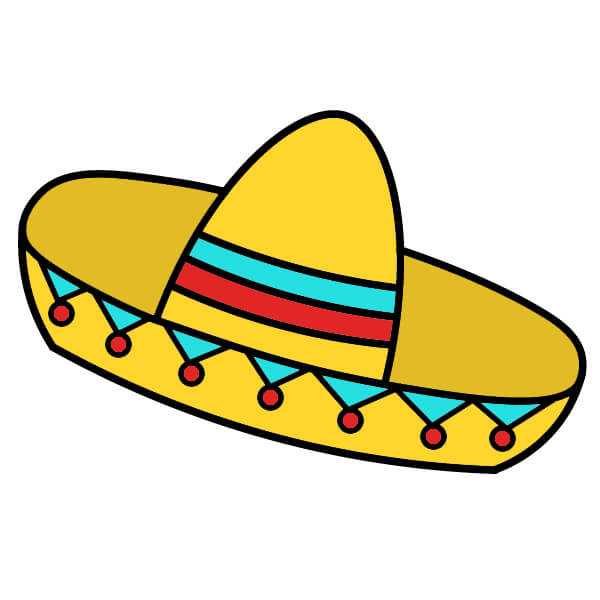
Finally, color the sombrero. Use yellow/gold for the main body. Color the stripes on the hat top with contrasting colors (like red and light blue) and use colors like light blue and red for the zigzag patterns and decorative circles on the brim.
How to Draw a Fun Mexican Sombrero for Kids
9 steps
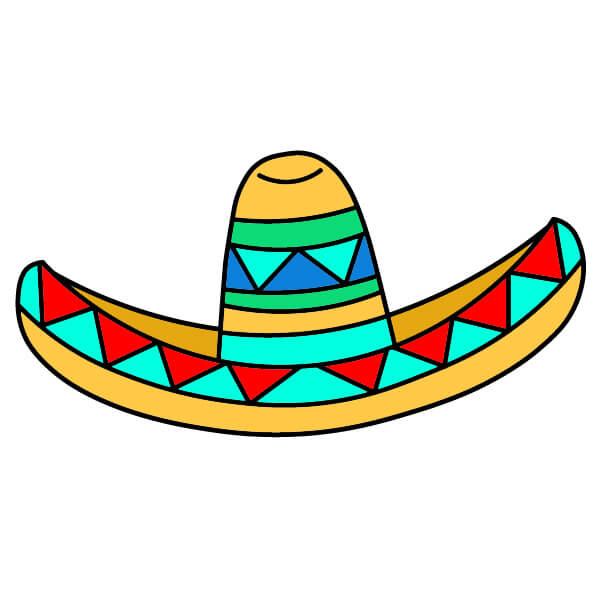
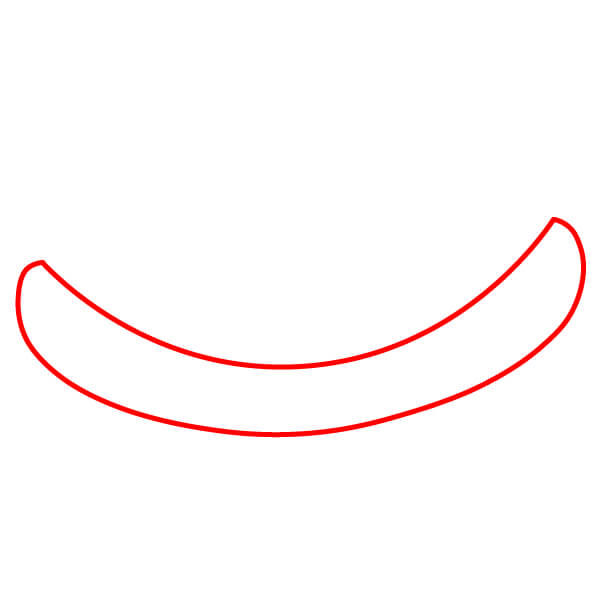
Sketch the Brim
Start by drawing a long oval, crescent shape. This forms the basic outline for the wide, curved brim of the sombrero.
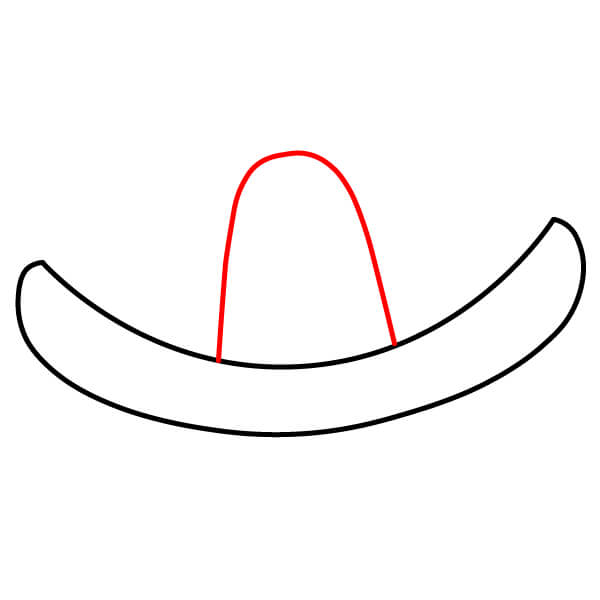
Sketch the Hat Top
Draw a high, wavy curve inside the center of the brim outline. This creates the main shape of the hat top.
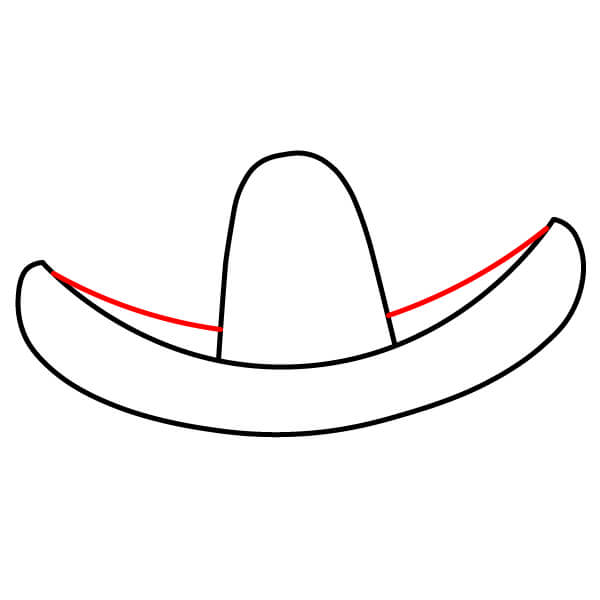
Inner Brim Outline
Draw a curve connecting the base of the hat top to the outer edge of the brim on both sides. This defines the visible inner surface of the brim.
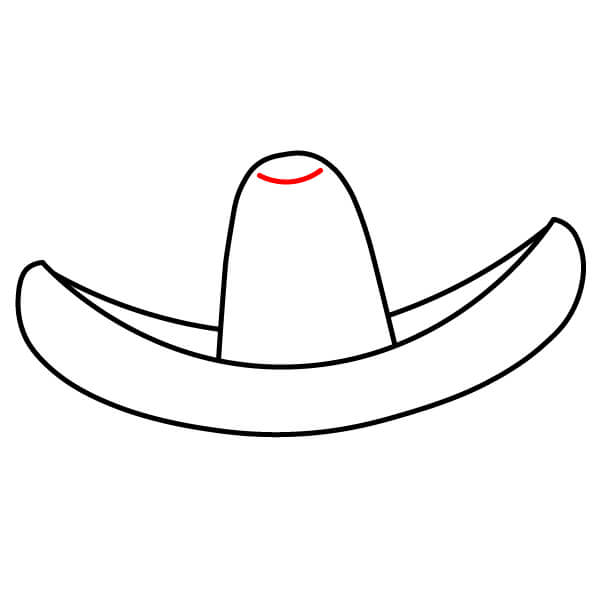
Hat Mouth
Add a small curve near the top of the hat to indicate the mouth of the hat/top edge.
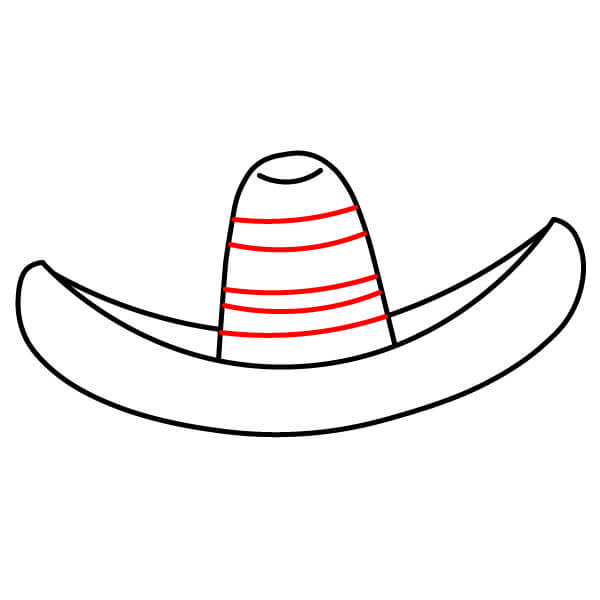
Lines on the Hat Top
Draw a few parallel horizontal lines around the body of the hat top. These will serve as decorative lines.
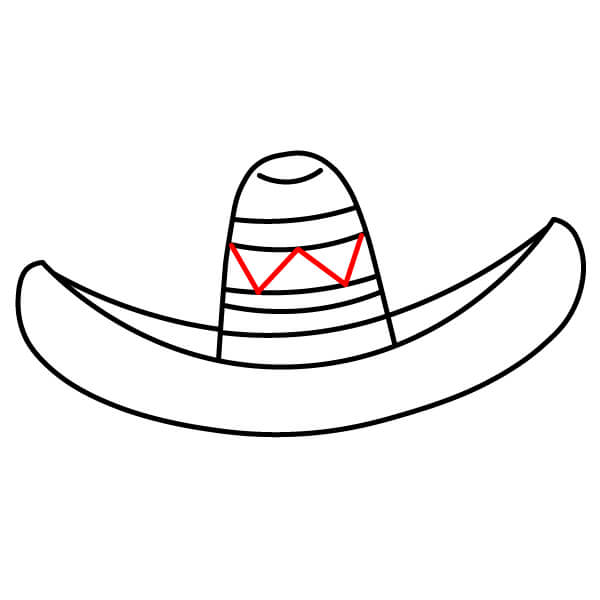
Zigzag Pattern on the Hat Top
In one of the striped sections in the middle, draw a zigzag pattern. This adds a key decorative element to the hat top.
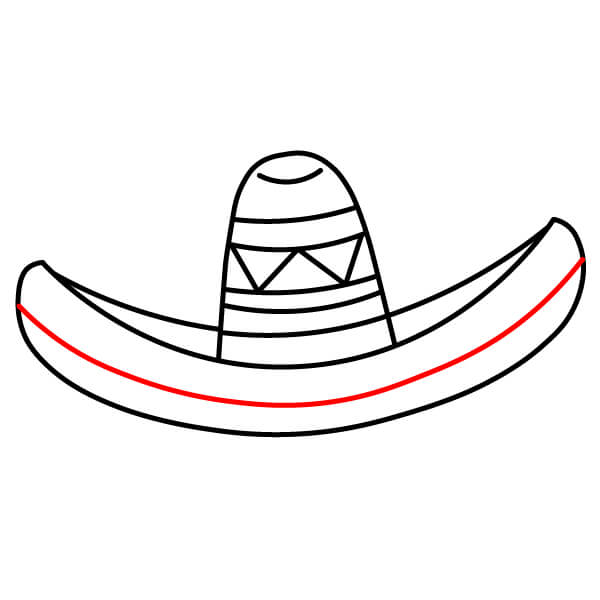
Brim Stripe
Draw a long, curved line on the visible inner surface of the brim, forming the outline for the brim's decoration.
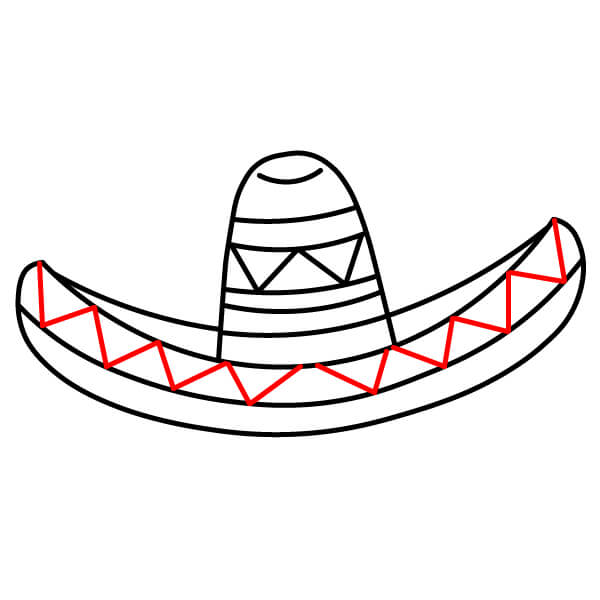
Zigzag Pattern on the Brim
Add a large zigzag pattern between the hat top and the line you drew in Step 7. This will fill the main decorative space on the brim.
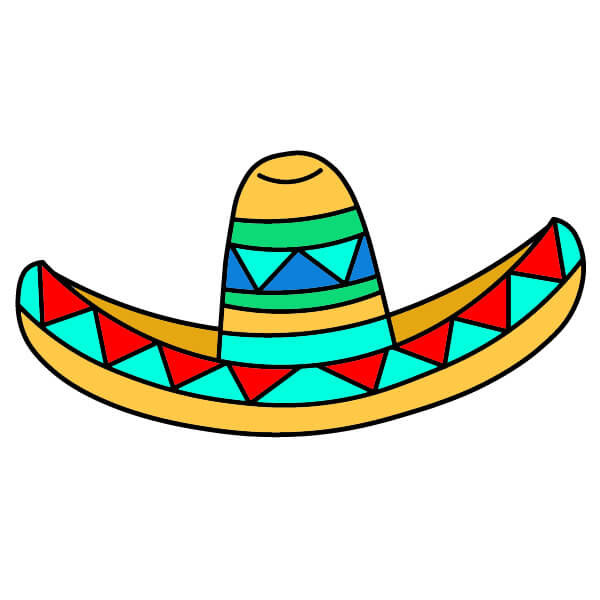
Coloring
Finally, color the sombrero. Use yellow/gold for the main body. Use bright colors alternately (like red, blue, and green) to color the stripes on the hat top, the zigzag patterns on the hat top, and the zigzag pattern on the brim to complete the festive look.
▶Drawing tips
- Draw lightly with a pencil first, then darken the lines when you're satisfied.
- You don't need to draw exactly like the sample — add your own style!
- After finishing your drawing, you can color it directly on Tomau.AI to make it more vibrant.