Tomau.AITomau.AI

How to Draw a Phoenix

Animals
How to Draw a Phoenix

Want to learn how to draw how to draw a phoenix? This tutorial will help you do it in just 36 simple steps, with clear illustrations for each step. Whether you're a beginner or experienced, the steps below are easy to understand and follow.

You just need a pencil, drawing paper, and an eraser — then start drawing step by step!

This lesson includes 4 different ways to draw. Choose the one that suits you best!

Detailed and Beautiful Phoenix Drawing Tutorial

Detailed and Beautiful Phoenix Drawing Tutorial

10 steps

1

Step 1

Draw a gentle curve for the neck and head of the phoenix, along with a small curve to shape the head.


Practice
Detailed and Beautiful Phoenix Drawing Tutorial - Step 1
2

Step 2

Add details to the head, including the crest and a longer curve on top.

Practice
Detailed and Beautiful Phoenix Drawing Tutorial - Step 2
3

Step 3

Draw the left wing with basic feather strokes.

Practice
Detailed and Beautiful Phoenix Drawing Tutorial - Step 3
4

Step 4

Add the right wing symmetrically to the left wing.

Practice
Detailed and Beautiful Phoenix Drawing Tutorial - Step 4
5

Step 5

Complete the wing shape by adding extended feather details.

Practice
Detailed and Beautiful Phoenix Drawing Tutorial - Step 5
6

Step 6

Finish drawing the remaining wing.

Practice
Detailed and Beautiful Phoenix Drawing Tutorial - Step 6
7

Step 7

Complete the tail with many lightly twisted feather details.

Practice
Detailed and Beautiful Phoenix Drawing Tutorial - Step 7
8

Step 8

Add small details as patterns on the tail.

Practice
Detailed and Beautiful Phoenix Drawing Tutorial - Step 8
9

Step 9

Draw small circles on both sides of the wings and below the tail.

Practice
Detailed and Beautiful Phoenix Drawing Tutorial - Step 9
10

Step 10

Color the drawing.

Practice
Detailed and Beautiful Phoenix Drawing Tutorial - Step 10
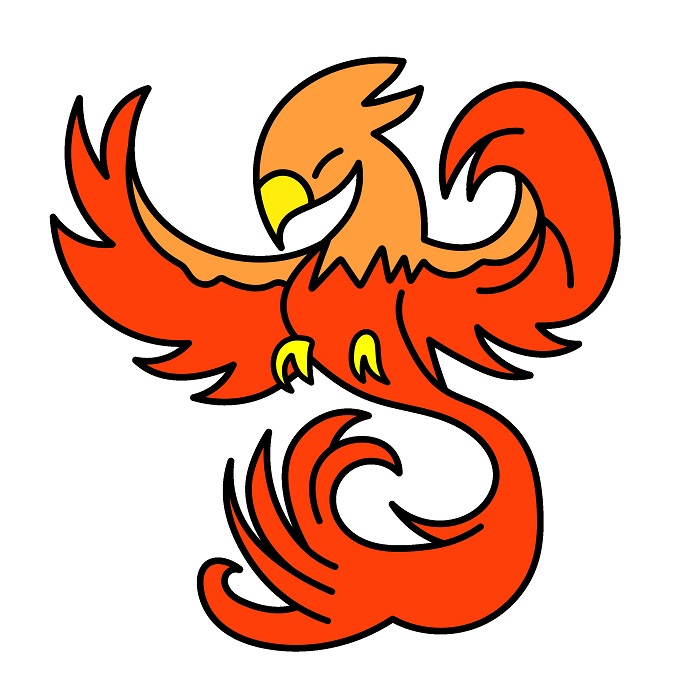
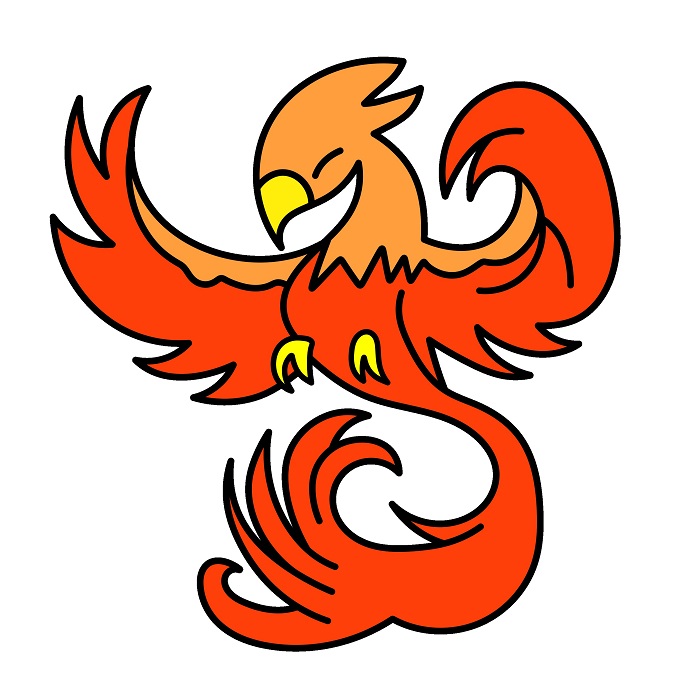
Guide to Drawing a Joyful Phoenix.

Guide to Drawing a Joyful Phoenix.

9 steps

1

Step 1

Draw the phoenix's head with a sharp beak and sharp eyes.

Practice
Guide to Drawing a Joyful Phoenix. - Step 1
2

Step 2

Add details to the neck to shape the body.

Practice
Guide to Drawing a Joyful Phoenix. - Step 2
3

Step 3

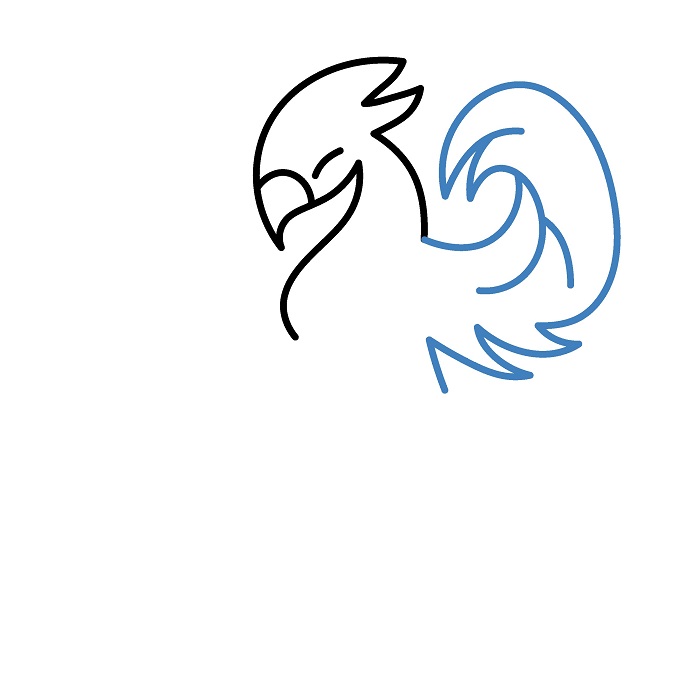
Draw one wing with flowing curves resembling flames, highlighting the phoenix's strength.
Practice
Guide to Drawing a Joyful Phoenix. - Step 3
4

Step 4

Complete the wings by adding the other wing for balance.

Practice
Guide to Drawing a Joyful Phoenix. - Step 4
5

Step 5

Add chest feathers with sharp lines to enhance body detail.

Practice
Guide to Drawing a Joyful Phoenix. - Step 5
6

Step 6

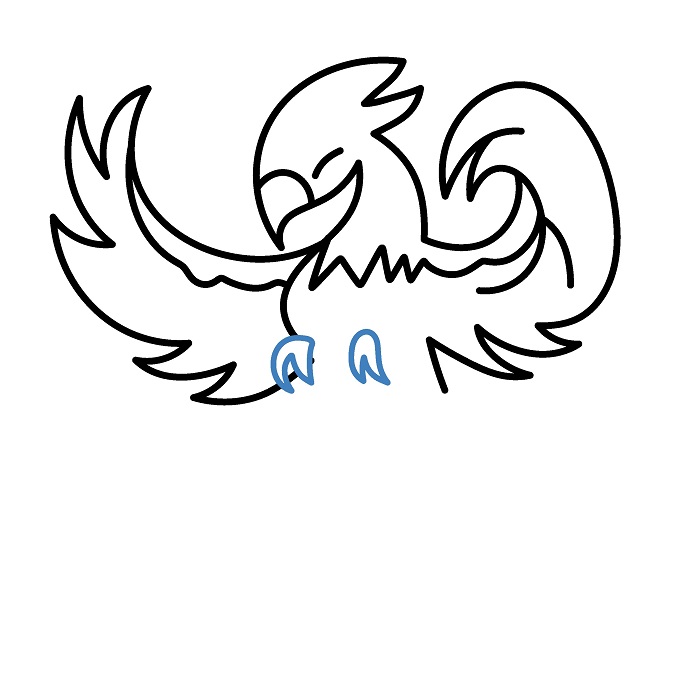
Draw claws at the bottom to make the phoenix's stance more majestic.

Practice
Guide to Drawing a Joyful Phoenix. - Step 6
7

Step 7

Sketch the long tail, curving gently to create movement.

Practice
Guide to Drawing a Joyful Phoenix. - Step 7
8

Step 8

Finish the tail with layered feather details for a fluffy effect.

Practice
Guide to Drawing a Joyful Phoenix. - Step 8
9

Step 9

Color the drawing.

Practice
Guide to Drawing a Joyful Phoenix. - Step 9
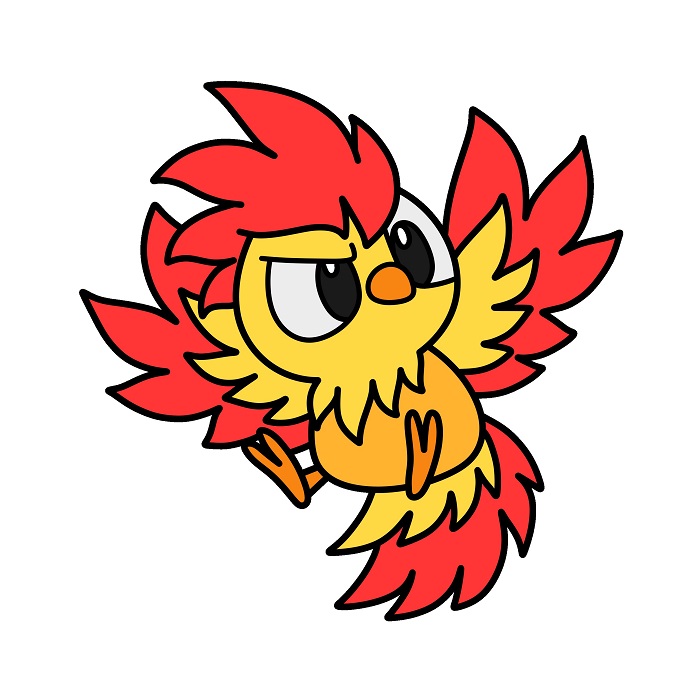
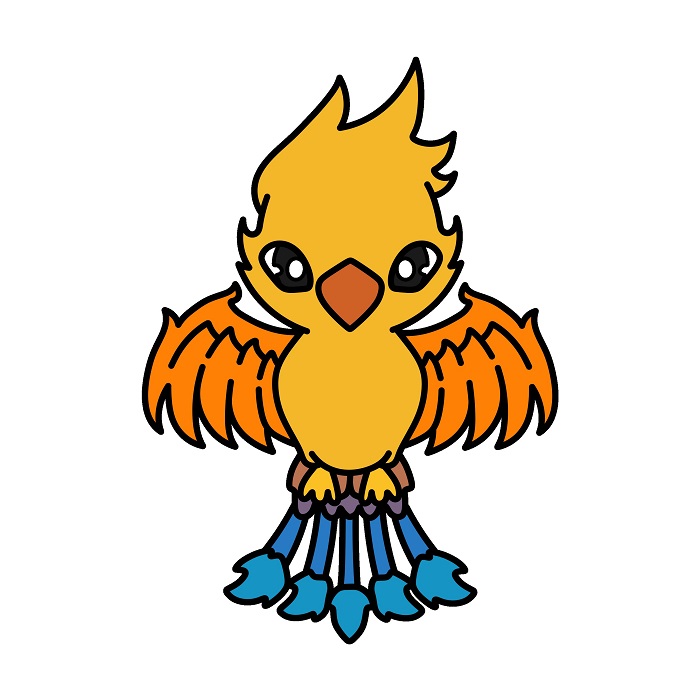
Guide to Drawing a Cute Little Phoenix.

Guide to Drawing a Cute Little Phoenix.

8 steps

1

Step 1

Draw the head with a round curve and a few sharp lines at the bottom to shape the feathers under the head.


Practice
Guide to Drawing a Cute Little Phoenix. - Step 1
2

Step 2

Add the crest on the head and complete the shape of the phoenix's head.

Practice
Guide to Drawing a Cute Little Phoenix. - Step 2
3

Step 3

Draw large round eyes along with a small beak to create a sharp expression.

Practice
Guide to Drawing a Cute Little Phoenix. - Step 3
4

Step 4

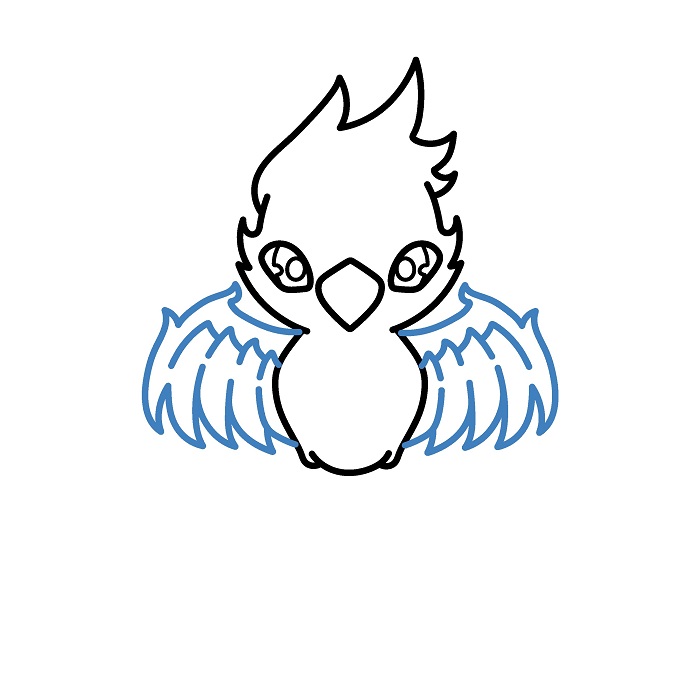
Add two compact wings, creating a flying pose.

Practice
Guide to Drawing a Cute Little Phoenix. - Step 4
5

Step 5

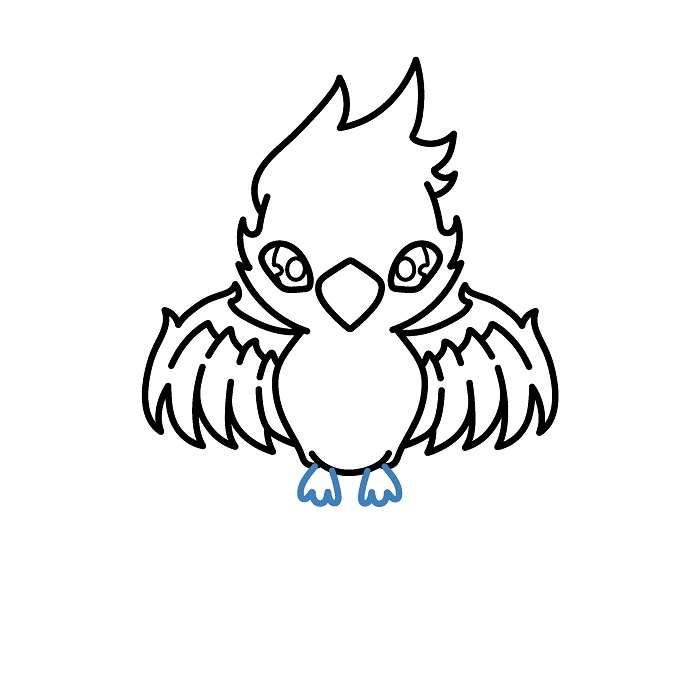
Draw a round body and small legs, creating a snug posture that enhances cuteness.

Practice
Guide to Drawing a Cute Little Phoenix. - Step 5
6

Step 6

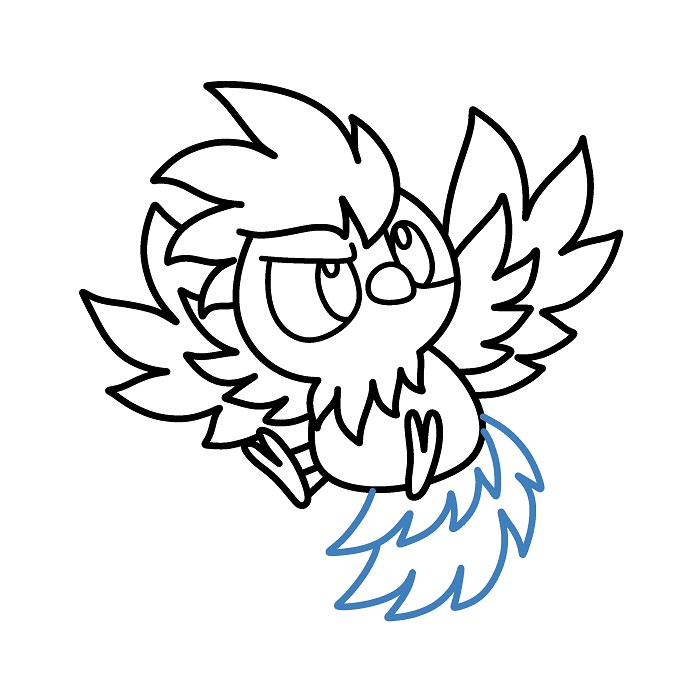
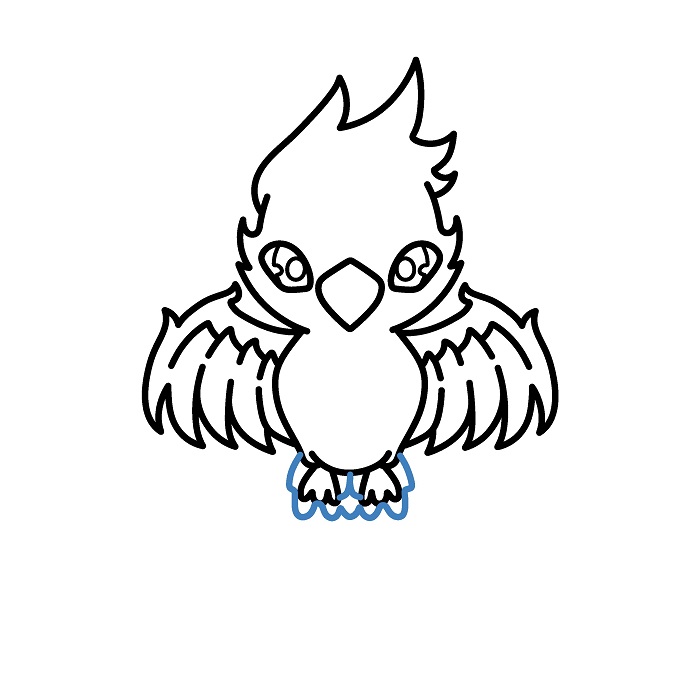
Continue drawing the elongated feathers on both sides of the wings.

Practice
Guide to Drawing a Cute Little Phoenix. - Step 6
7

Step 7

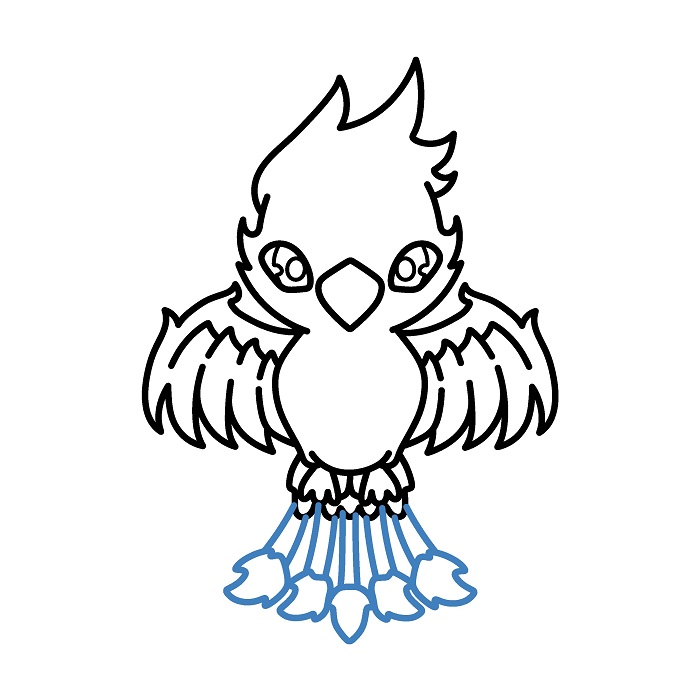
Draw the wide-spread tail with the characteristic sharp feathers of the phoenix.

Practice
Guide to Drawing a Cute Little Phoenix. - Step 7
8

Step 8

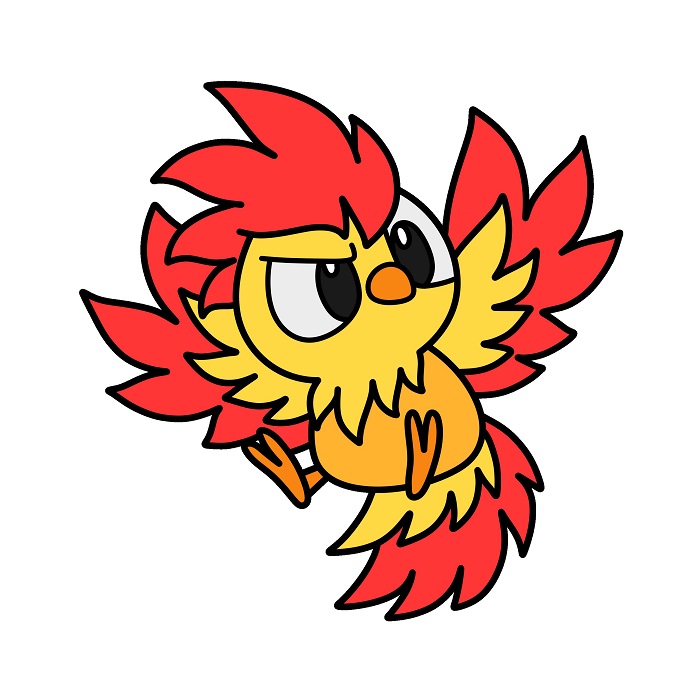
Color the drawing.

Practice
Guide to Drawing a Cute Little Phoenix. - Step 8
Simple Phoenix Drawing Tutorial

Simple Phoenix Drawing Tutorial

9 steps

1

Step 1

Draw the top of the head and a small part of the crest with sharp lines to create the distinctive shape.


Practice
Simple Phoenix Drawing Tutorial - Step 1
2

Step 2

Complete the head by drawing a curve to shape the face.

Practice
Simple Phoenix Drawing Tutorial - Step 2
3

Step 3

Add large round eyes and a small sharp beak to enhance the phoenix's sharpness.

Practice
Simple Phoenix Drawing Tutorial - Step 3
4

Step 4

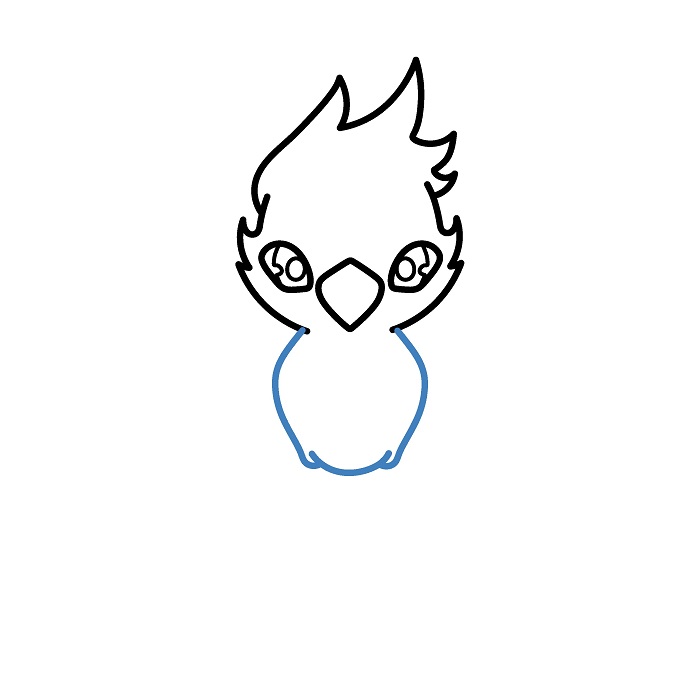
Draw the lower body extending from the head, creating a balanced shape.

Practice
Simple Phoenix Drawing Tutorial - Step 4
5

Step 5

Sketch the wings spread wide with soft, curved feather lines.

Practice
Simple Phoenix Drawing Tutorial - Step 5
6

Step 6

Draw the phoenix's legs with sharp claws to add strength.

Practice
Simple Phoenix Drawing Tutorial - Step 6
7

Step 7

Start drawing the tail of the phoenix.

Practice
Simple Phoenix Drawing Tutorial - Step 7
8

Step 8

Finish the tail with long feather strands, giving it a graceful look.

Practice
Simple Phoenix Drawing Tutorial - Step 8
9

Step 9

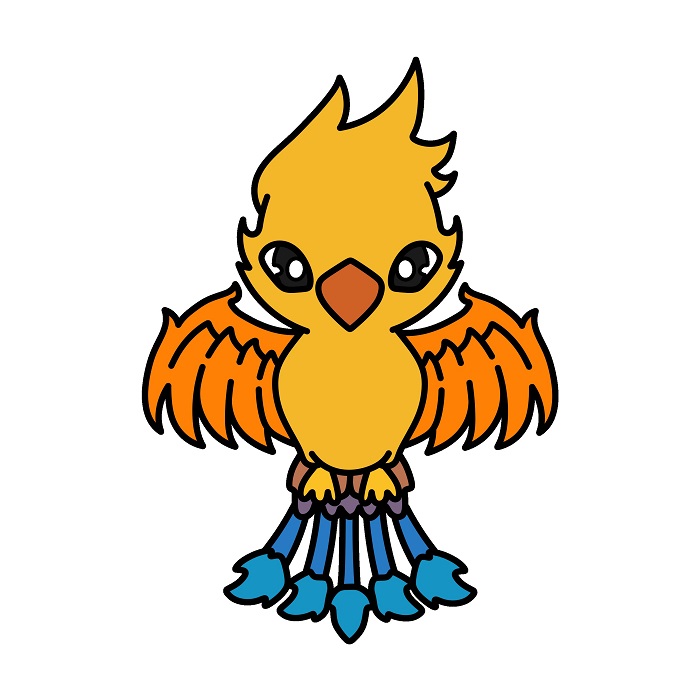
Color the drawing.

Practice
Simple Phoenix Drawing Tutorial - Step 9
▶Drawing tips
  • Draw lightly with a pencil first, then darken the lines when you're satisfied.
  • You don't need to draw exactly like the sample — add your own style!
  • After finishing your drawing, you can color it directly on Tomau.AI to make it more vibrant.
More Animals drawing tutorials

View all