How to Draw Pompompurin
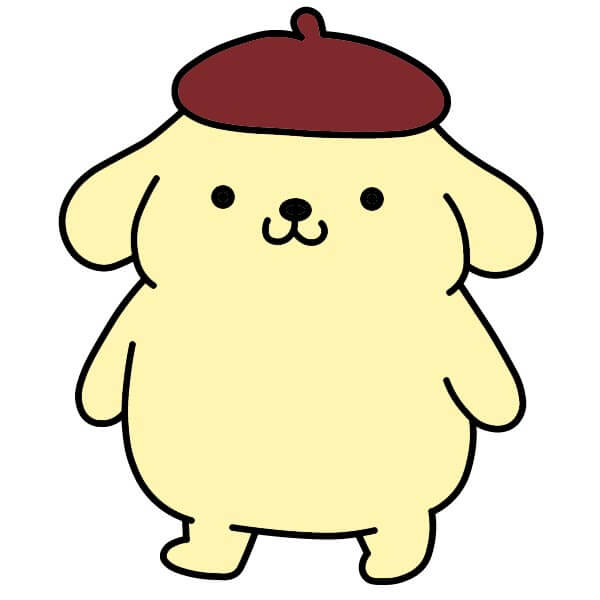
Want to learn how to draw how to draw pompompurin? This tutorial will help you do it in just 34 simple steps, with clear illustrations for each step. Whether you're a beginner or experienced, the steps below are easy to understand and follow.
You just need a pencil, drawing paper, and an eraser — then start drawing step by step!
This lesson includes 4 different ways to draw. Choose the one that suits you best!
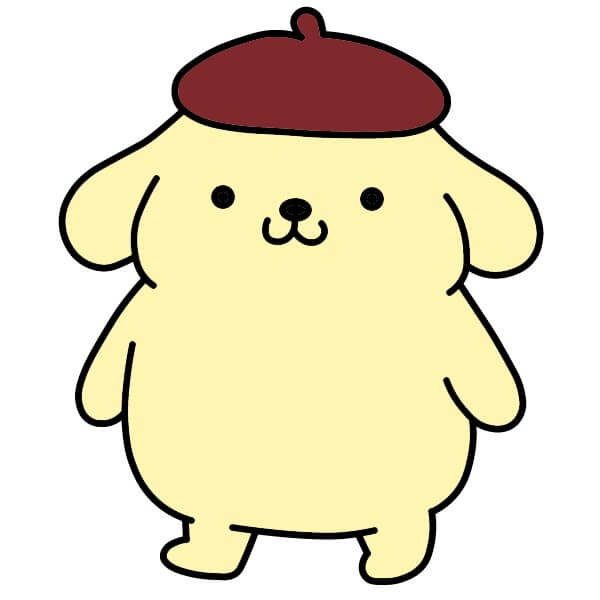
Cute Pompompurin Drawing Guide for Kids
9 steps
Draw the Hat
Start by drawing an oval with a small bump at the top. This will be Pompompurin's signature beret.

Add the Ears
On both sides of the hat, draw a curved line that goes down and slightly outward, resembling the floppy ears of Pompompurin.
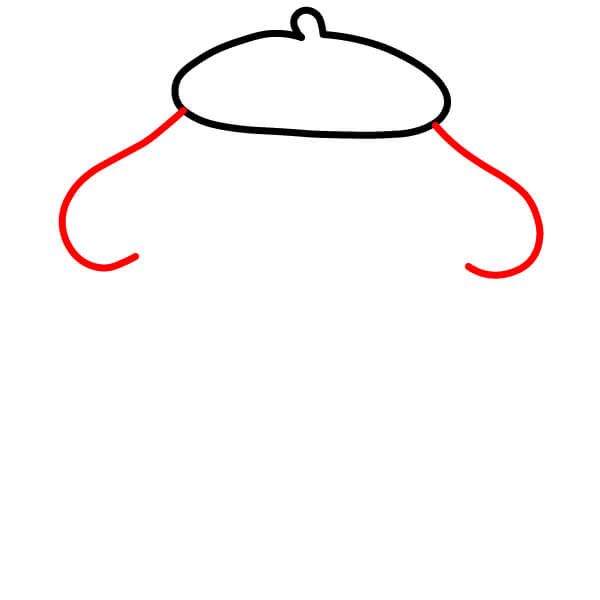
Draw the Face
Continue the lines from Step 2, bending them inward to complete the basic shape of the face.
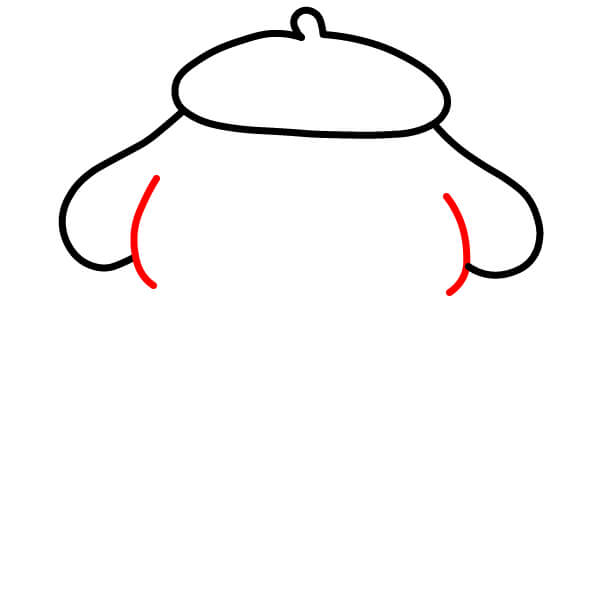
Draw the Arms
Below the ears, draw two long curved lines going down. These will form Pompompurin's arms.
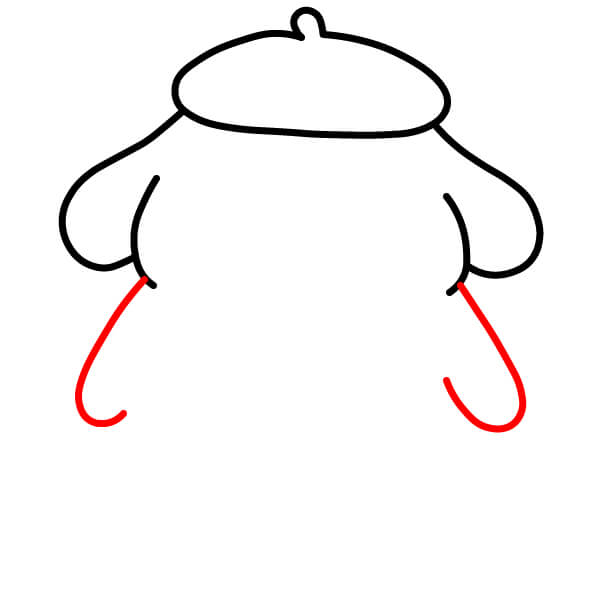
Draw the Body
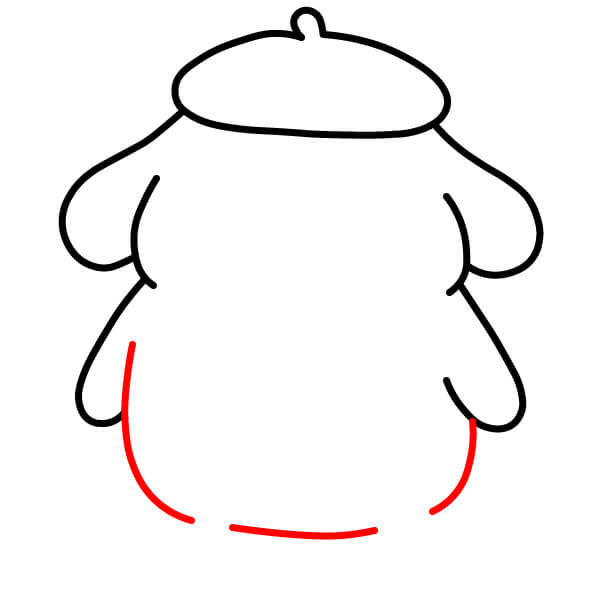
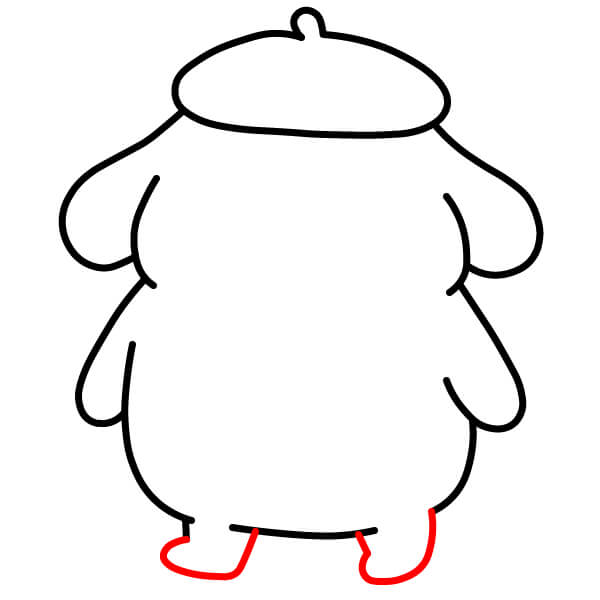
Connect the two lines from Step 4 with a slightly curved horizontal line at the bottom to create the round body.
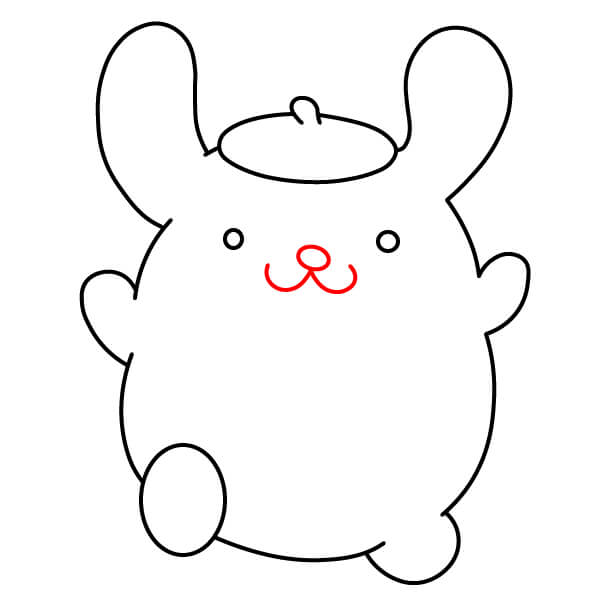
Draw the Nose and Mouth
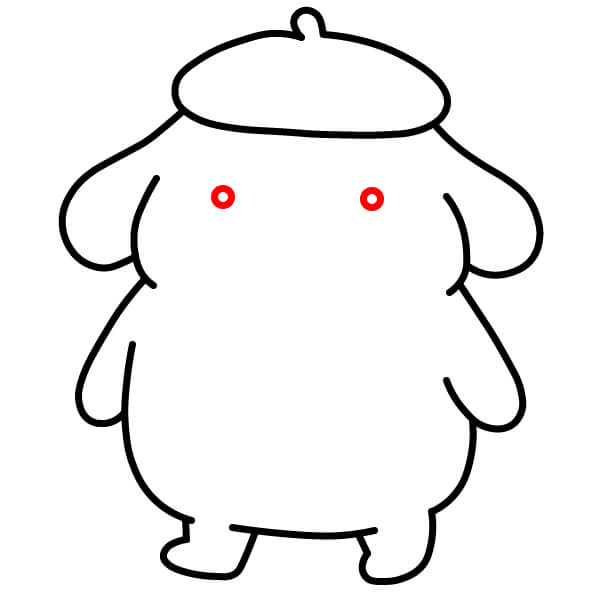
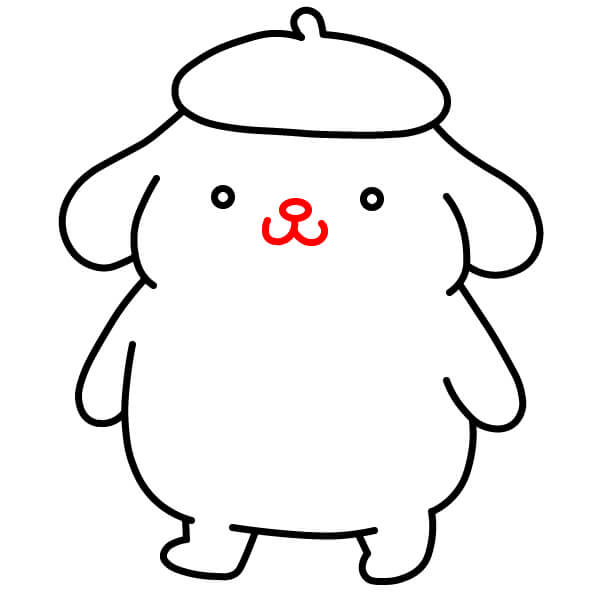
Below the eyes, draw a small shape resembling a backward '3' for the nose and mouth.
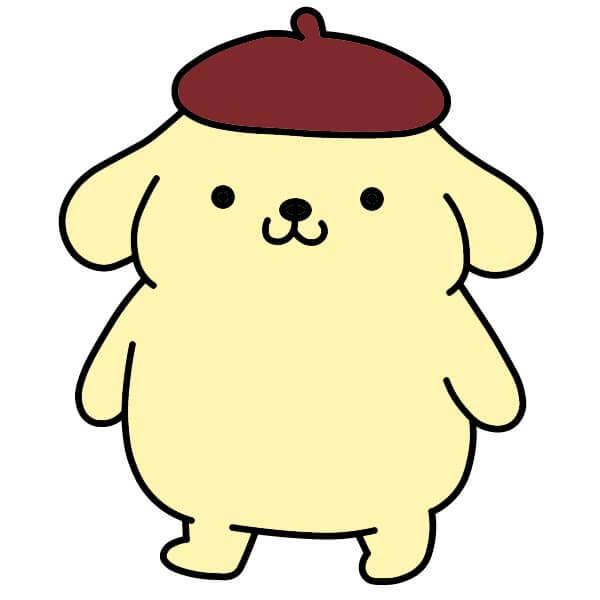
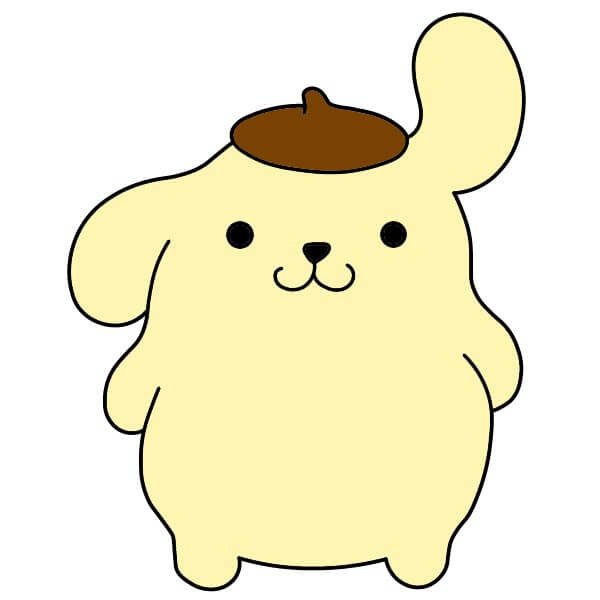
Step-by-Step Drawing Guide for Pompompurin for Kids
7 steps
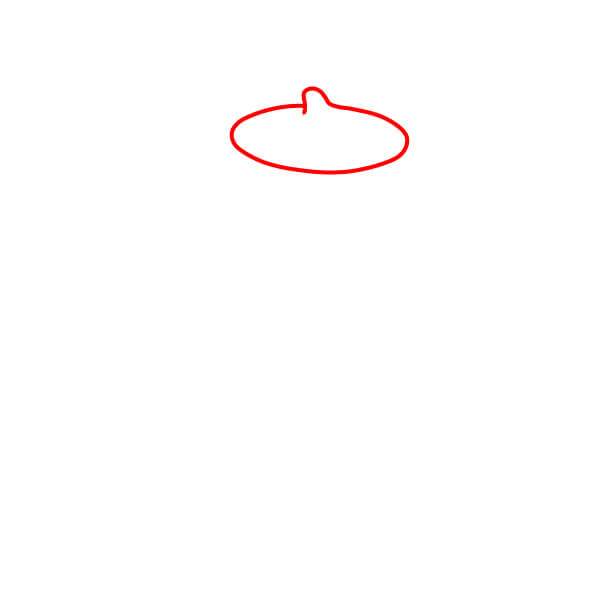
Draw the Hat
Start by drawing an oval with a small bump at the top. This will be Pompompurin's signature beret.
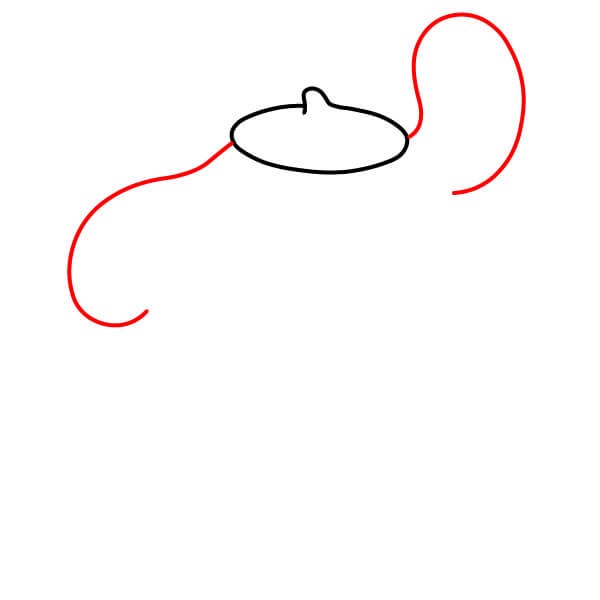
Add the Big Ears
Draw a round ear on the left and a very large, floppy ear on the right, curving upwards.
Draw the Face and Arms
Continue the lines from Step 2, bending them inward to complete the basic shape of the face. Then draw two long curves extending down to form Pompompurin's arms.
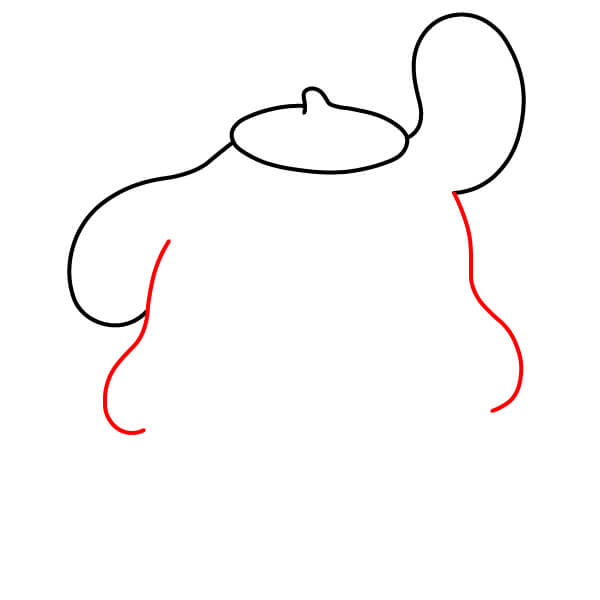
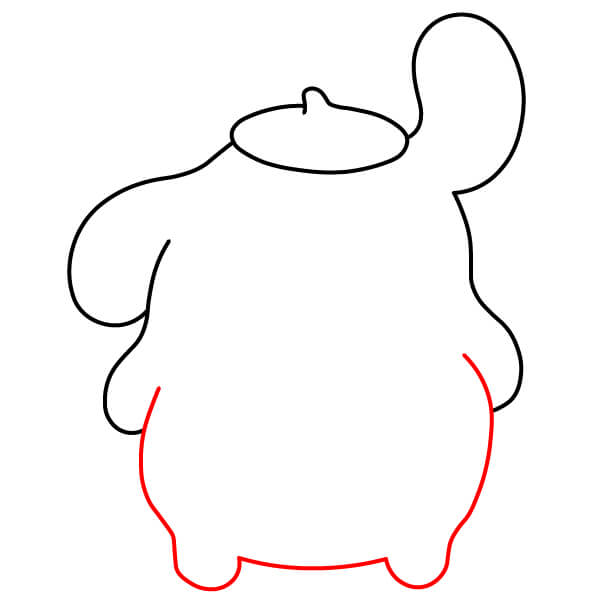
Draw the Body
Connect the two lines from Step 3 with a slightly curved horizontal line at the bottom to form a round body. At the bottom of the body, draw two small circles for Pompompurin's feet.
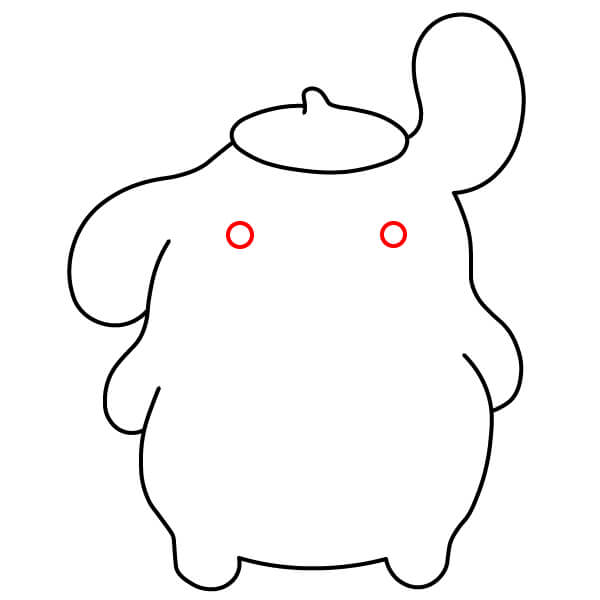
Draw the Nose and Mouth
Below the eyes, draw a small bean-shaped nose and a simple curve to form the mouth.
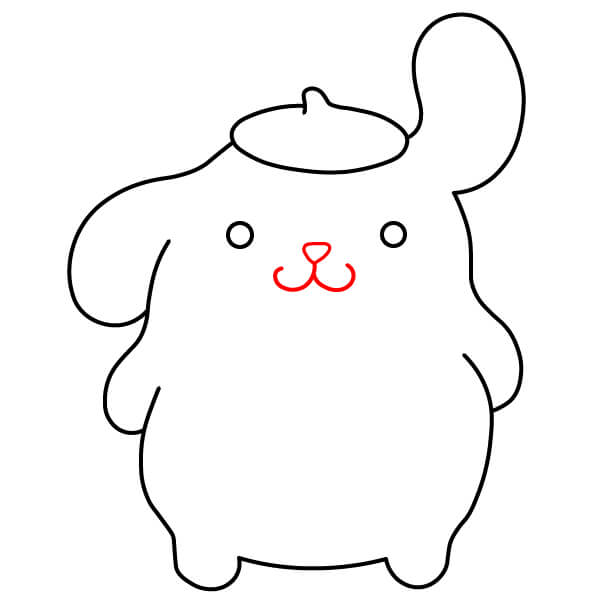
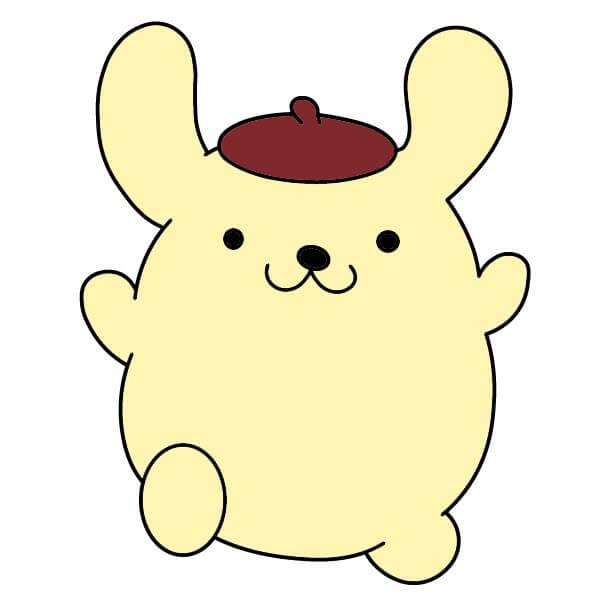
Add Color
Finally, color Pompompurin's body and big ear with a light cream or off-white color. Color the small hat on top brown. Add black pupils to the eyes and color the nose dark brown.
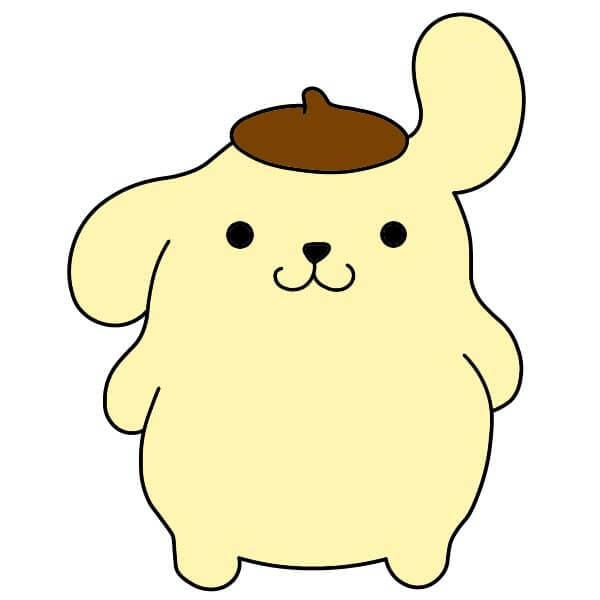
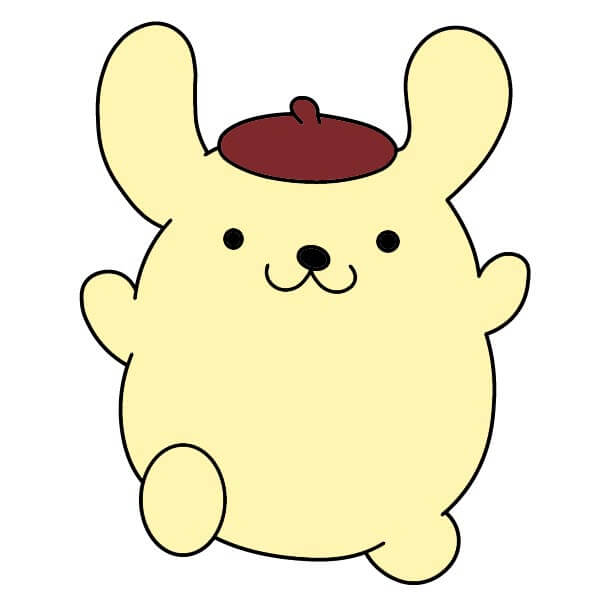
How to Draw a Fun Pompompurin in Just 9 Simple Steps.
9 steps
Draw the Hat
Start by drawing an oval with a small bump at the top. This will be Pompompurin's beret.

Add the Ears
From the sides of the hat, draw two curves that go outward and then loop back towards the center, forming Pompompurin's floppy ears.
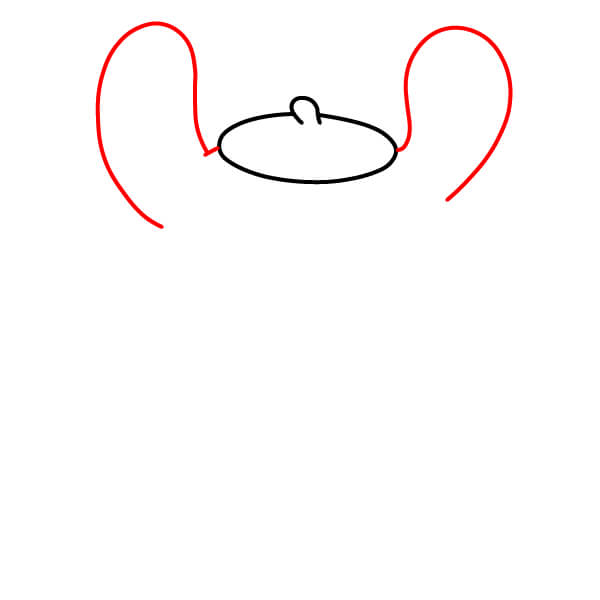
Draw the Face
Continue the lines from Step 2, bending them inward to complete the basic shape of the face.
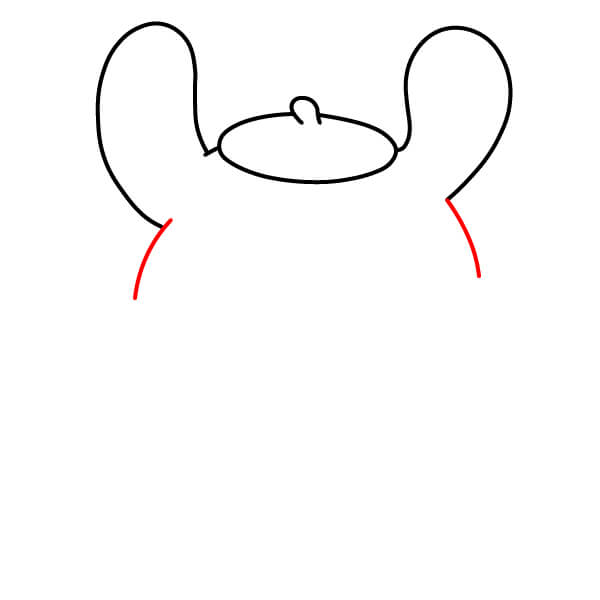
Draw the Arms
Below the ears, draw two curves that go upward. These will form Pompompurin's arms.
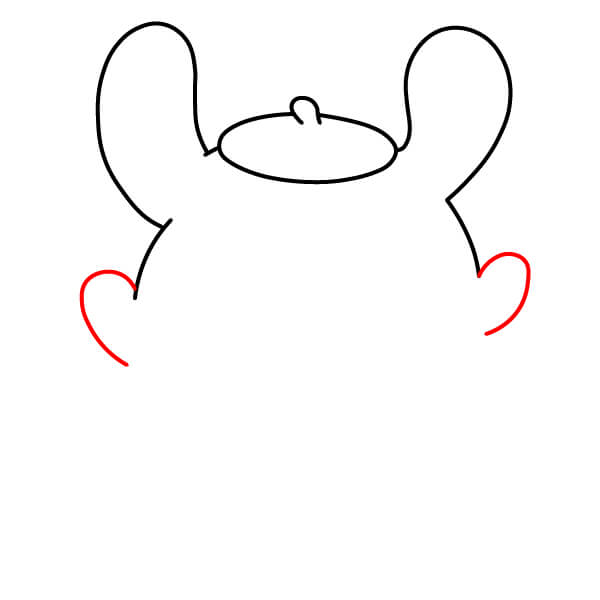
Draw the Body
Connect the two lines from Step 4 with a slightly curved horizontal line at the bottom to create a round body.
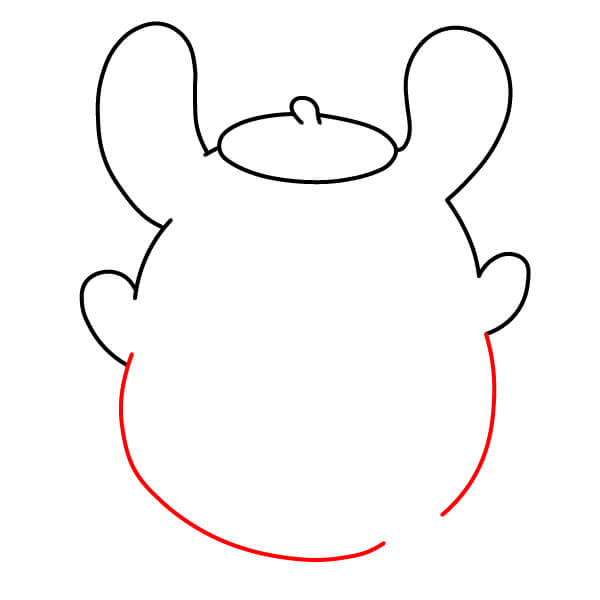
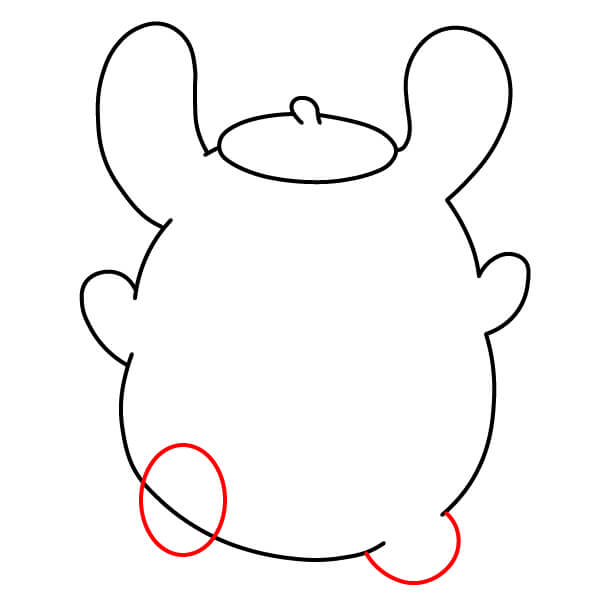
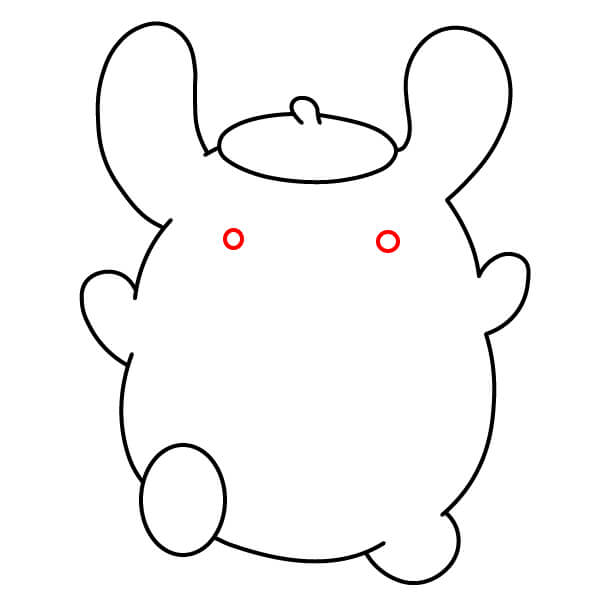
Draw the Nose and Mouth
Below the eyes, draw a small shape resembling a backward '3' for the nose and mouth.
Simple Steps to Draw Sleeping Pompompurin
9 steps
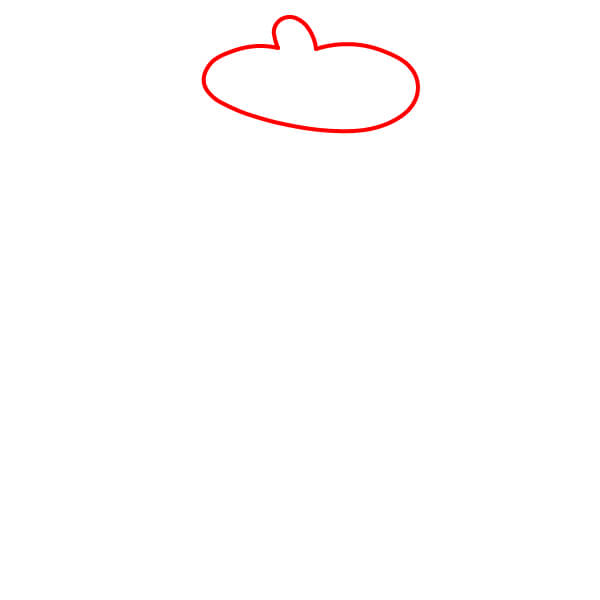
Draw the Hat
Start by drawing an oval with a small, slightly wavy protrusion at the top. This will be Pompompurin's beret.
Add the Ears
From the sides of the hat, draw two curves extending outward and then curving down to form the basic outline of Pompompurin's floppy ears.
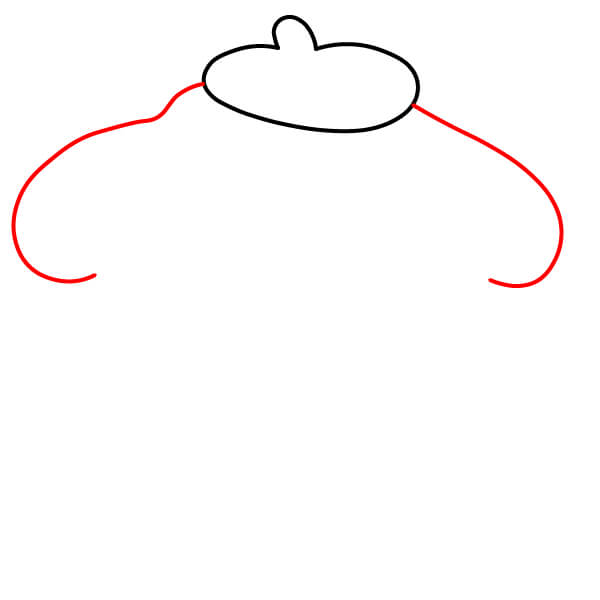
Start Drawing the Body Sides
Draw two long curves extending down from below the ears. They will form the sides of Pompompurin's round body.
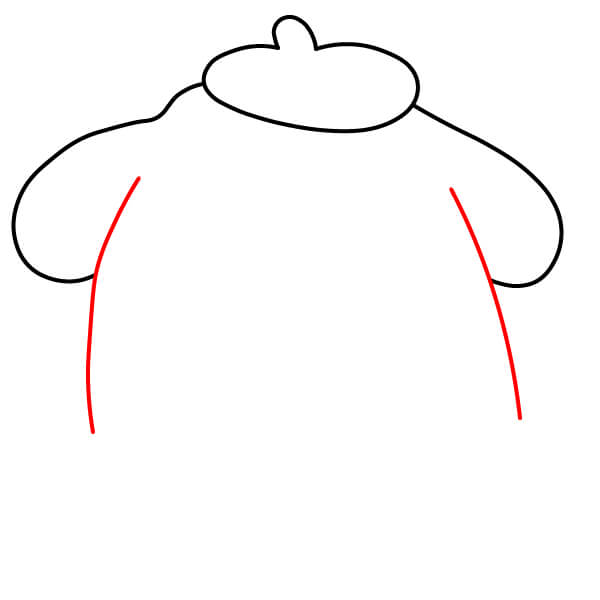
Draw the Feet
At the end of the body lines, draw two slightly oval shapes to form Pompompurin's sitting feet.
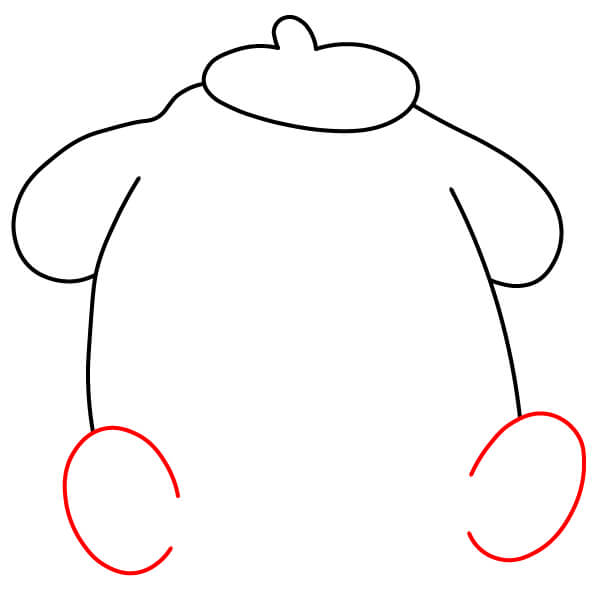
Connect the Feet
Draw a short, slightly curved line to connect the bottoms of the two feet, completing the bottom of the body.
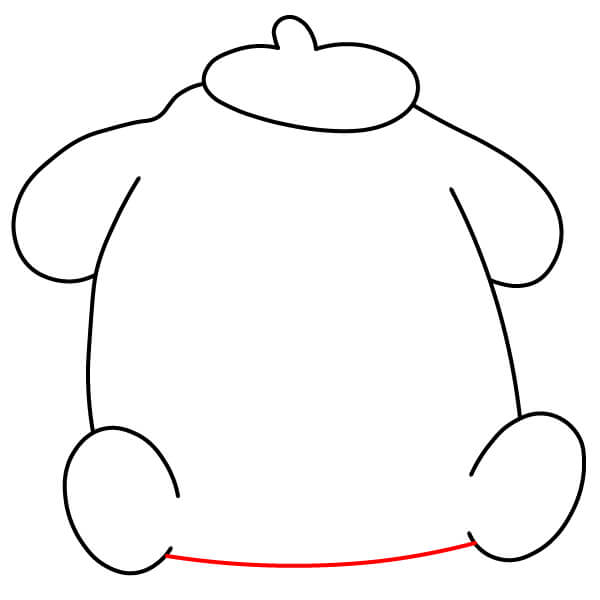
Add the Hands
Draw two curves in front of the lower body to represent Pompompurin's hands resting on its belly.
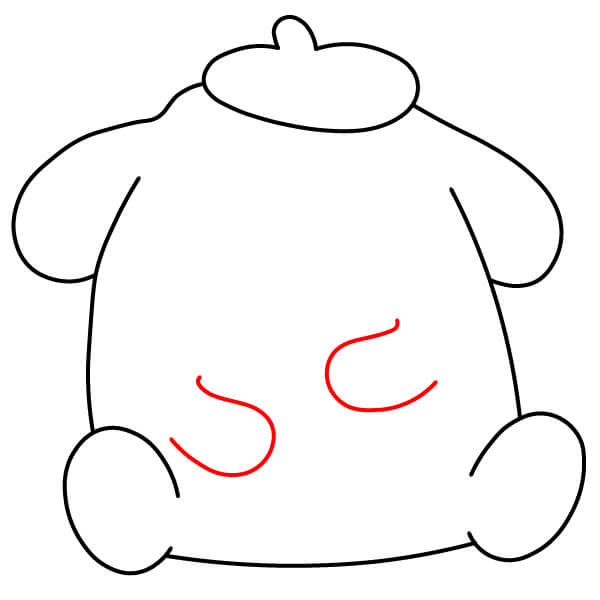
Add the Eyes
Draw two small downward curves to create closed eyes, making Pompompurin look relaxed.
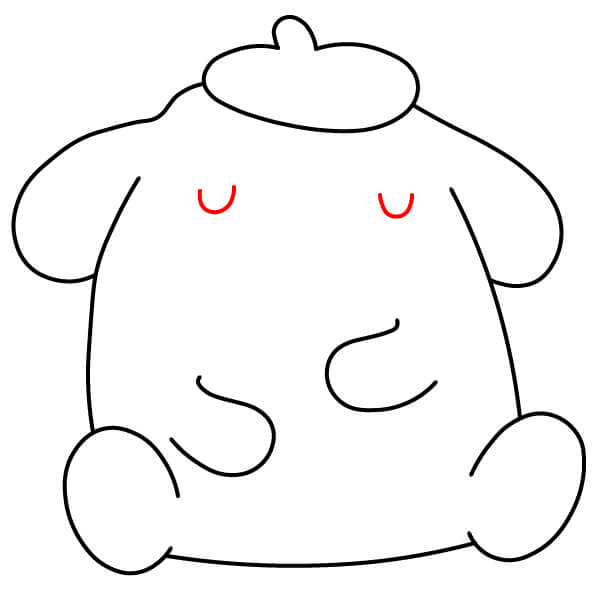
Draw the Nose and Mouth
Draw an upside-down triangle for the nose, then draw a straight line extending down from the bottom tip of the triangle to represent the closed mouth.
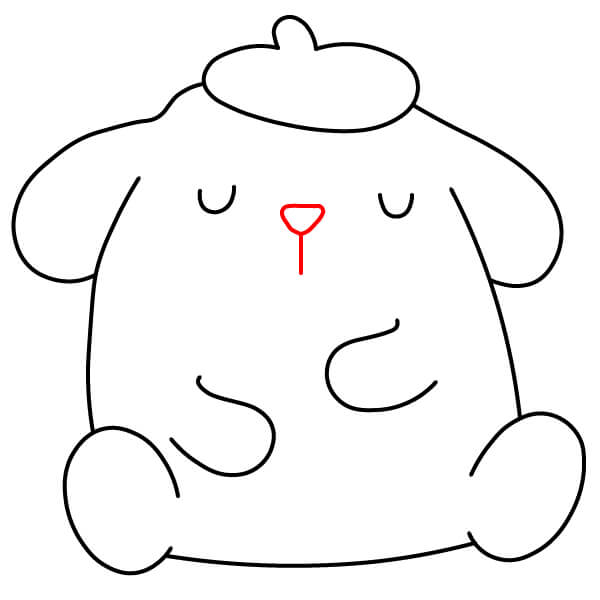
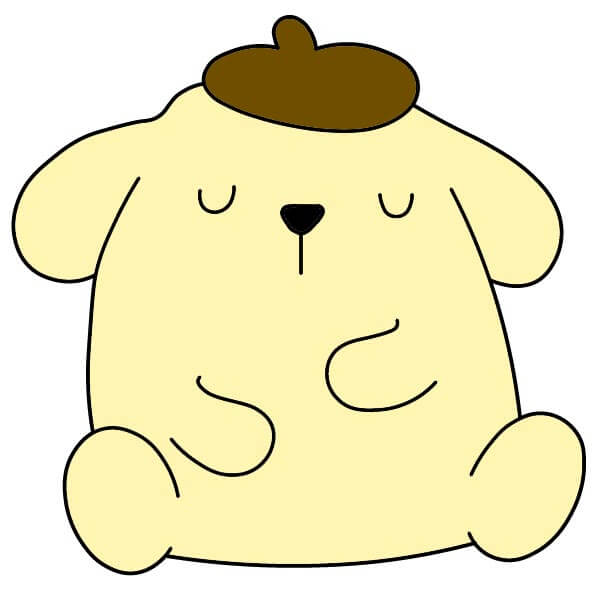
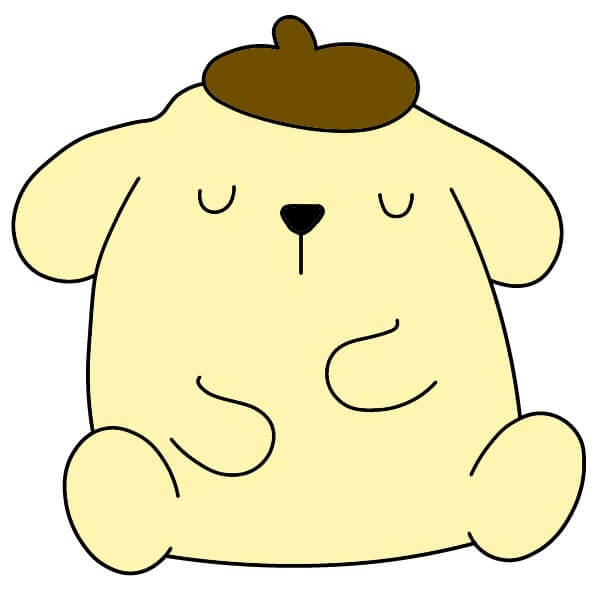
Color Pompompurin
Finally, color Pompompurin's body light yellow and the beret dark brown. The nose can be colored black.
▶Drawing tips
- Draw lightly with a pencil first, then darken the lines when you're satisfied.
- You don't need to draw exactly like the sample — add your own style!
- After finishing your drawing, you can color it directly on Tomau.AI to make it more vibrant.