Tomau.AITomau.AI

How to Draw Powerpuff Girls
Animation
How to Draw Powerpuff Girls

Want to learn how to draw how to draw powerpuff girls? This tutorial will help you do it in just 39 simple steps, with clear illustrations for each step. Whether you're a beginner or experienced, the steps below are easy to understand and follow.

You just need a pencil, drawing paper, and an eraser — then start drawing step by step!

This lesson includes 4 different ways to draw. Choose the one that suits you best!
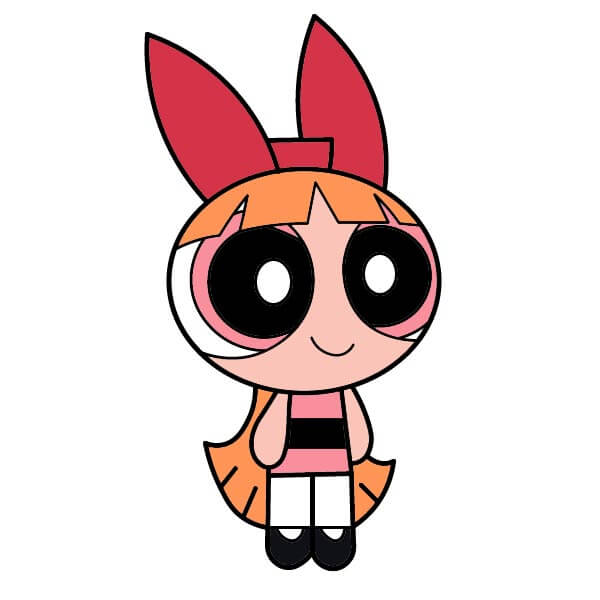
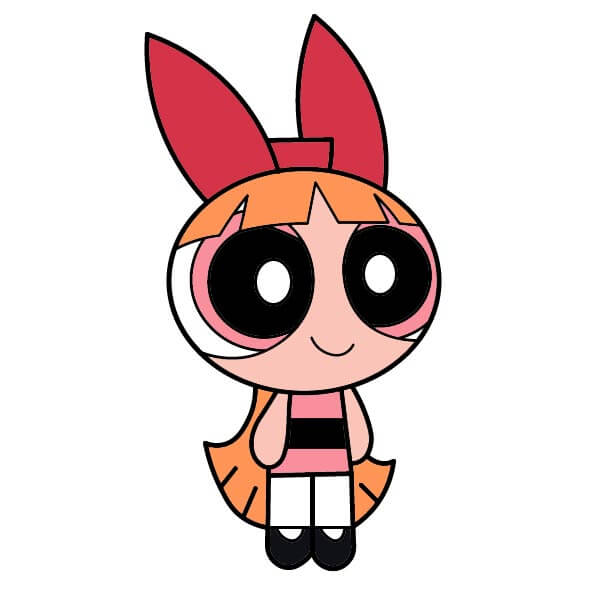
Step-by-Step Guide: How to Draw Blossom from Powerpuff Girls

Step-by-Step Guide: How to Draw Blossom from Powerpuff Girls

11 steps
1

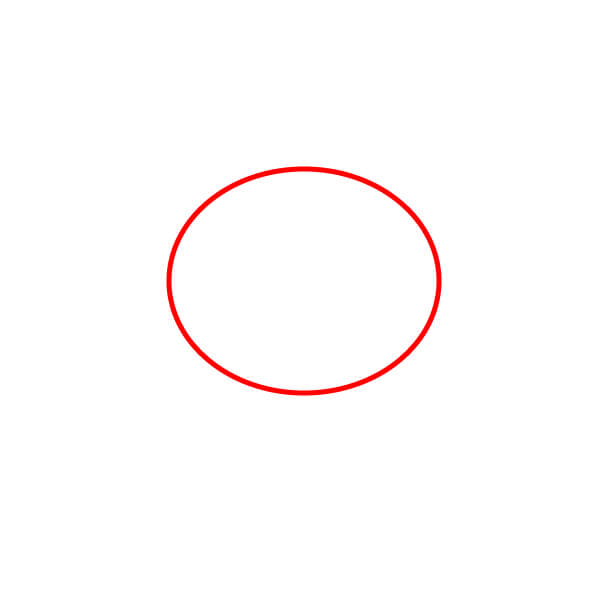
Step 1

Start by drawing a simple oval.

Practice
Step-by-Step Guide: How to Draw Blossom from Powerpuff Girls - Step 1
2

Step 2

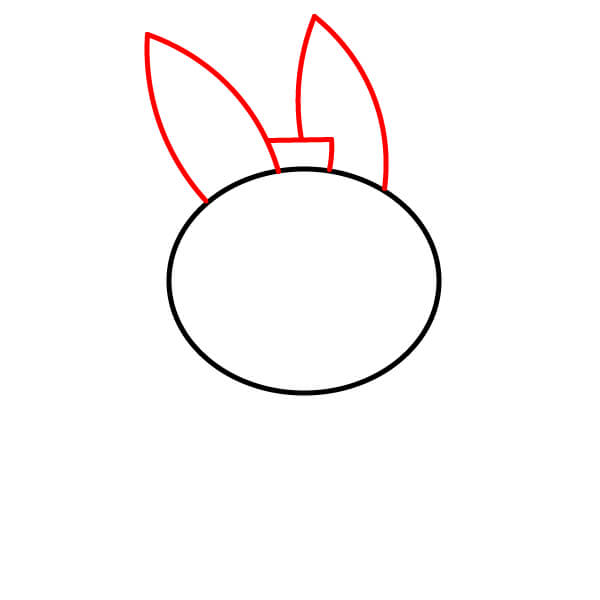
Add two large pointed shapes facing upwards to form the bow.

Practice
Step-by-Step Guide: How to Draw Blossom from Powerpuff Girls - Step 2
3

Step 3

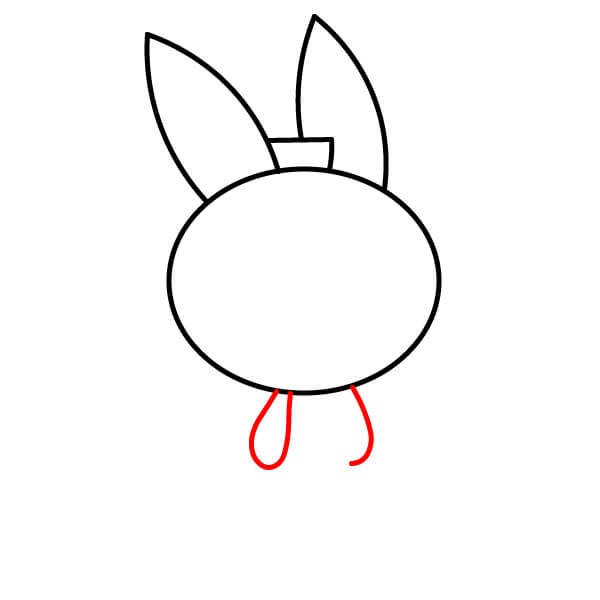
Draw two small curves extending down from the bottom of the oval to start creating the arms.
Practice
Step-by-Step Guide: How to Draw Blossom from Powerpuff Girls - Step 3
4

Step 4

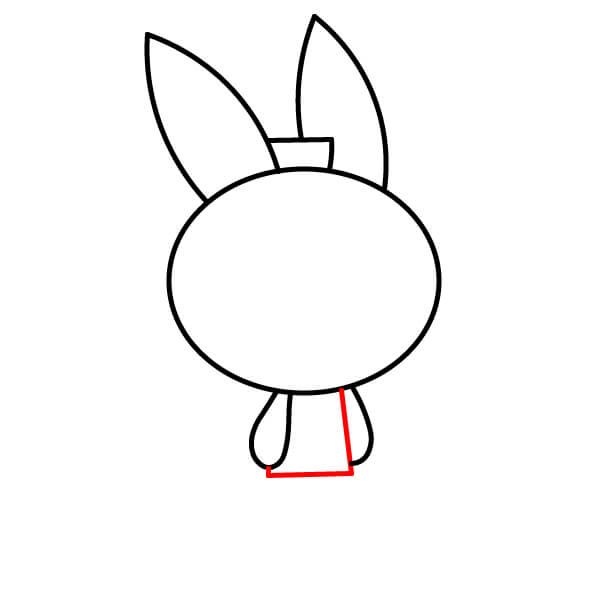
Connect the ends of the small curves with a short horizontal line to form the upper body.
Practice
Step-by-Step Guide: How to Draw Blossom from Powerpuff Girls - Step 4
5

Step 5

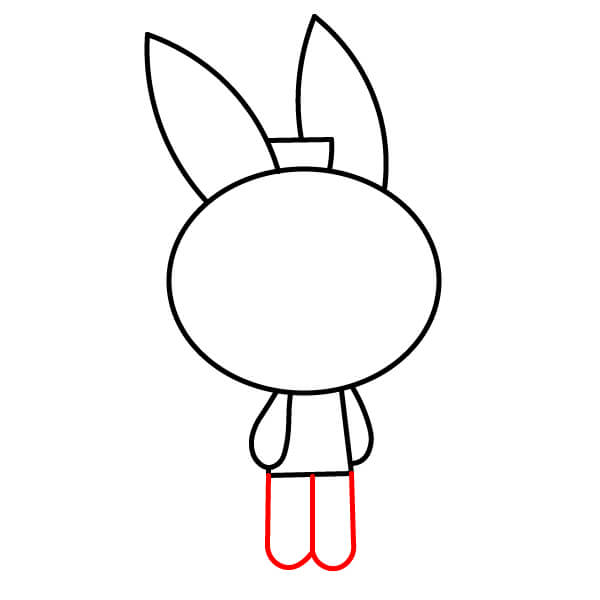
Draw two straight lines extending down from the corners of the horizontal line to create the legs, then add two small curves at the end of each leg.
Practice
Step-by-Step Guide: How to Draw Blossom from Powerpuff Girls - Step 5
6

Step 6

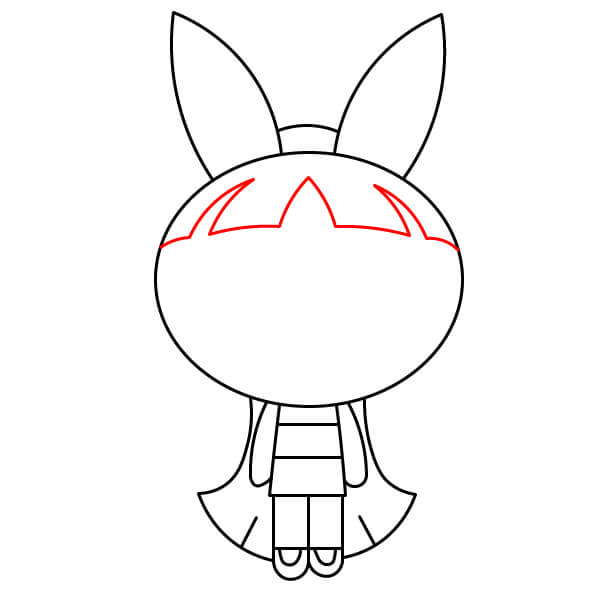
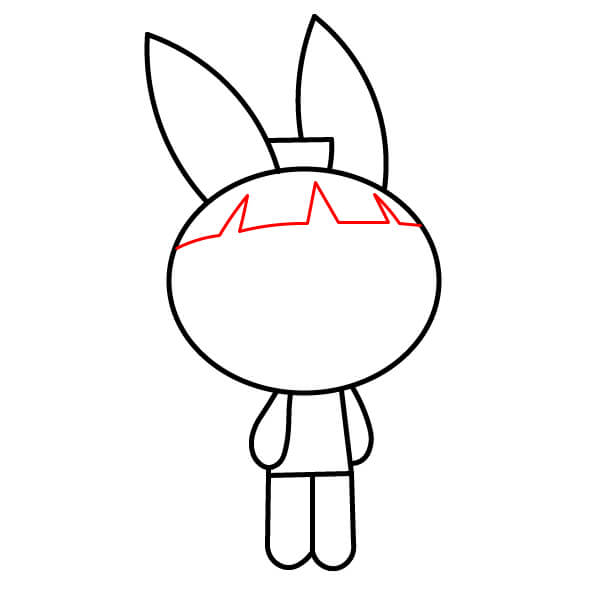
Draw the jagged bangs on top of the oval for the character's hair.

Practice
Step-by-Step Guide: How to Draw Blossom from Powerpuff Girls - Step 6
7

Step 7

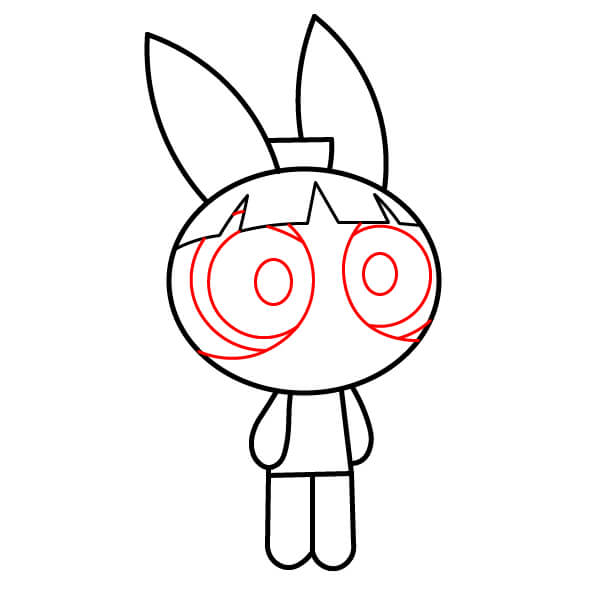
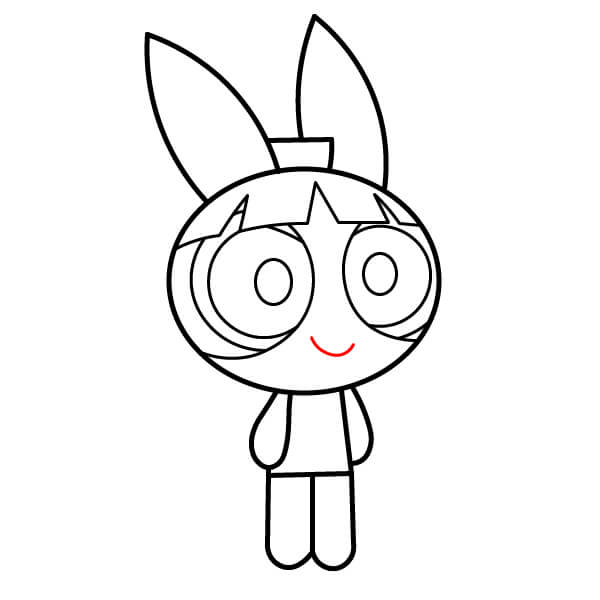
Inside the oval, draw two large circles for the eyes, then add smaller circles inside for the pupils and draw curves above and below to shape the eyes.
Practice
Step-by-Step Guide: How to Draw Blossom from Powerpuff Girls - Step 7
8

Step 8

Draw a small curve in the middle of the face to create the mouth.

Practice
Step-by-Step Guide: How to Draw Blossom from Powerpuff Girls - Step 8
9

Step 9

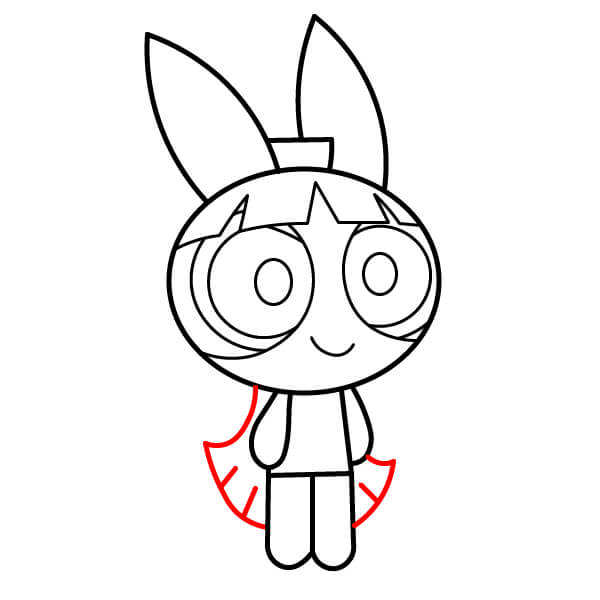
Add two semicircles extending from the sides of the body to create the hair on both sides.
Practice
Step-by-Step Guide: How to Draw Blossom from Powerpuff Girls - Step 9
10

Step 10

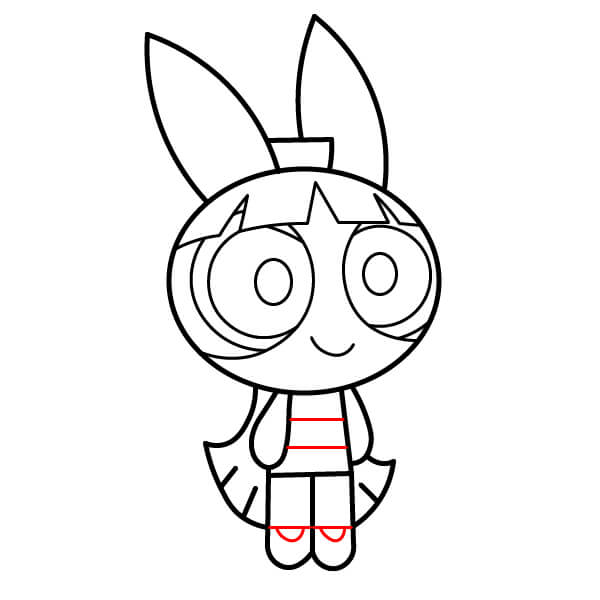
Draw two horizontal lines on the body to create the waistband, then add small curves at the end of each leg to complete the shoes.
Practice
Step-by-Step Guide: How to Draw Blossom from Powerpuff Girls - Step 10
11

Step 11

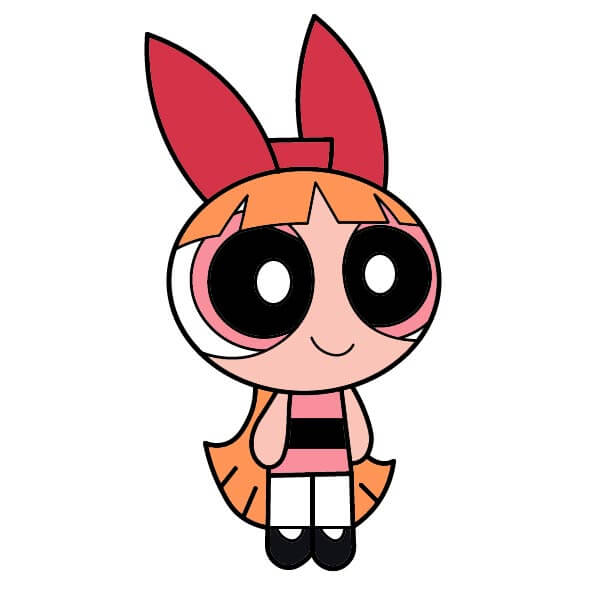
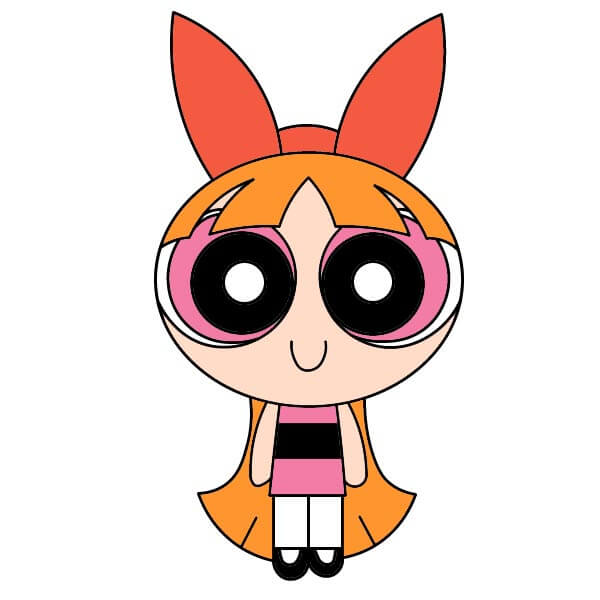
Color the bow in bright pink or red, the hair and bangs in orange, the skin in light peach, the top of the dress in light pink, and the waistband in black. Keep the pupils white with a light pink surrounding and black outline. Use white stockings and black shoes.
Practice
Step-by-Step Guide: How to Draw Blossom from Powerpuff Girls - Step 11
Simple Blossom Drawing Guide for Kids

Simple Blossom Drawing Guide for Kids

10 steps
1

Step 1

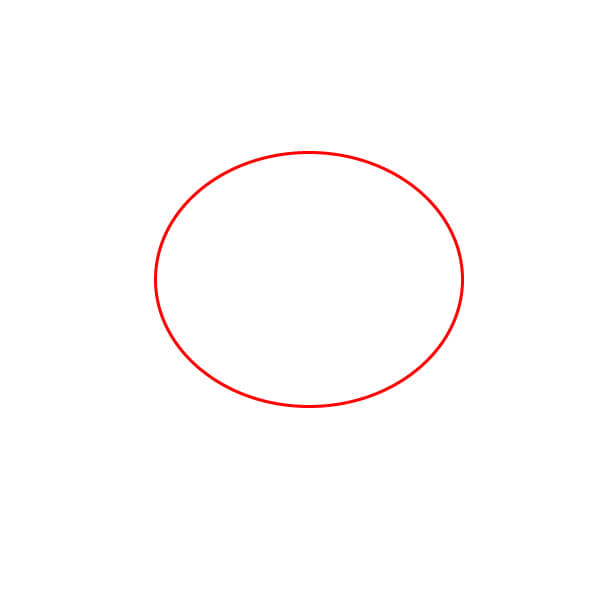
Start by drawing a horizontal oval.

Practice
Simple Blossom Drawing Guide for Kids - Step 1
2

Step 2

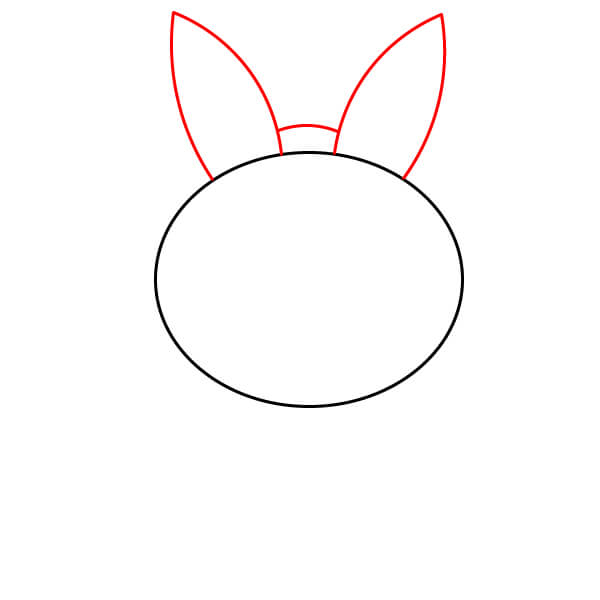
Add two large pointed shapes at the top of the oval to form a bow.

Practice
Simple Blossom Drawing Guide for Kids - Step 2
3

Step 3

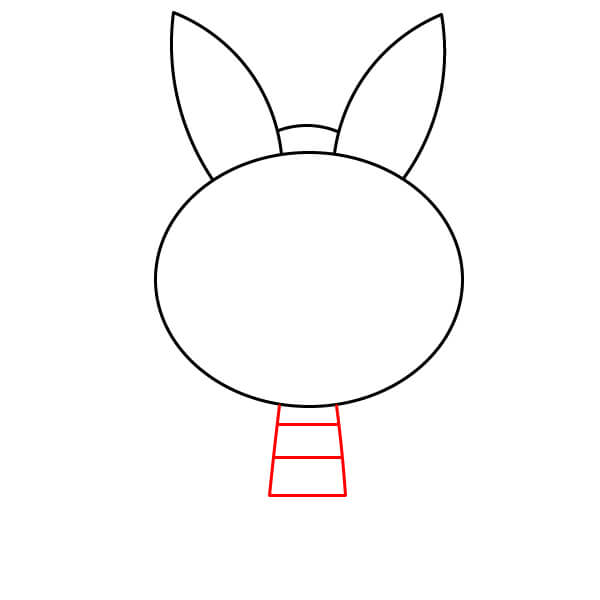
Draw two horizontal lines below the oval to create the body, forming a small rectangle.
Practice
Simple Blossom Drawing Guide for Kids - Step 3
4

Step 4

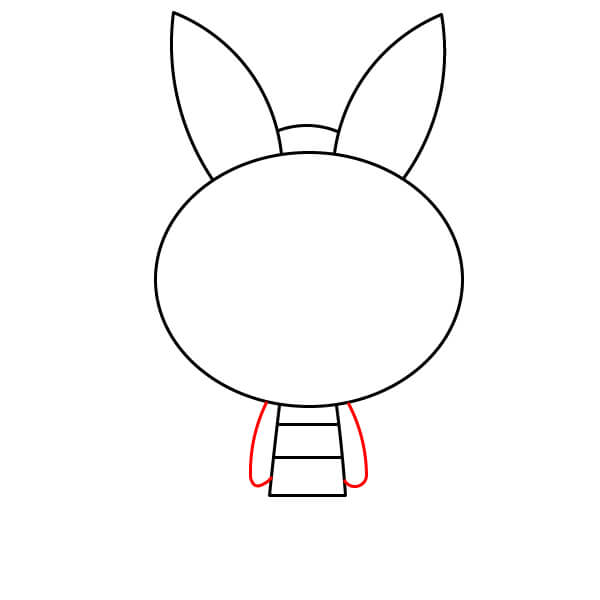
Extend a small curve from each side of the body to create two arms.

Practice
Simple Blossom Drawing Guide for Kids - Step 4
5

Step 5

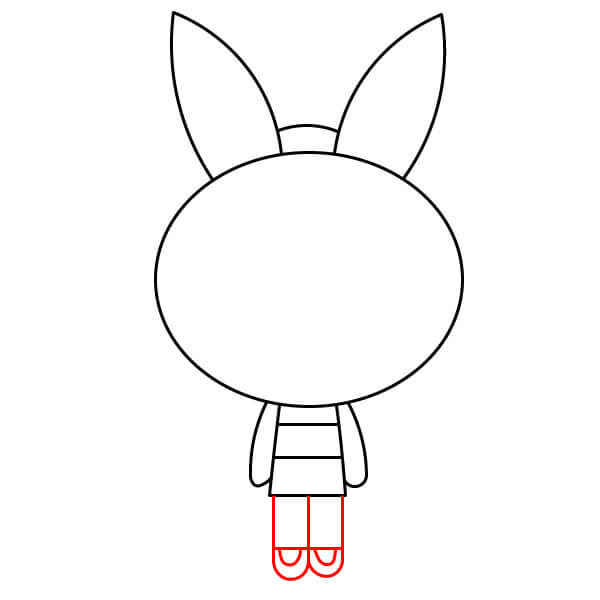
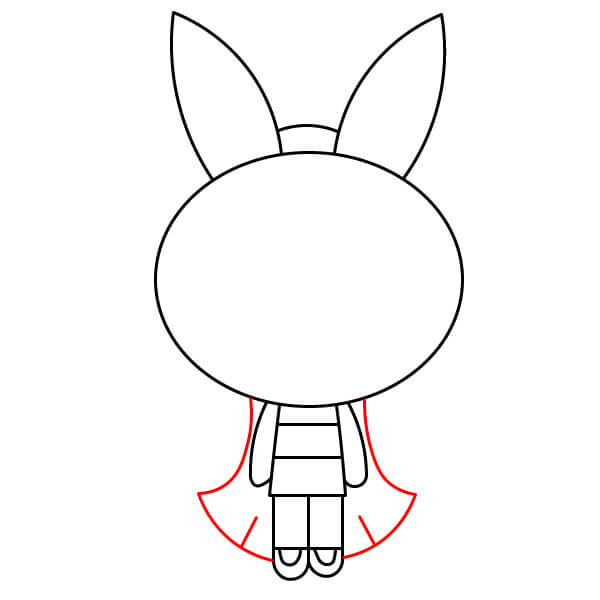
Draw two straight lines down from the body, then connect them with a curve at the bottom to form two legs.
Practice
Simple Blossom Drawing Guide for Kids - Step 5
6

Step 6

Add two flared shapes on either side of the body to create hair.

Practice
Simple Blossom Drawing Guide for Kids - Step 6
7

Step 7

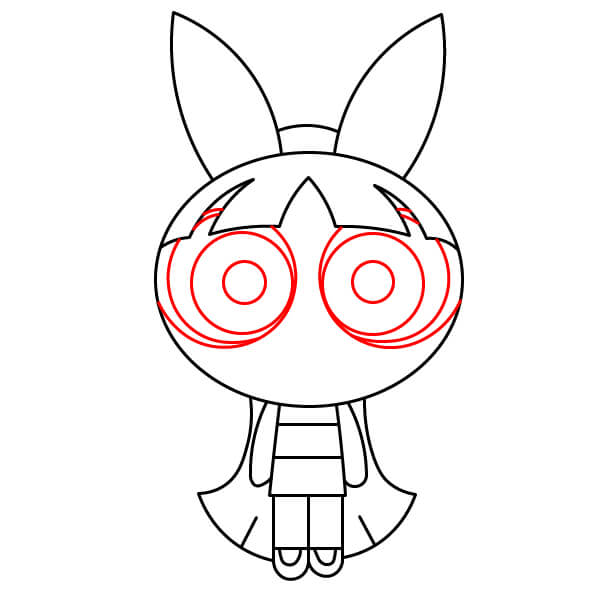
Draw a zigzag fringe across the top of the oval for the character's hair.

Practice
Simple Blossom Drawing Guide for Kids - Step 7
8

Step 8

Inside the oval, draw two large concentric circles for the eyes, then add smaller circles inside for the pupils.
Practice
Simple Blossom Drawing Guide for Kids - Step 8
9

Step 9

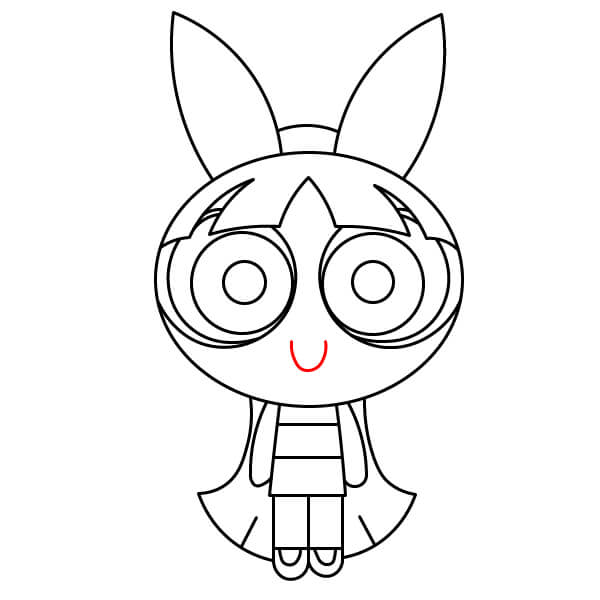
Add a small curve in the middle of the face to create the mouth.

Practice
Simple Blossom Drawing Guide for Kids - Step 9
10

Step 10

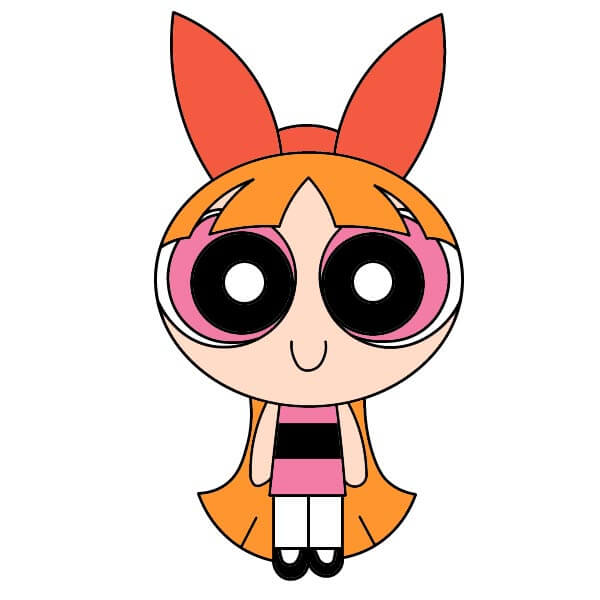
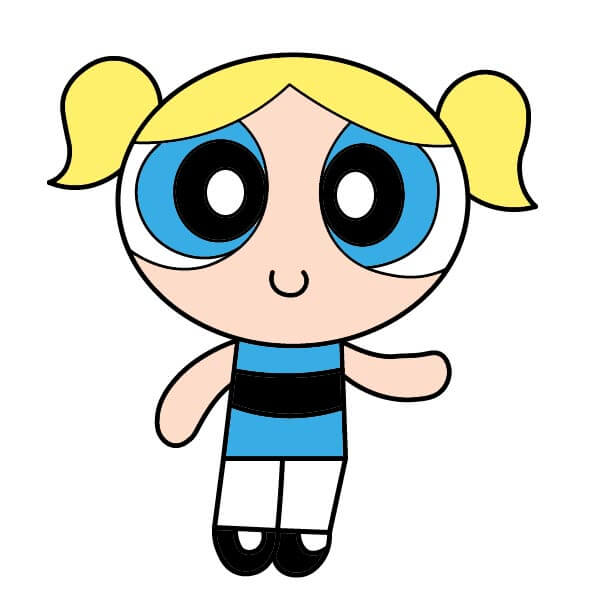
Color the bow bright red and the hair vibrant orange. The dress should be light pink with a black stripe in the middle. The character's skin should be light peach or natural skin tone. For the eyes, use light pink for the large circles, black for the pupils, and two small white circles inside for highlights. Finally, color the shoes black.
Practice
Simple Blossom Drawing Guide for Kids - Step 10
Fun Bubbles Drawing Lesson for Kids

Fun Bubbles Drawing Lesson for Kids

9 steps
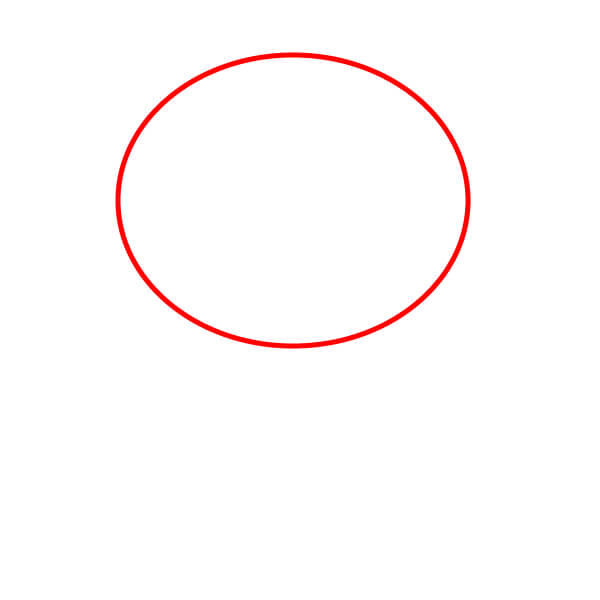
1

Step 1

Start by drawing a simple oval for the head.

Practice
Fun Bubbles Drawing Lesson for Kids - Step 1
2

Step 2

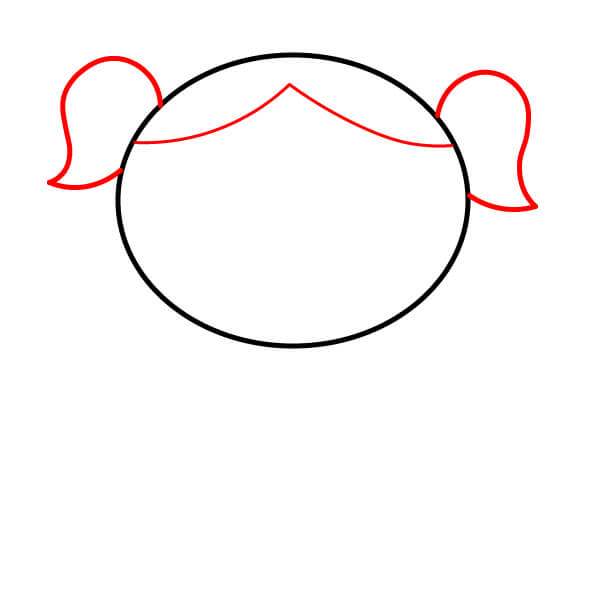
Add hair. Draw a curved line above the head for bangs. On each side of the head, draw a curved shape for ponytails.
Practice
Fun Bubbles Drawing Lesson for Kids - Step 2
3

Step 3

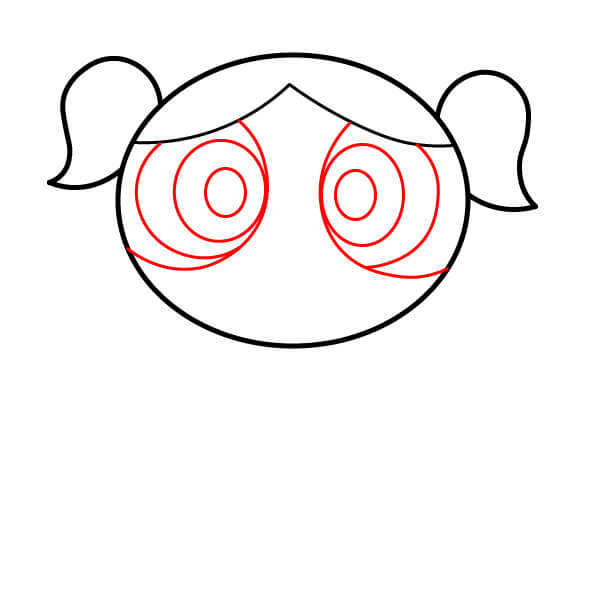
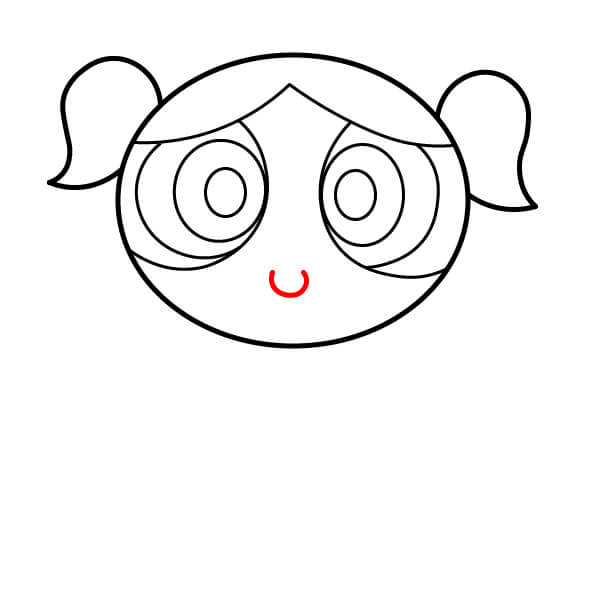
Inside the head, draw two large circles for the eyes. Inside each large circle, draw two smaller concentric circles for the iris and pupil.
Practice
Fun Bubbles Drawing Lesson for Kids - Step 3
4

Step 4

Draw a small curve below the eyes in the middle of the face to create the mouth.

Practice
Fun Bubbles Drawing Lesson for Kids - Step 4
5

Step 5

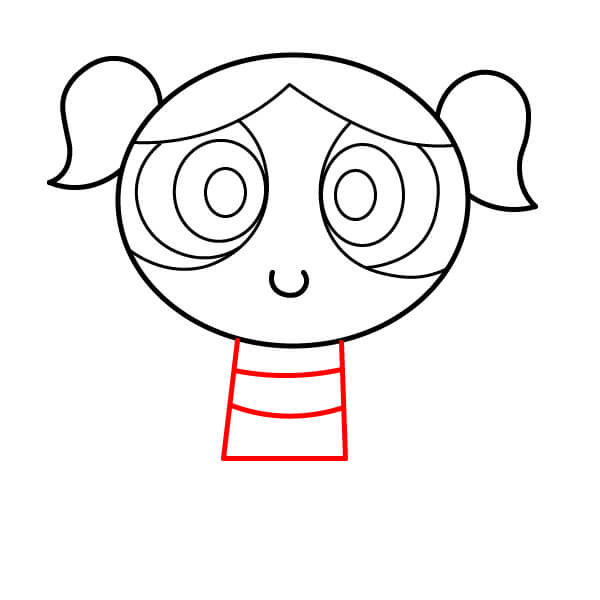
Below the head, draw a short rectangle for the upper body. Add two horizontal lines inside this rectangle to suggest the shirt.
Practice
Fun Bubbles Drawing Lesson for Kids - Step 5
6

Step 6

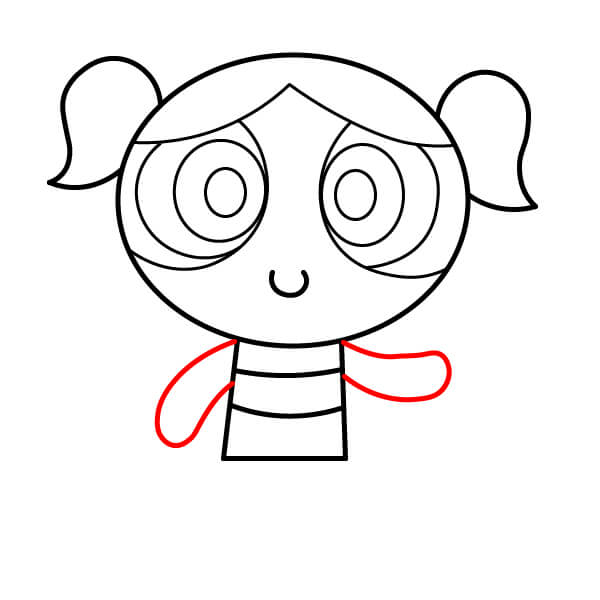
Draw two small curved shapes extending from each side of the body to create the arms.
Practice
Fun Bubbles Drawing Lesson for Kids - Step 6
7

Step 7

Below the body, draw two rectangles to create the legs.

Practice
Fun Bubbles Drawing Lesson for Kids - Step 7
8

Step 8

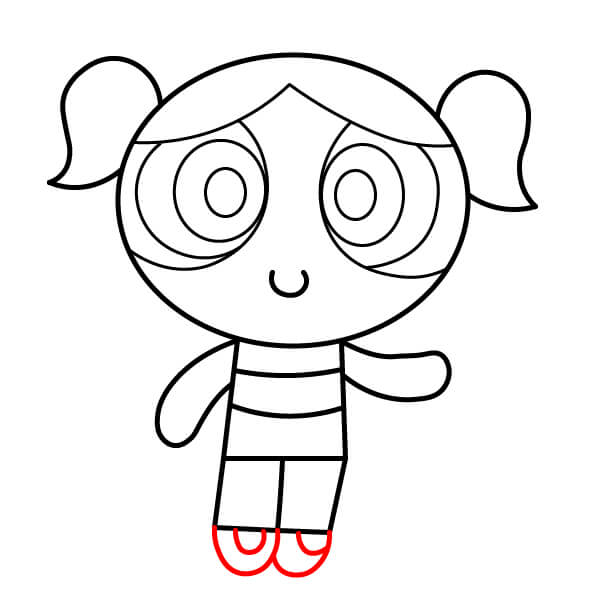
Add two small curves at the bottom of each leg to create shoes.

Practice
Fun Bubbles Drawing Lesson for Kids - Step 8
9

Step 9

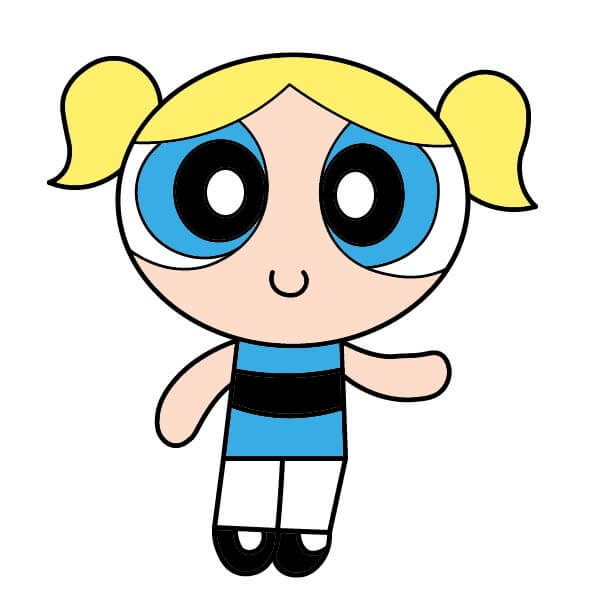
Finally, color the drawing. The hair should be yellow, the eyes have blue irises and black pupils with white highlights. The top of the dress is light blue with a black stripe, the shoes are black, and the skin is light peach.
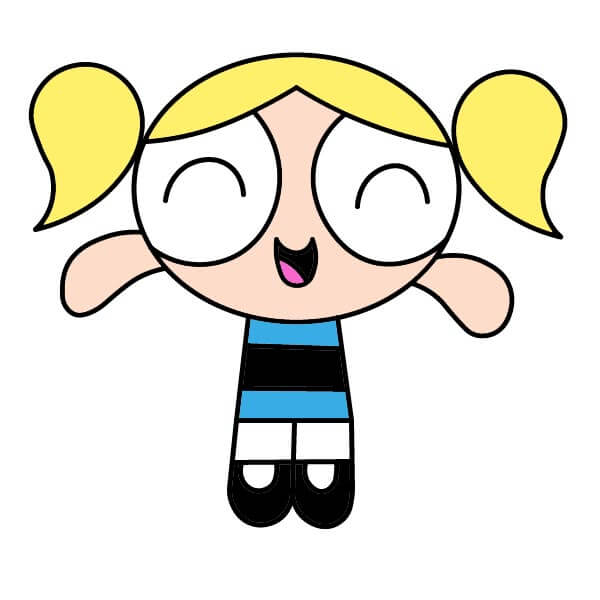
Practice
Fun Bubbles Drawing Lesson for Kids - Step 9
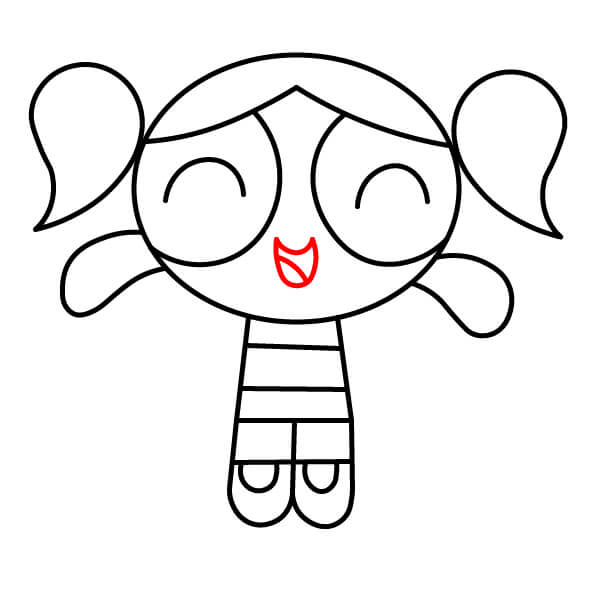
Learn to draw Bubbles from Powerpuff Girls in simple steps.

Learn to draw Bubbles from Powerpuff Girls in simple steps.

9 steps
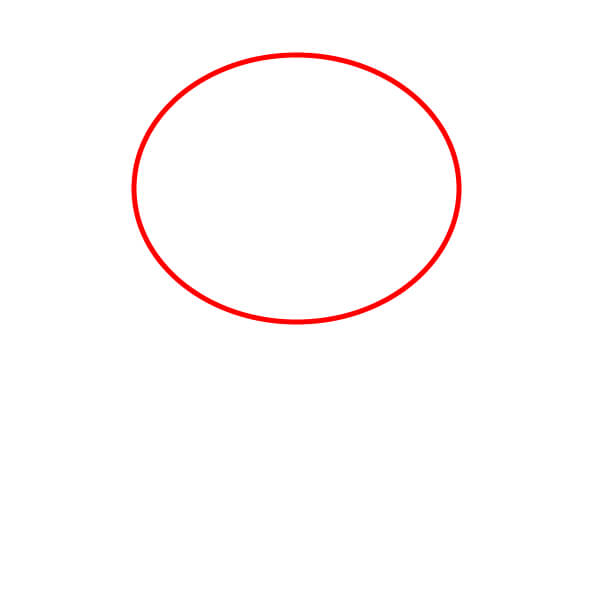
1

Step 1

Start by drawing a horizontal oval for the head.

Practice
Learn to draw Bubbles from Powerpuff Girls in simple steps. - Step 1
2

Step 2

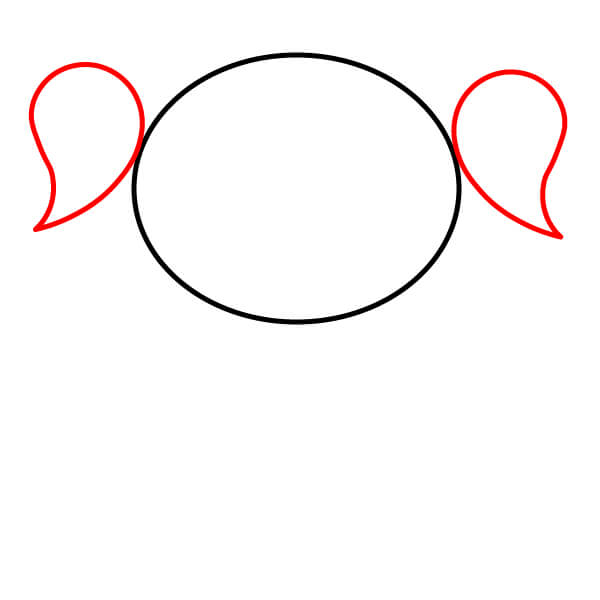
Draw two large curves on either side of the head to create two ponytail pigtails.

Practice
Learn to draw Bubbles from Powerpuff Girls in simple steps. - Step 2
3

Step 3

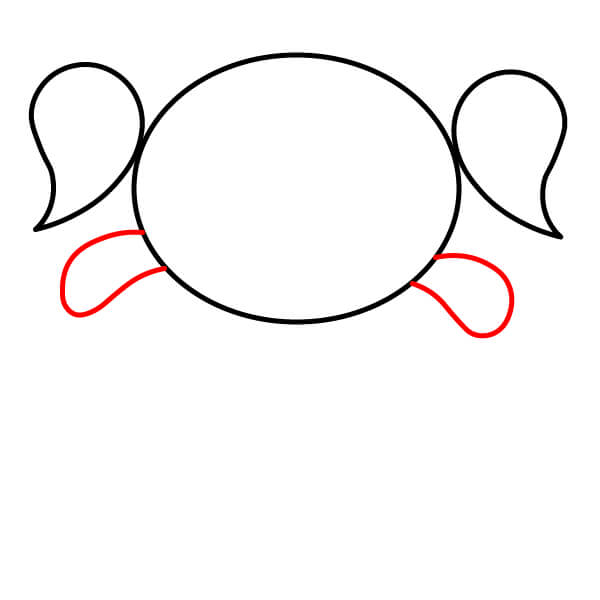
Draw two short curves below the head to form the arms.

Practice
Learn to draw Bubbles from Powerpuff Girls in simple steps. - Step 3
4

Step 4

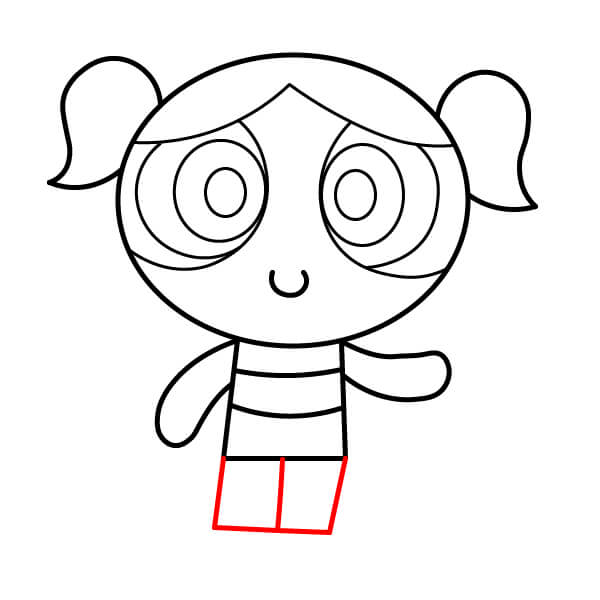
Below the head, draw a short rectangle for the upper body and add two horizontal lines inside for the waist.
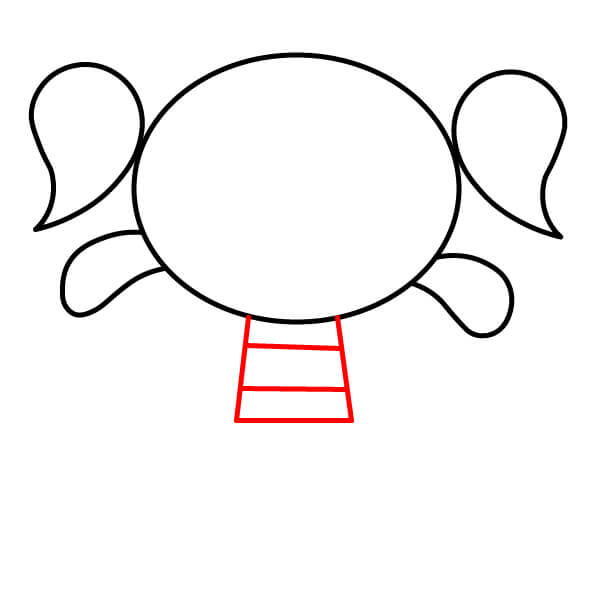
Practice
Learn to draw Bubbles from Powerpuff Girls in simple steps. - Step 4
5

Step 5

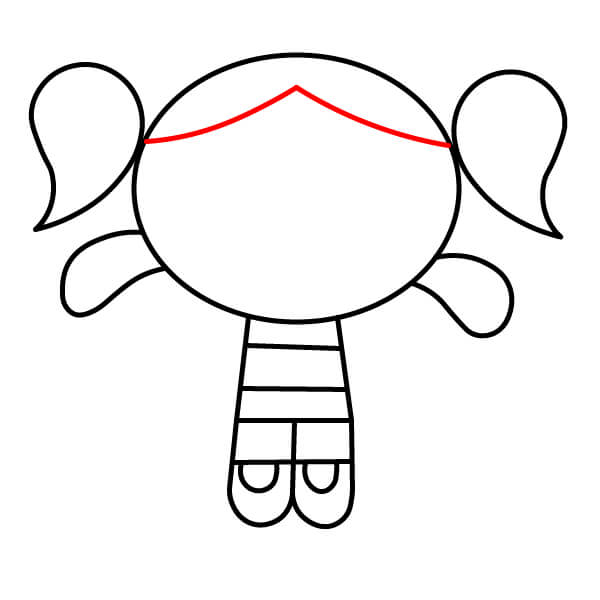
Draw two straight lines extending down from the body, then connect them with a curve to form the legs.
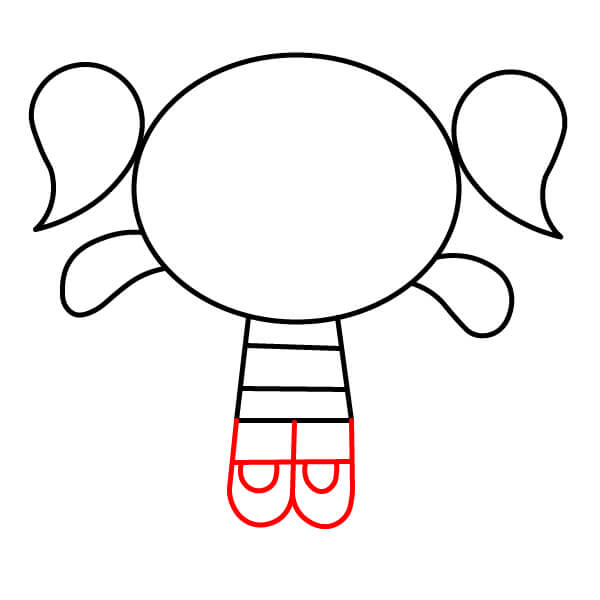
Practice
Learn to draw Bubbles from Powerpuff Girls in simple steps. - Step 5
6

Step 6

Draw a horizontal curve above the head to create the hair parting.

Practice
Learn to draw Bubbles from Powerpuff Girls in simple steps. - Step 6
7

Step 7

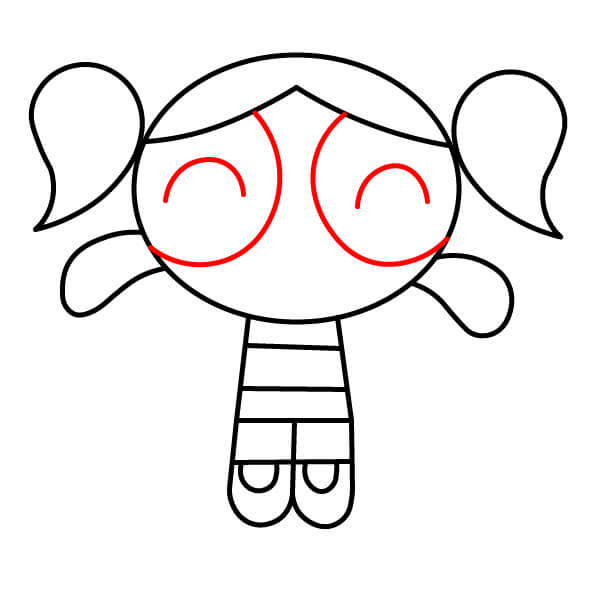
Add two large concentric circles for the eyes, along with two curves above to suggest eyelids.
Practice
Learn to draw Bubbles from Powerpuff Girls in simple steps. - Step 7
8

Step 8

Draw a small curve for the mouth and add a zigzag line inside for mouth detail.

Practice
Learn to draw Bubbles from Powerpuff Girls in simple steps. - Step 8
9

Step 9

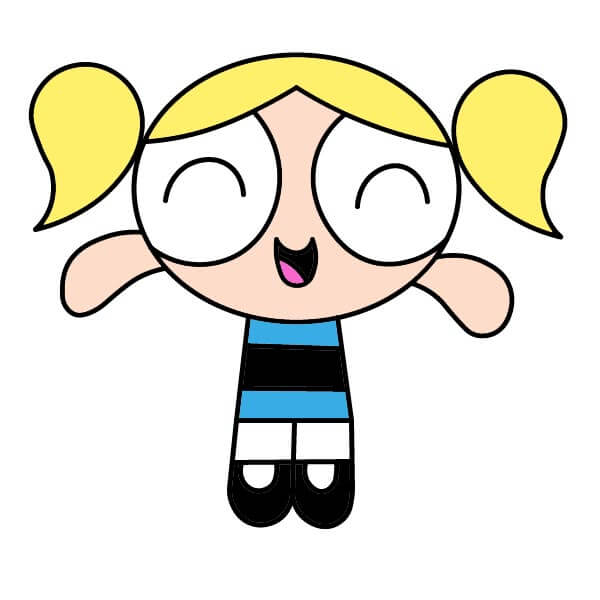
To finish the drawing, add small curves at the bottom for shoes and color the entire figure. Hair should be colored yellow, dress light blue, belt black, skin peach, and shoes black.
Practice
Learn to draw Bubbles from Powerpuff Girls in simple steps. - Step 9
▶Drawing tips
  • Draw lightly with a pencil first, then darken the lines when you're satisfied.
  • You don't need to draw exactly like the sample — add your own style!
  • After finishing your drawing, you can color it directly on Tomau.AI to make it more vibrant.
More Animation drawing tutorials

View all