How to Draw a Snow Globe
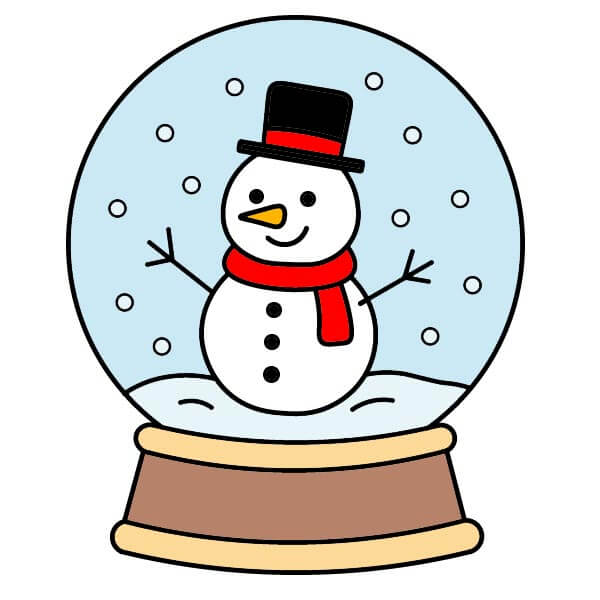
Want to learn how to draw how to draw a snow globe? This tutorial will help you do it in just 41 simple steps, with clear illustrations for each step. Whether you're a beginner or experienced, the steps below are easy to understand and follow.
You just need a pencil, drawing paper, and an eraser — then start drawing step by step!
This lesson includes 4 different ways to draw. Choose the one that suits you best!
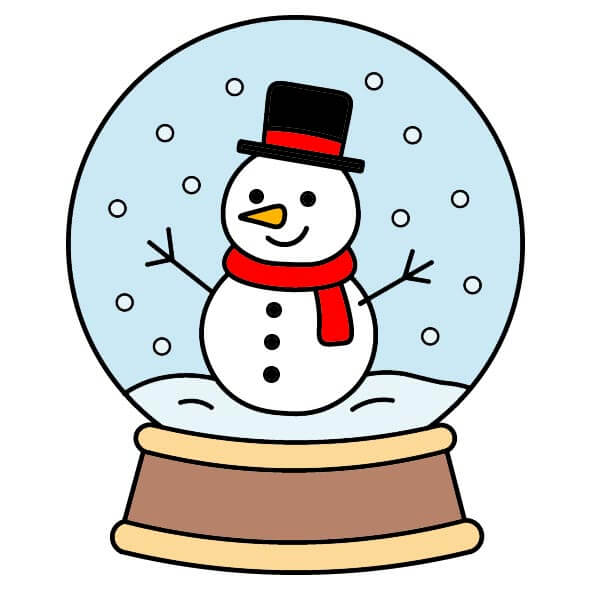
Step-by-Step Snow Globe Drawing Guide for Kids
11 steps
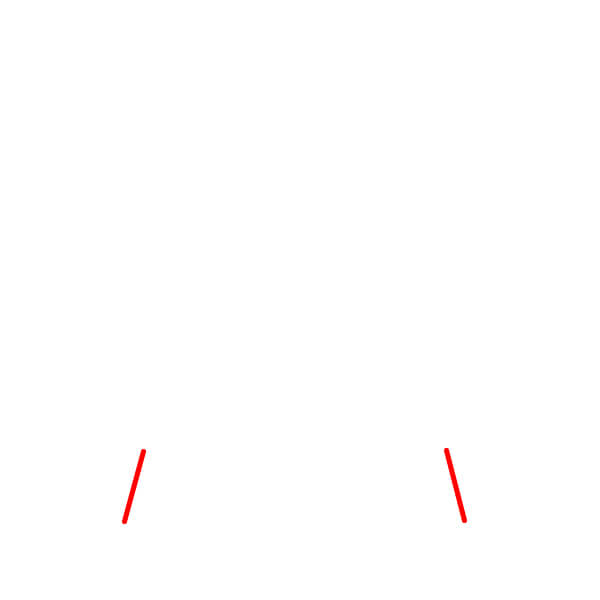
Step 2
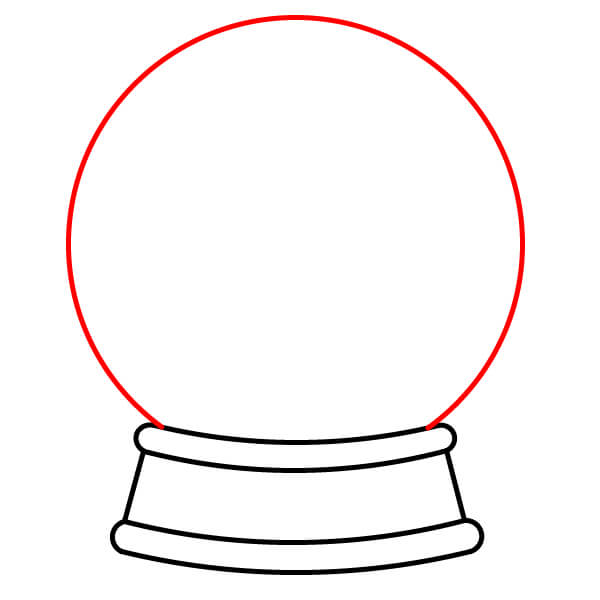
Connect the top and bottom of these lines with two pairs of parallel curves to create the top and bottom edges of the base. This forms the stand for the globe.
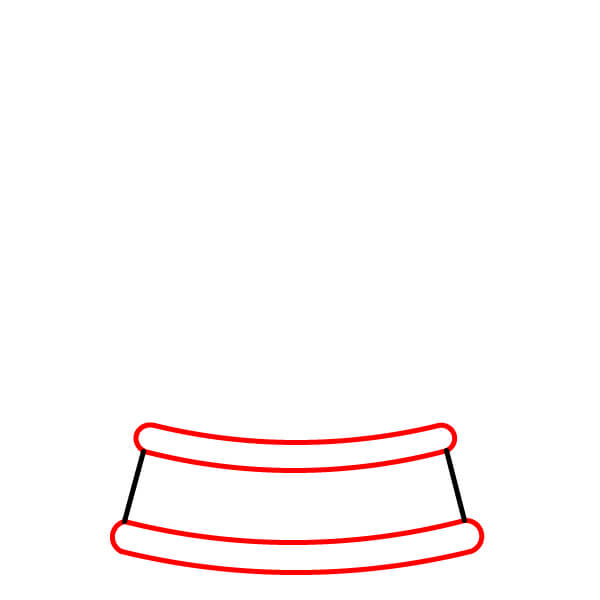
Step 4
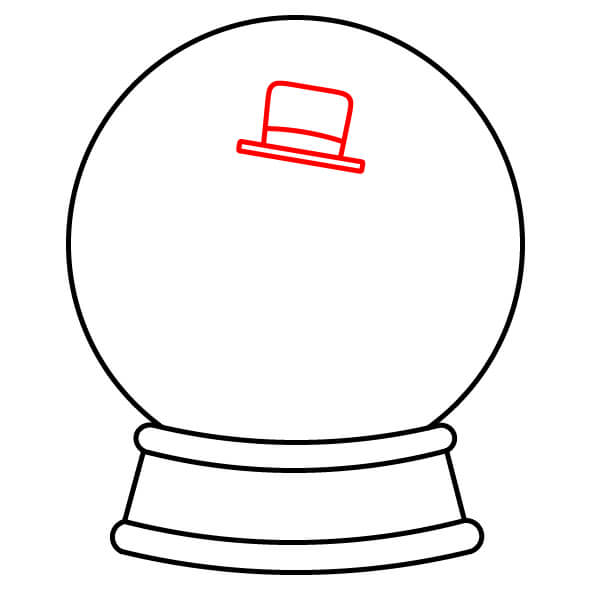
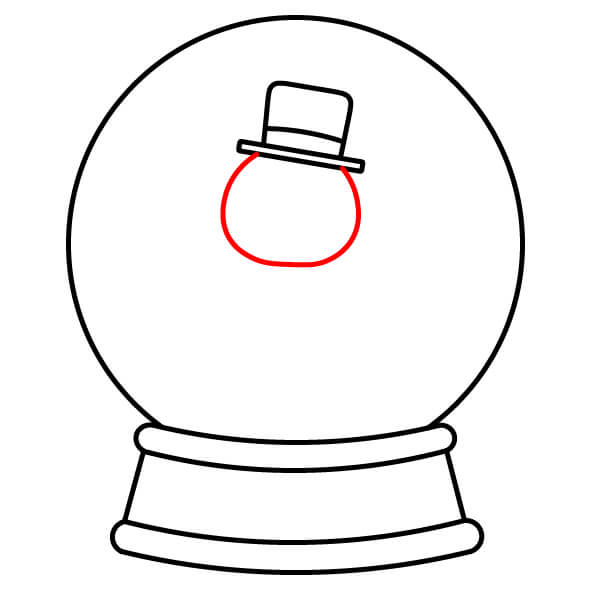
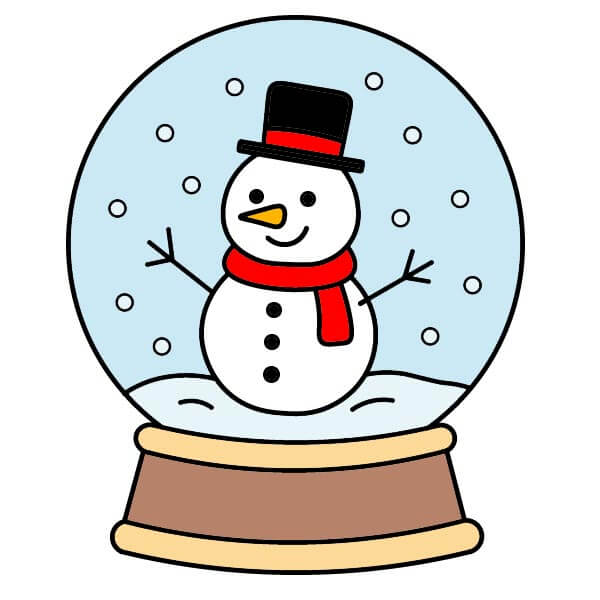
Inside the globe, near the top center, draw a slightly tilted rectangle with a smaller, narrower rectangle on top. Add a curve below the lower rectangle to form the snowman's hat brim.
Step 6
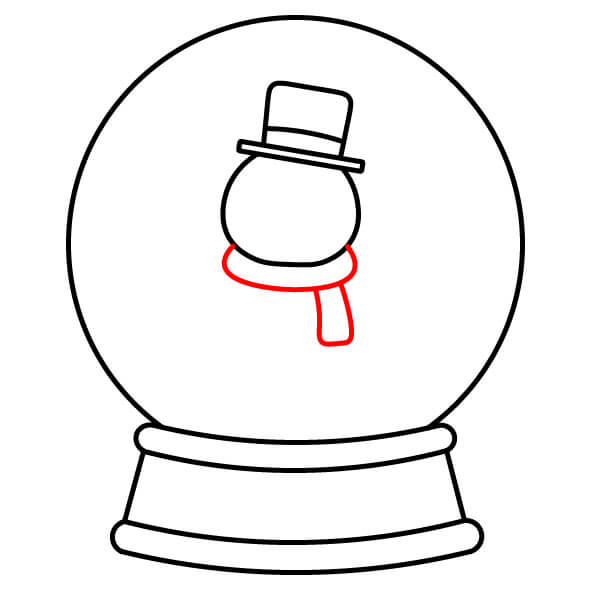
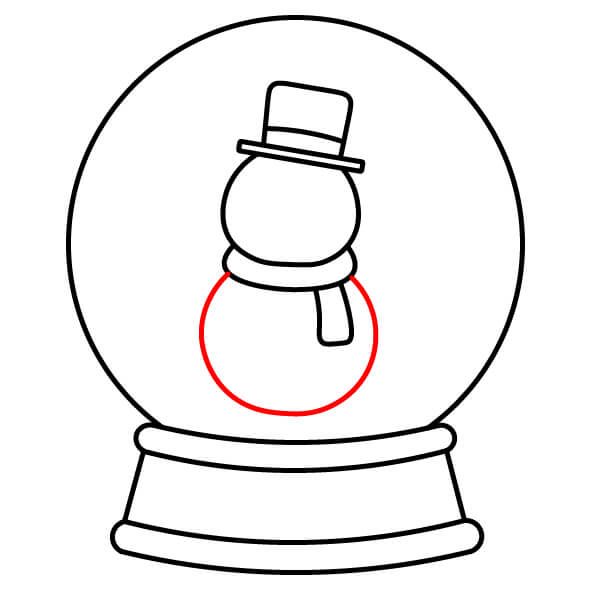
Draw a curved shape around the neck, adding a drooping part on one side, to create the snowman's scarf.
Step 8
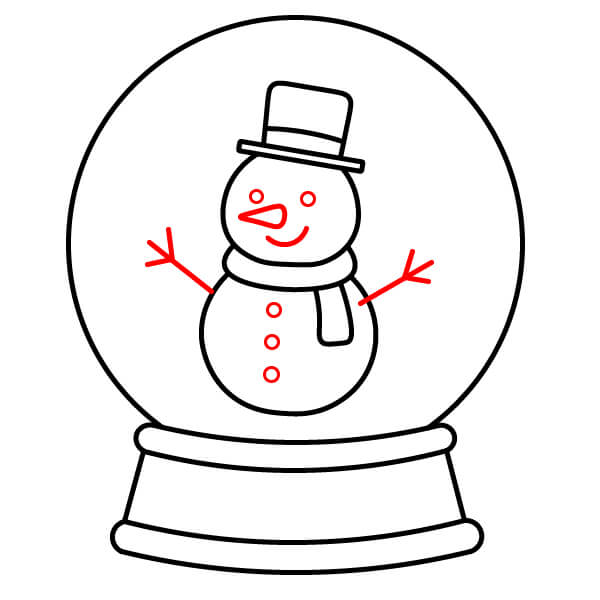
Add details to the snowman: – Draw two small circles for eyes and a curve for a smile on the face. – Add a small triangle for the nose. – Draw three small circles vertically down the snowman's body as buttons. – Draw two stick-like arms extending from the sides of the body, with small pointed ends for hands/branches.
Step 9
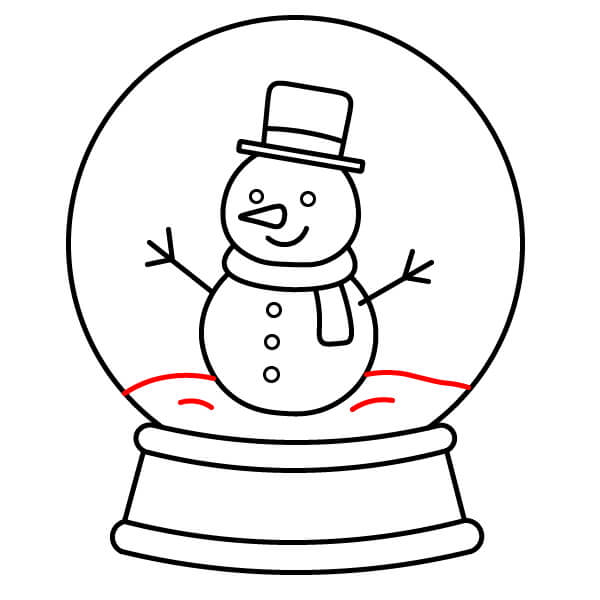
Inside the bottom of the globe, below the snowman, draw a wavy line with small bumps to represent a snow/ground mound inside the globe.
Step 10
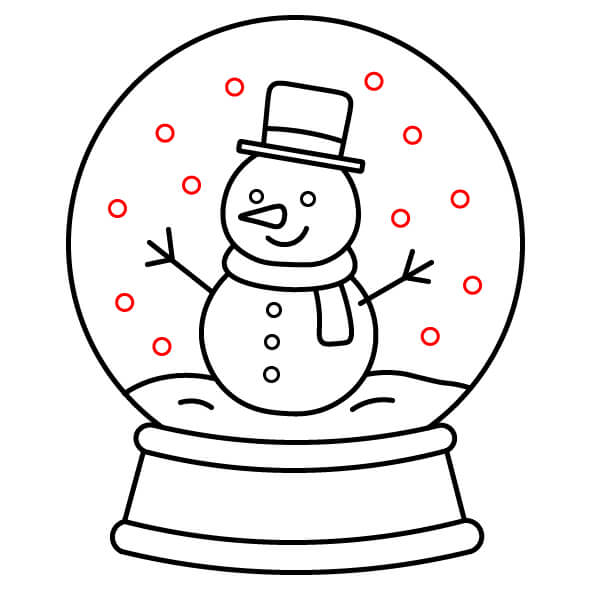
Draw a few small circles scattered around inside the globe to represent falling snowflakes.
Step 11
Color the inside of the globe (the top part) light blue to create a sky or cold air effect. Color the snowman's head and body white, the hat black, the carrot nose orange, and the scarf bright red. Leave the small circles representing falling snow white. Color the snow accumulation at the bottom of the globe white, or use a light blue-white for depth. Color the main body of the base brown and use light yellow or beige for highlights on the base.
Simple Snow Globe Drawing Tutorial for Beginners
10 steps
Step 2
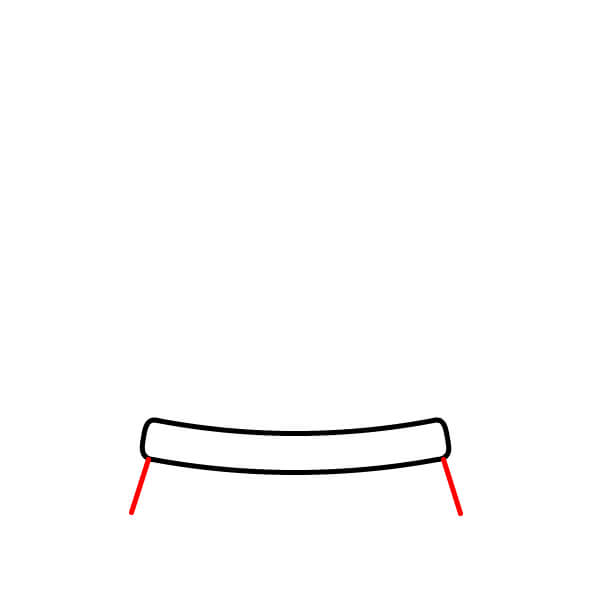
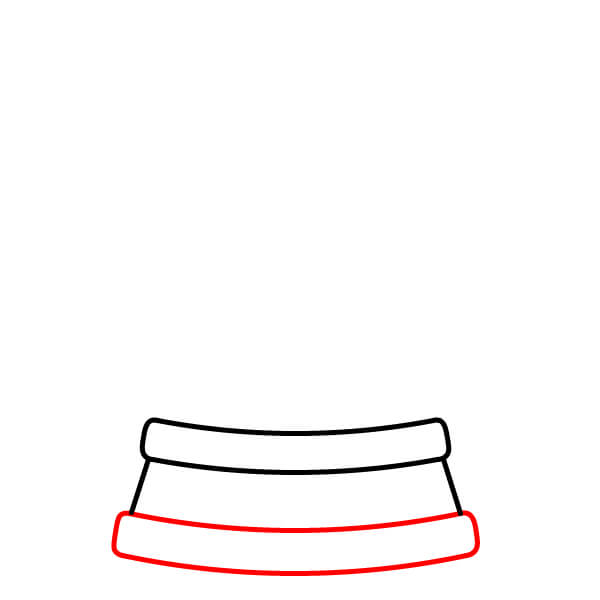
From both ends of the shape in Step 1, draw two short vertical lines slanting downwards.
Step 3
Draw a wider curved shape below the slanted lines, parallel to the first shape, to complete the bottom layer of the base.
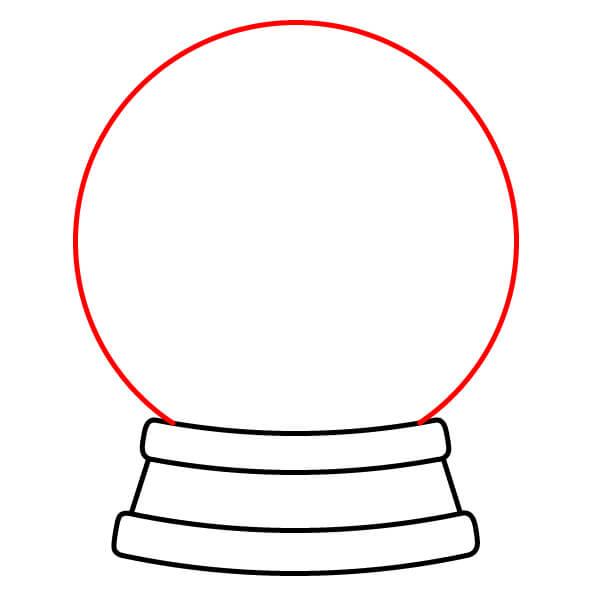
Step 5
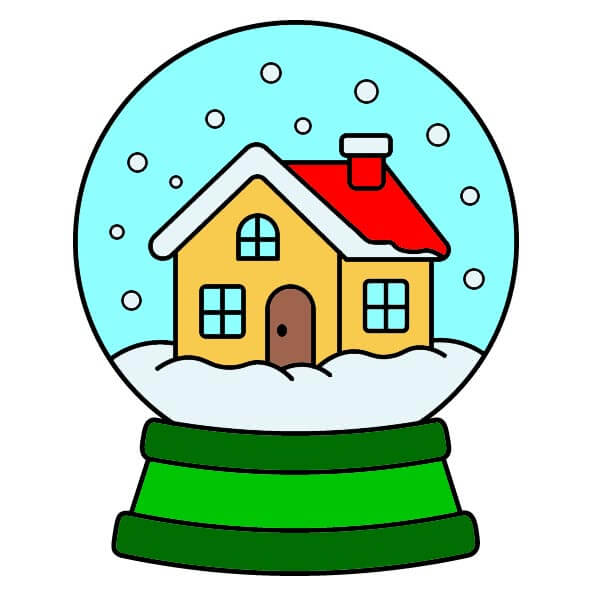
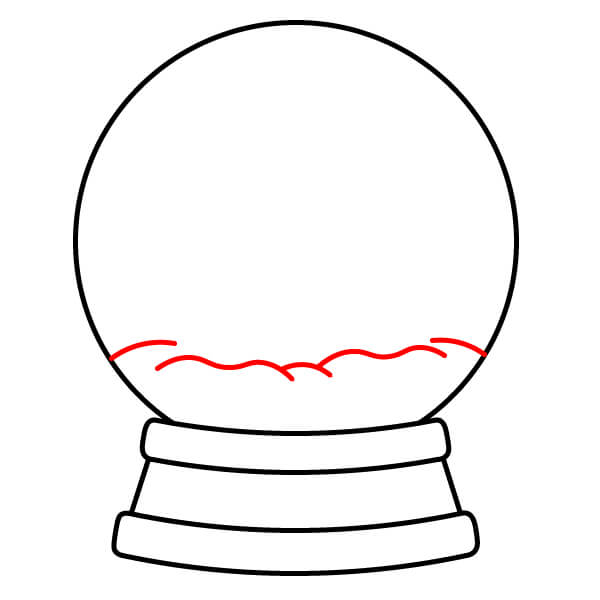
Inside the globe, near the bottom, draw a wavy, uneven line to represent a snow/earth mound inside.
Step 6
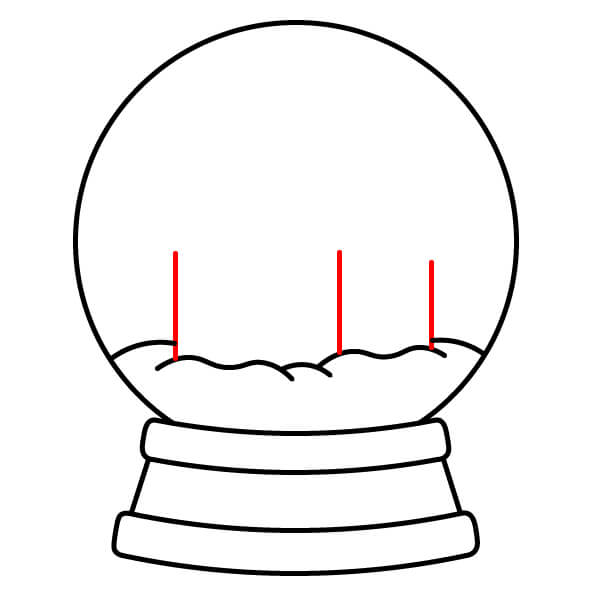
Draw three vertical lines rising from the snow mound. These will be the corners of the house.
Step 7
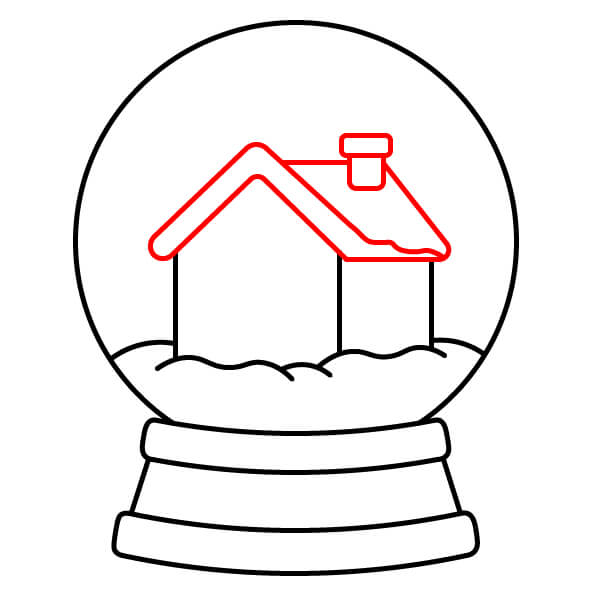
Connect the tops of the vertical lines with slanted lines to form a triangular roof. Draw a rectangle on the roof with a small horizontal line at the top for the chimney. Add a curved layer of snow on the edges of the roof.
Step 8
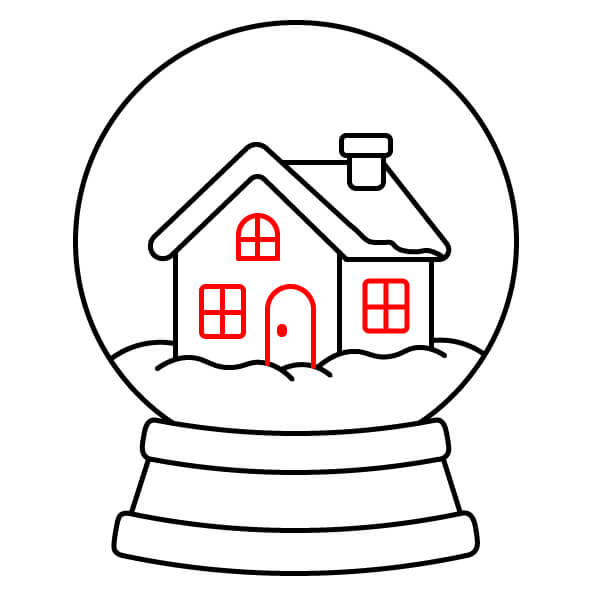
Draw the features of the house: – Draw a rounded arch for the front door. – Draw three windows: a small arched window near the roof, and two square windows on the main walls. Add diagonal lines for all the windows.
Step 9
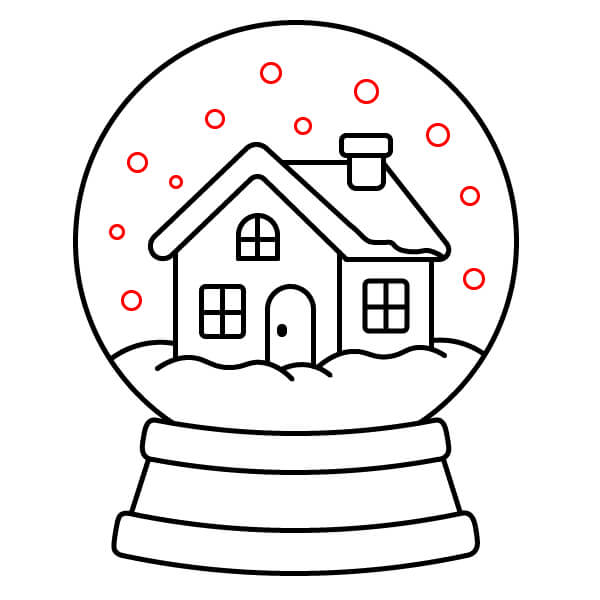
Draw a few small circles scattered throughout the globe to represent falling snowflakes.
Step 10
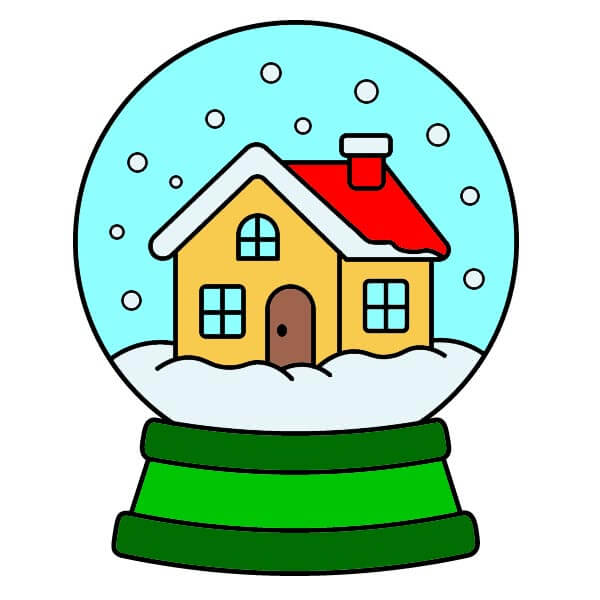
Color the inside of the globe light blue, the main walls of the house light yellow or brown, the roof red, and the chimney red, with the snow on the roof white. Color the door brown, the window panes light yellow or white, the snow mound white, and the base in cheerful colors like green, with contrasting edges like darker green or black.
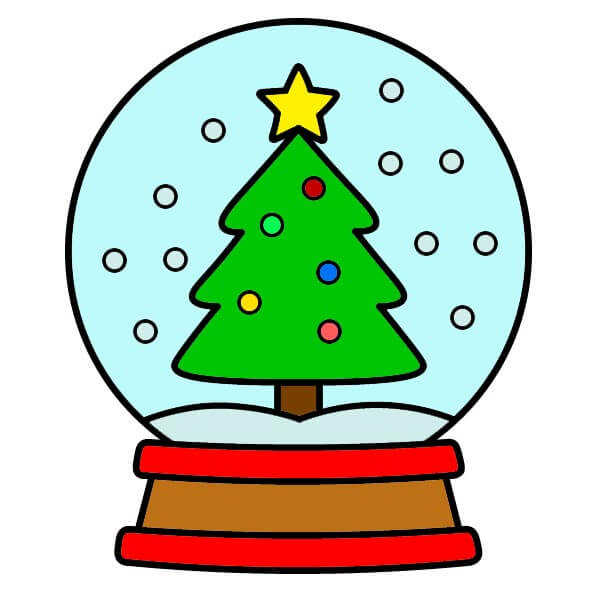
Fun Christmas Snow Globe Drawing Guide for Kids
11 steps
Step 1
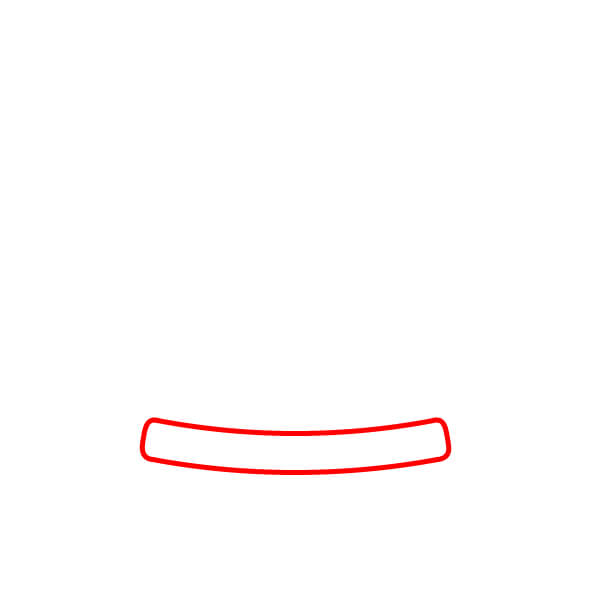
Draw a long rectangle, slightly curved horizontally to form the top ring of the base.

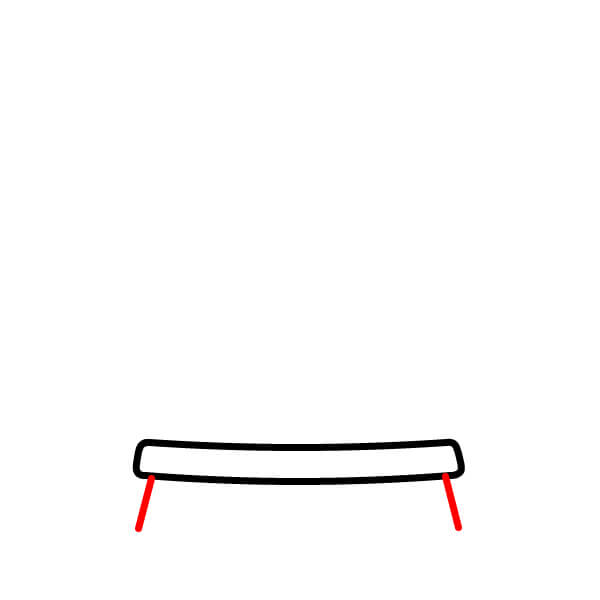
Step 3
Draw a wider curved shape below the slanted lines, parallel to the first shape, to complete the bottom layer of the base. Add a horizontal line near the bottom of the first curve to finish the middle ring.
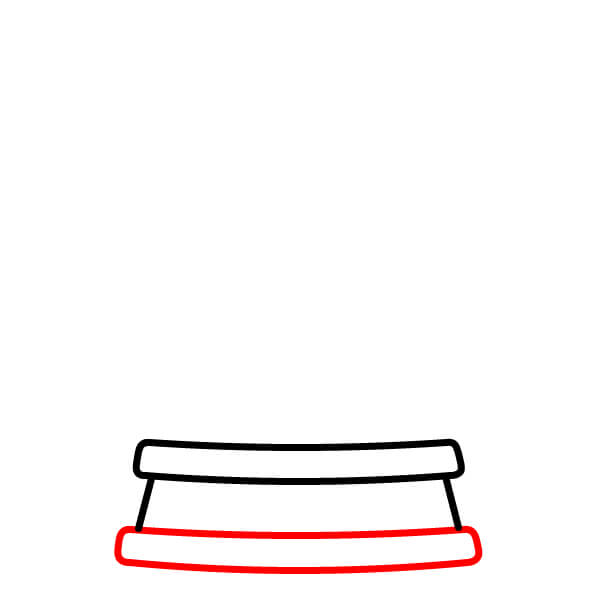
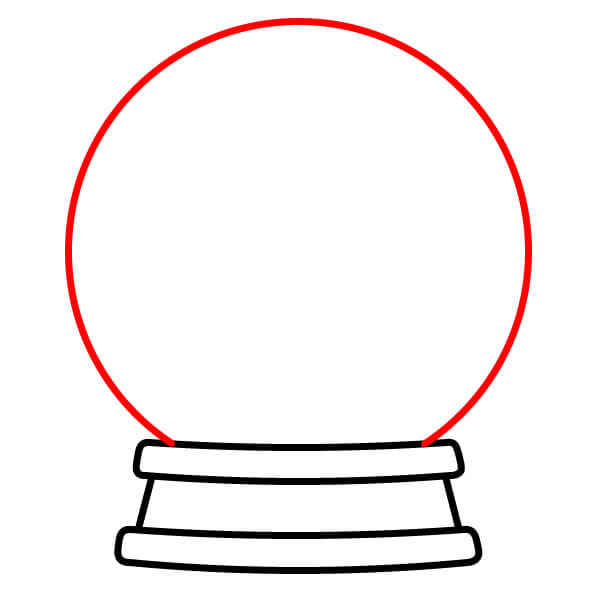
Step 5
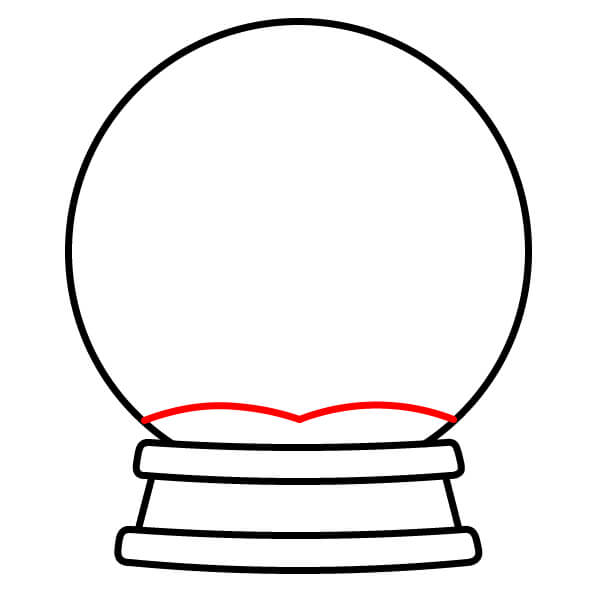
Inside the bottom of the globe, draw a gentle curve with a small dip in the middle to represent a snow/ground mound.
Step 6
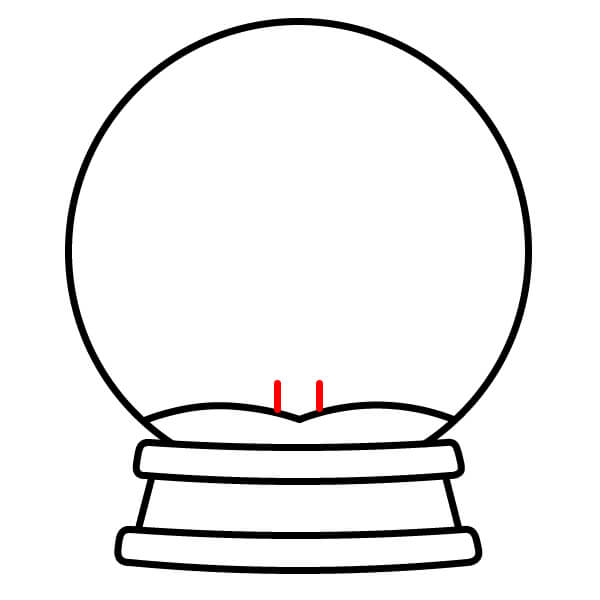
Draw two short vertical lines extending up from the dip in the middle of the snow mound. This will be the trunk.
Step 7
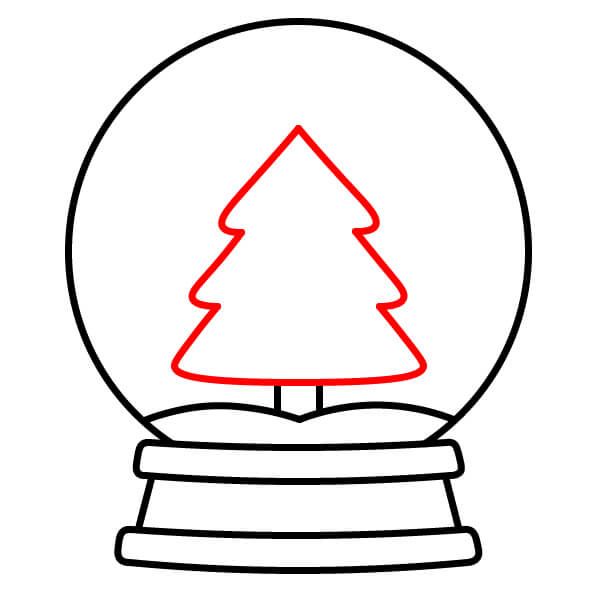
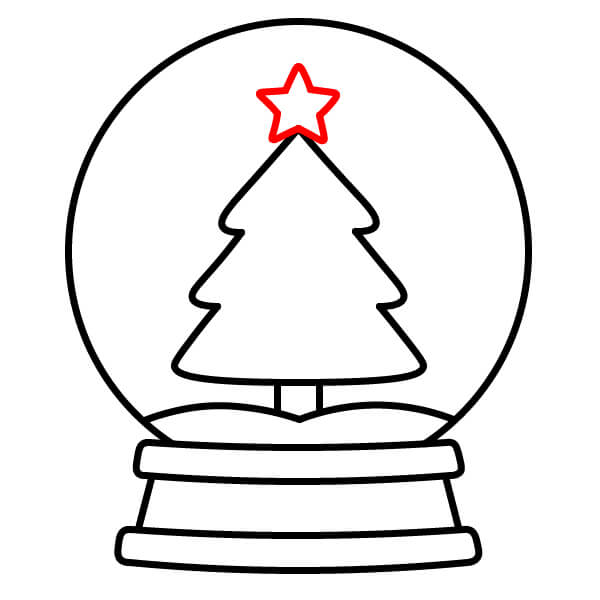
Above the trunk, draw a multi-layered triangle to make the Christmas tree. The edges should be stepped or wavy to resemble tree branches.
Step 9
Draw a few small circles scattered throughout the tree to represent ornaments/Christmas balls.

Step 10
Draw additional small circles scattered around the empty space inside the globe to represent falling snowflakes.

Step 11
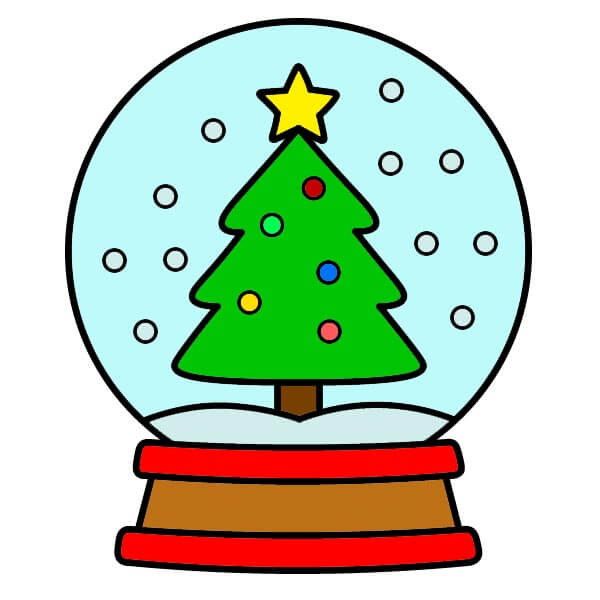
Color the main body of the Christmas tree bright green, the trunk brown, and the star on top yellow. Color the small decorative circles on the tree with various bright colors (e.g., red, blue, yellow, green). Color the empty space inside the globe light blue to evoke the winter sky or atmosphere, and the snow mound at the bottom of the globe white or light gray/blue for shading. Leave the scattered snowflakes white. Color the base brown and the decorative rings/borders of the base red.
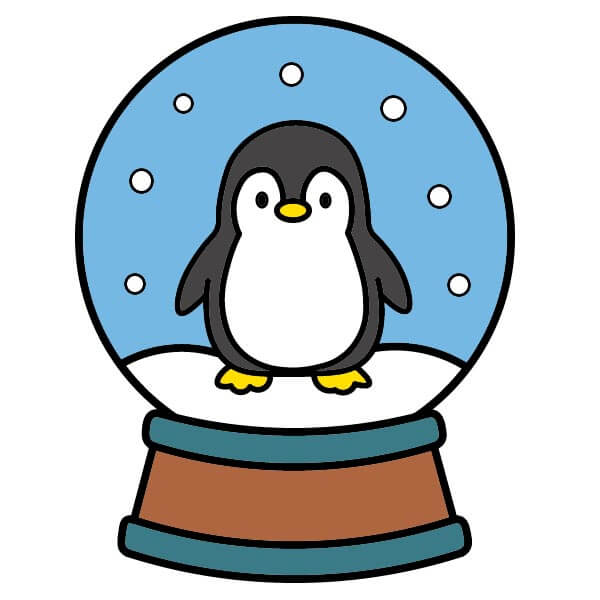
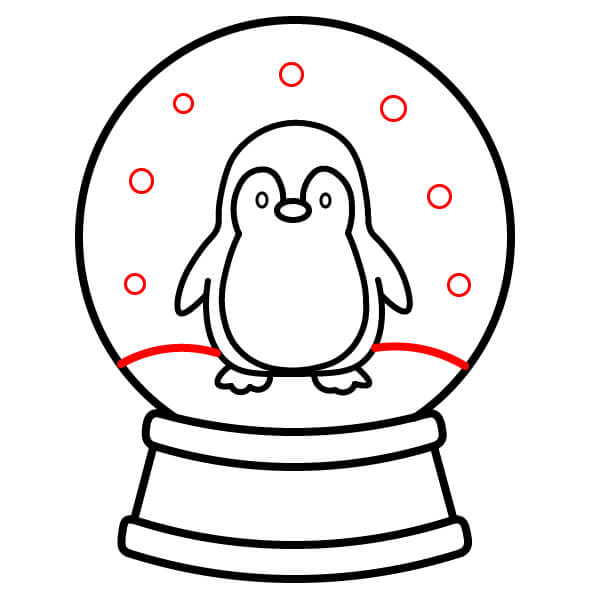
Simple drawing of a snow globe with a cute penguin.
9 steps
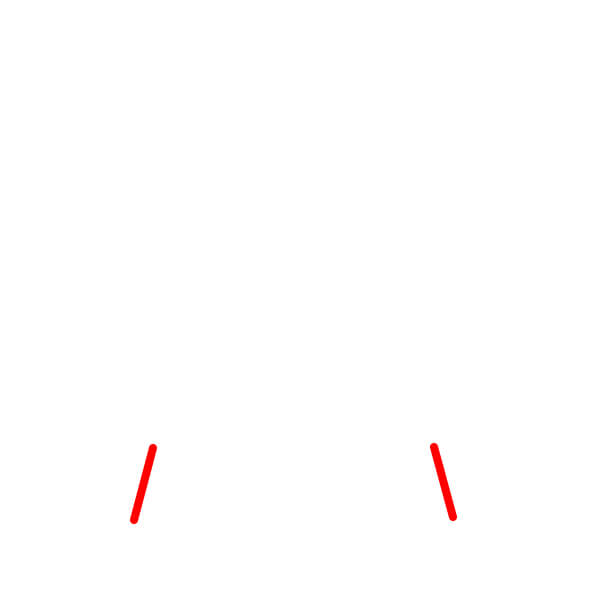
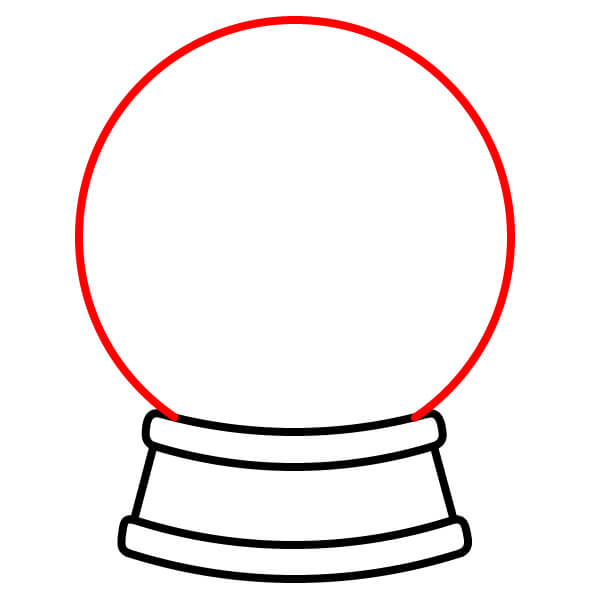
Step 2
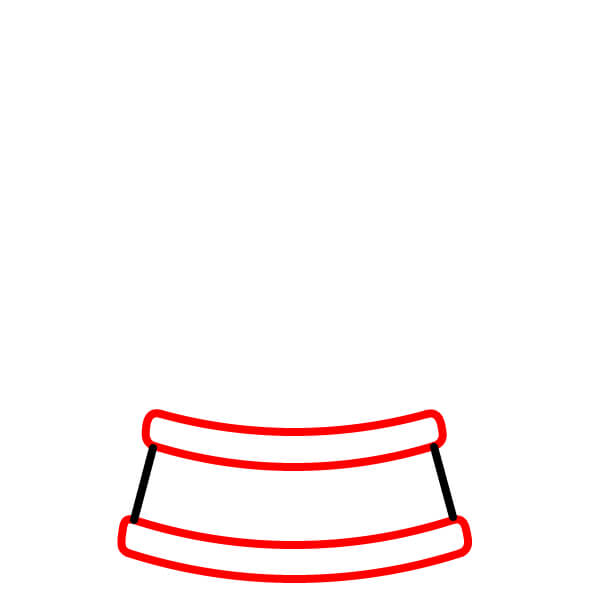
Connect the top and bottom of these lines with two pairs of parallel curves to form the top and bottom edges of the base. This creates the pedestal for the globe.
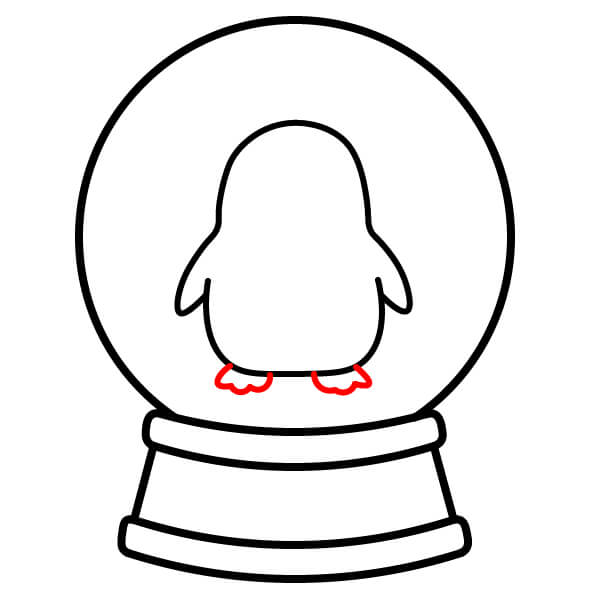
Step 4
Inside the globe, draw an elongated, rounded shape for the penguin's body, with two small, curved wings/fins protruding from either side.

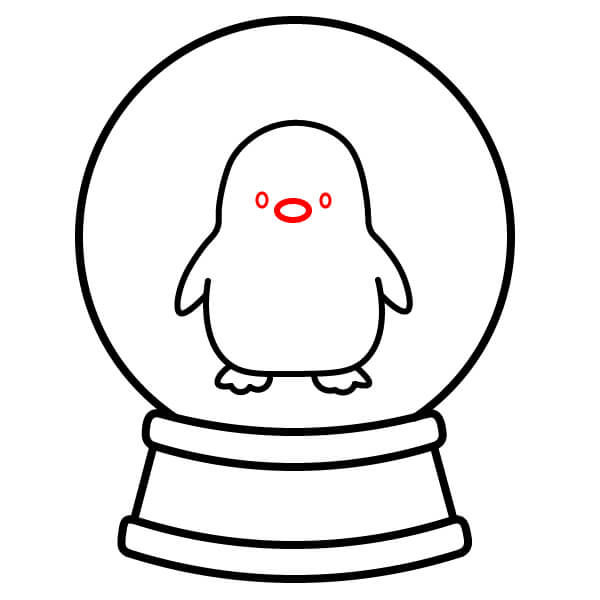
Step 6
Draw two small circles for the eyes. Draw a tiny curved shape below the eyes to make the beak/mouth.
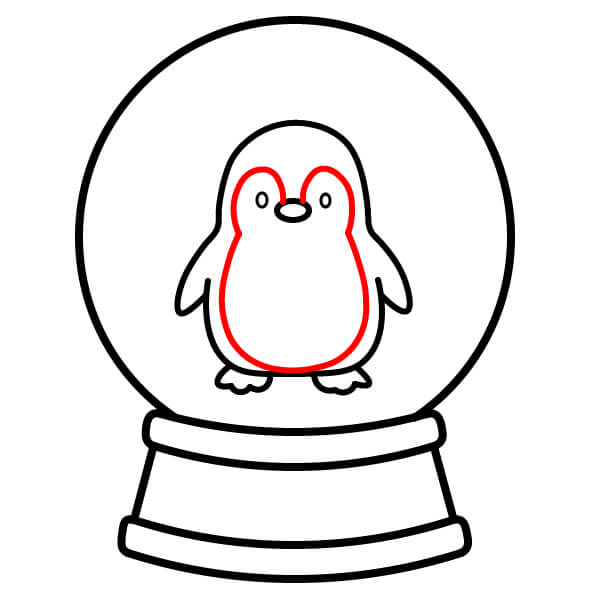
Step 7
Inside the penguin's body, draw a large curved outline to create the belly and white face.
Step 8
Draw a wavy line at the bottom of the globe, just below the penguin's feet, to represent a snow mound. Draw a few small circles scattered around the inside of the globe to represent falling snowflakes.
Step 9
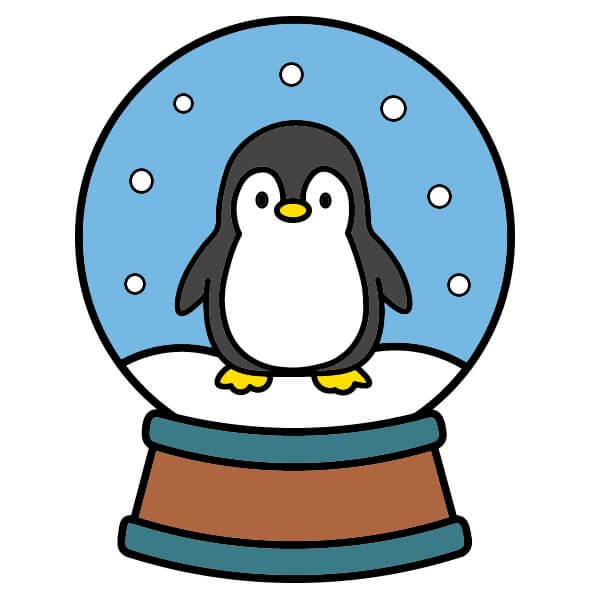
Color the outer part of the penguin's body and head dark gray or black, the inside (belly/face) white, and the beak and feet yellow. Color the inside of the light blue ball and the white snow mound. Leave the snowflakes white. Color the main body of the bottom brown. Color the decorative rings/edges dark green or turquoise.
▶Drawing tips
- Draw lightly with a pencil first, then darken the lines when you're satisfied.
- You don't need to draw exactly like the sample — add your own style!
- After finishing your drawing, you can color it directly on Tomau.AI to make it more vibrant.