Tomau.AITomau.AI

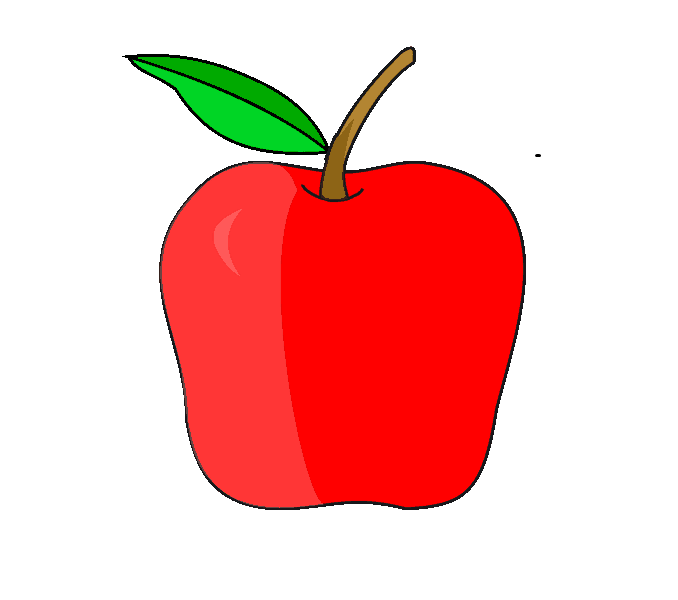
How to Draw an Apple
Flowers & Plants
How to Draw an Apple

Want to learn how to draw how to draw an apple? This tutorial will help you do it in just 33 simple steps, with clear illustrations for each step. Whether you're a beginner or experienced, the steps below are easy to understand and follow.

You just need a pencil, drawing paper, and an eraser — then start drawing step by step!

This lesson includes 5 different ways to draw. Choose the one that suits you best!
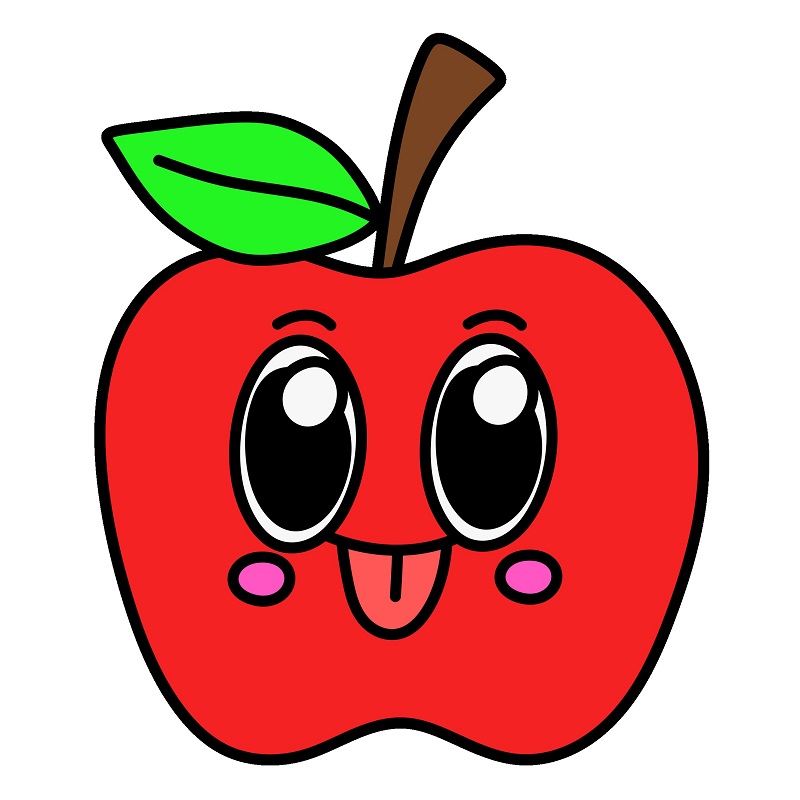
Guide to Drawing a Cute Cartoon Apple.

Guide to Drawing a Cute Cartoon Apple.

8 steps

1

Step 1

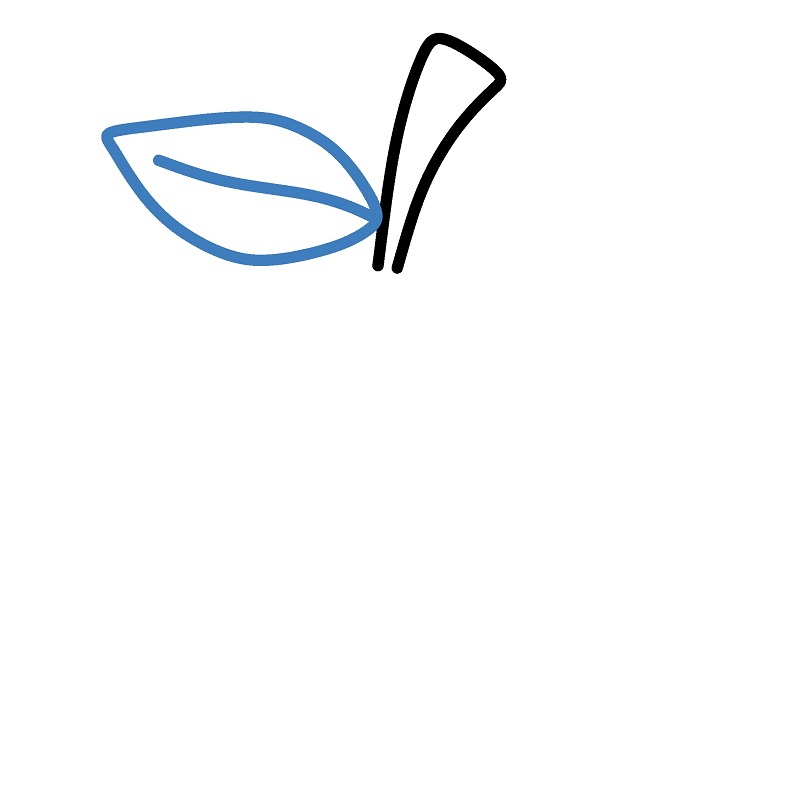
Start with a small curve to create the apple's stem.

Practice
Guide to Drawing a Cute Cartoon Apple. - Step 1
2

Step 2

Add a small, oval-shaped leaf with a vein in the middle.

Practice
Guide to Drawing a Cute Cartoon Apple. - Step 2
3

Step 3

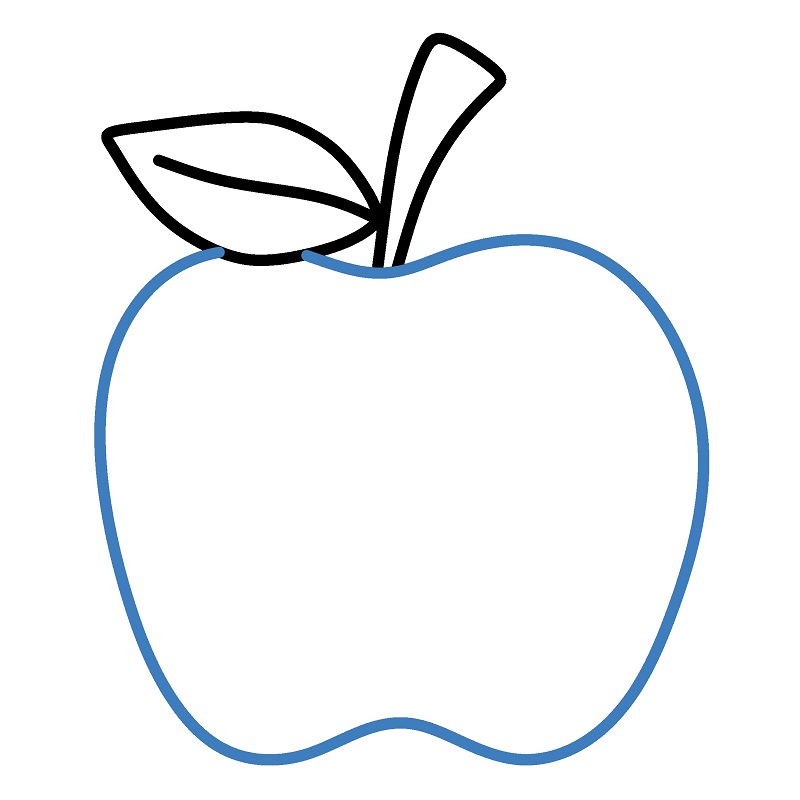
From the stem, draw a round apple shape, with the bottom slightly indented for a natural look.

Practice
Guide to Drawing a Cute Cartoon Apple. - Step 3
4

Step 4

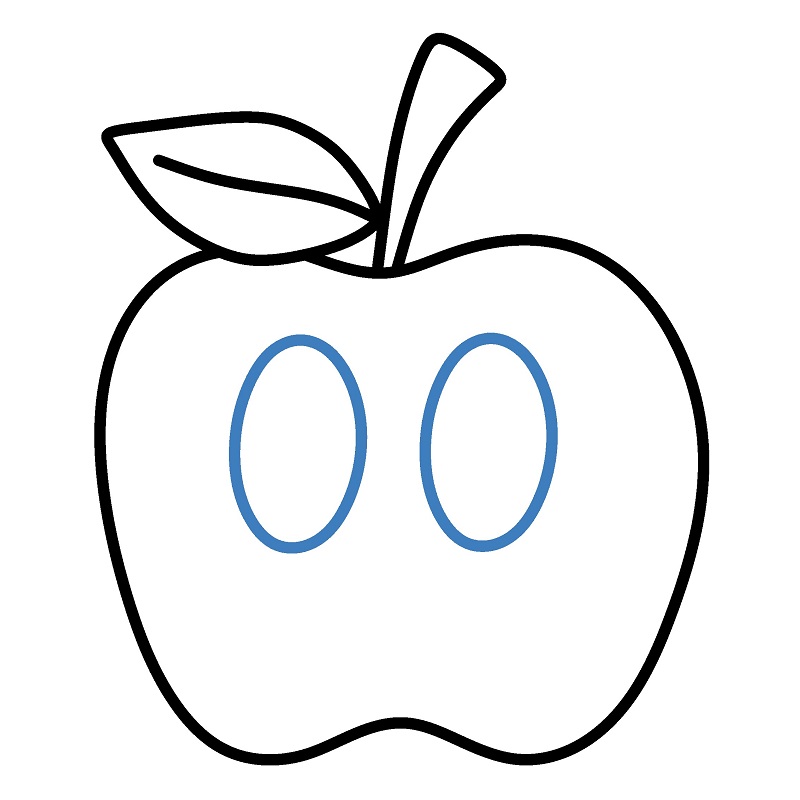
Sketch two vertical ovals in the middle of the apple for the eyes.

Practice
Guide to Drawing a Cute Cartoon Apple. - Step 4
5

Step 5

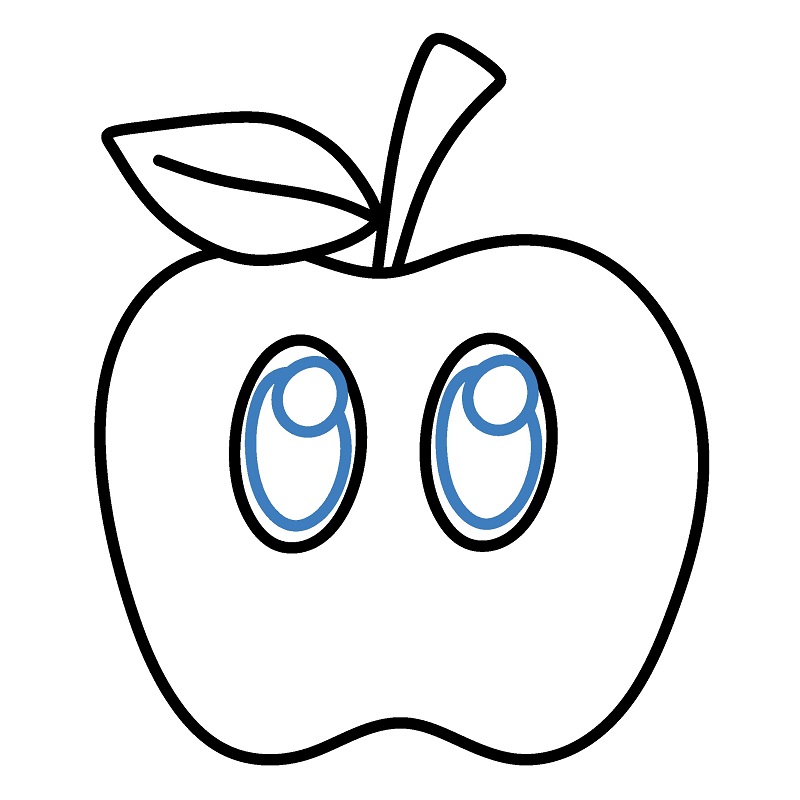
Inside each oval, draw smaller shapes to create a shiny effect in the eyes.

Practice
Guide to Drawing a Cute Cartoon Apple. - Step 5
6

Step 6

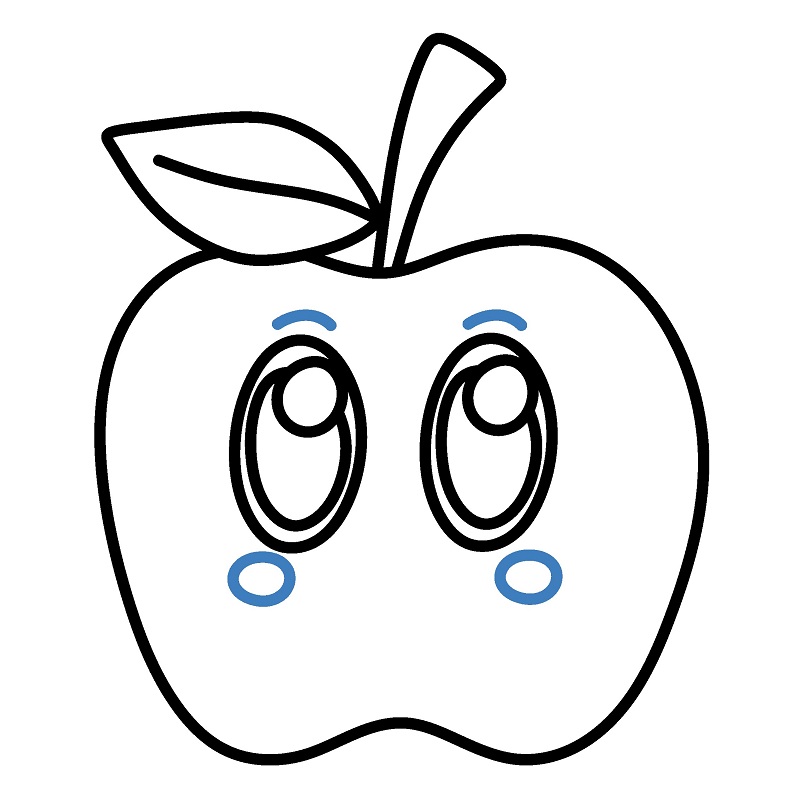
Draw two small circles on either side below the eyes for a cute blush effect.

Practice
Guide to Drawing a Cute Cartoon Apple. - Step 6
7

Step 7

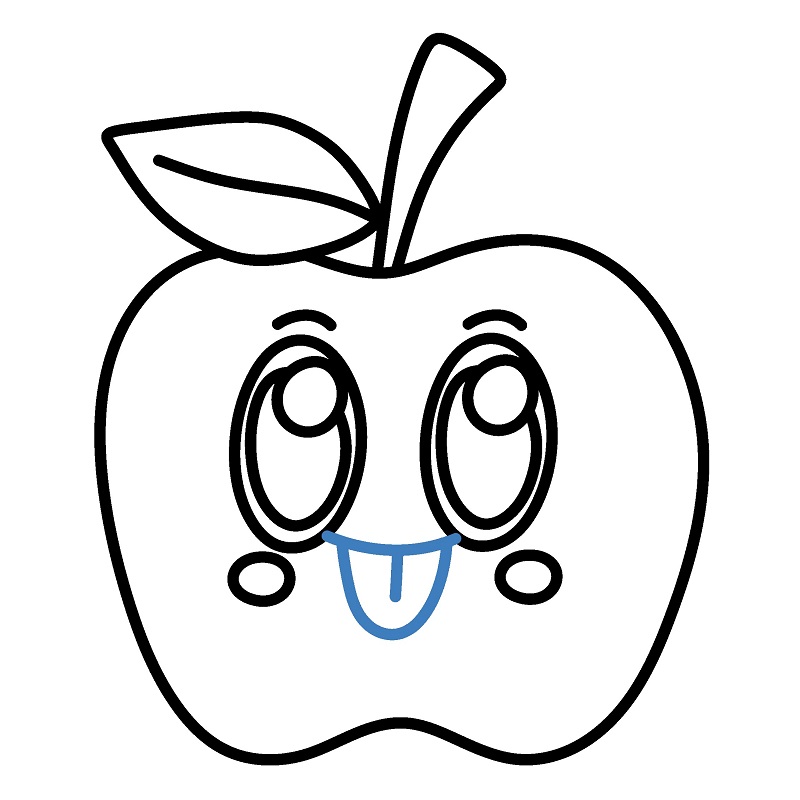
Sketch a smiling mouth with a small tongue inside, giving the apple a cheerful expression.

Practice
Guide to Drawing a Cute Cartoon Apple. - Step 7
8

Step 8

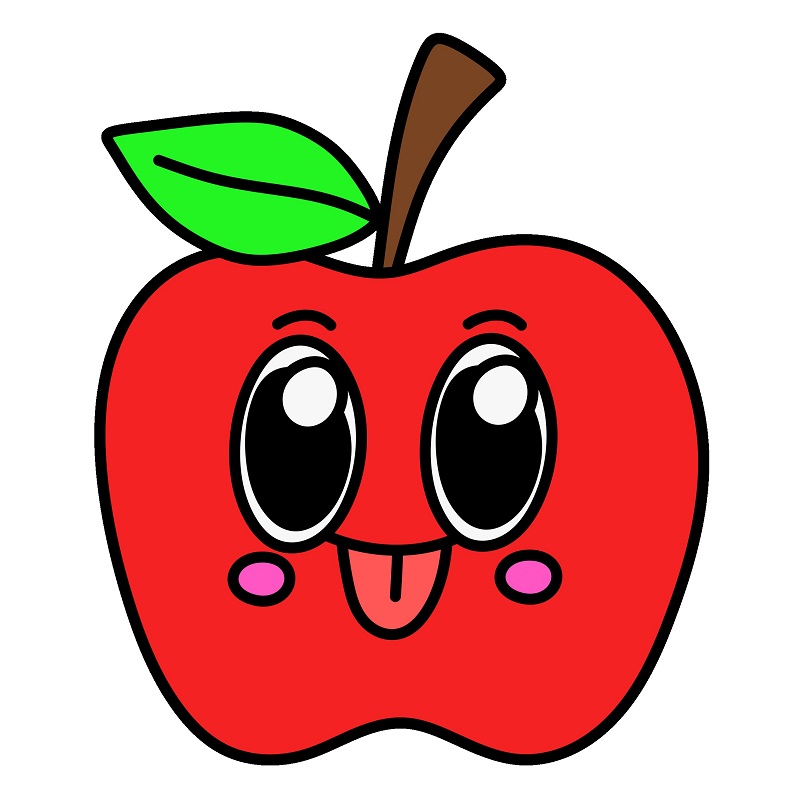
Color the drawing red.

Practice
Guide to Drawing a Cute Cartoon Apple. - Step 8
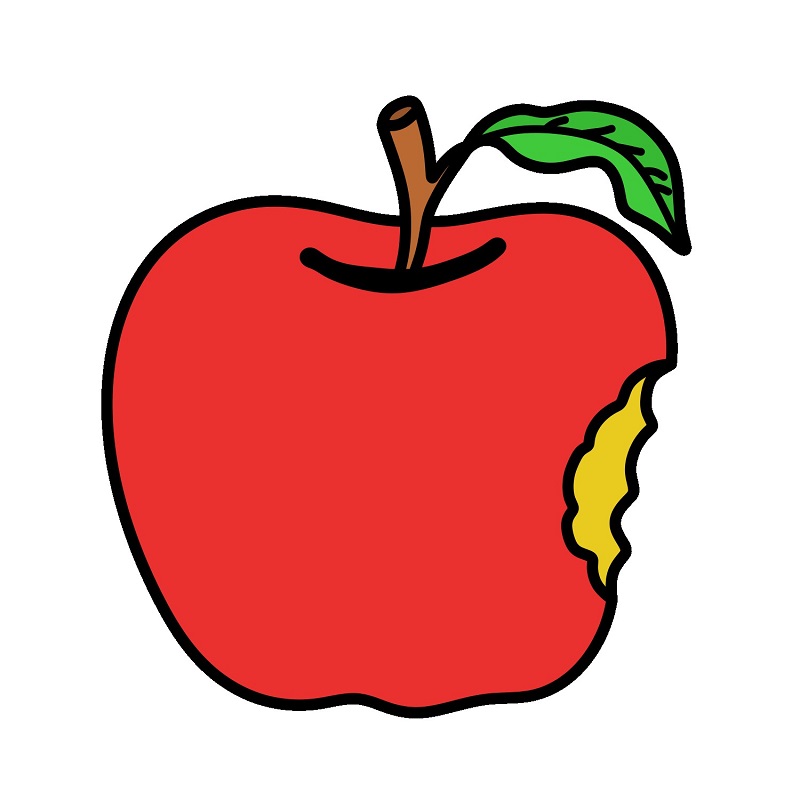
How to Draw a Half-Eaten Apple

How to Draw a Half-Eaten Apple

6 steps

1

Step 1

Start with a short curve to create the mouth of the apple stem.

Practice
How to Draw a Half-Eaten Apple - Step 1
2

Step 2

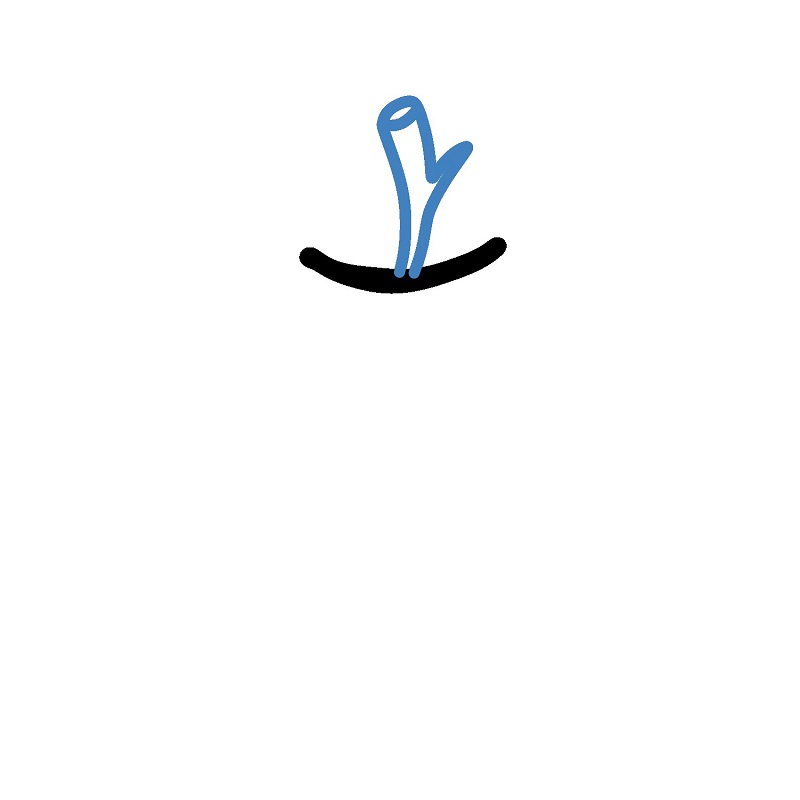
Add a small stem rising from the drawn curve, shaped like a slightly curved and tilted cylinder.
Practice
How to Draw a Half-Eaten Apple - Step 2
3

Step 3

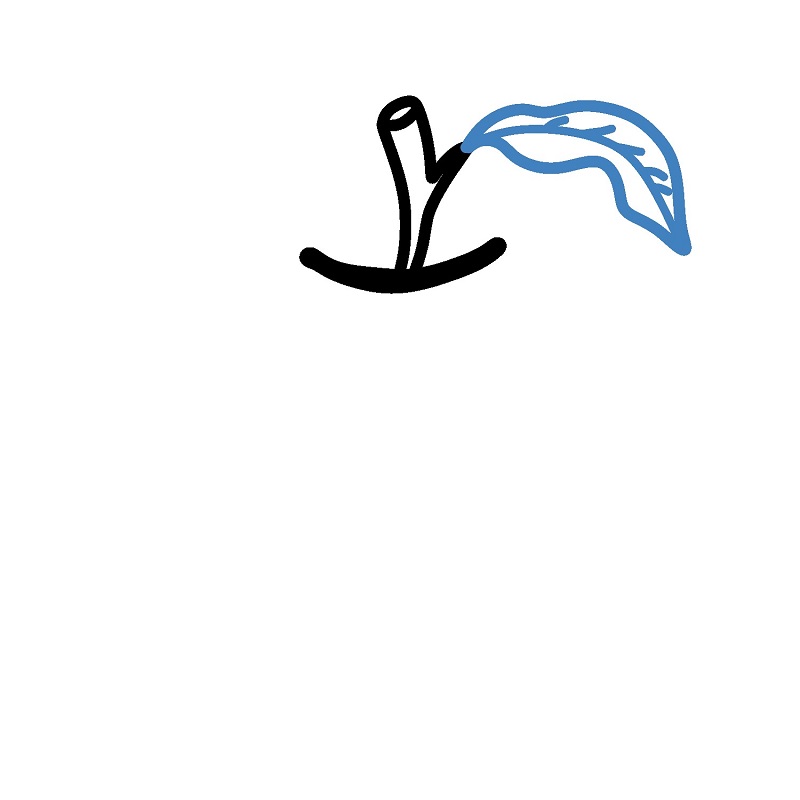
Sketch a leaf growing from the apple stem, with a curved outer edge and veins inside for detail.
Practice
How to Draw a Half-Eaten Apple - Step 3
4

Step 4

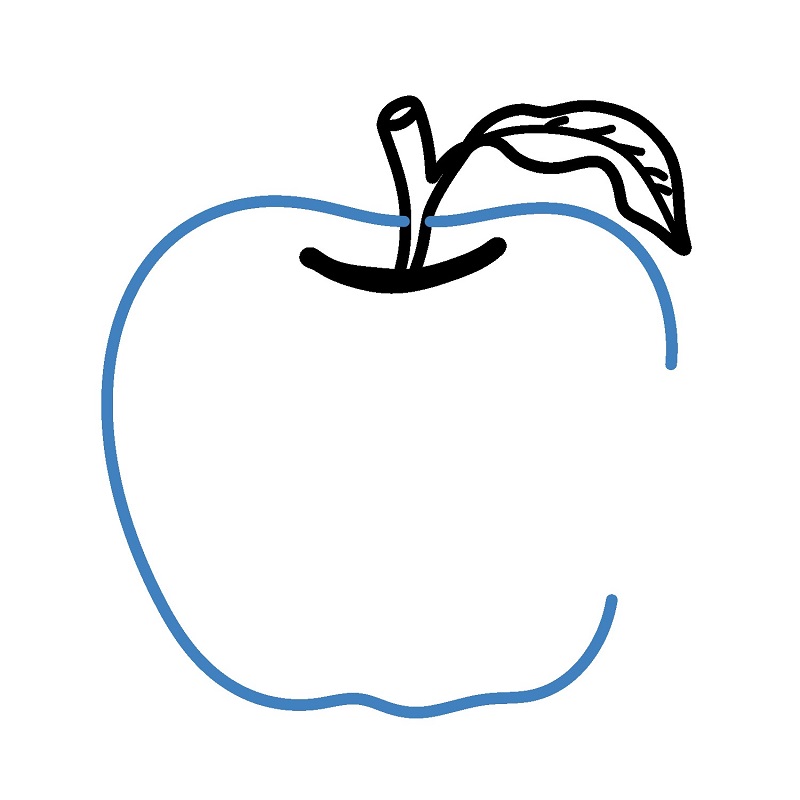
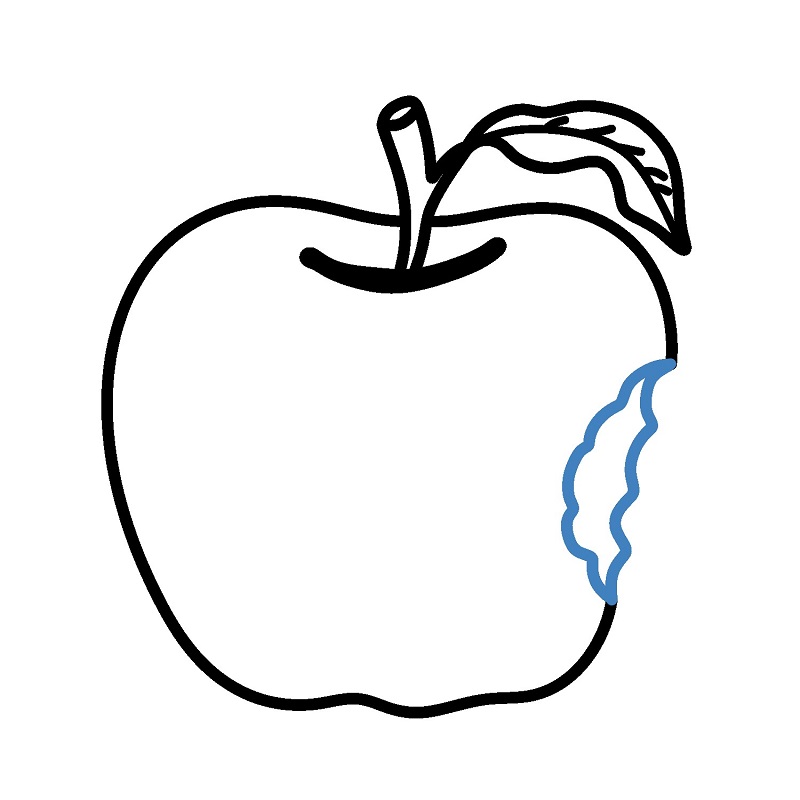
Starting from the stem and leaf, draw a round outline to form the shape of the apple. The bottom of the apple should be slightly indented for a natural look.
Practice
How to Draw a Half-Eaten Apple - Step 4
5

Step 5

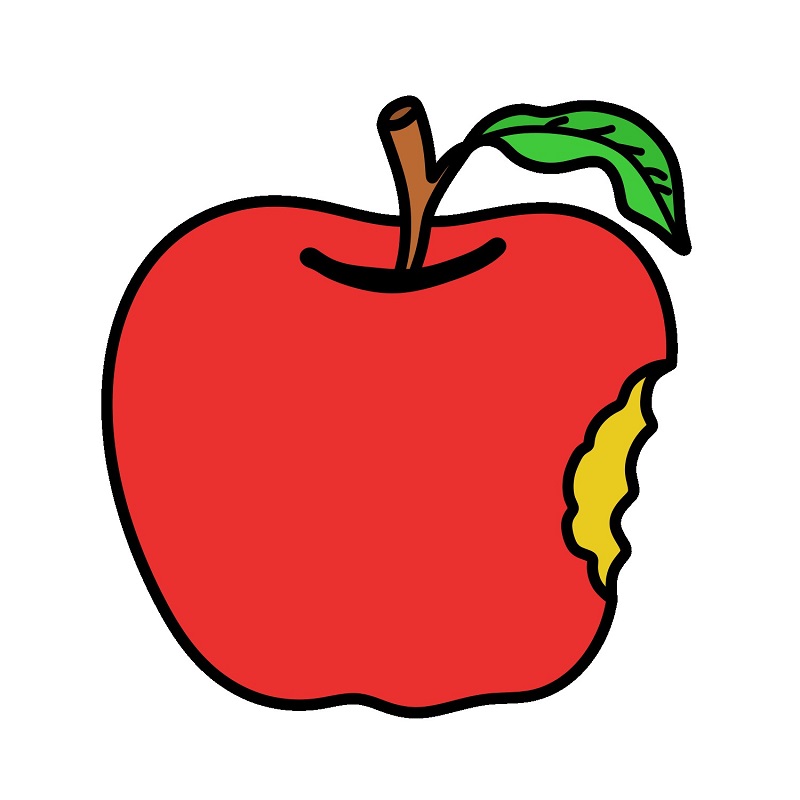
On the side of the apple, draw a small wavy line to indicate the bitten part.

Practice
How to Draw a Half-Eaten Apple - Step 5
6

Step 6

Color the drawing red.

Practice
How to Draw a Half-Eaten Apple - Step 6
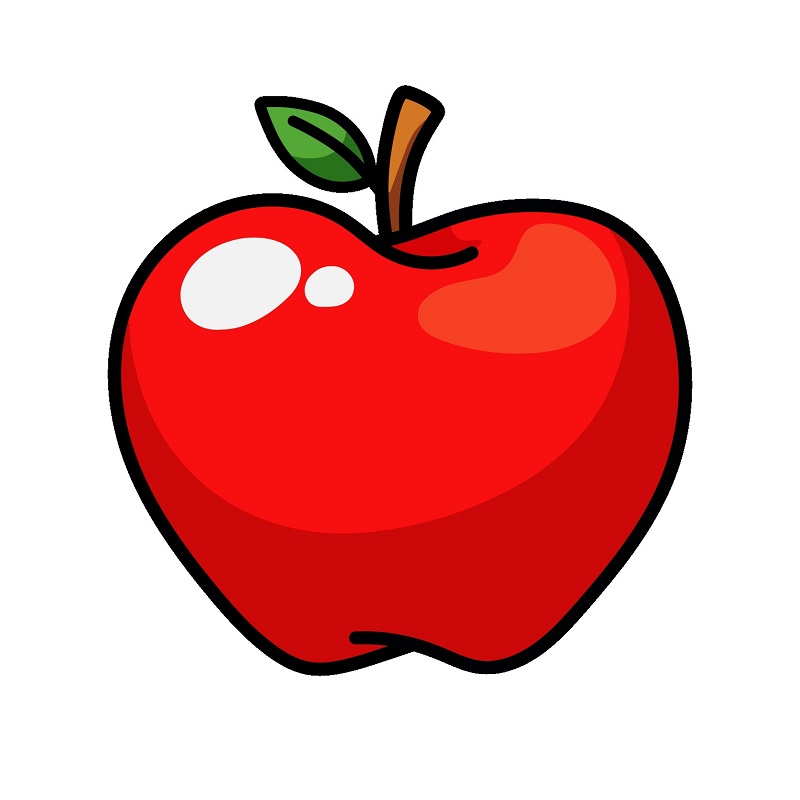
Guide to Drawing a Shiny Apple

Guide to Drawing a Shiny Apple

5 steps

1

Step 1

Draw a curved line resembling a rounded heart shape, with the bottom slightly pointed to create a natural apple shape.

Practice
Guide to Drawing a Shiny Apple - Step 1
2

Step 2

Continue the initial sketch to complete the outline, forming the overall shape of the apple with soft, smooth curves.

Practice
Guide to Drawing a Shiny Apple - Step 2
3

Step 3

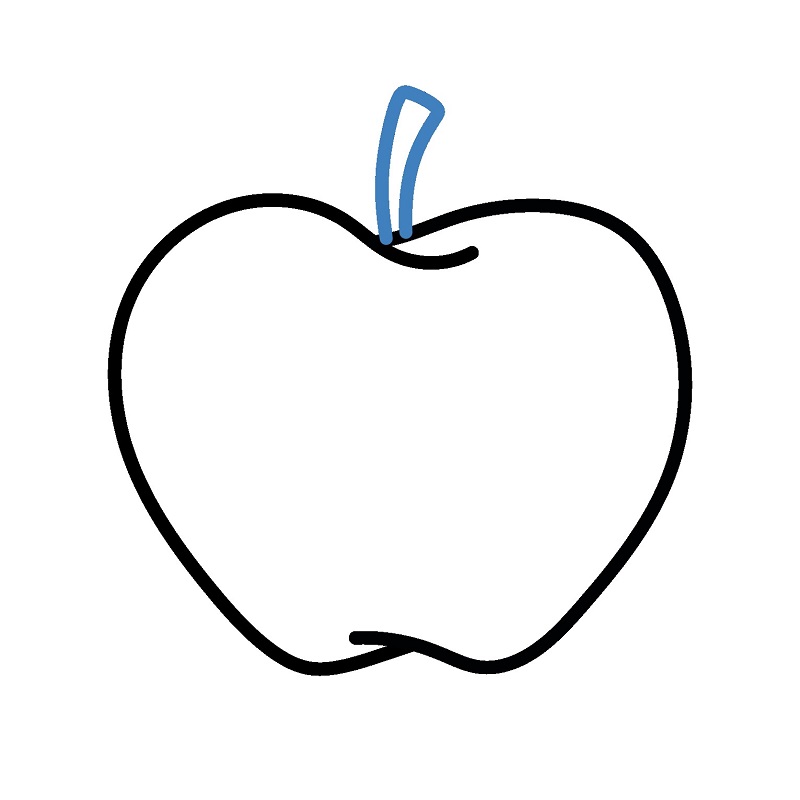
Add a small stem at the top of the apple. The stem is drawn as a simple curved line, slightly tilted for a natural look.
Practice
Guide to Drawing a Shiny Apple - Step 3
4

Step 4

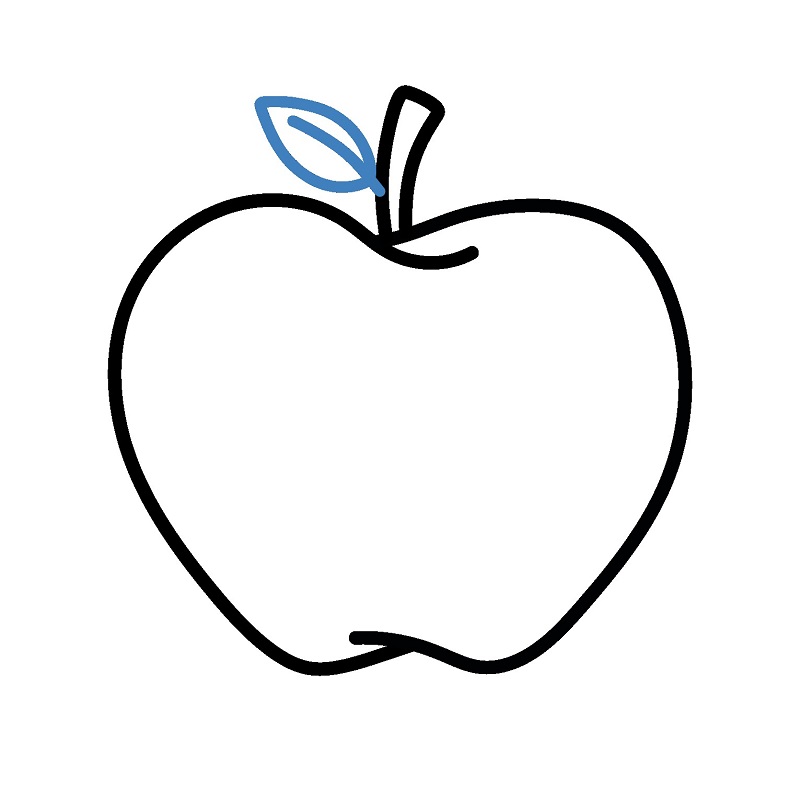
Draw a small leaf emerging from the stem. The leaf is oval-shaped, with a simple central vein for detail.
Practice
Guide to Drawing a Shiny Apple - Step 4
5

Step 5

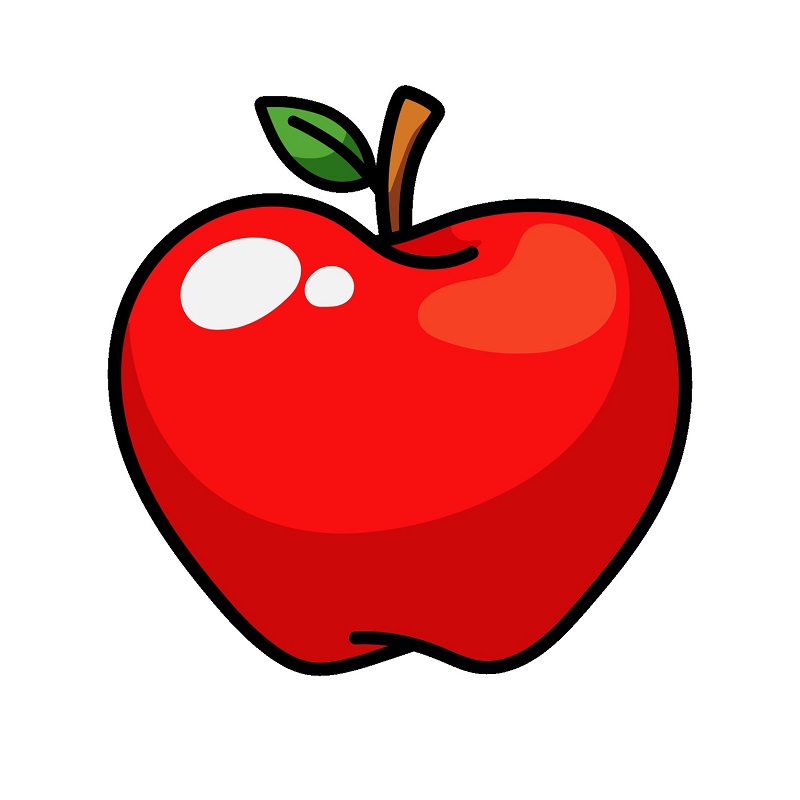
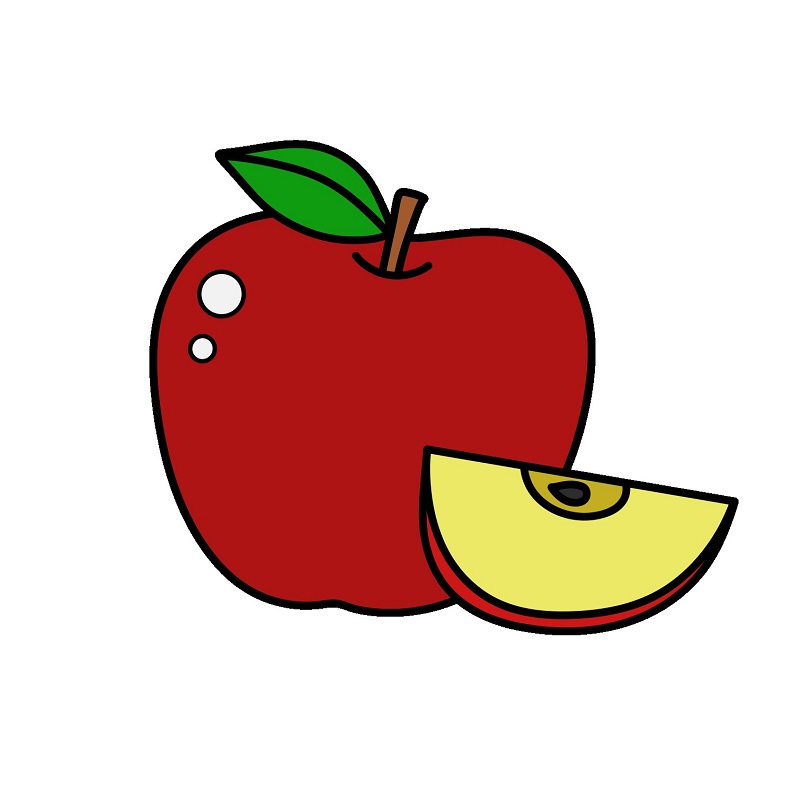
Color the apple bright red, the stem brown, and the leaf green. Add white highlights on the surface of the apple to create a shiny effect, making the apple look fresh and vibrant.
Practice
Guide to Drawing a Shiny Apple - Step 5
Guide to drawing a whole apple and a sliced piece of apple.

Guide to drawing a whole apple and a sliced piece of apple.

8 steps

1

Step 1

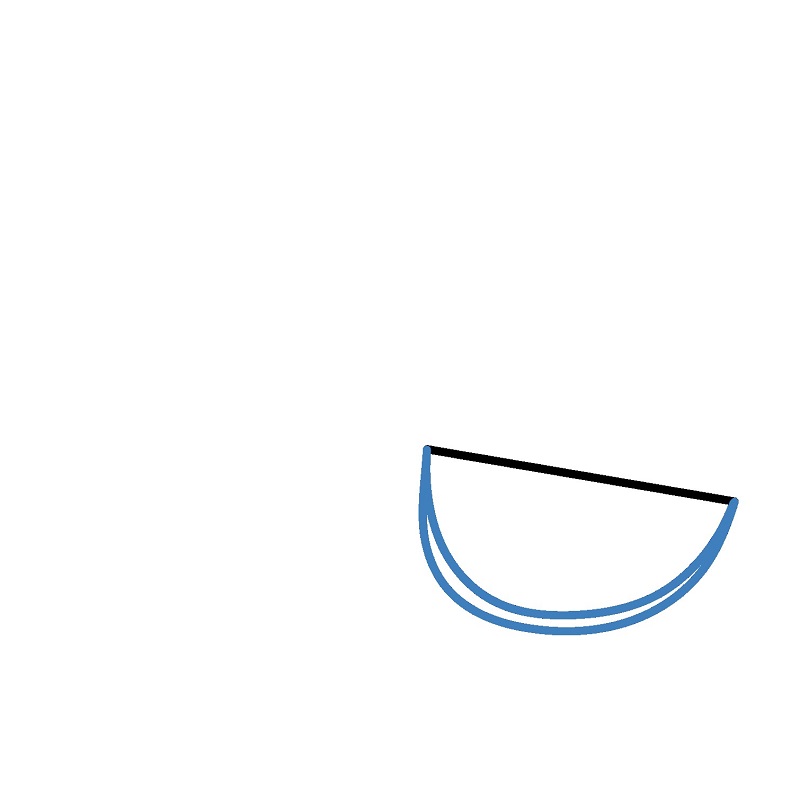
Draw a simple diagonal line to form the top edge of the small apple slice.

Practice
Guide to drawing a whole apple and a sliced piece of apple. - Step 1
2

Step 2

Add a curve below the diagonal to complete the basic shape of the apple slice.

Practice
Guide to drawing a whole apple and a sliced piece of apple. - Step 2
3

Step 3

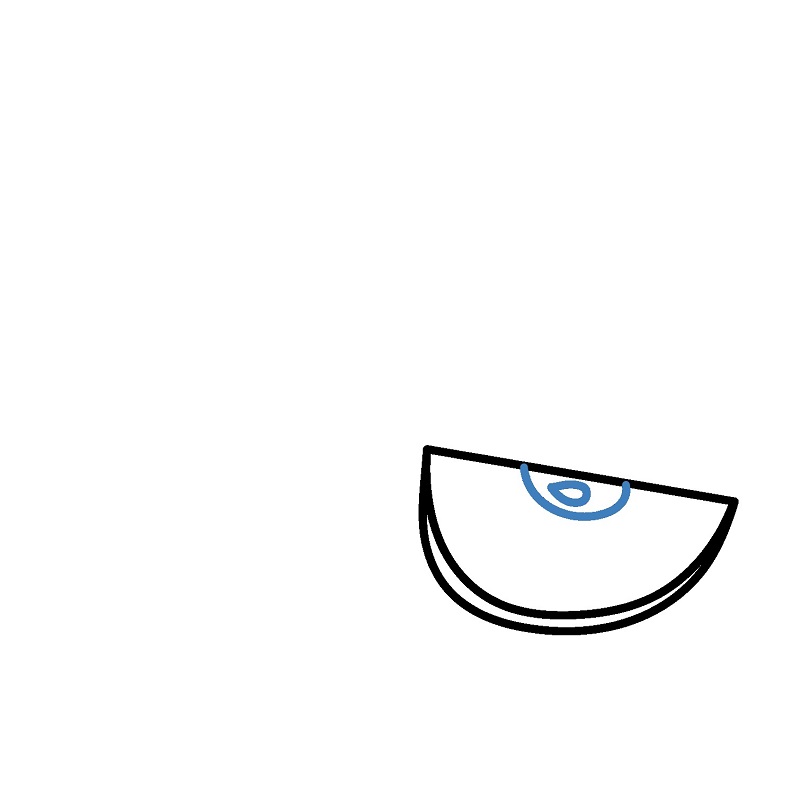
Add details to the small apple slice, such as the outline and seeds in the middle.

Practice
Guide to drawing a whole apple and a sliced piece of apple. - Step 3
4

Step 4

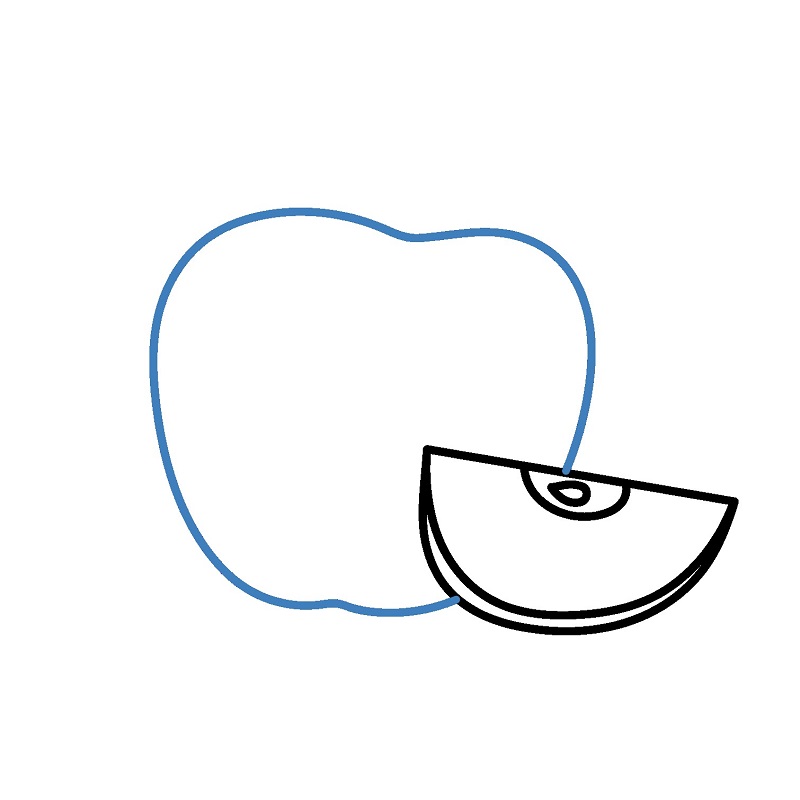
Draw the main outline of the large apple, with a round shape and a slight bulge at the top.
Practice
Guide to drawing a whole apple and a sliced piece of apple. - Step 4
5

Step 5

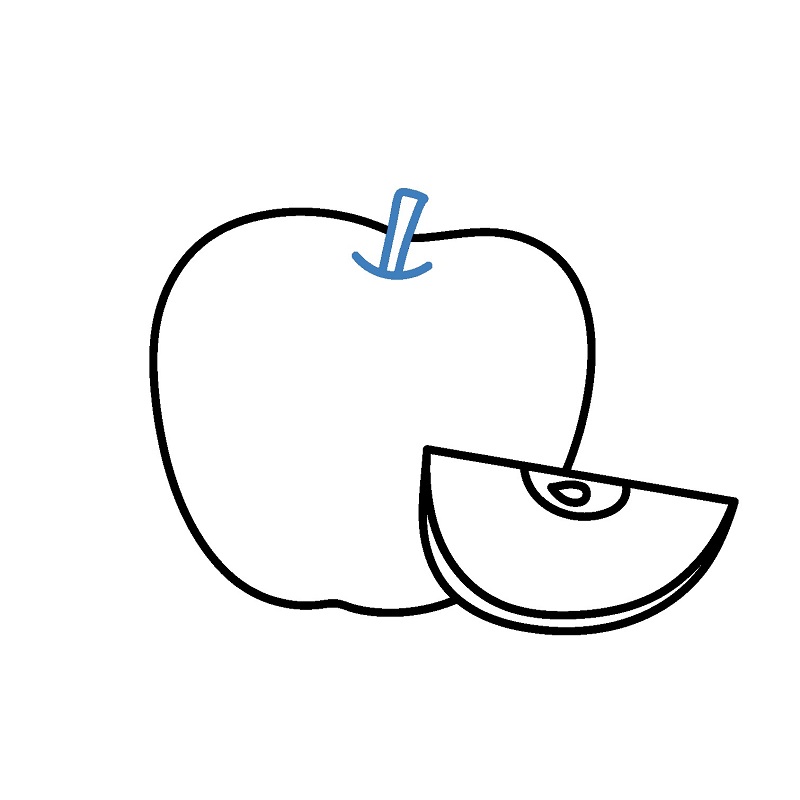
Draw the stem for the large apple.

Practice
Guide to drawing a whole apple and a sliced piece of apple. - Step 5
6

Step 6

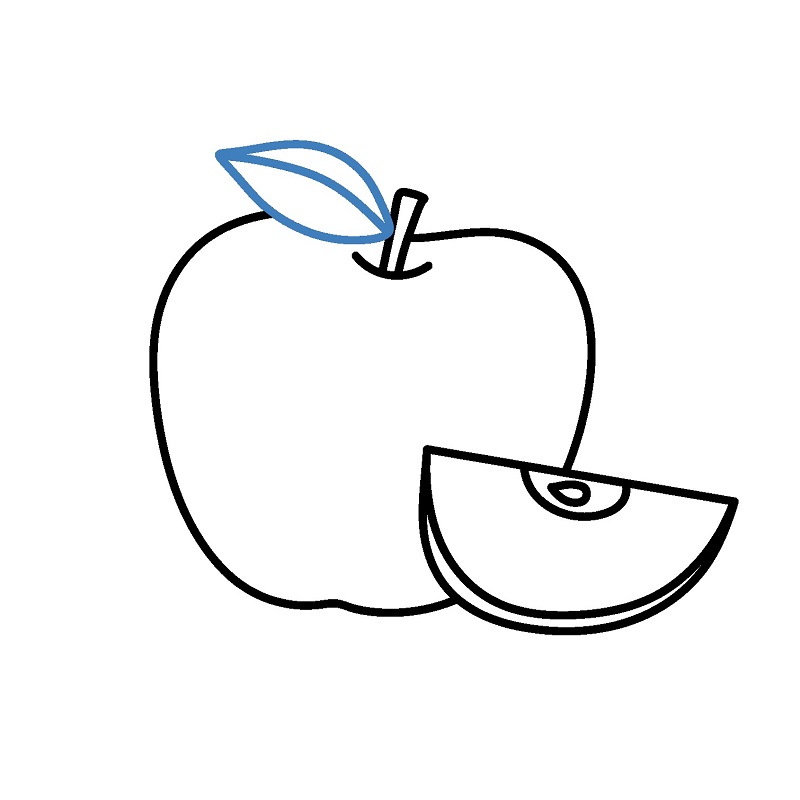
Draw leaves for the large apple, finishing the top of the apple.

Practice
Guide to drawing a whole apple and a sliced piece of apple. - Step 6
7

Step 7

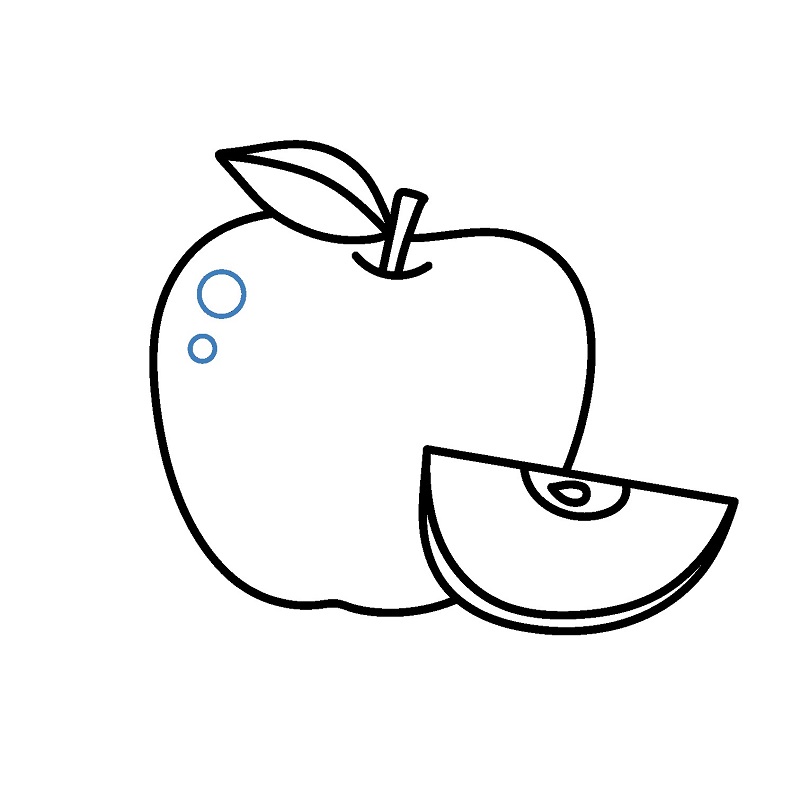
Draw small circular details to create shine on the apple.

Practice
Guide to drawing a whole apple and a sliced piece of apple. - Step 7
8

Step 8

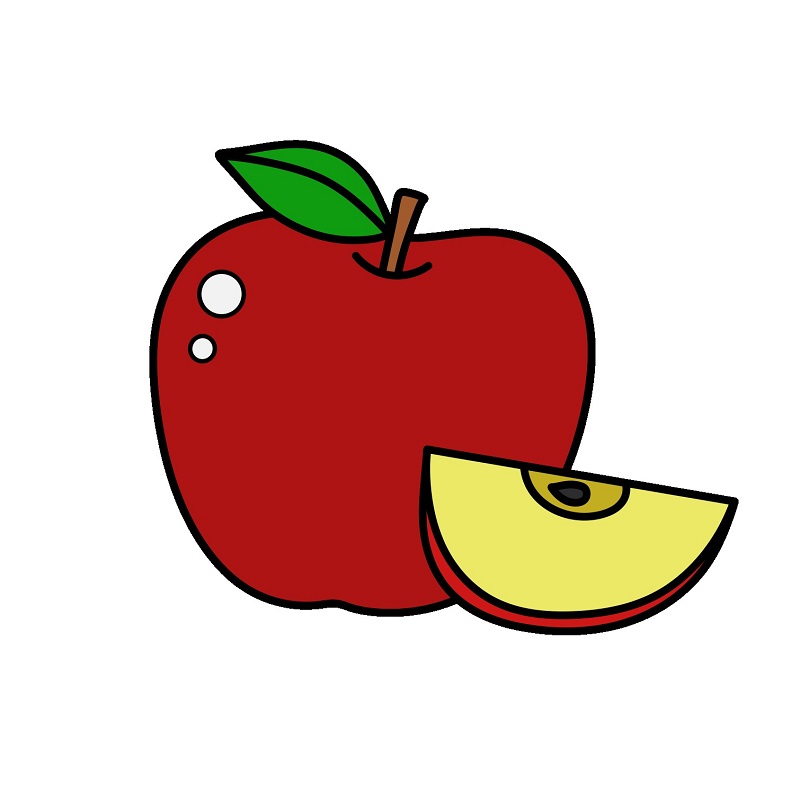
Color the drawing.

Practice
Guide to drawing a whole apple and a sliced piece of apple. - Step 8
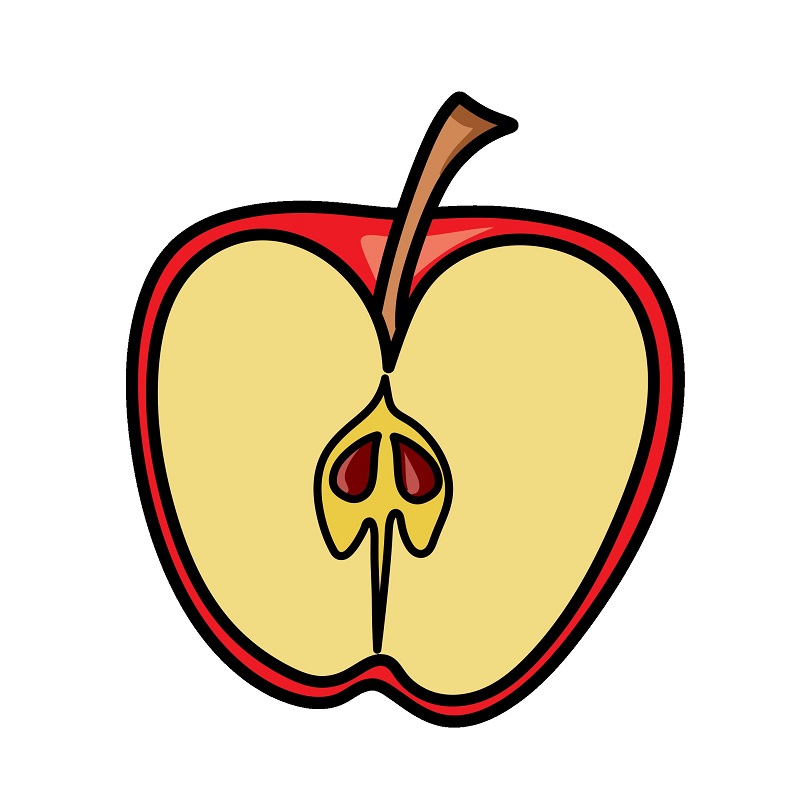
Guide to Drawing Half an Apple.

Guide to Drawing Half an Apple.

6 steps

1

Step 1

Draw the basic outline of half an apple, with a round overall shape and a slight indentation at the bottom.


Practice
Guide to Drawing Half an Apple. - Step 1
2

Step 2

Add the inner outline of half an apple to create the thickness of the skin.

Practice
Guide to Drawing Half an Apple. - Step 2
3

Step 3

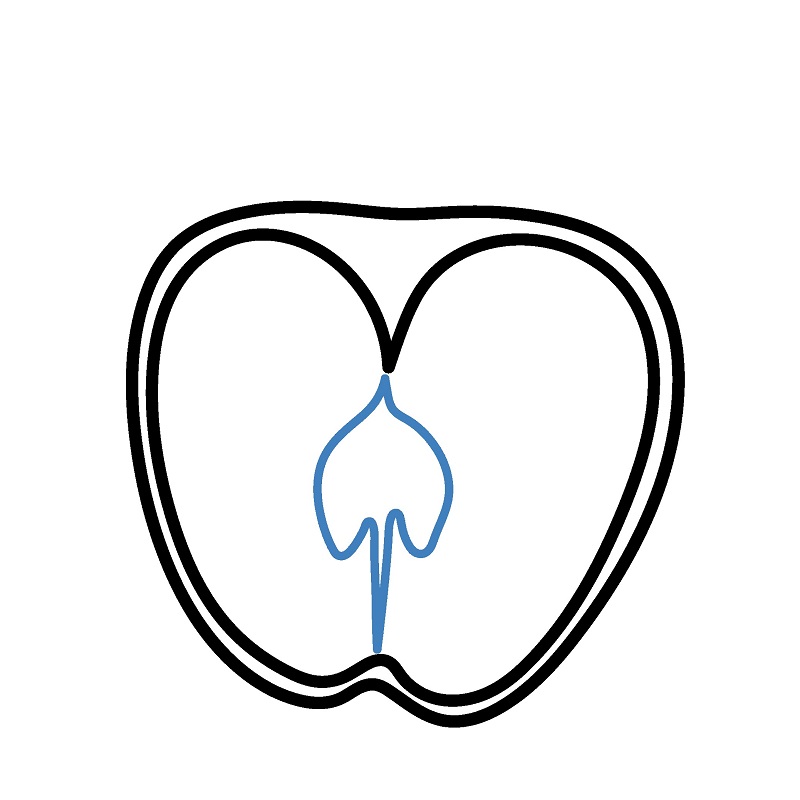
Draw the shape of the apple core inside, starting with a heart-like shape in the center.
Practice
Guide to Drawing Half an Apple. - Step 3
4

Step 4

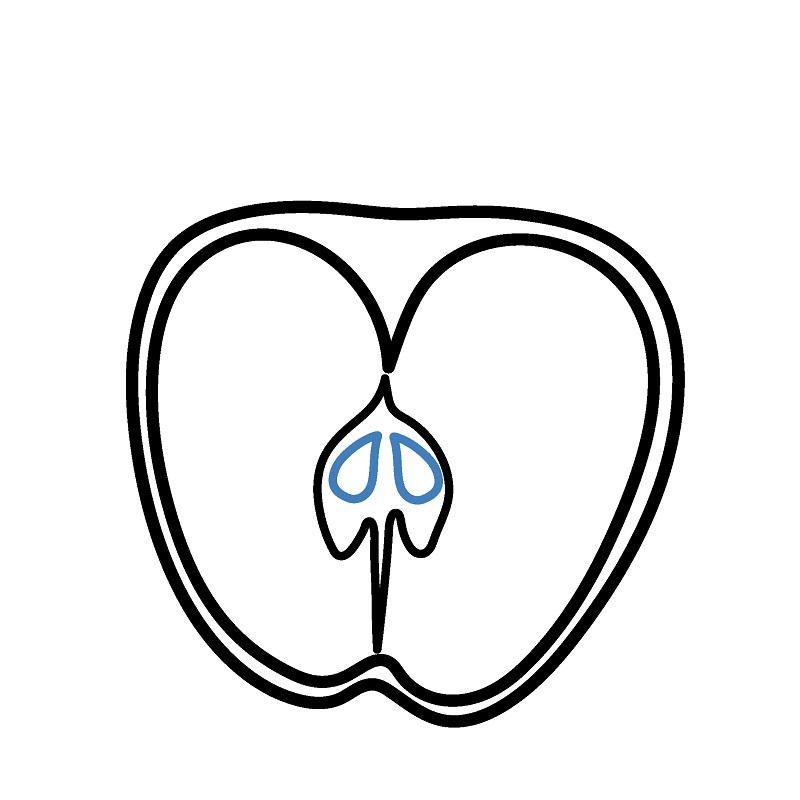
Add details to the apple core, with two smaller ovals representing the seeds inside.

Practice
Guide to Drawing Half an Apple. - Step 4
5

Step 5

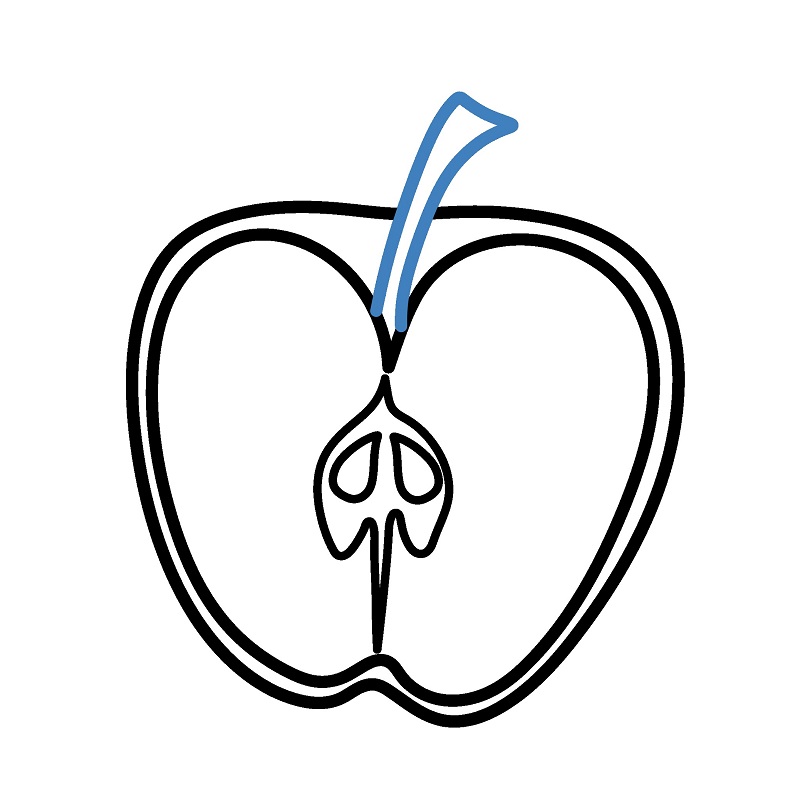
Complete the curved stem at the top.

Practice
Guide to Drawing Half an Apple. - Step 5
6

Step 6

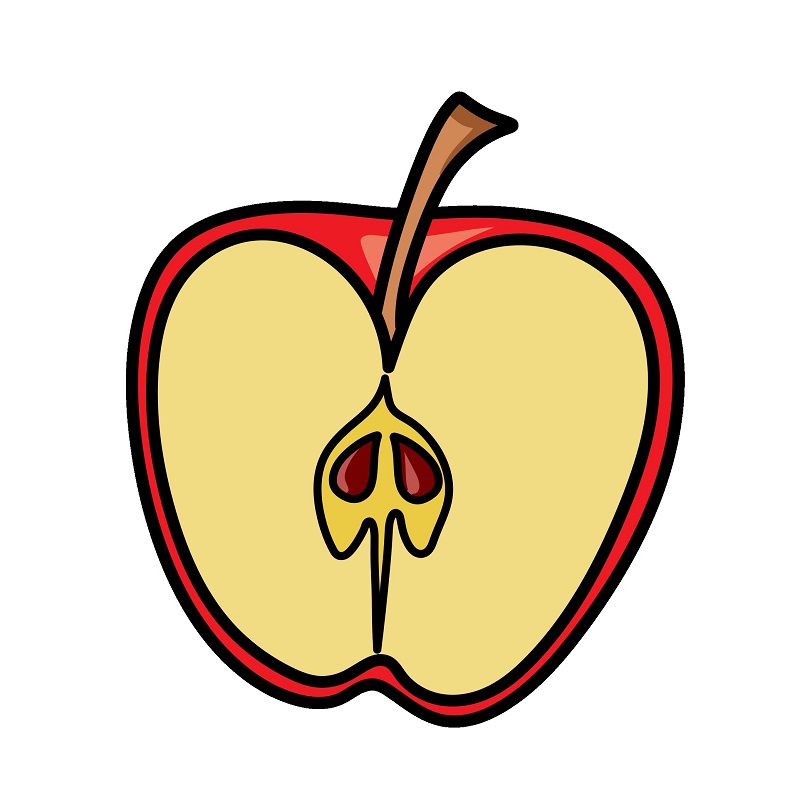
Color the drawing. I hope this simple apple drawing tutorial helps you create a beautiful apple picture.
Practice
Guide to Drawing Half an Apple. - Step 6
▶Drawing tips
  • Draw lightly with a pencil first, then darken the lines when you're satisfied.
  • You don't need to draw exactly like the sample — add your own style!
  • After finishing your drawing, you can color it directly on Tomau.AI to make it more vibrant.

More Flowers & Plants drawing tutorials

View all