How to Draw a Radio
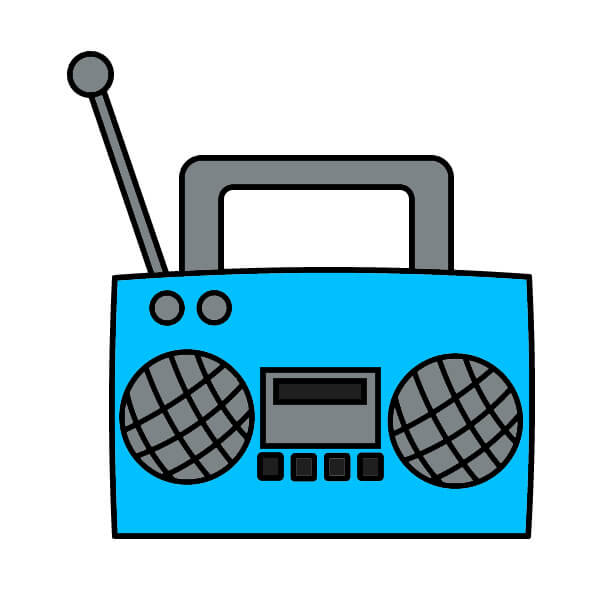
Want to learn how to draw how to draw a radio? This tutorial will help you do it in just 39 simple steps, with clear illustrations for each step. Whether you're a beginner or experienced, the steps below are easy to understand and follow.
You just need a pencil, drawing paper, and an eraser — then start drawing step by step!
This lesson includes 4 different ways to draw. Choose the one that suits you best!
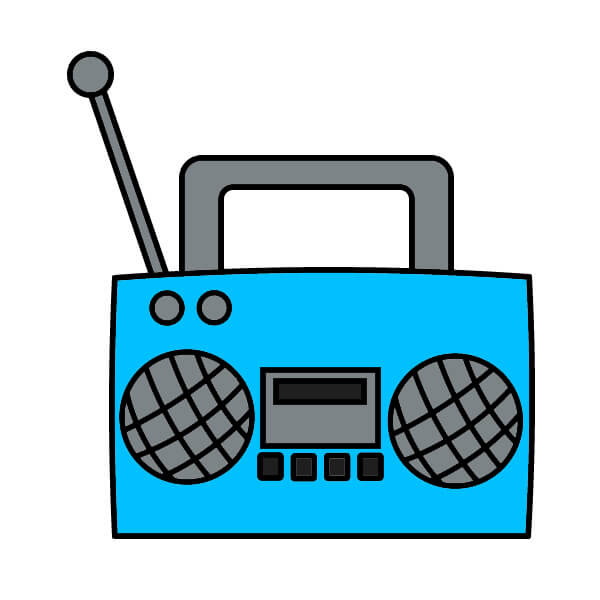
Simple Cartoon Radio Drawing Guide for Beginners
9 steps
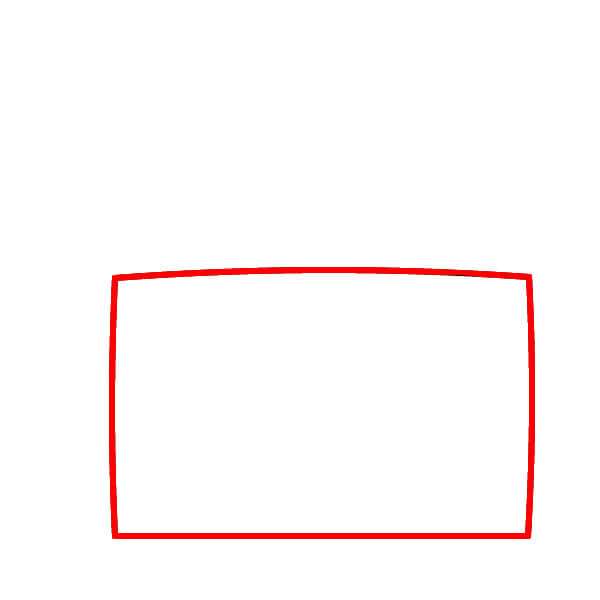
Draw the Main Body
Start by drawing a horizontal rectangle to create the main body of the radio. The top edge should be slightly curved or bulging.
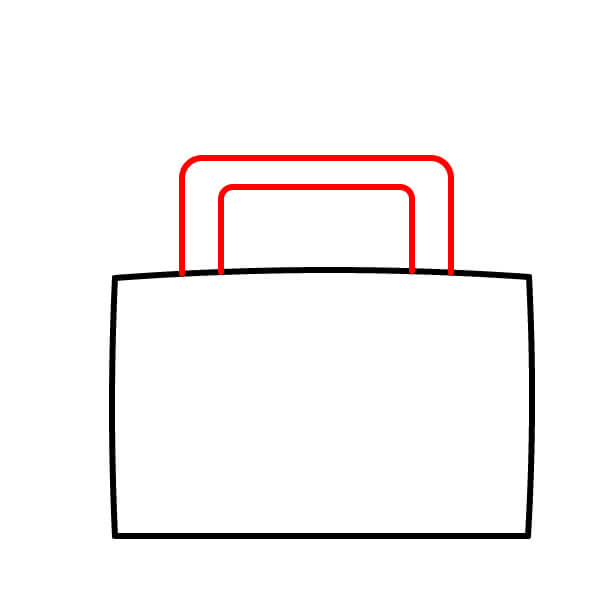
Add the Handle
Draw a large rectangular loop above the main body to form the handle. Then draw a smaller parallel loop inside to give thickness to the handle.
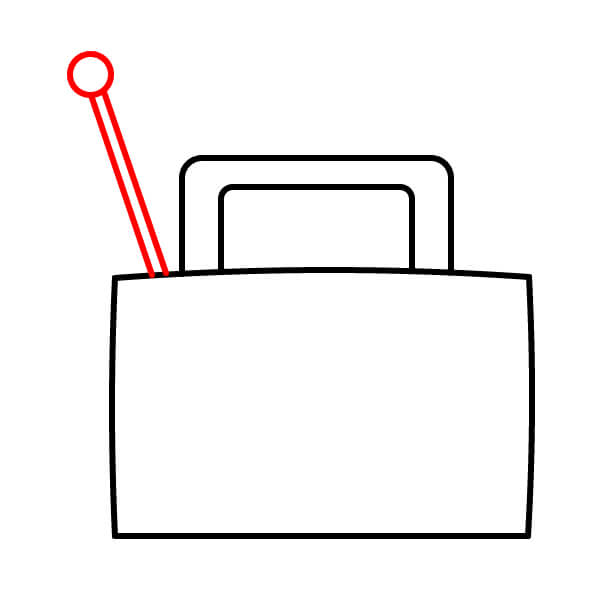
Draw the Antenna
On the left side of the top edge, draw a thin diagonal line going up to create the antenna's body. Draw a small circle at the very top of the antenna.
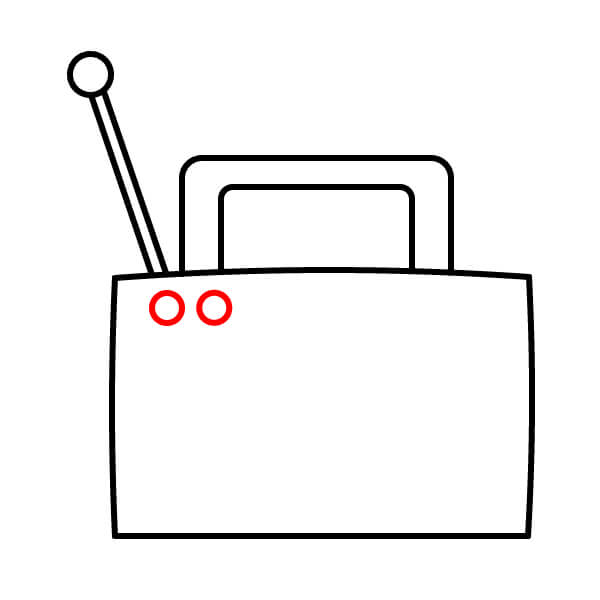
Add Control Buttons/Indicator Light
Draw two identical small circles (or dots) on the upper left front of the radio. These are the indicator light or small control buttons.
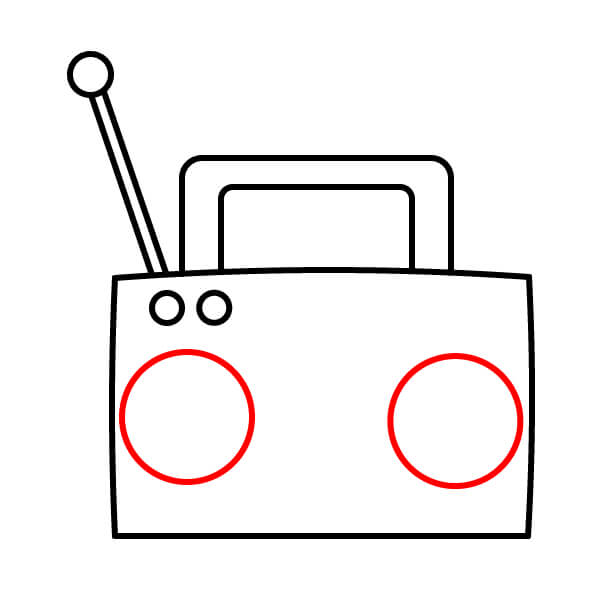
Outline the Speakers
Draw two identical large circles on the lower front of the radio, positioned symmetrically on the left and right. These are the speaker outlines.
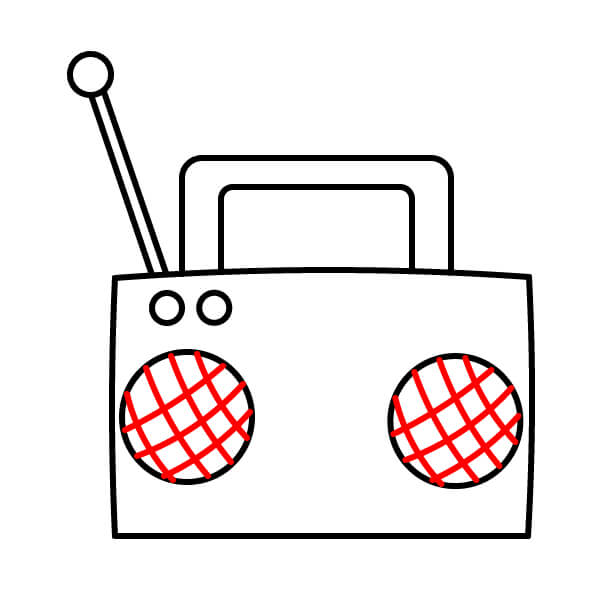
Detail the Speakers
Inside the two circles of the speakers, draw crisscrossing diagonal lines (forming a grid) to represent the speaker mesh.
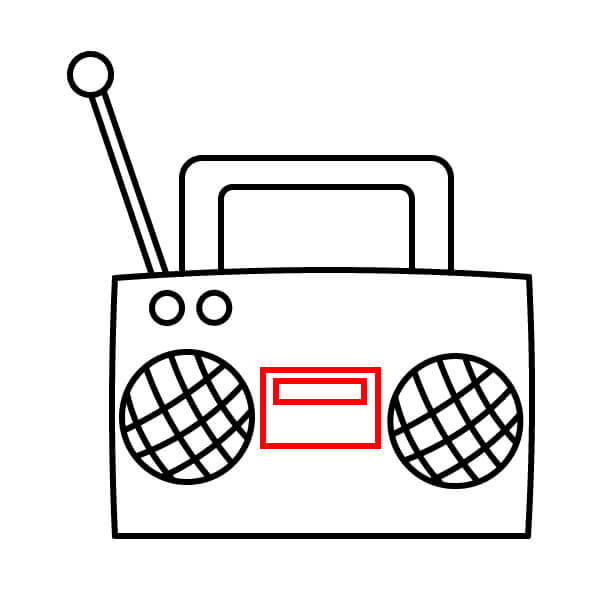
Draw the Display/Tuning Window
In the space between the two speakers, draw a small horizontal rectangle. This will be the cassette compartment or display/tuning window.
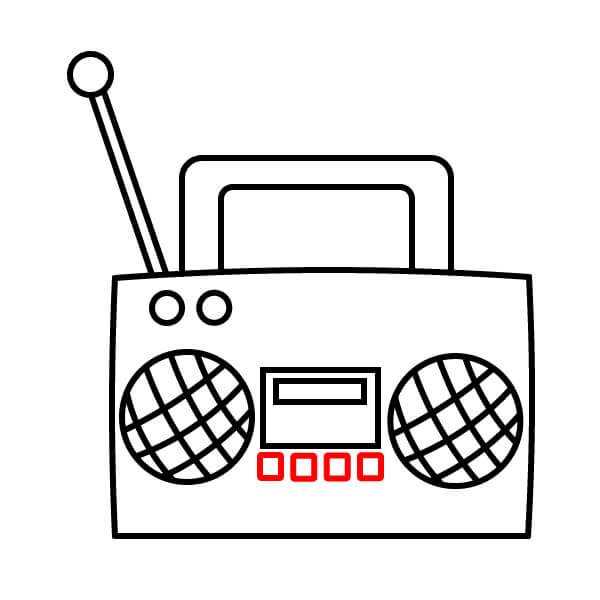
Add Control Buttons
Below the rectangle in the middle, draw a row of four small squares (or small rectangles) to represent the control buttons (like play, stop, rewind, fast forward).
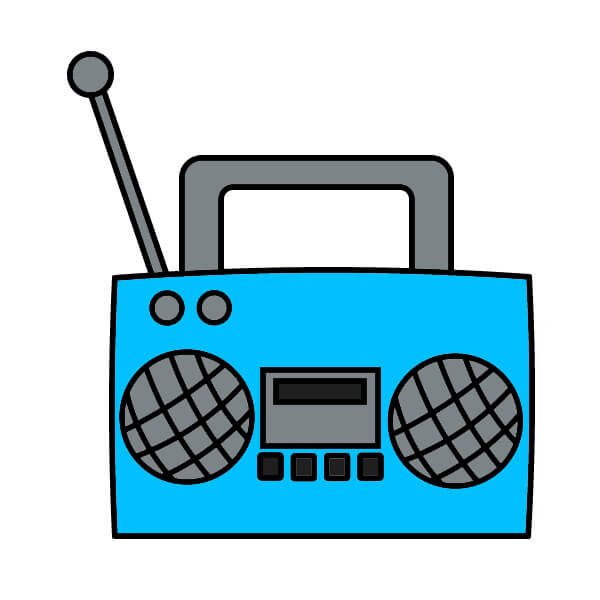
Color the Radio
Color the main body of the radio (the large rectangle) blue. Color the handle and antenna gray. Color the display and control buttons in the middle with a darker gray to distinguish them from other parts.
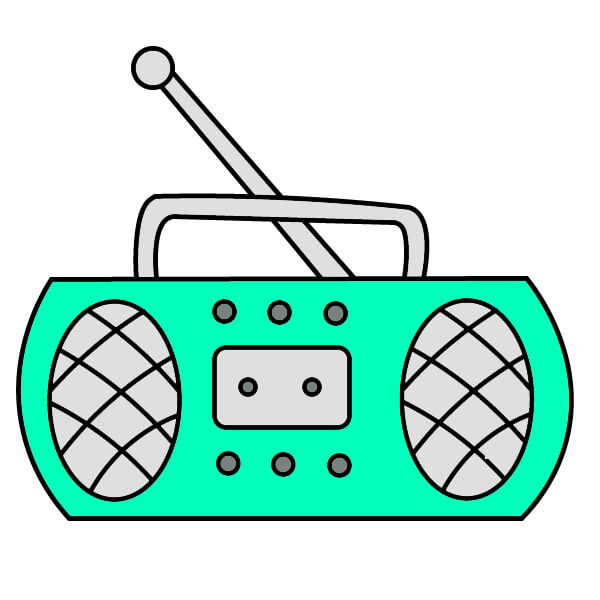
Simple Radio Drawing Guide for Kids
9 steps
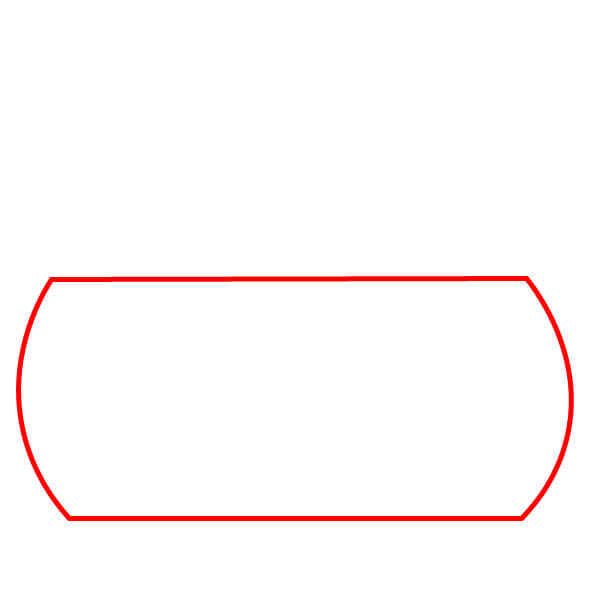
Draw the Main Body
Start by drawing a horizontal oval, with the top and bottom edges slightly flat and rounded sides. This is the main body of the radio.
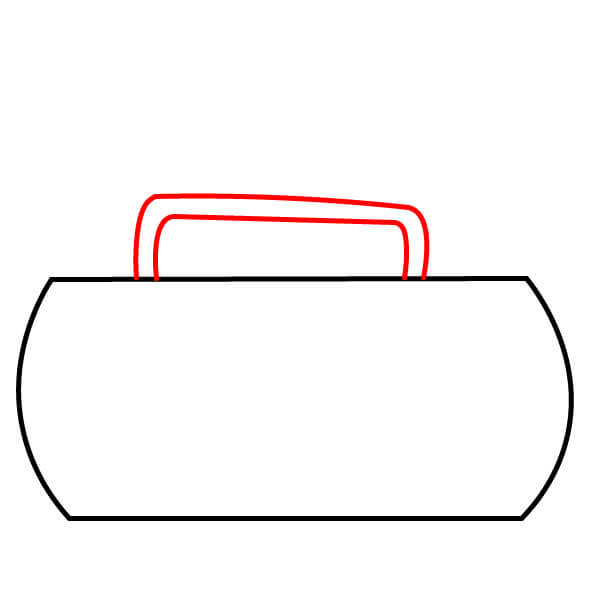
Add the Handle
In the center at the top of the radio body, draw a curved rectangle for the handle. Add a smaller parallel curve inside to create thickness for the handle.
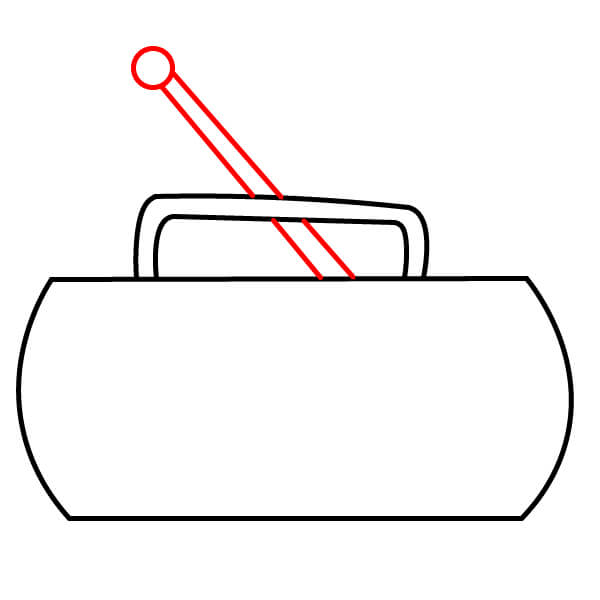
Draw the Antenna
Draw two angled parallel lines starting from the top of the radio (behind the handle), slanting up to the left. At the top, draw a small circle for the antenna tip.
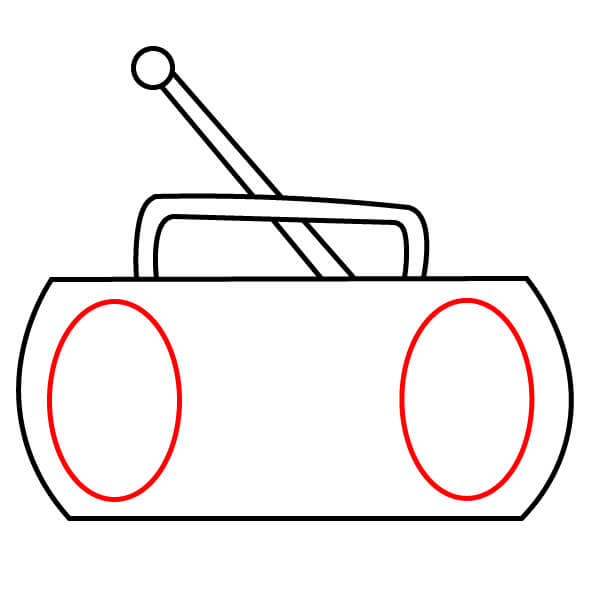
Sketch the Speakers
Draw two large ovals on the front of the radio, one on the left and one on the right, to represent the speakers.
Detail the Speakers
Inside each speaker oval, draw crisscrossing diagonal lines to create the speaker mesh.
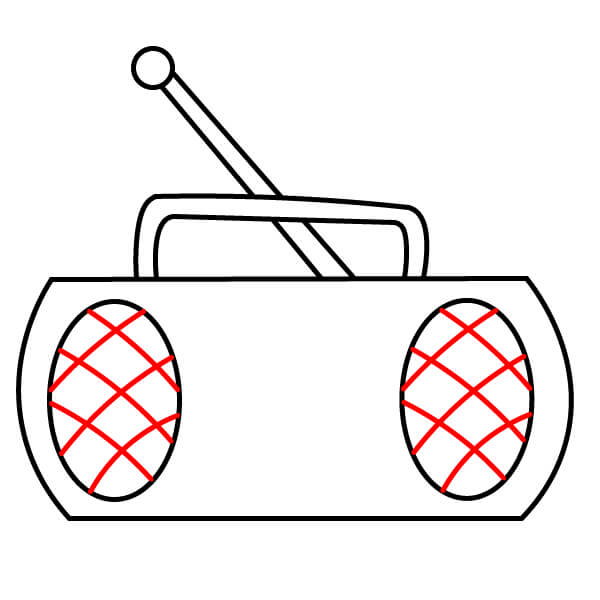
Draw the Tuning Screen/Panel
In the center of the front of the radio, between the two speakers, draw a horizontal rectangle. Inside this rectangle, draw two small circles for the tuning knobs or indicator lights.
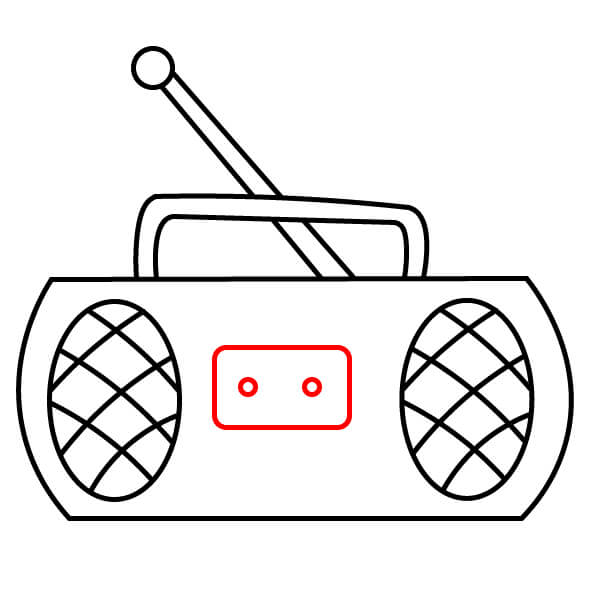
Add Upper Control Buttons
Above the center rectangle, draw a row of three small circles, evenly spaced. These are the control buttons or indicator lights.
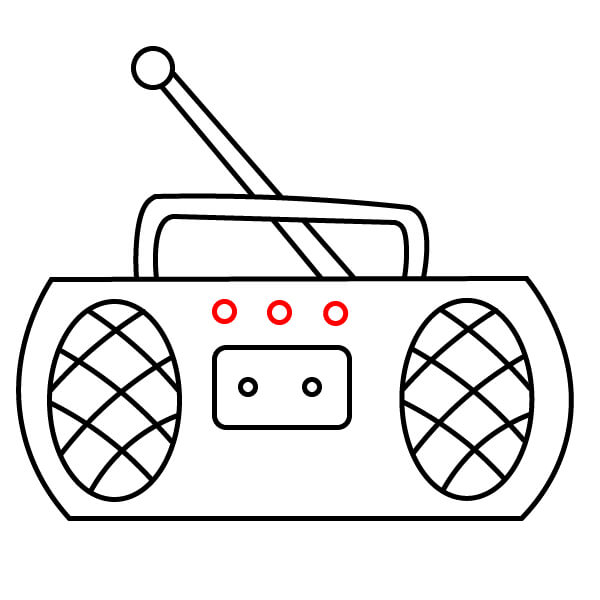
Add Lower Control Buttons
Below the center rectangle, draw another row of three small circles similar to the ones above, for additional control buttons.
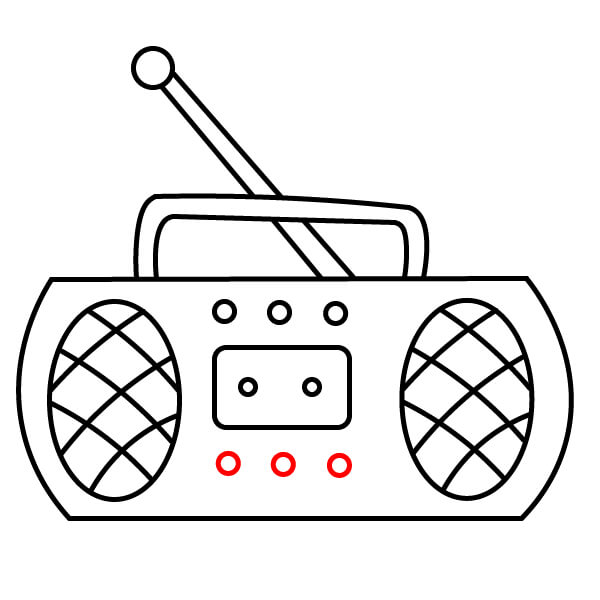
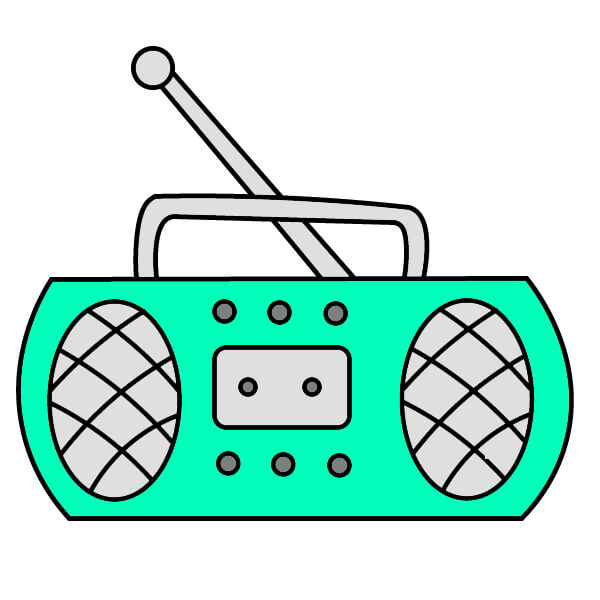
Color the Radio
Color the main body of the radio in turquoise or light blue mixed with green. Color the handle and antenna in light gray. Color the speakers in medium gray, and the speaker mesh can be a slightly darker gray. Color all the round buttons and the screen rectangle in dark gray.
Simple Radio Drawing Lesson with Colors for Kids
9 steps
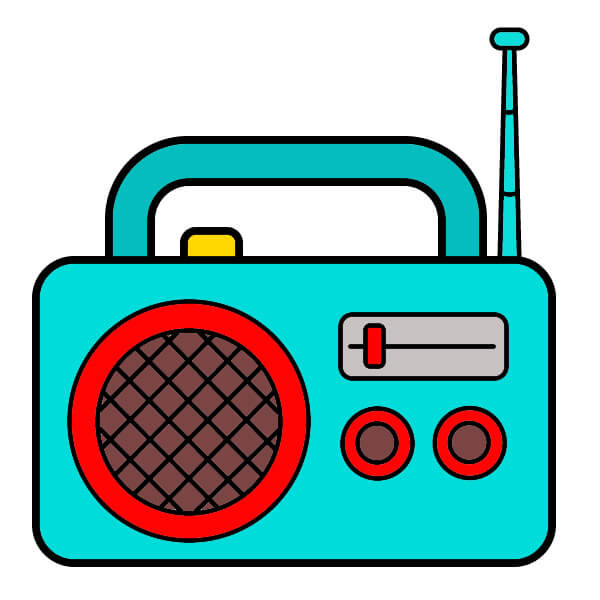
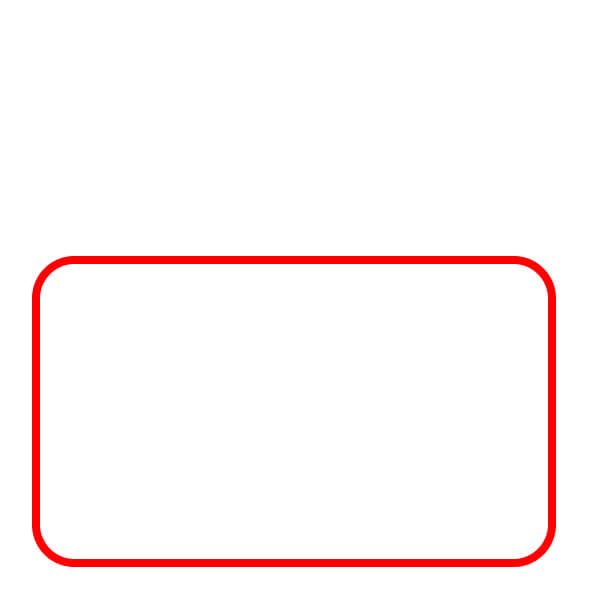
Draw the Main Body
Draw a large horizontal rectangle with rounded corners to create the main body of the radio.
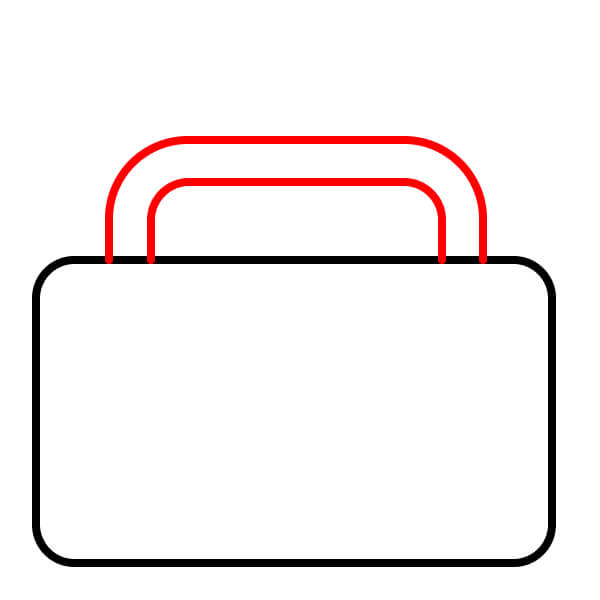
Add the Handle
In the center at the top, draw a thick, curved handle. Add a parallel line inside to show the thickness of the handle.
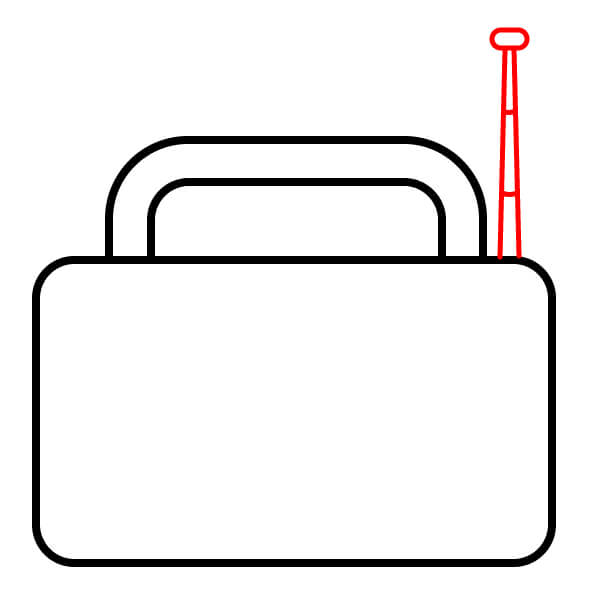
Draw the Antenna
On the top right of the radio body, draw a vertical antenna that tapers slightly towards the top with a small, flat tip.
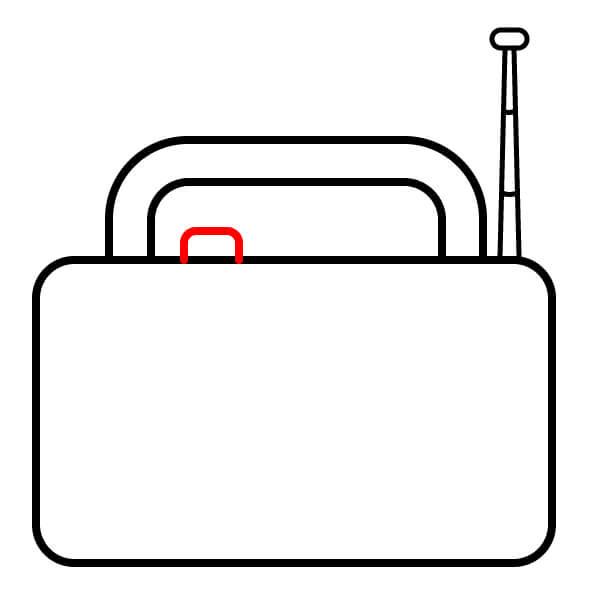
Add the Top Button/Switch
Draw a small curved rectangle just below the handle, on the top edge of the radio. This is the power switch or tape open button.
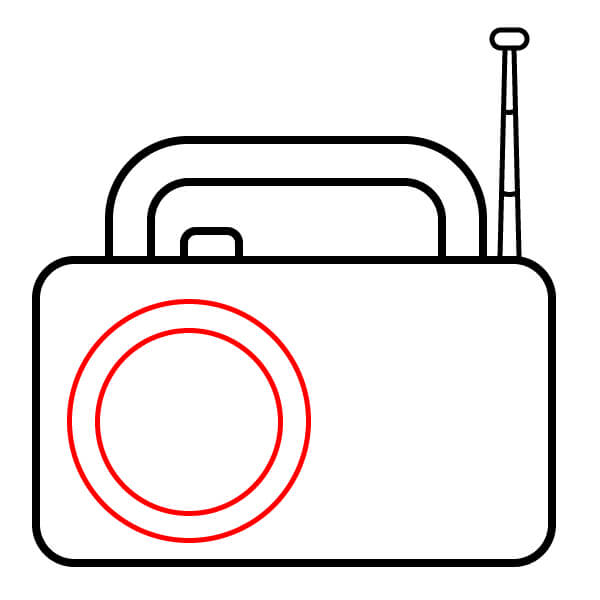
Outline the Speaker
Draw two concentric circles (a large circle and a smaller one inside) on the left side of the front of the radio to represent the speaker.
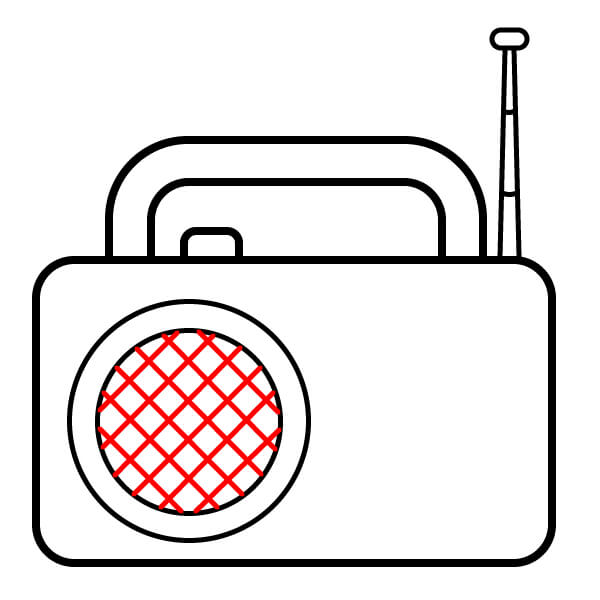
Detail the Speaker
Inside the small speaker circle, draw crisscrossing diagonal lines to create the speaker mesh.
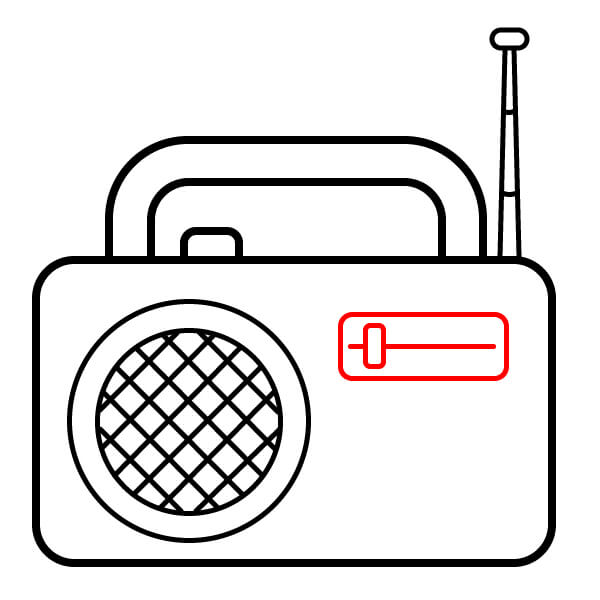
Draw the Tuning Display
On the right side of the radio, draw a horizontal rectangle as the display/tuning window. Inside this rectangle, draw a thin line with a small square on it (like a tuning slider).
Add Control Buttons
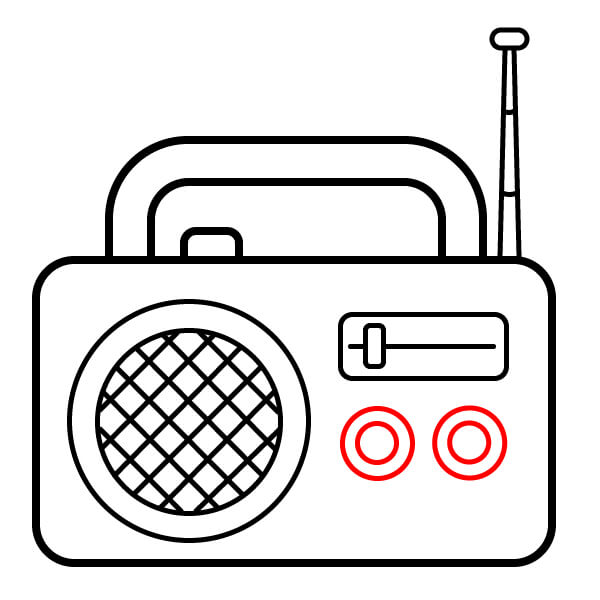
Below the tuning display, draw two large symmetrical circles to represent the main control buttons (like volume and tuning).
Color the Radio
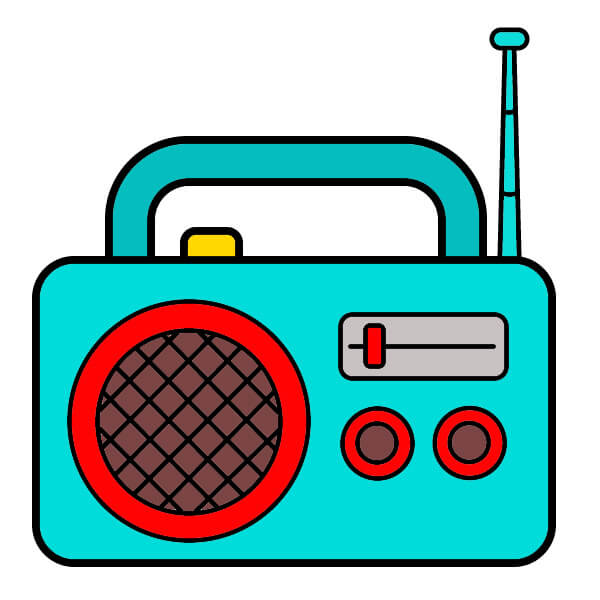
Color the main body of the radio turquoise or light blue mixed with green. Color the handle and antenna medium gray. Color the outer rim of the speaker and control buttons red. Color the speaker mesh dark brown or black. Color the tuning display area light gray. Color the top switch yellow.
Step-by-Step Radio Drawing Guide for Young Artists
12 steps
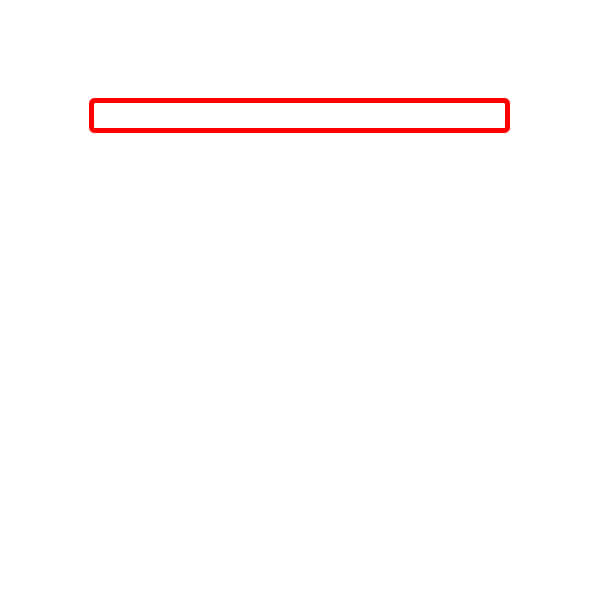
Draw the Top of the Handle
Start by drawing a long, thin horizontal rectangle. This will be the top of the handle.
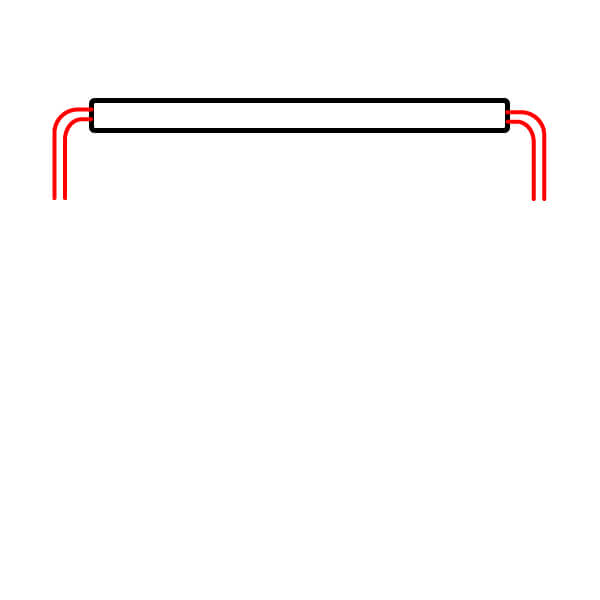
Draw the Handle Supports
Draw two parallel curves extending down from each end of the top bar. These lines stop near where the main body will begin. This completes the outline of the handle.
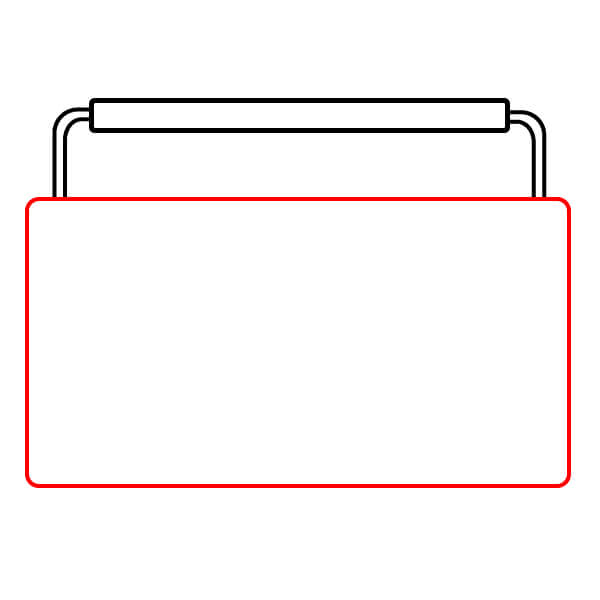
Draw the Main Body
Draw a large horizontal rectangle with slightly rounded corners below the handle. The top edge of this rectangle should align with the endpoints of the handle supports. This is the main body of the boombox.
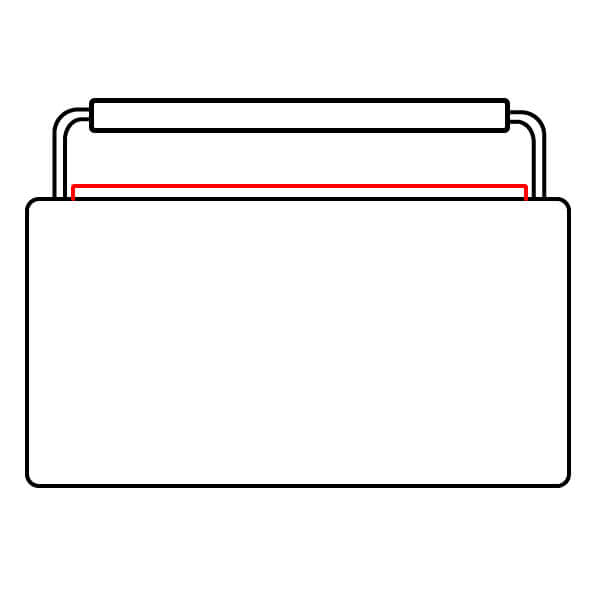
Draw the Upper Control Panel Divider
Just below the handle, draw a thin horizontal line across the width of the radio body. This line separates the upper control panel area from the main front.
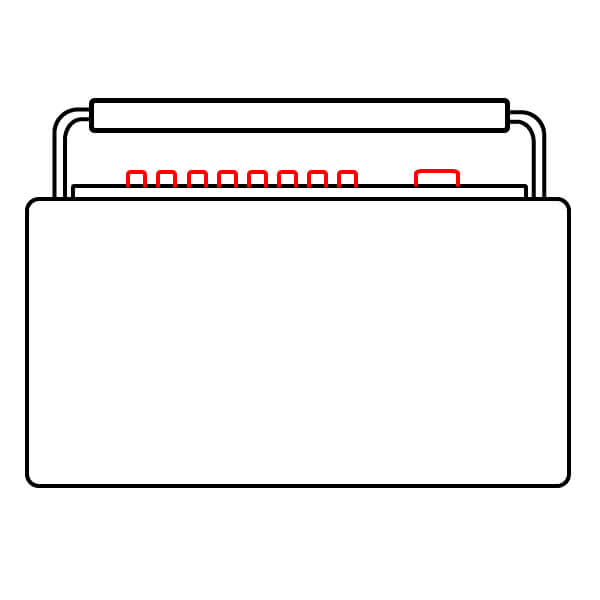
Add Cassette Control Buttons
In the narrow control panel area created in Step 4, draw a row of small rectangles (or small squares) for the function buttons (like play, stop, rewind…). On the right side, add a slightly larger rectangle for the power or record button.
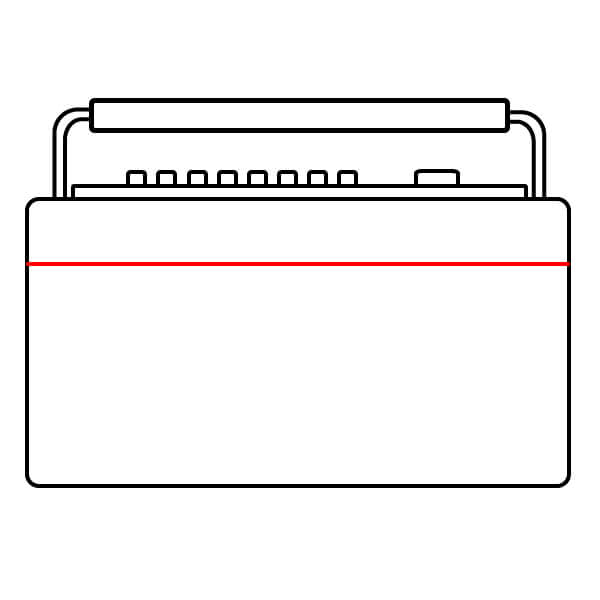
Draw the Front Divider Line
Draw a second horizontal line on the main front of the radio, dividing it into a smaller upper part and a larger lower part. This line helps define the area for the speakers and cassette compartment.
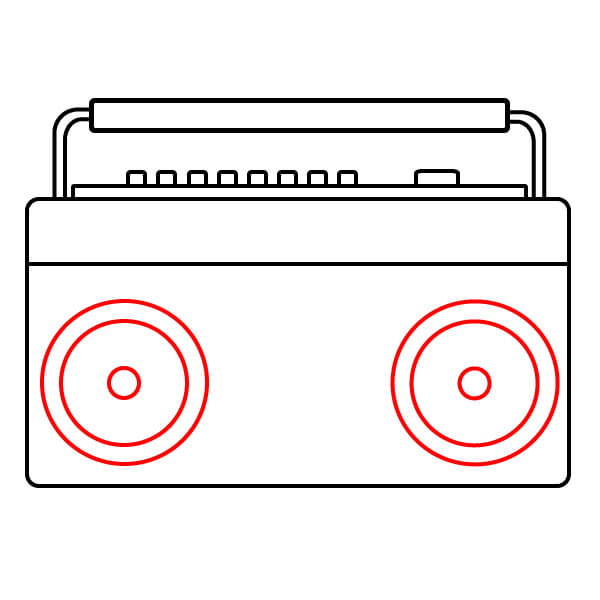
Sketch the Speakers
Below the line from Step 6, draw two sets of identical concentric circles (one large circle and one smaller circle inside), symmetrically placed on the left and right. These are the two speakers.
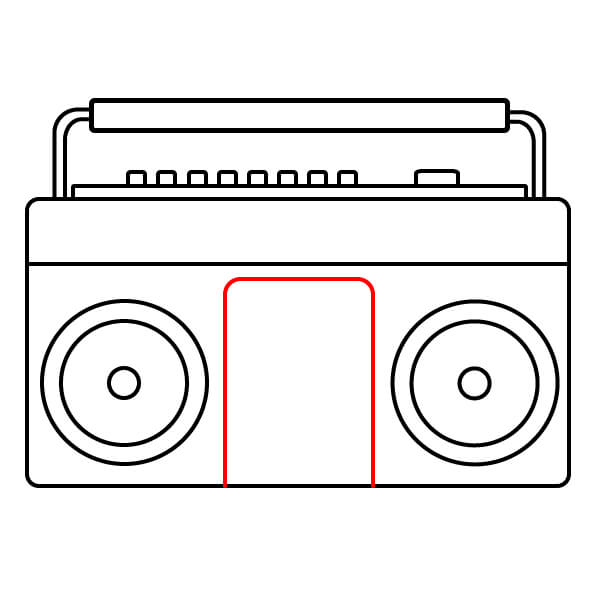
Draw the Cassette Door/Central Display
In the space between the two speakers, draw a vertical rectangle with a slightly rounded top. This is the cassette door or the large display in the center.
Add Details to the Cassette Door
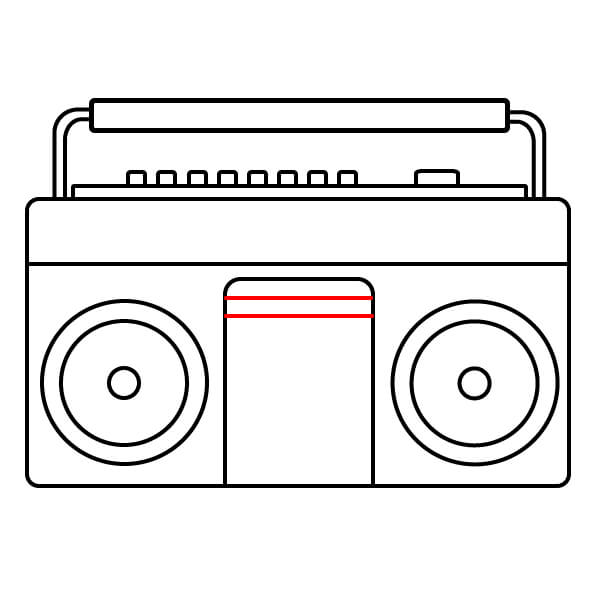
Near the top of the cassette door/display area, draw two short parallel horizontal lines. These can represent a small display or an opening latch.
Finish the Cassette Door Details
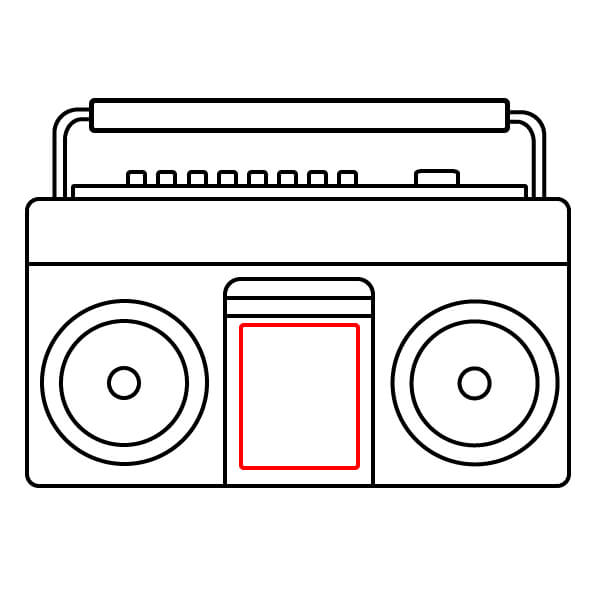
Inside the cassette door area, draw a square to create a window showing the cassette inside.
Add Controls and Sub Display
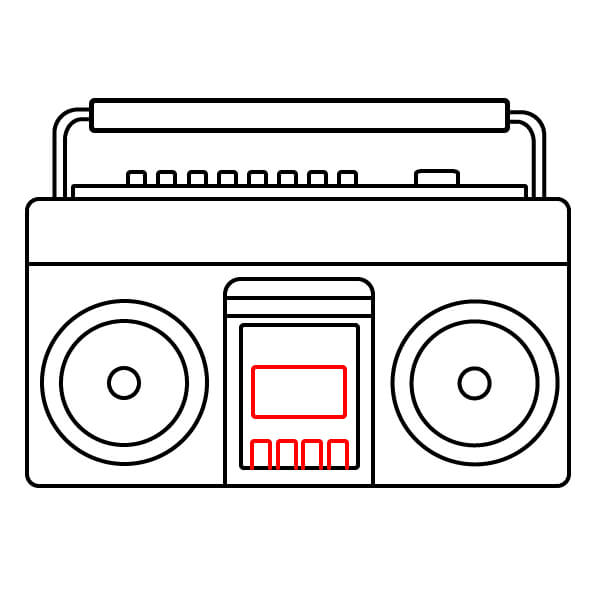
Draw a small horizontal rectangle in the upper middle for a sub-display or sound level meter. Below this area, draw a row of four small squares for additional function buttons (e.g., equalizer adjustment or radio tuning).
Color the Radio
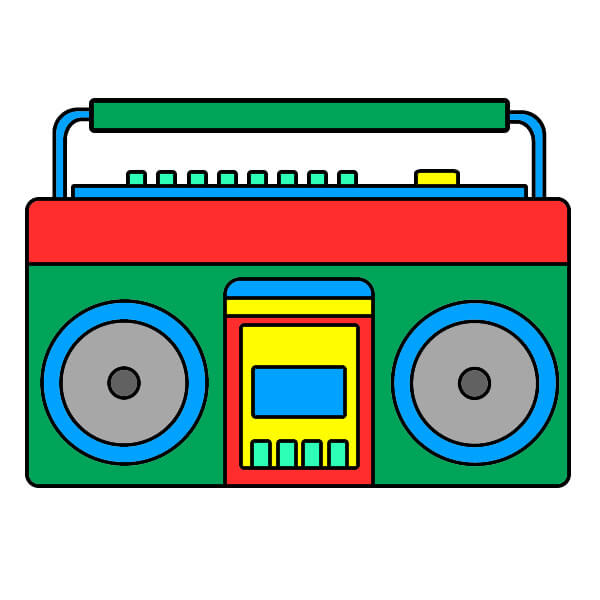
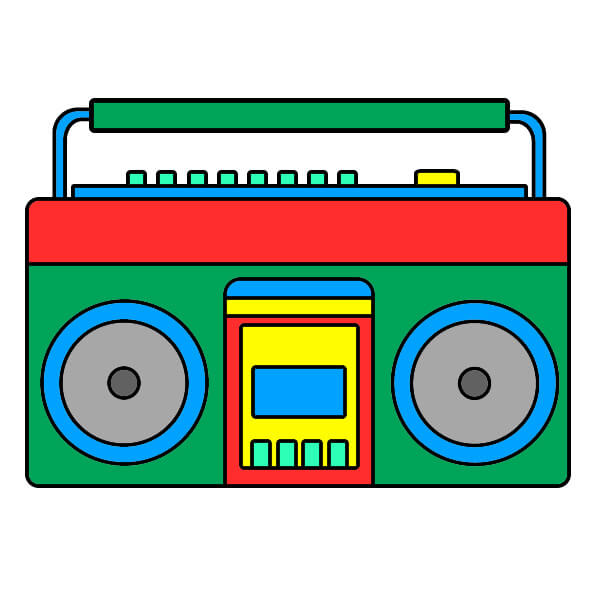
Color in a cartoon style with bright, contrasting colors: Main body green. The strip on the front (just below the handle) red. Handle blue. Speakers with a blue outer rim, gray middle, and dark gray or black inner circle. The cassette door/central display area uses standout colors: red rim, blue cassette window, yellow top, and small buttons orange or red. The upper control buttons are turquoise or green, with the larger button at the end yellow.
▶Drawing tips
- Draw lightly with a pencil first, then darken the lines when you're satisfied.
- You don't need to draw exactly like the sample — add your own style!
- After finishing your drawing, you can color it directly on Tomau.AI to make it more vibrant.