How to Draw a Sea Lion
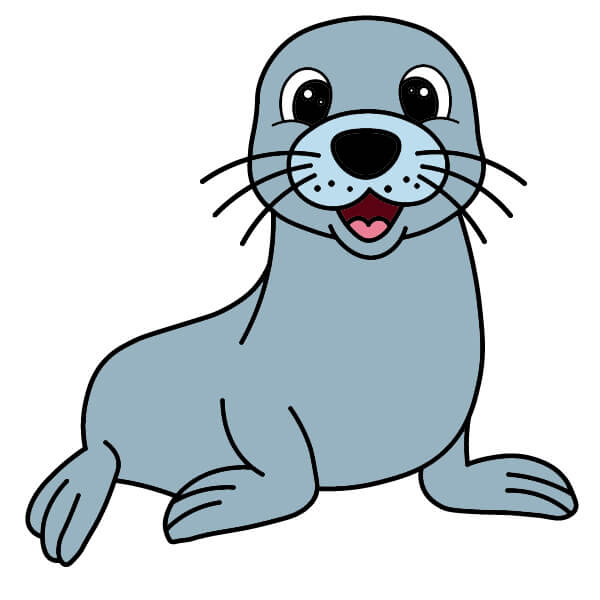
Want to learn how to draw how to draw a sea lion? This tutorial will help you do it in just 40 simple steps, with clear illustrations for each step. Whether you're a beginner or experienced, the steps below are easy to understand and follow.
You just need a pencil, drawing paper, and an eraser — then start drawing step by step!
This lesson includes 4 different ways to draw. Choose the one that suits you best!
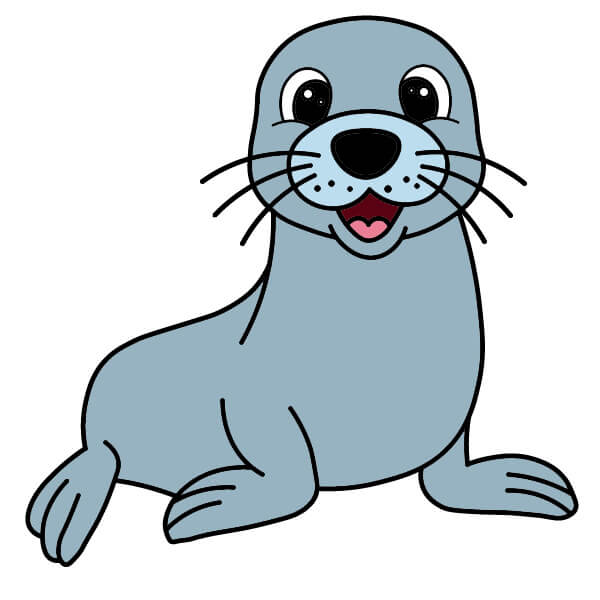
How to Draw a Cute Sea Lion for Kids
11 steps
Head
Start by drawing a large, round outline, somewhat pear-shaped for the head. Add a slight indentation in the middle bottom to indicate the starting point of the muzzle area.

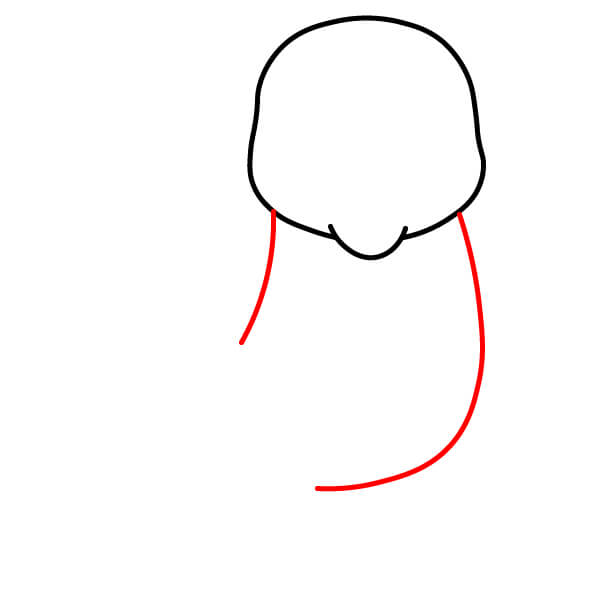
Body Outline
Draw two curves extending down from both sides of the head to form the neck and the beginning of the body. These lines shape the main body.
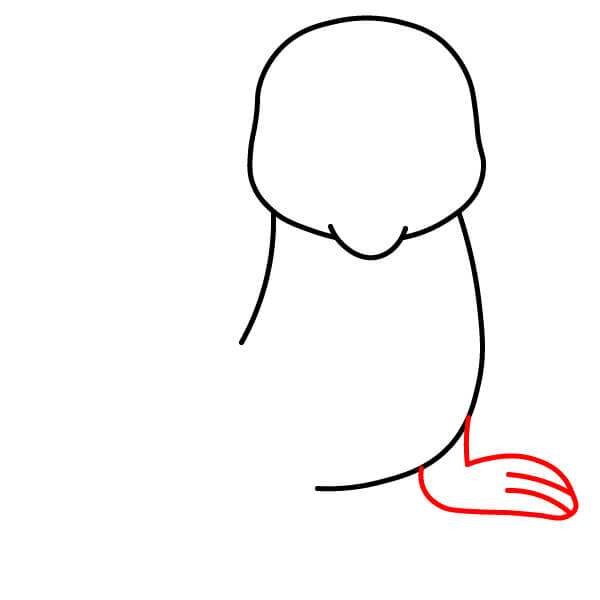
Right Front Flipper
Draw the right front flipper. This flipper looks like a hand with three 'fingers' or round, separate digits resting on the ground.
Left Front Flipper
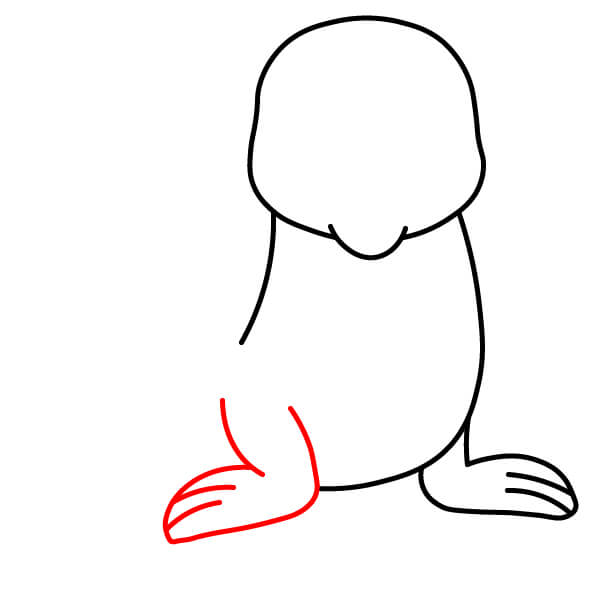
Draw the left front flipper next to the right flipper. Similar to the first flipper, make it look like a long hand with round, separate fingers. Connect the flipper to the body with a curve for the upper thigh/chest area.
Lower Body
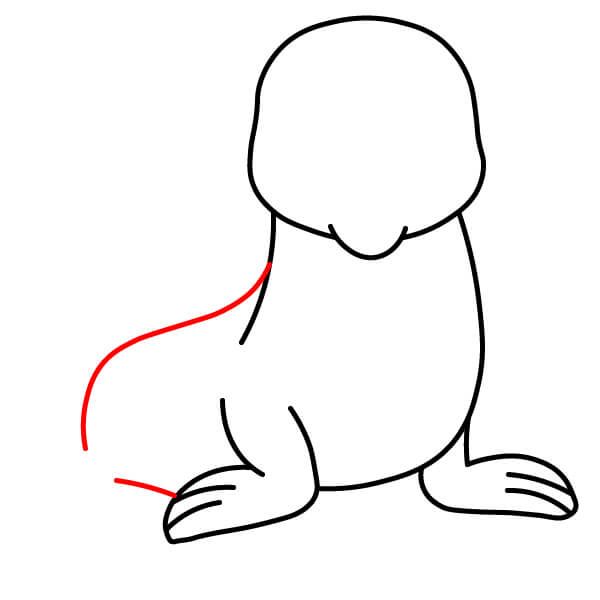
Draw a long curve extending back from the left front flipper to form the outline of the sea lion's lower body. This line defines the belly and the back body.
Tail Flipper
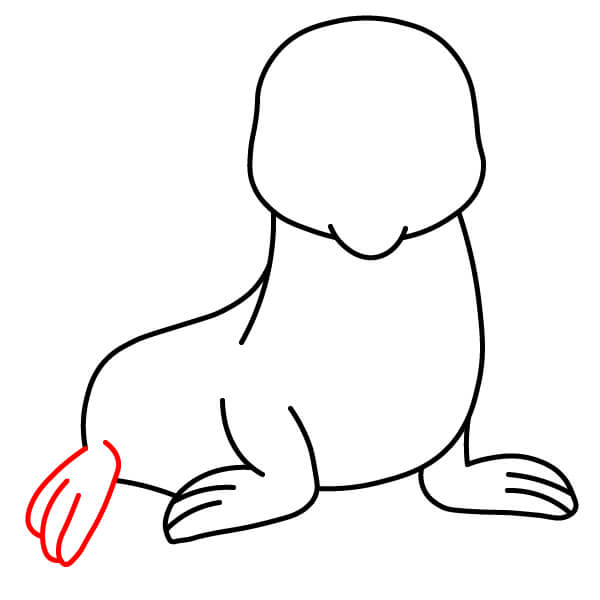
Draw a small tail flipper pointing backward. The tail flipper should be drawn at the end of the body and have a few small, distinct, slightly curved digits/lobes.
Muzzle and Nose
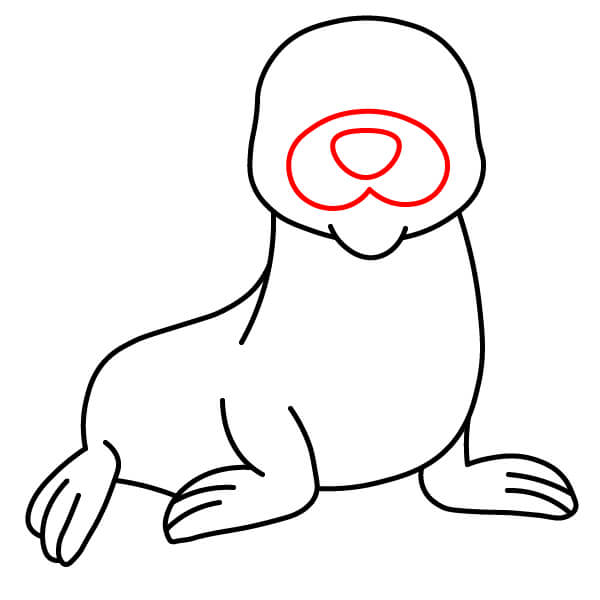
In the middle of the face, draw a large circle for the muzzle. Inside this shape, draw a smaller inverted heart or rounded V shape to represent the nose/nostrils.
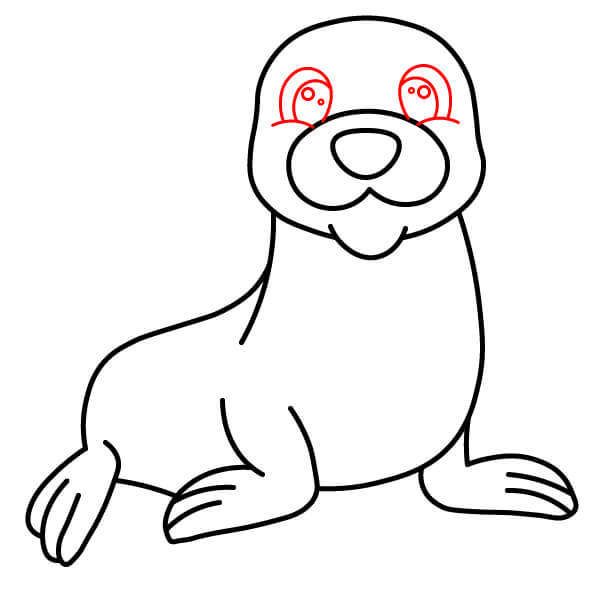
Eyes
Draw two large eyes above the muzzle. Each eye should have an upper eyelid/eyebrow outline, an inner circle for the iris/pupil, and a small dot or oval for a highlight, giving a bright, cartoonish look.
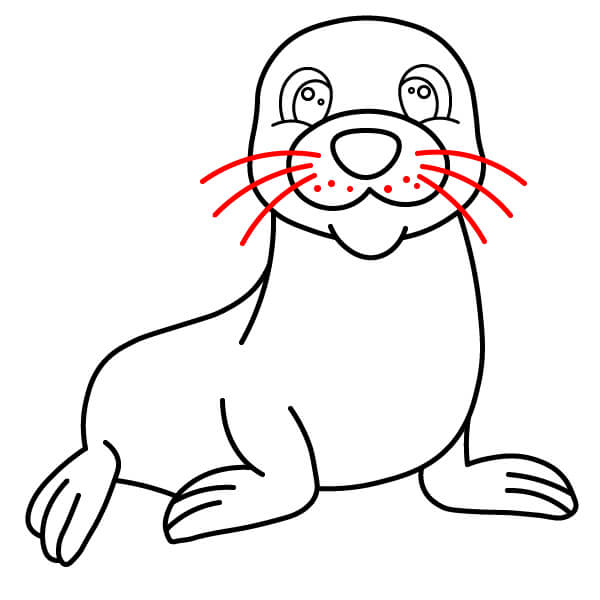
Whiskers and Facial Spots
Add a few whiskers (vibrissae) extending from both sides of the muzzle. Draw a few small dots on the muzzle, indicating areas where the whiskers grow.
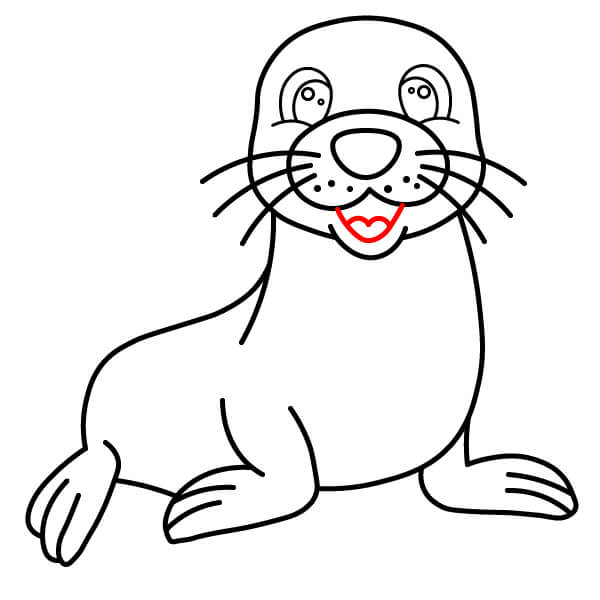
Mouth
Draw a curve just below the muzzle to create a smiling mouth, giving the sea lion a cheerful expression.
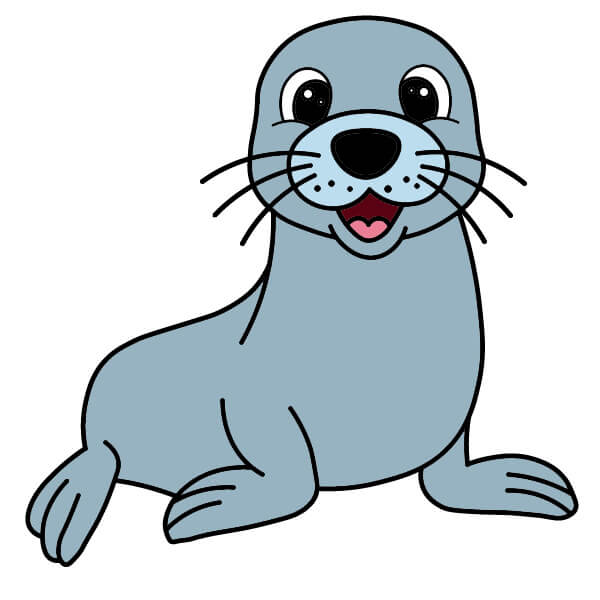
Coloring
Color the entire body of the sea lion with light blue or gray. Color the nose and eyes with a darker blue or black. Color the inside of the mouth with dark red or pink, and the tongue with a lighter pink.
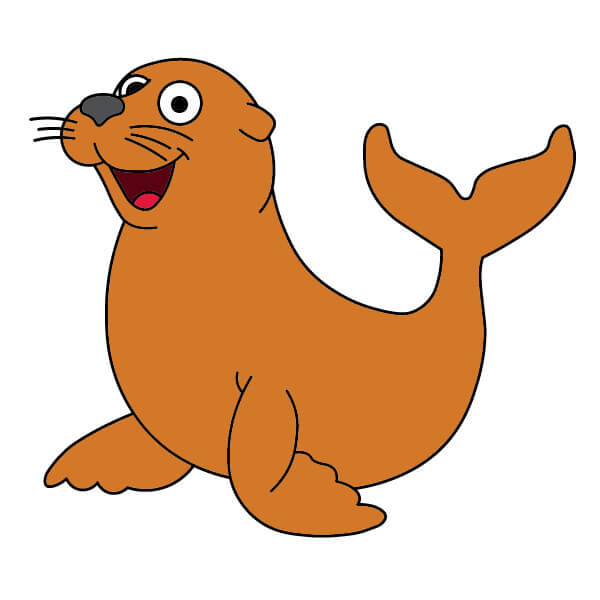
Simple Sea Lion Drawing Guide for Young Artists.
11 steps
Muzzle and Mouth
Start by drawing a slightly irregular circle for the muzzle and the upper part of the mouth. Add a small curve at the top for the nose, and a larger curve, arching upwards at the bottom for the mouth's head.
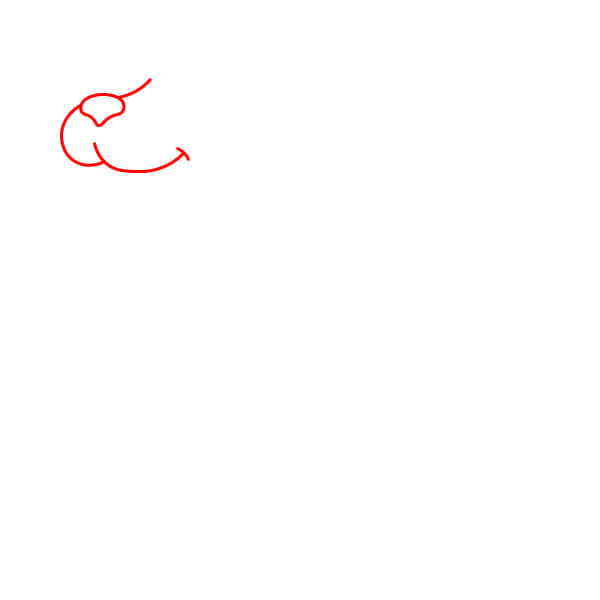
Head Outline and Ears
Draw a curve extending from the muzzle to form the top and back of the head. Add two small C-shaped curves on either side for the ears. Connect the muzzle to the head with a curve at the bottom.
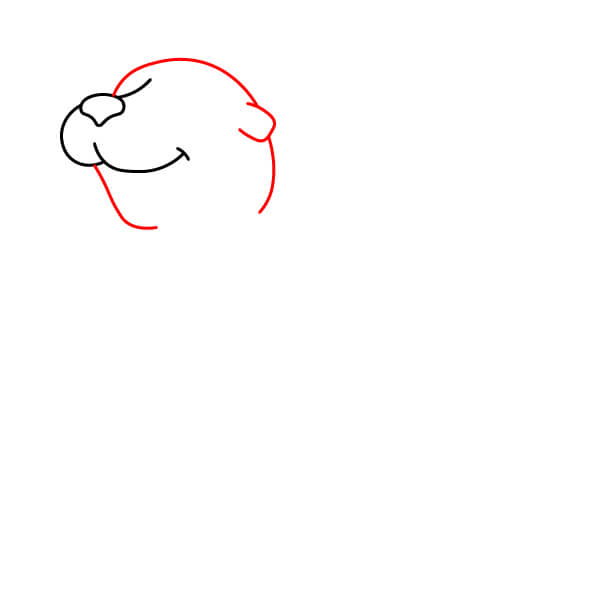
Eyes
Draw a large oval eye on the face. Inside, add a smaller circle for the iris/pupil and a tiny circle for the highlight. Repeat this process for the second eye (this eye will be partially obscured by the muzzle, so only draw the visible part).
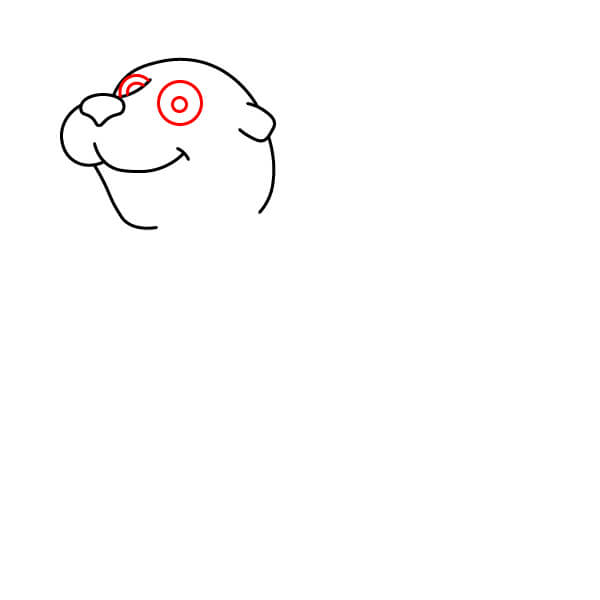
Whiskers
Add a few short straight lines extending from the muzzle for the whiskers. Make them slightly angled upwards.
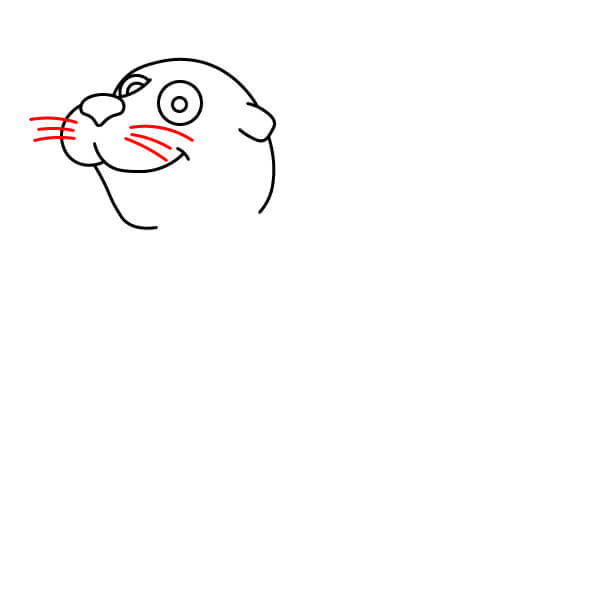
Open Mouth
Draw a curve below the original mouth outline to indicate the mouth is open. Add a small curve inside the mouth to represent the tongue.

Neck and Upper Body
Draw a long, smooth curve extending down from the bottom of the head to form the front of the neck and upper body.
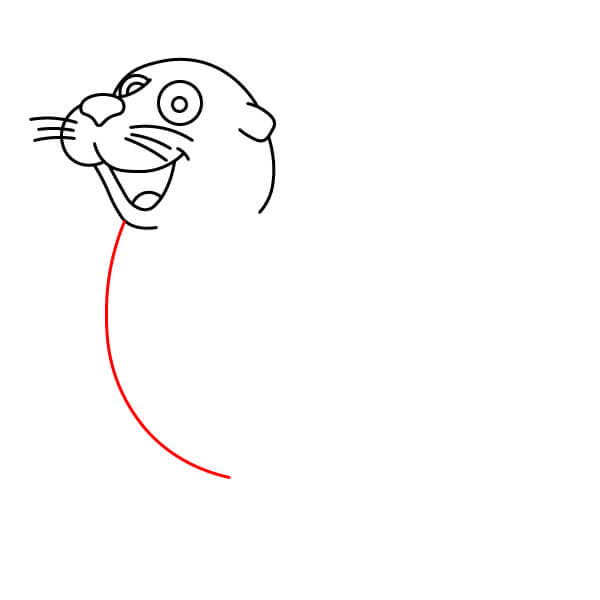
Left Front Flipper
Draw the left front flipper. This flipper should be rounded, slightly wavy, resembling a stylized flipper with a few small indentations to suggest toes.
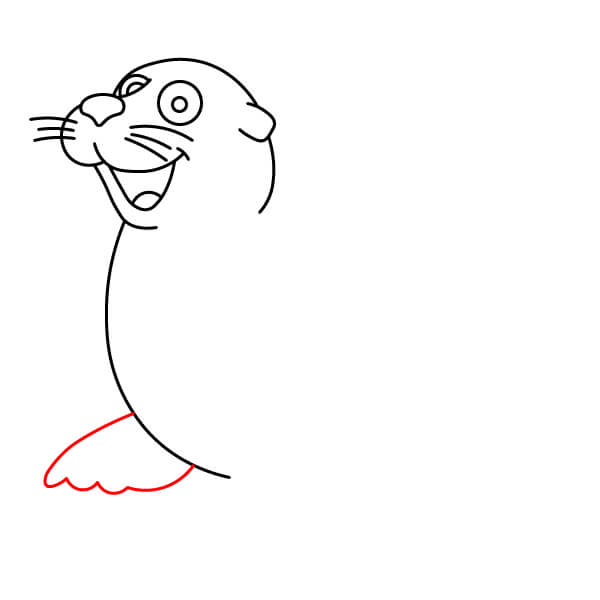
Right Front Flipper
Draw the right front flipper on the opposite side. This flipper will be partially obscured, so only draw the visible part. It should also be rounded and wavy. Add a curve connecting the flipper to the body.
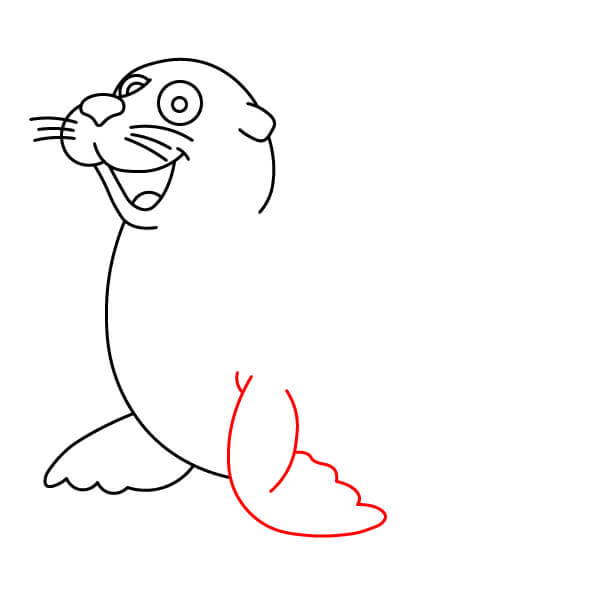
Sketch the Lower Body
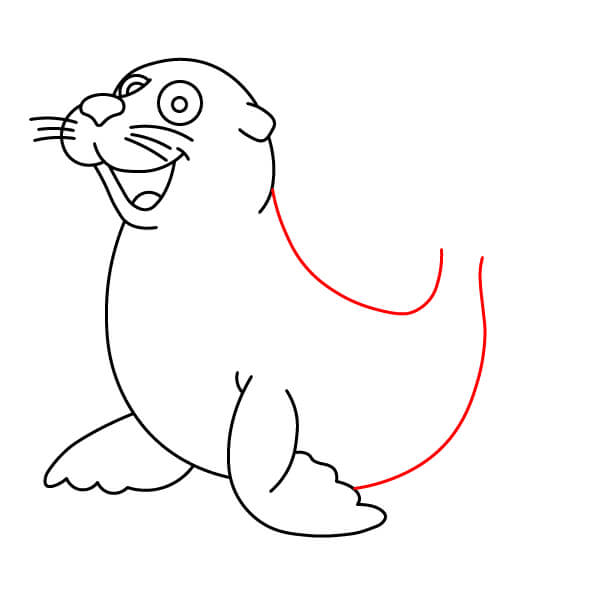
Draw a large, wavy curve starting from the back of the head/neck and curving down and then up, forming the back and lower body.
Tail Flippers
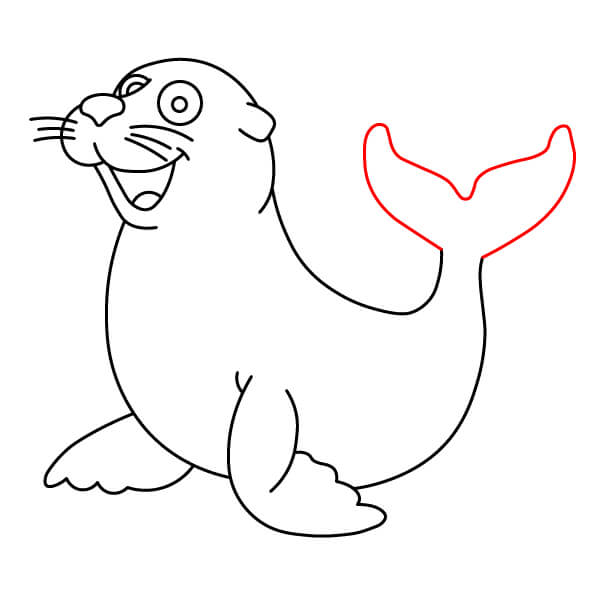
Draw two characteristic tail flippers, with two symmetrical, rounded lobes at the end of the body. They should resemble a mermaid's tail, with two symmetrical rounded lobes.
Coloring
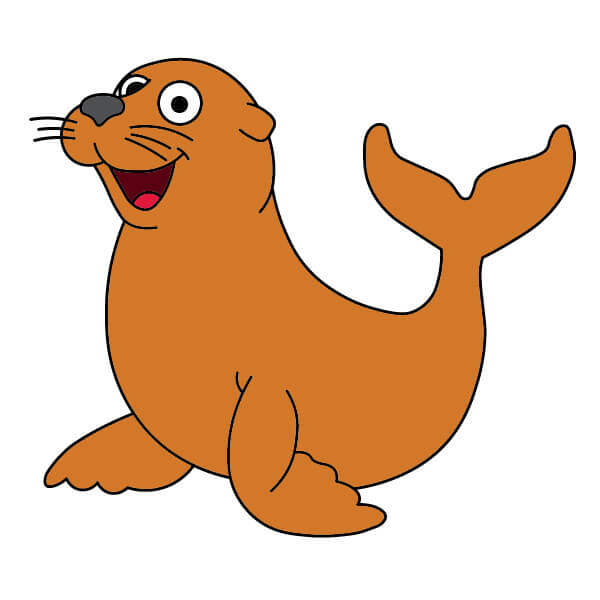
Color the entire sea lion body with a warm orange. Color the nose and eyes with a darker blue or black. Color the inside of the mouth with dark red, and the tongue with a lighter red.
Simple Steps to Draw a Sea Lion for Beginners and Kids
9 steps
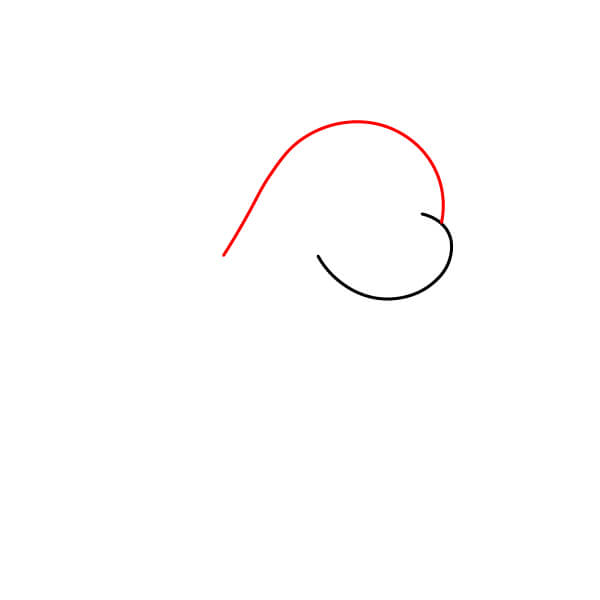
Muzzle Area
Start with a simple curve to form the front part of the head and the sea lion's muzzle.

Head Outline
Draw a large, smooth curve connecting to the first curve to form the rest of the head and the round muzzle/nose shape.
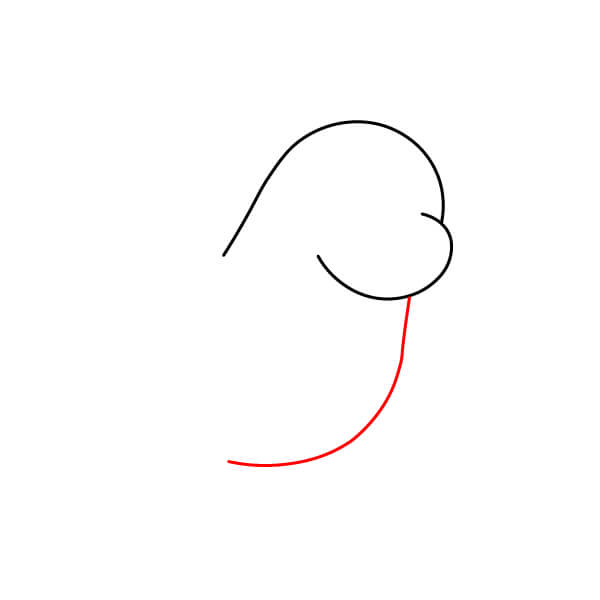
Lower Body Outline
Draw a long, simple curve extending down from the front of the head to define the front of the body and neck.
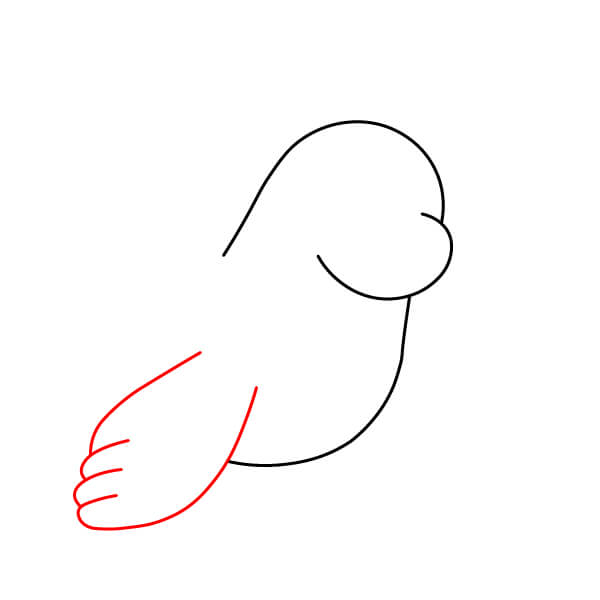
Left Front Flipper
Draw the left front flipper. This flipper is wide and flat, showing three distinct rounded fingers resting on the ground. Connect it to the body with a curve.
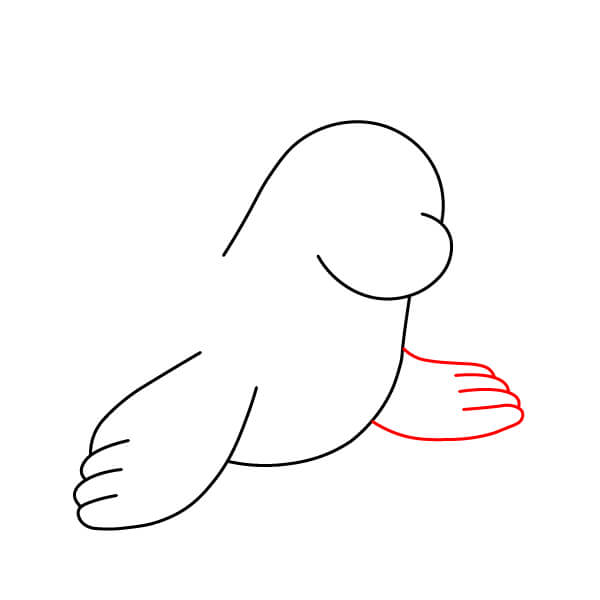
Right Front Flipper
Draw the right front flipper on the opposite side, shaped similarly to the left flipper but slightly angled forward.
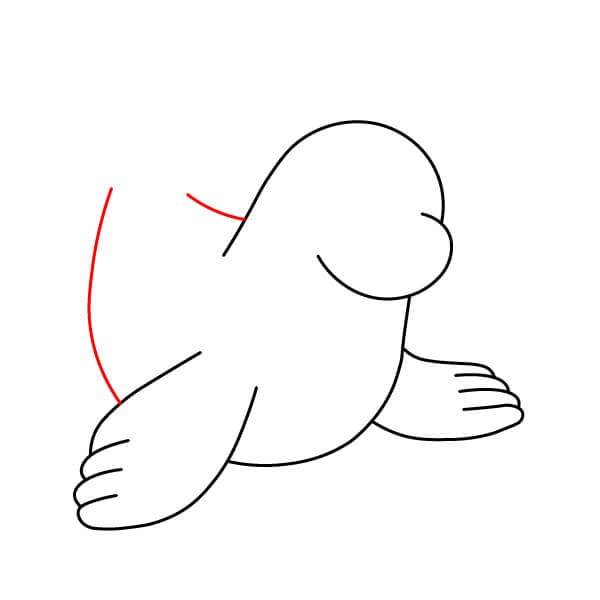
Rest of the Body Outline
Draw the outline of the rest of the body. Use a long curve starting near the left tail flipper, going up and connecting to the back of the head/neck area.
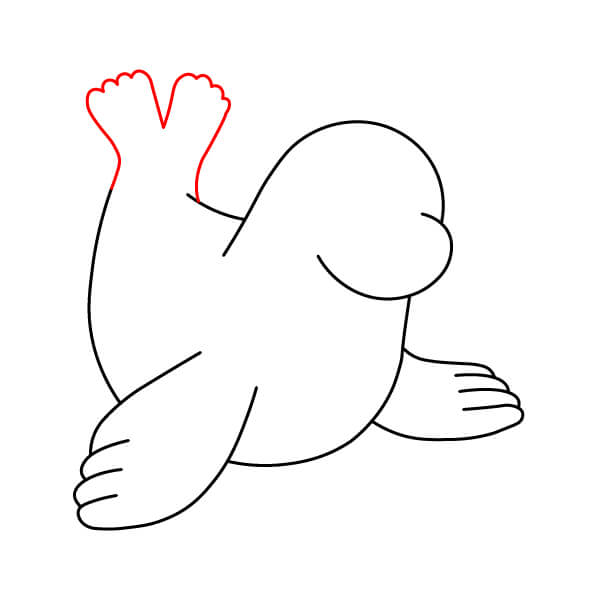
Tail Flipper
Draw the tail flipper. It is small, raised, and has two lobes, located on the upper back.
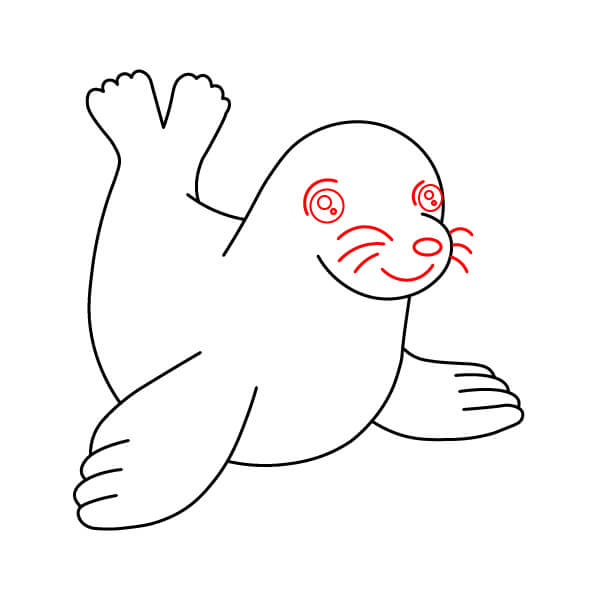
Face Details
Add facial features: Draw two eyes (round with pupils and highlights), a small nose/nostrils shape, a smiling mouth, and two pairs of short whiskers.
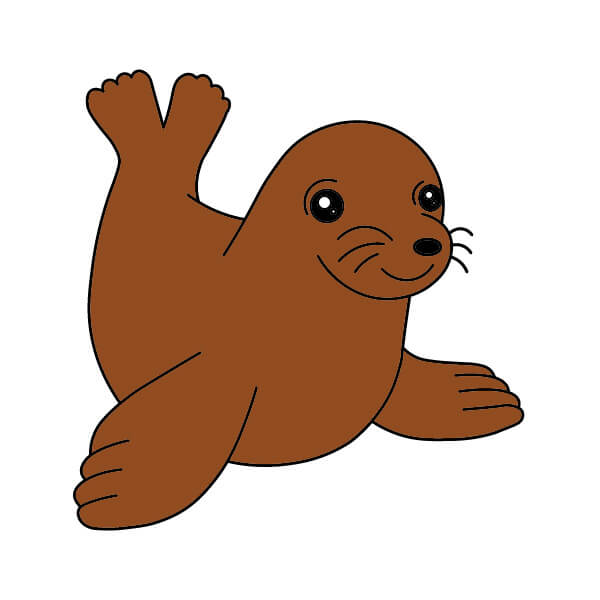
Coloring
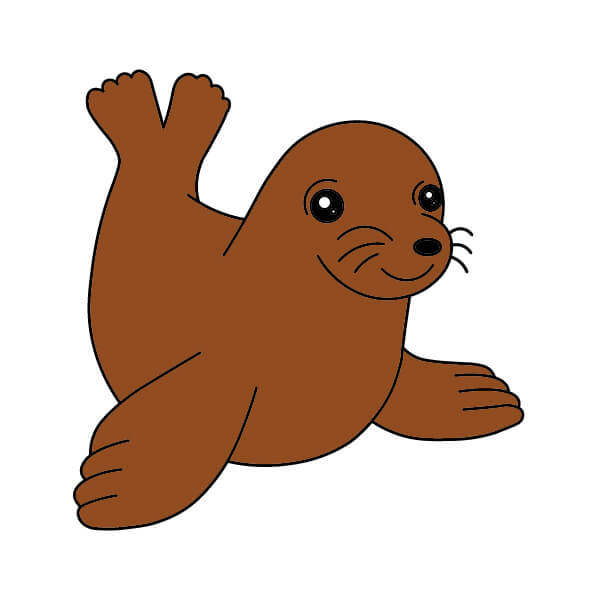
Color the sea lion with dark brown or gray. Use a lighter color for the inside of the mouth/tongue and black/white for the eyes and nose.
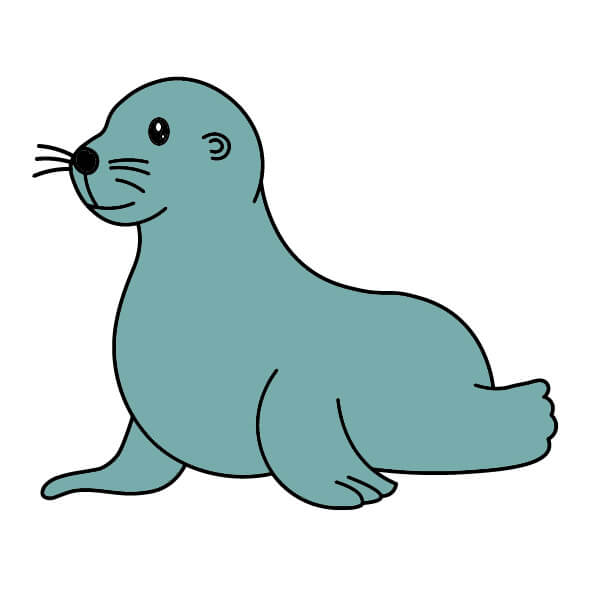
Kid-Friendly Sea Lion Drawing Lesson
9 steps
Sketch the Head
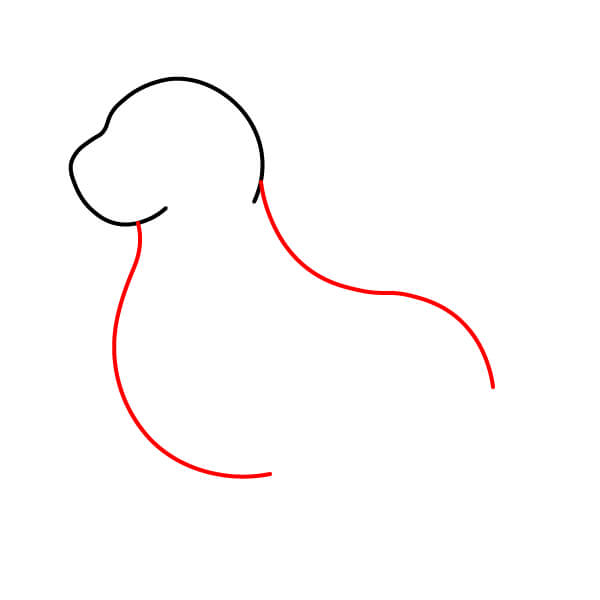
Start by drawing a large circle for the head and snout. It should resemble a simple, curved bean shape.

Sketch the Body
Draw two long, smooth curves extending from the head to form the neck and main body outline. The bottom line should curve wide to define the chest and belly.
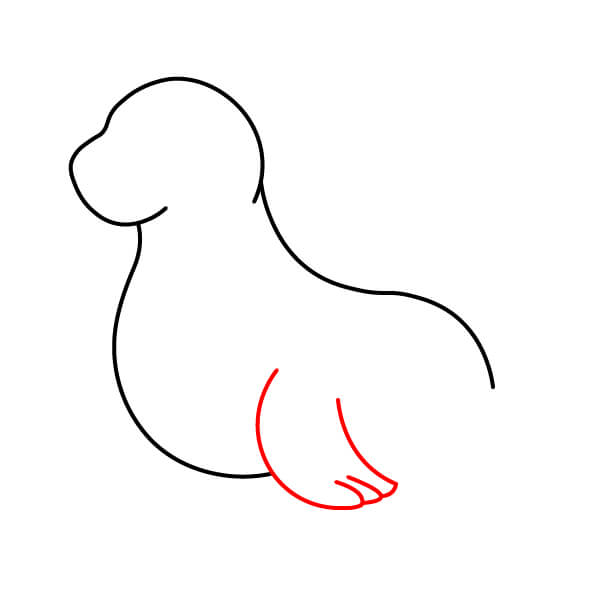
Right Front Flipper
Draw the right front flipper. This flipper is small and on the ground, showing three small, rounded fingers. Include a curve for the inner leg/chest area.
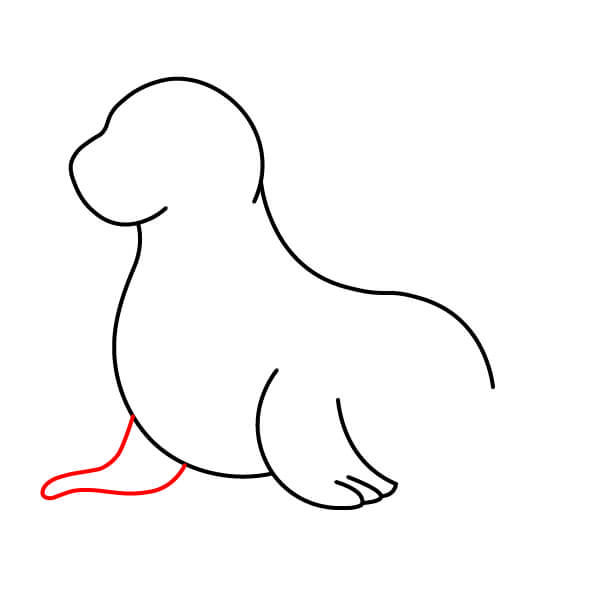
Left Front Flipper
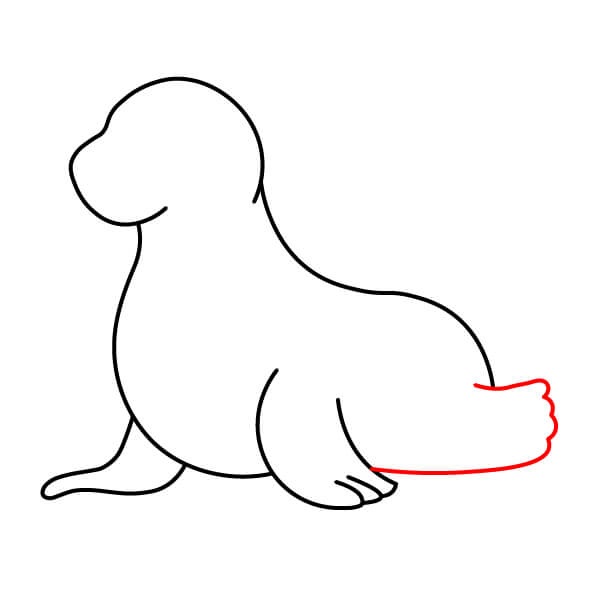
Draw the left front flipper. This flipper is drawn low on the left side of the body, looking long and flat on the ground.
Back Flipper
Draw the back flipper (tail). This flipper is drawn folded under the body, pointing outward, showing a rounded shape with a few small indentations like toes. Draw a line connecting the lower body to the two flippers.
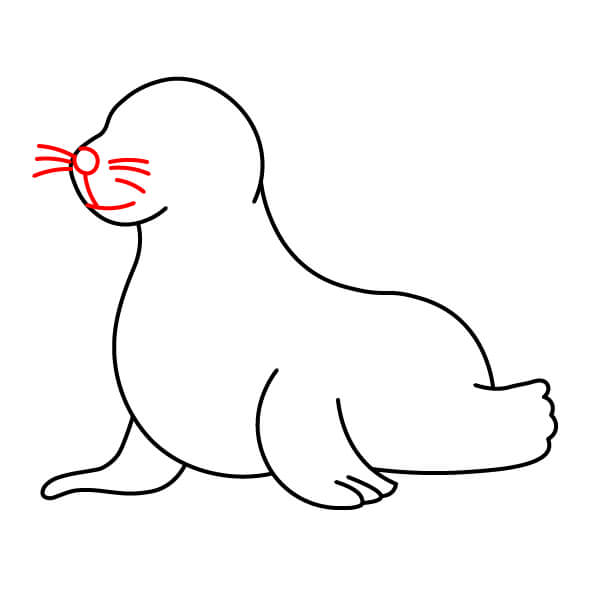
Face Details (Mouth, Nose, Whiskers)
Draw a small circle for the nose/nostrils near the snout. Add a simple curve below for a smiling mouth. Draw a few short straight lines extending from the snout area for whiskers.
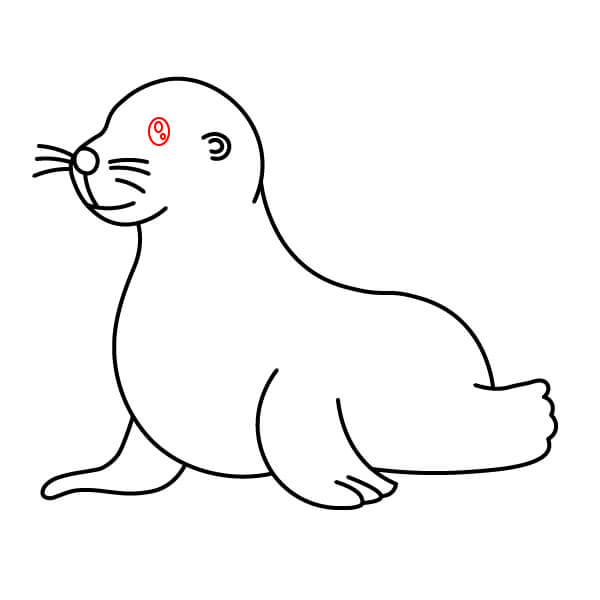
Eyes
Draw the eyes just above the snout. These should be small circles with a circle inside for the pupil/iris and a dot or small oval for a highlight.
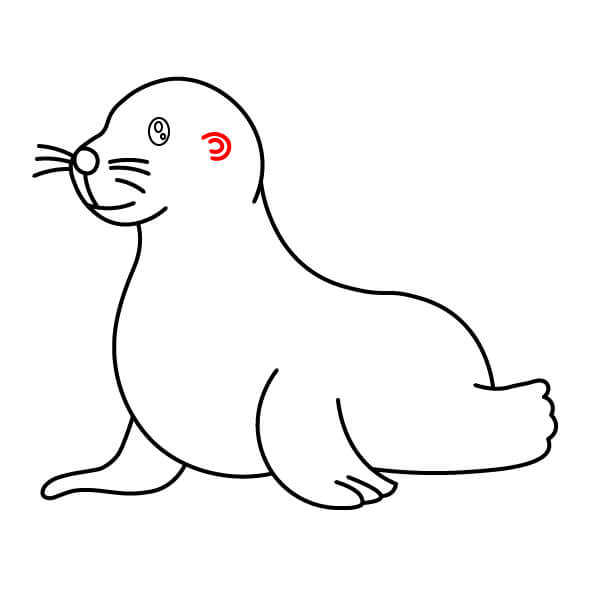
Coloring (Final Step)
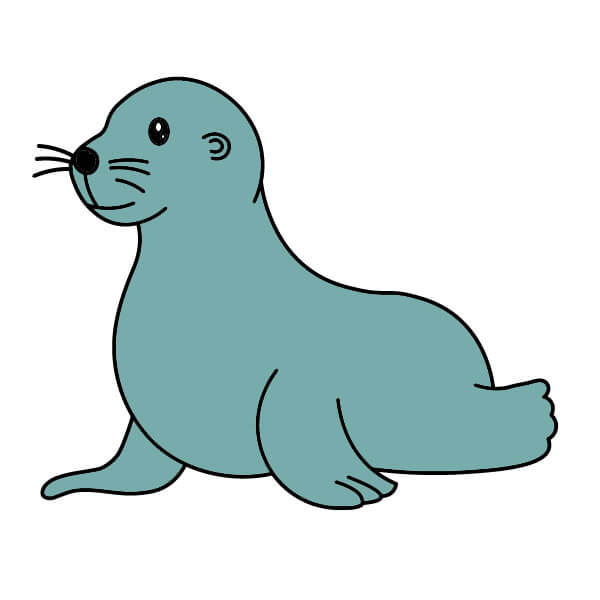
Color the sea lion a medium gray or teal. Use black for the nose, pupils, and whiskers.
▶Drawing tips
- Draw lightly with a pencil first, then darken the lines when you're satisfied.
- You don't need to draw exactly like the sample — add your own style!
- After finishing your drawing, you can color it directly on Tomau.AI to make it more vibrant.