How to Draw a Satellite
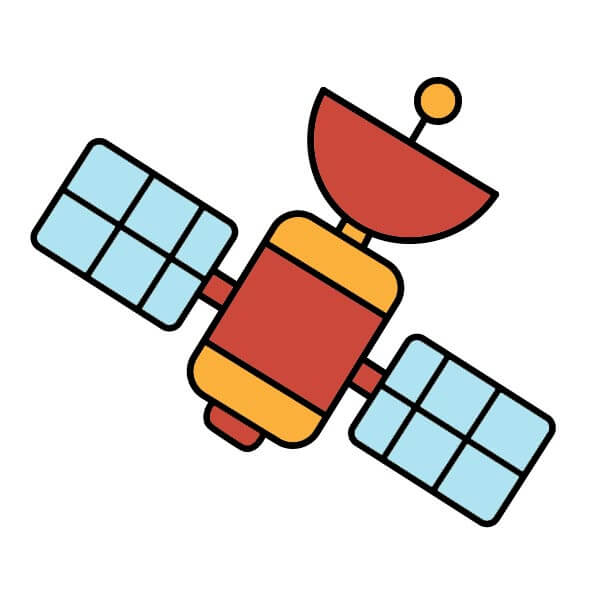
Want to learn how to draw how to draw a satellite? This tutorial will help you do it in just 36 simple steps, with clear illustrations for each step. Whether you're a beginner or experienced, the steps below are easy to understand and follow.
You just need a pencil, drawing paper, and an eraser — then start drawing step by step!
This lesson includes 4 different ways to draw. Choose the one that suits you best!
Simple Satellite Drawing Guide for Beginners
10 steps
Basic Shape
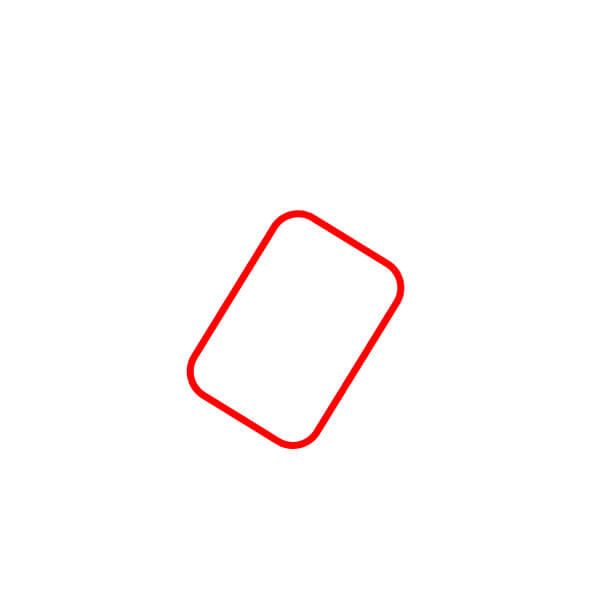
Start by drawing a slightly tilted rounded rectangle. This will be the main body of the satellite.
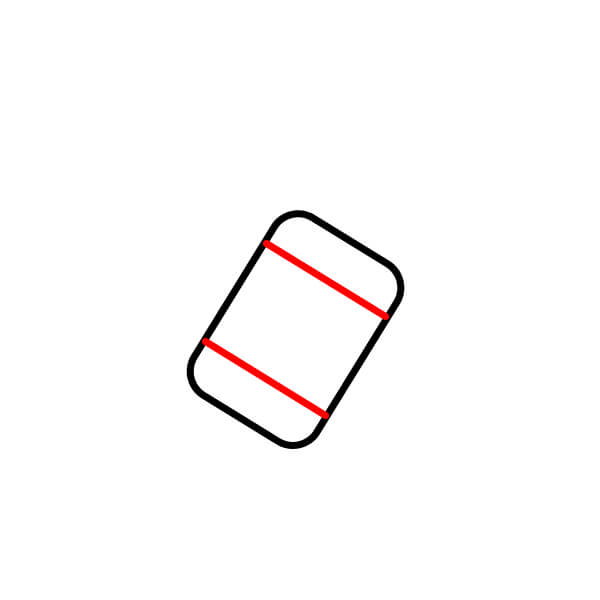
Divide the Main Body
Draw two horizontal parallel lines across the rounded rectangle. These lines will divide the main body into three parts.
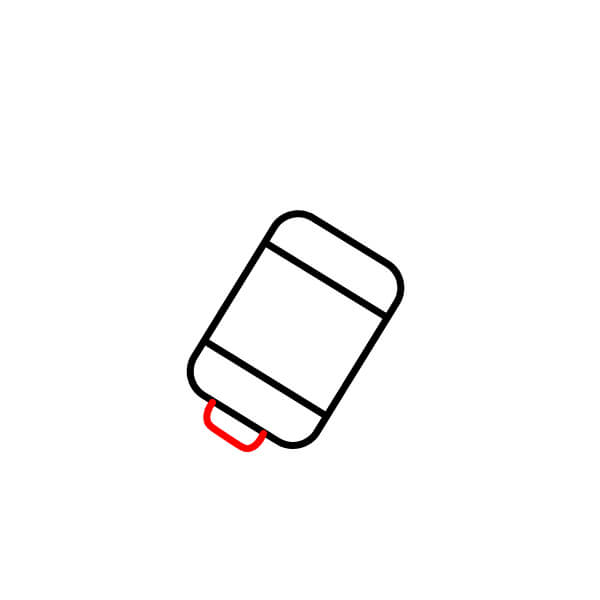
Bottom Detail
Draw a small upside-down U shape protruding from the bottom left of the main body.
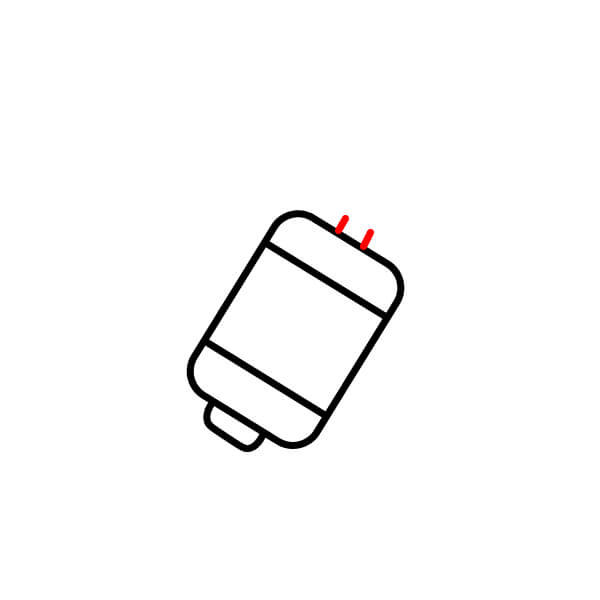
Start Drawing the Satellite Antenna
From the top right of the main body, draw a straight line going up, then draw a half-circle facing down connected to that line. This will be the top part of the satellite antenna.
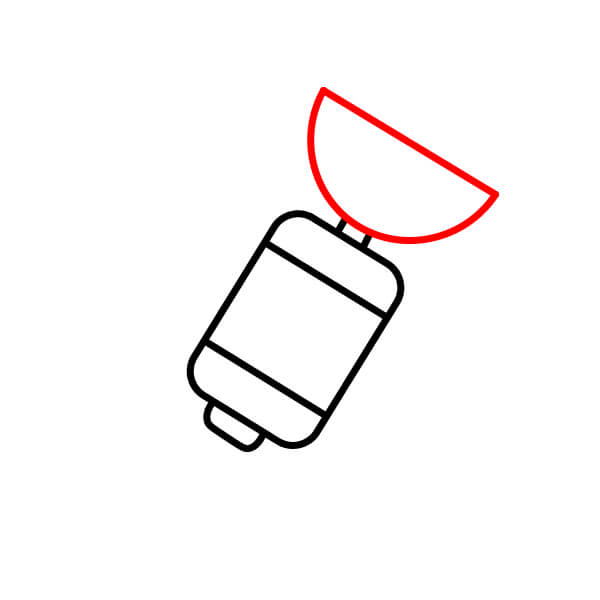
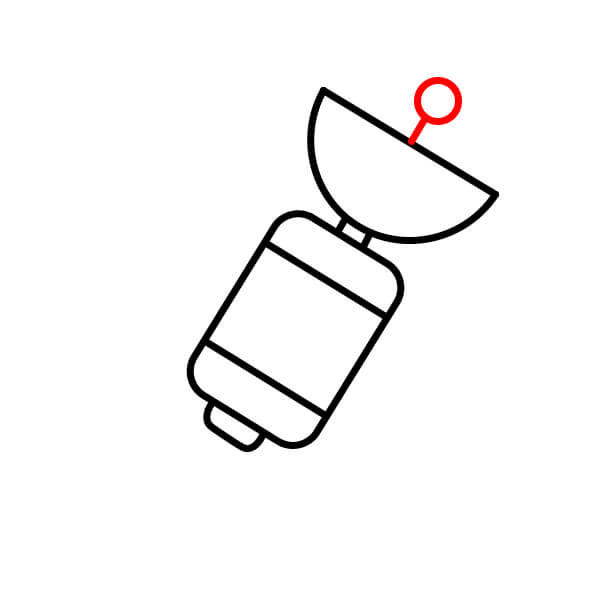
Complete the Satellite Antenna
Draw a small circle at the very top of the line you drew in the previous step.
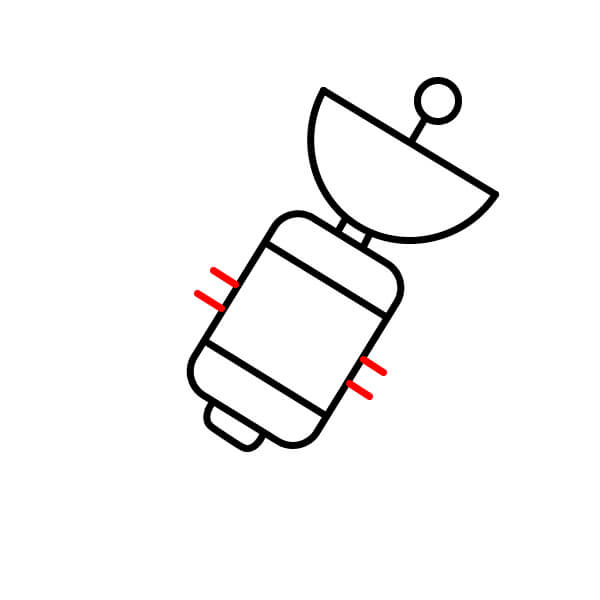
Side Extensions
Draw two small parallel lines protruding from the middle of each side of the main body. These will be the connection points for the solar panels.
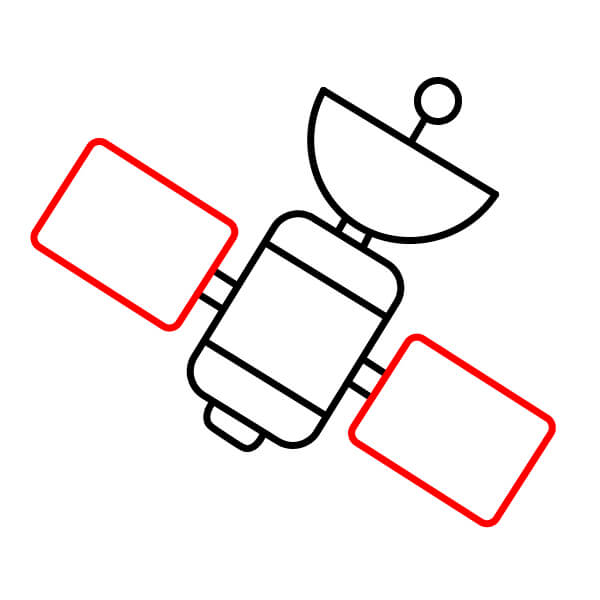
Start Drawing the Solar Panels
From each pair of parallel lines you drew in the previous step, draw a large rounded rectangle. This will be the frame for the solar panels.
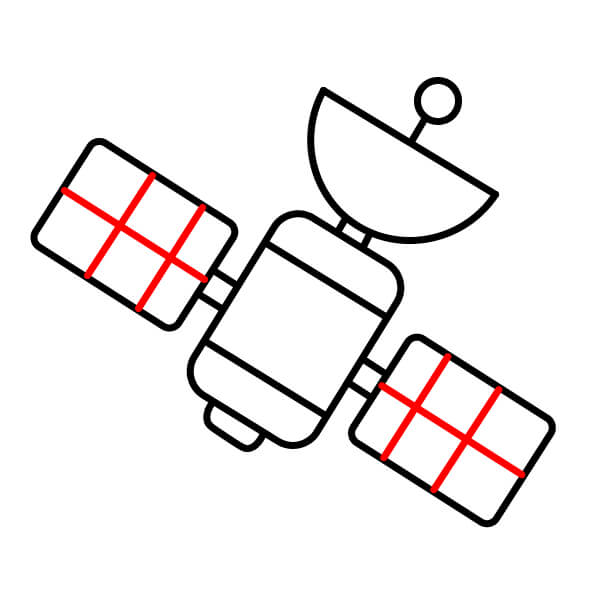
Solar Panel Detail
On each large rounded rectangle, draw two vertical lines and two horizontal lines to create a grid, simulating the cells of the solar panel.
Coloring
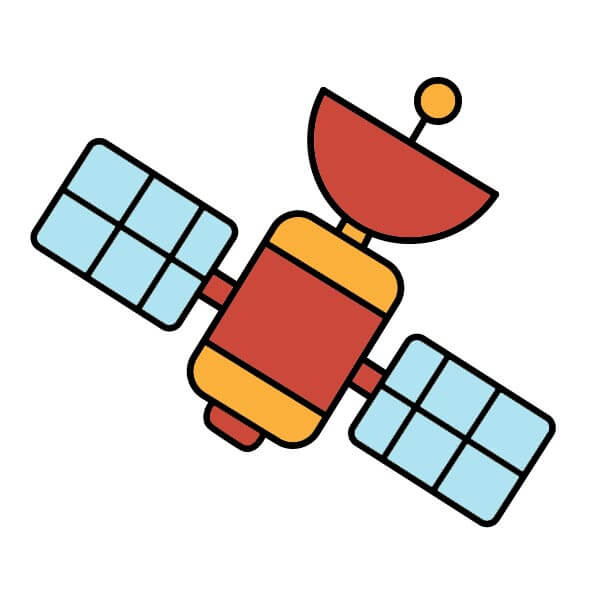
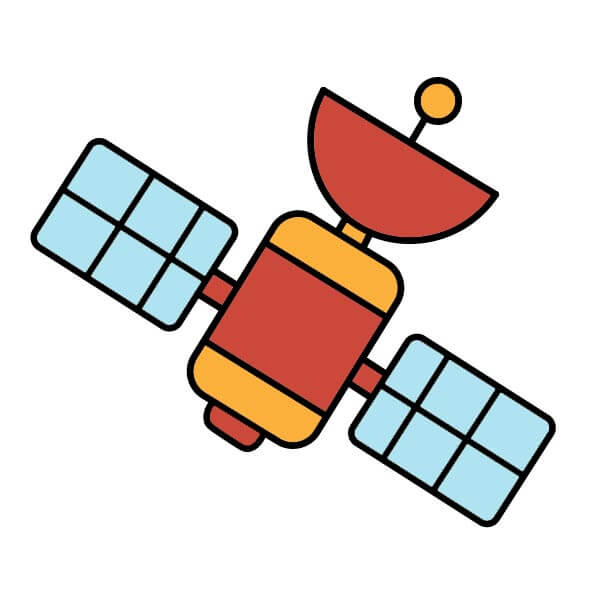
Now that you have completed the outline, color the satellite! The main body is orange-red with yellow stripes, the satellite dish is orange-red, and the solar panels are light blue.
Step-by-Step Satellite Drawing Guide for Kids
9 steps
Basic Shape of the Satellite Body
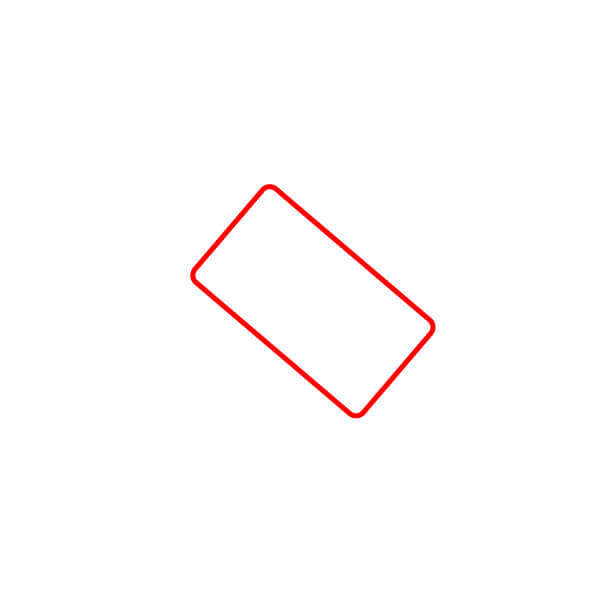
Start by drawing a slightly tilted rounded rectangle. This is the main body of the satellite.
Central Sensor/Camera
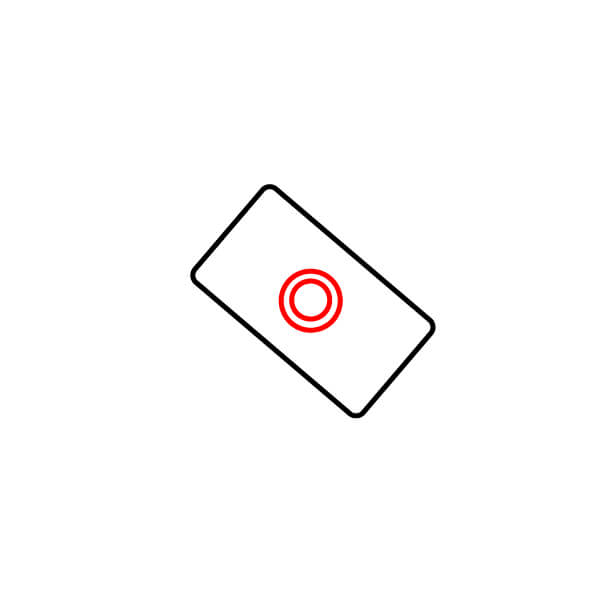
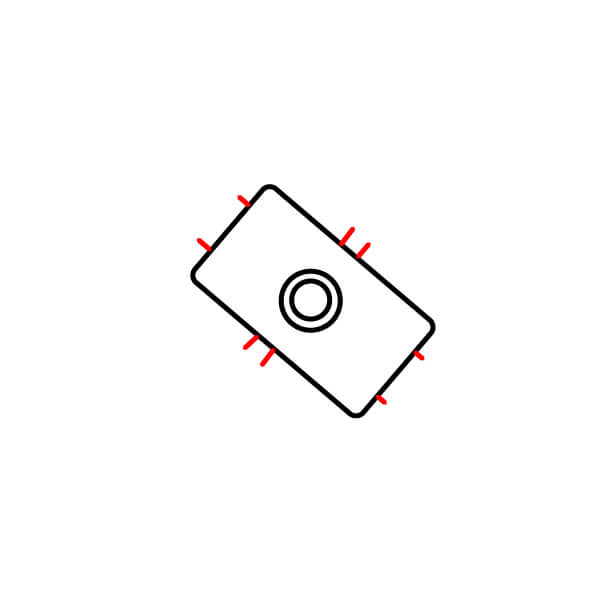
Draw two concentric circles (a small circle inside a larger one) in the center of the satellite body.
Antennas and Side Connectors
Draw four short antennas protruding from the top/bottom edges of the satellite body, and two short connectors on each side.
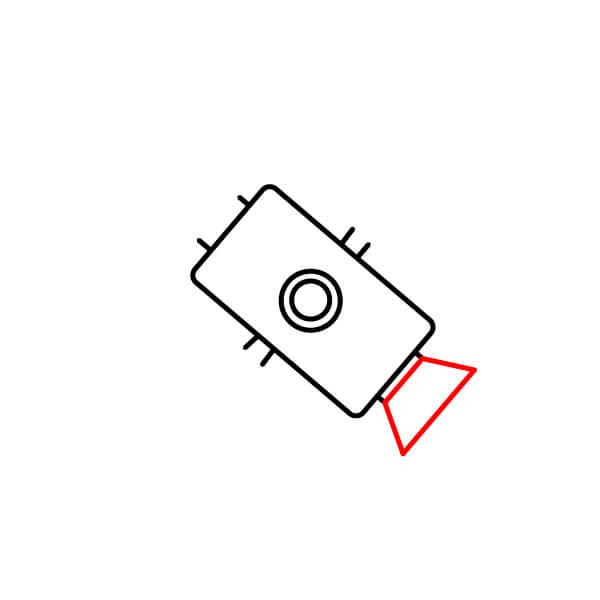
Exhaust/Camera
Draw a trapezoid protruding from the lower right side of the satellite body to represent the camera or exhaust.
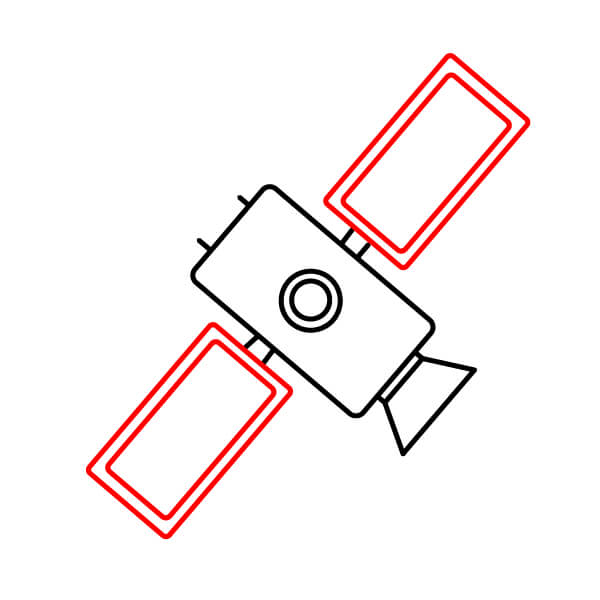
Frame and Solar Panel Supports
Draw two large rounded rectangles (solar panel frame) attached to the upper connectors of the satellite body.
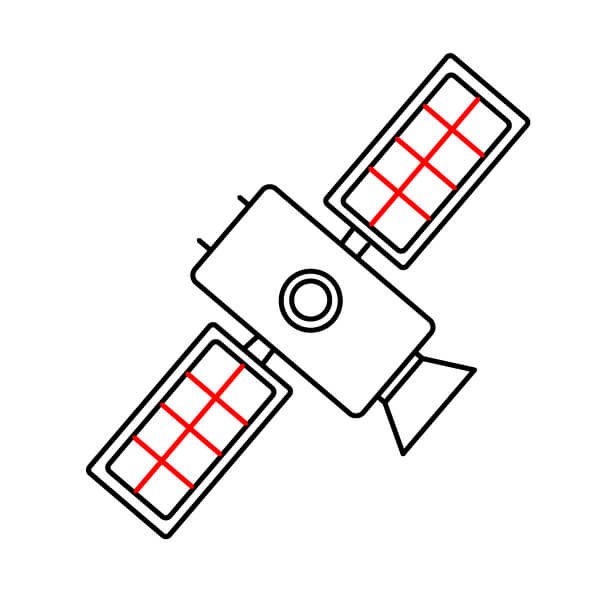
Solar Panel Grid
Add grid lines (horizontal and vertical) inside the solar panel frame to create cells.
Transceiver Antenna
Draw a shallow, wide semicircle on the upper left side of the body to represent the main transceiver antenna.
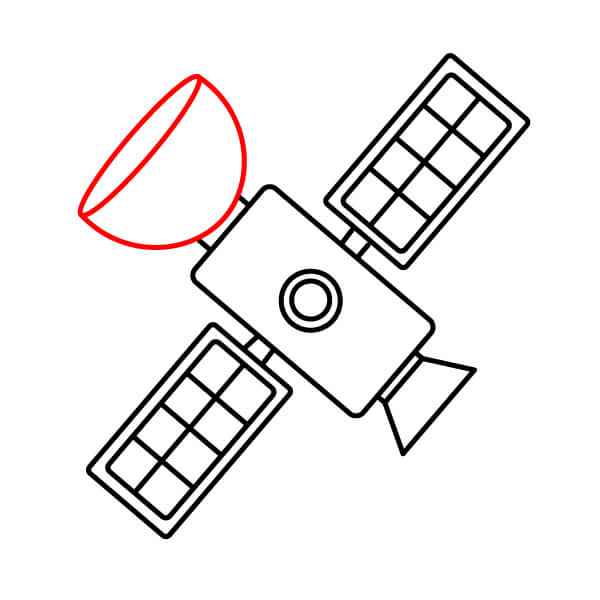
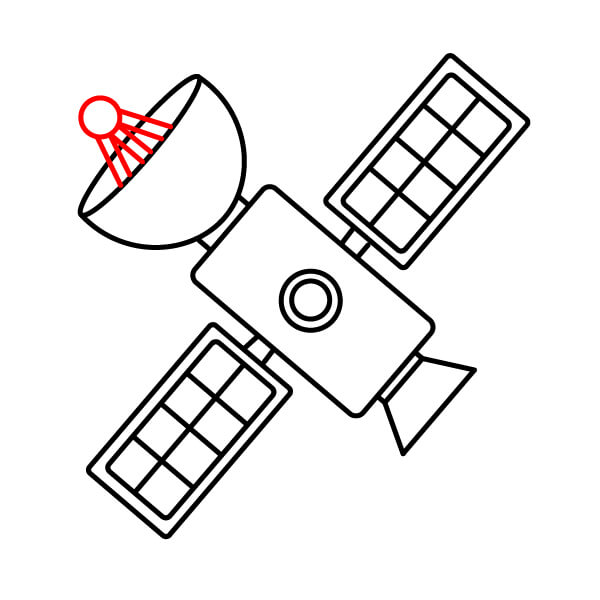
Antenna
Inside the antenna, draw a small circle and a few straight lines radiating from it down to the center of the antenna.
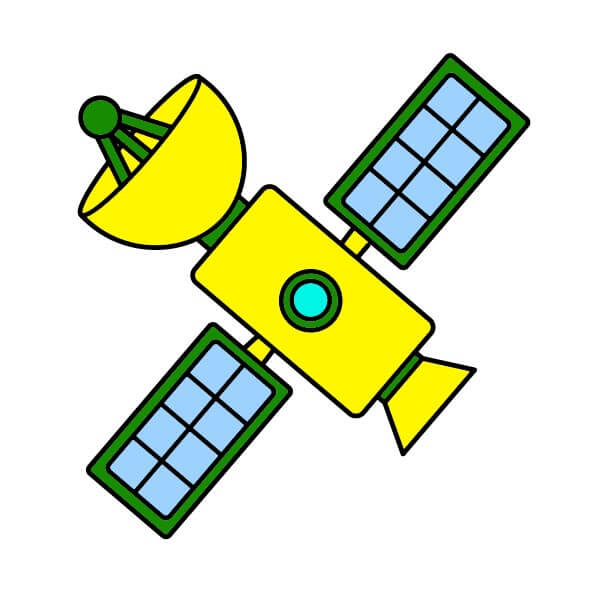
Coloring
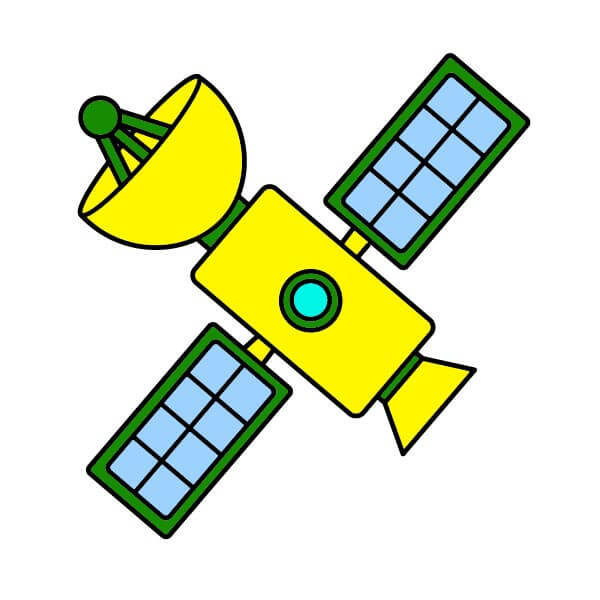
Color the satellite. The body and nozzle are yellow, antennas are yellow with green antennas, the central sensor is blue/teal, and the solar panels are light blue with a dark green frame.
Simple Space Satellite Drawing for Kids
9 steps
Basic Shape of the Satellite Body
Start by drawing a slightly tilted, rounded square or diamond shape. This is the main body of the satellite.

Central Sensor/Camera
Draw two concentric circles (a small circle inside a larger one) in the center of the satellite body.

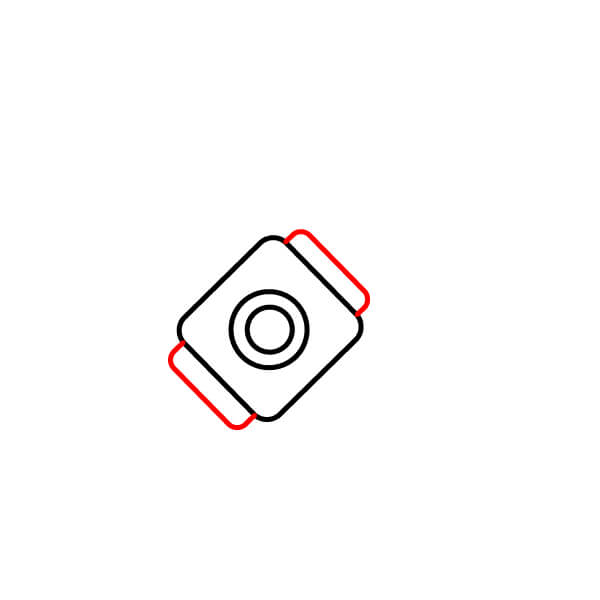
Side Details
Draw a small rounded rectangle protruding from the upper right and lower left edges of the main body. These can be connectors or smaller auxiliary devices.
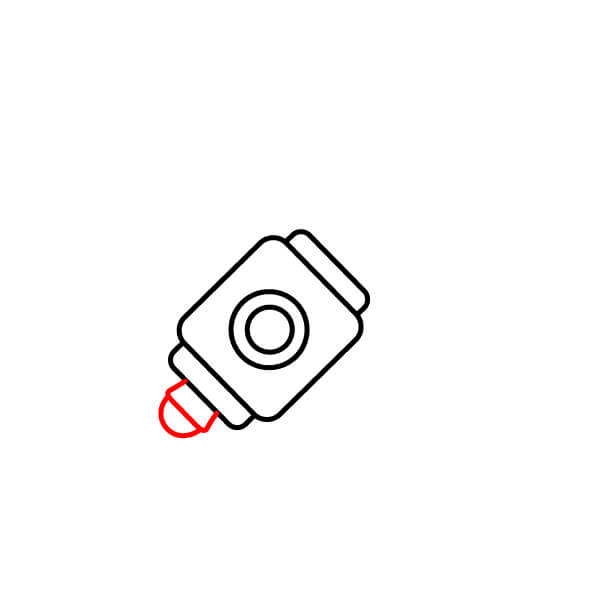
Thruster/Nozzle at the Bottom
Draw a series of small, rounded concentric shapes extending from the bottom of the satellite body, ending with a small curve, to represent the thruster or engine nozzle.
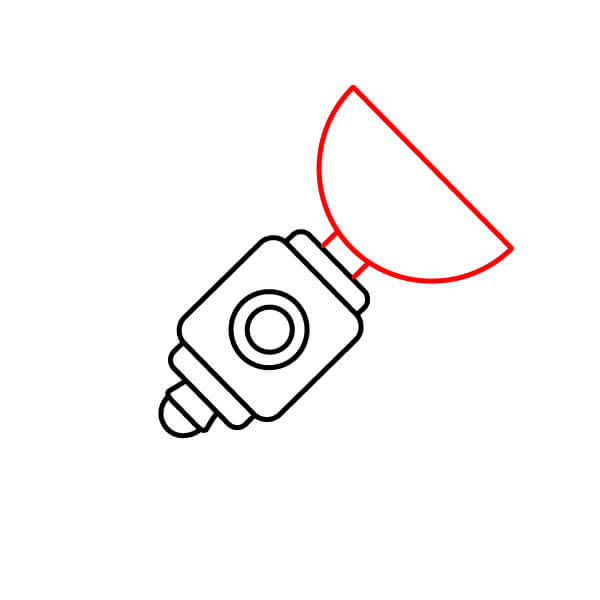
Start Drawing the Antenna
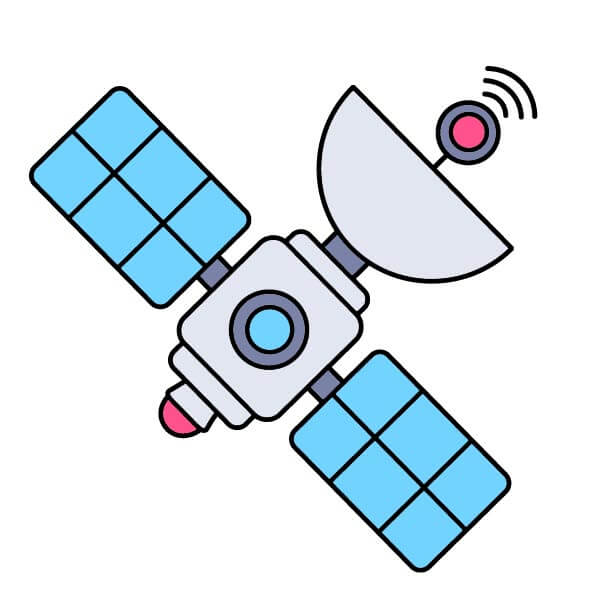
Draw a straight line from the upper right of the satellite body upwards and attach a large semicircle facing downwards (main communication antenna) to it.
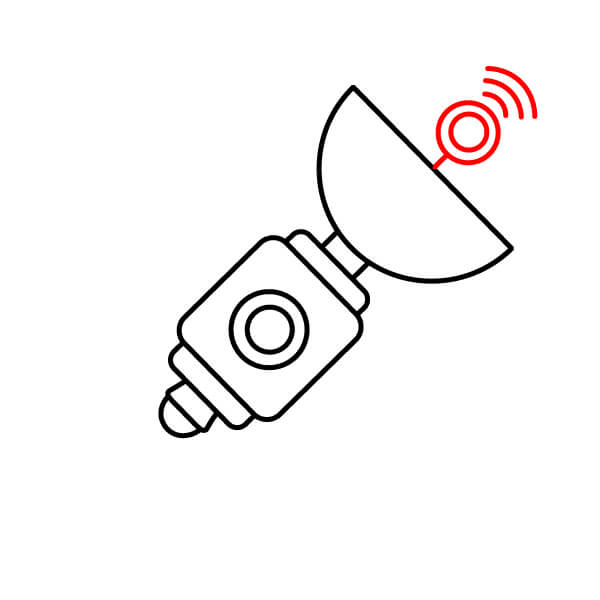
Antenna and Signal
Draw a small circle on a short straight line extending from the center of the antenna. Add three concentric arcs near the circle to represent the signal being transmitted.
Solar Panel Connection Points
Draw two small parallel lines protruding from the upper left and lower right edges of the main body (where the side details from Step 3 are). These are the attachment points for the solar panels.
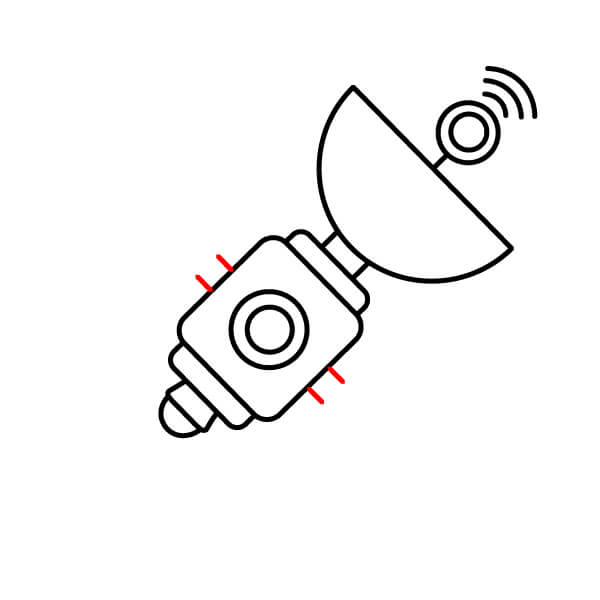
Solar Panels
Attach a large rounded rectangle to each attachment point. Draw a grid (horizontal and vertical lines) inside each rectangle to represent the details of the photovoltaic cells.
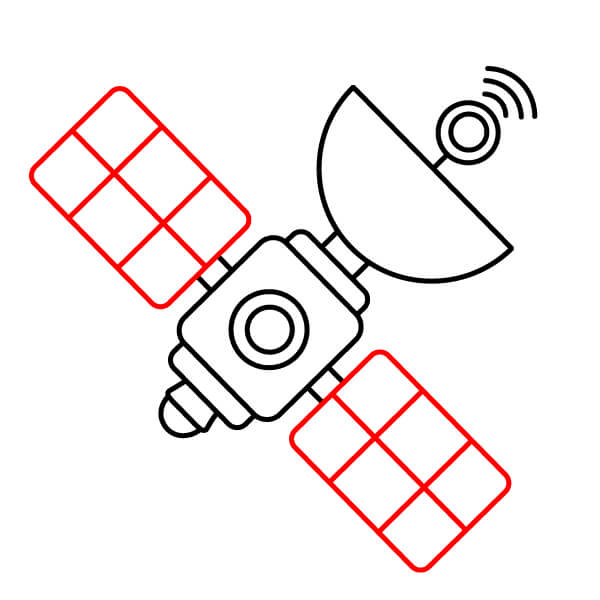
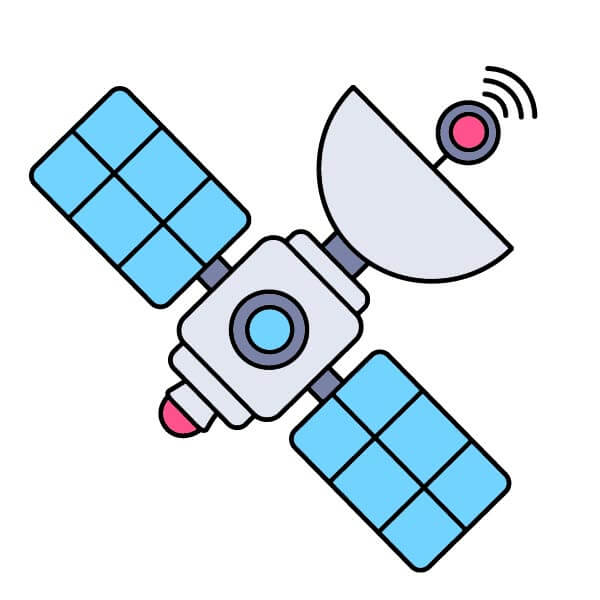
Coloring
Color the satellite. The main body and the receiving dish are light gray/pale purple. The central sensor and antenna circle have blue and pink highlights. The solar panels are light blue with a light gray frame.
Learn to Draw a Cool Satellite – Fun Drawing Lesson
8 steps
Basic Body Segments
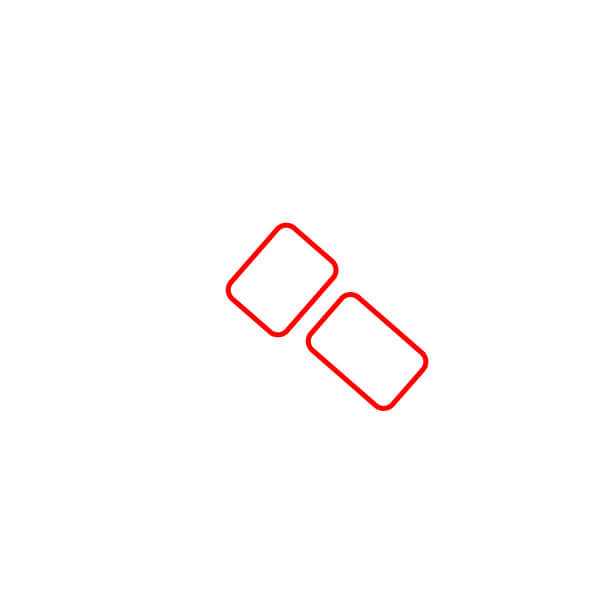
Start by drawing two slightly tilted rounded rectangles. The left one is a bit squarer, and the right one is more rectangular. They should be placed close together.
Connecting Lines and End Details
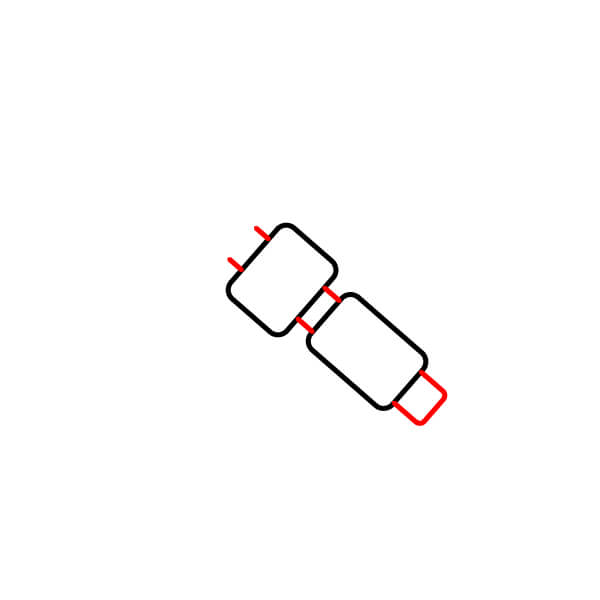
Connect the two body segments with two parallel horizontal lines. Add two small vertical lines at the top left of the squarer segment, and a small rounded U shape at the bottom right of the rectangular segment.
Start Drawing the Antenna
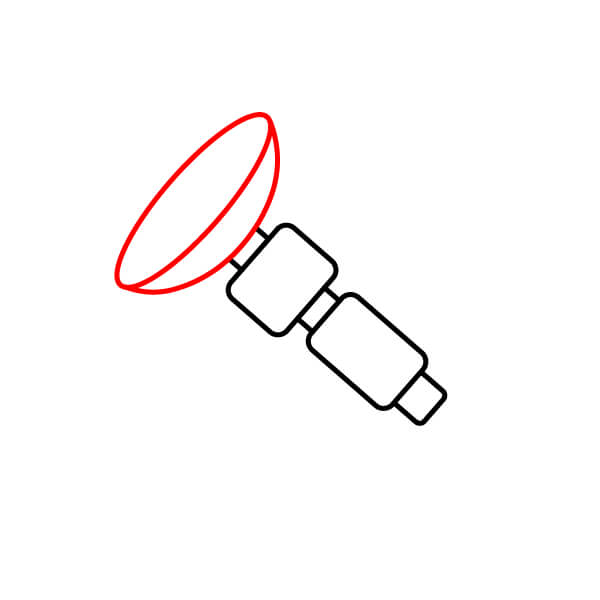
From the top of the squarer body segment, draw a short line going upwards. Then draw a large horizontal oval to make it look like a parabolic antenna.
Parabolic Antenna and Support
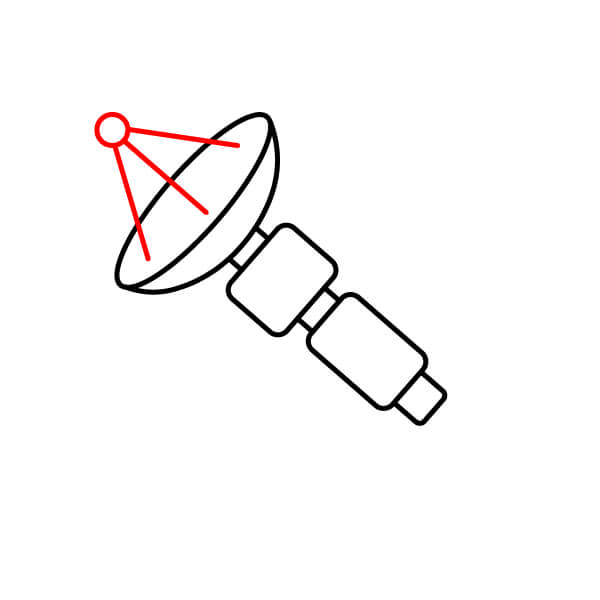
In the middle of the antenna, draw a small circle with a dot in the center. Connect this circle to the edges of the antenna with three straight lines.
Connecting Solar Panels
Draw two short horizontal lines extending from the middle of the left edge of the square body, and two similar lines from the middle of the right edge of the rectangular body.
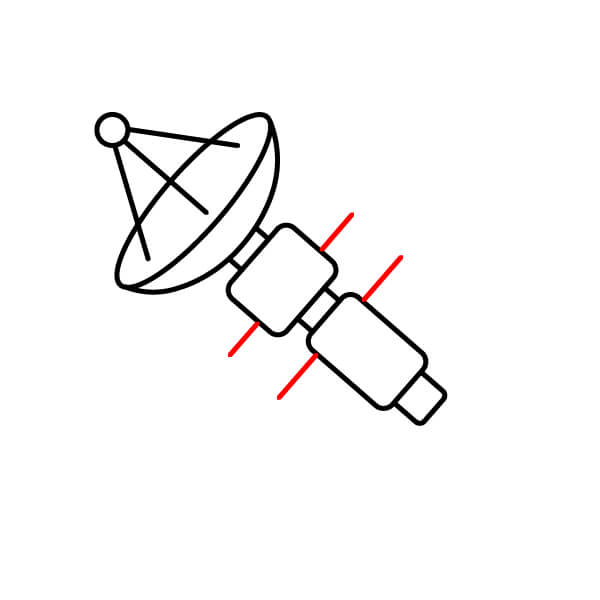
Solar Panel Frame
Attach a large rounded rectangle to each pair of lines from the previous step. These are the frames for the solar panels.
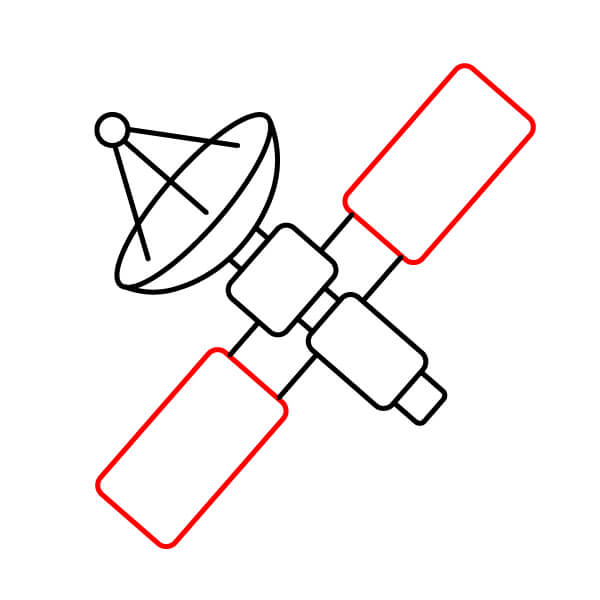
Solar Panel Grid
Add details to the solar panels by drawing a grid (horizontal and vertical lines) inside each frame.
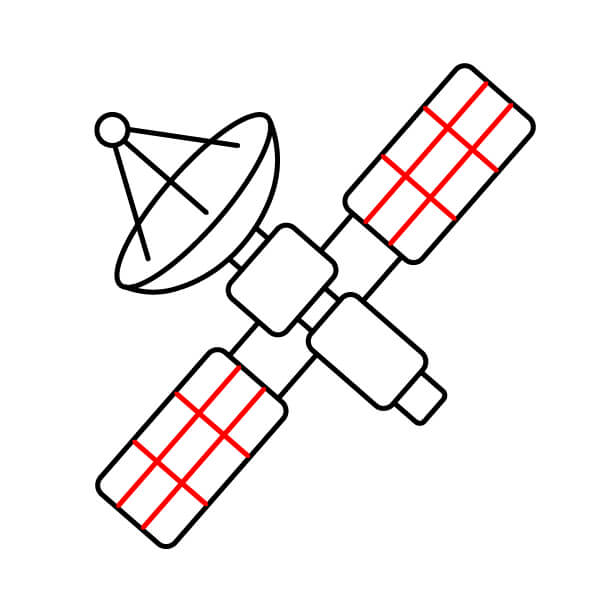
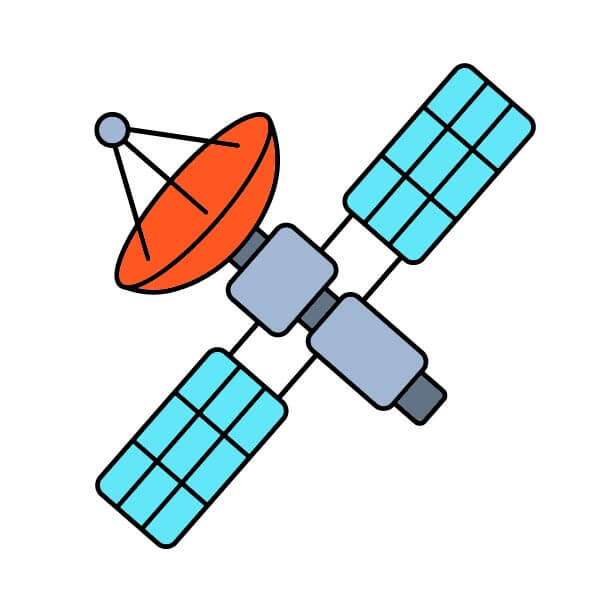
Coloring
Color the satellite. The body segments are light gray. The dish is orange with a light gray antenna. The solar panels are light blue.
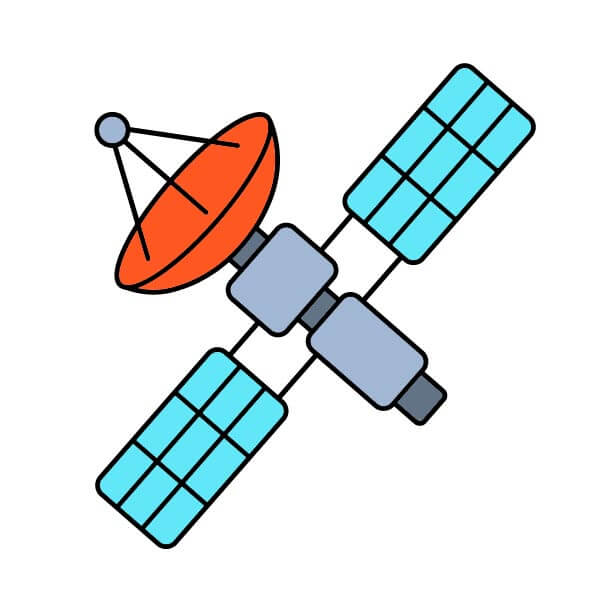
▶Drawing tips
- Draw lightly with a pencil first, then darken the lines when you're satisfied.
- You don't need to draw exactly like the sample — add your own style!
- After finishing your drawing, you can color it directly on Tomau.AI to make it more vibrant.