How to Draw a Window
Want to learn how to draw how to draw a window? This tutorial will help you do it in just 33 simple steps, with clear illustrations for each step. Whether you're a beginner or experienced, the steps below are easy to understand and follow.
You just need a pencil, drawing paper, and an eraser — then start drawing step by step!
This lesson includes 4 different ways to draw. Choose the one that suits you best!
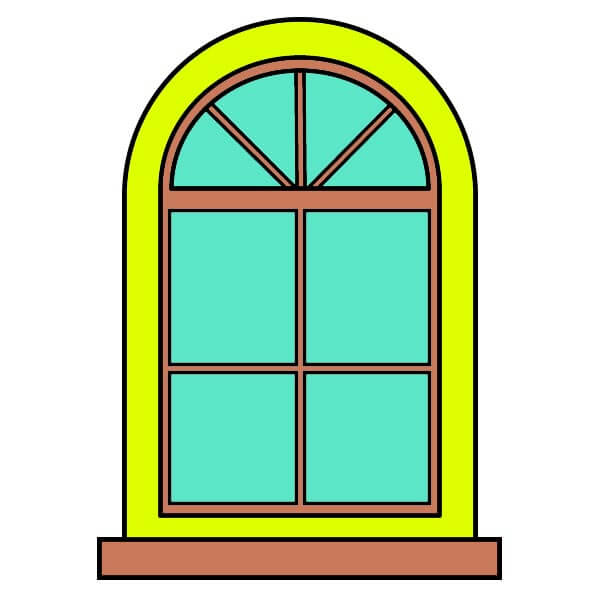
How to Draw a Window Step by Step for Kids
7 steps

Step 2
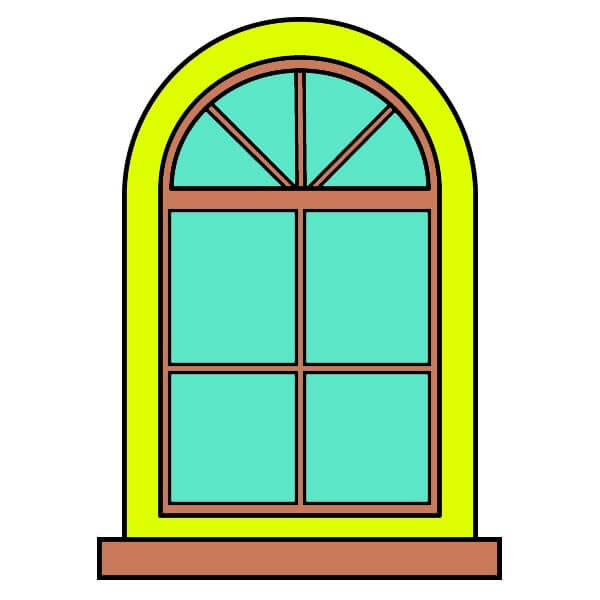
Above the rectangle in Step 1, draw a vertical line extending upwards. Connect the top of the vertical line to a half red circle to form an arch. This outlines the basic shape of the window.
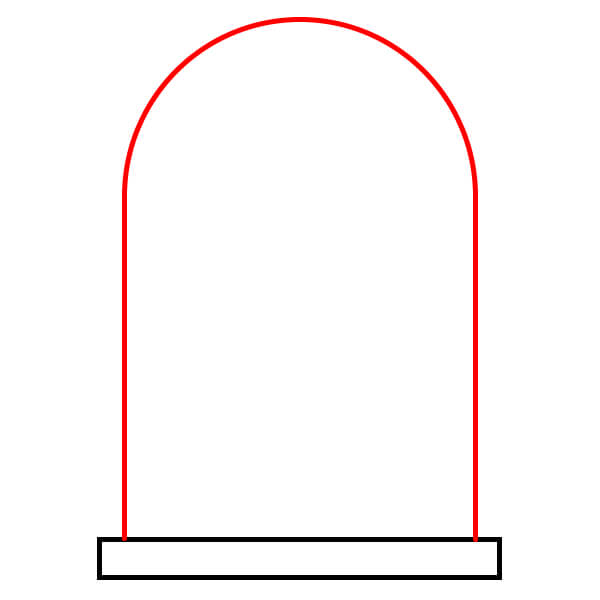
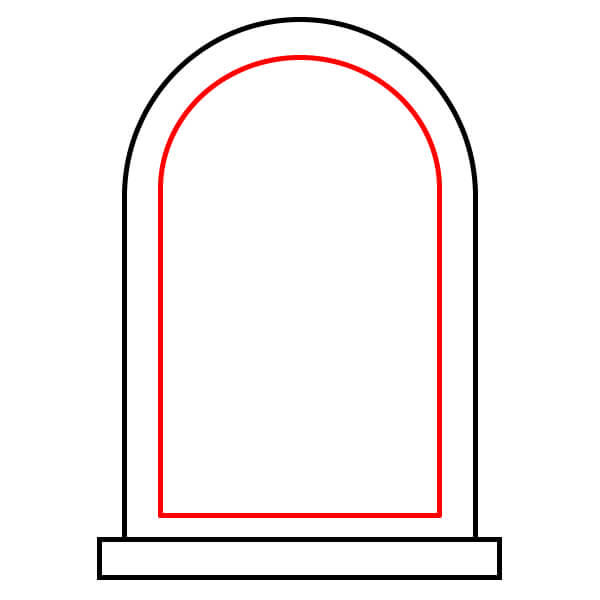
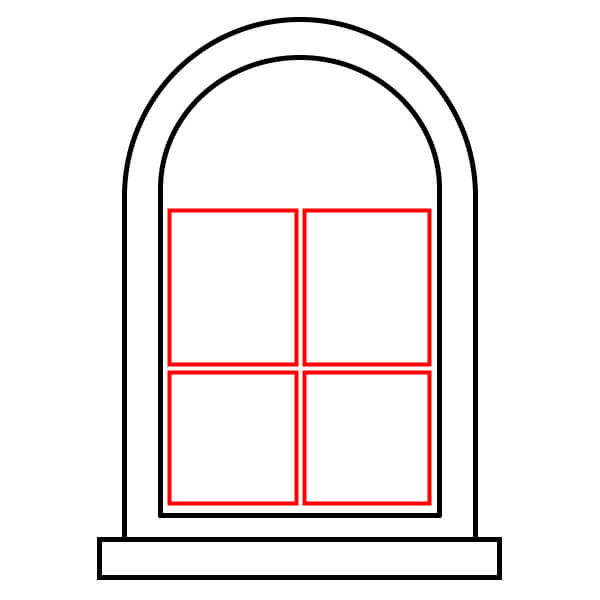
Step 5
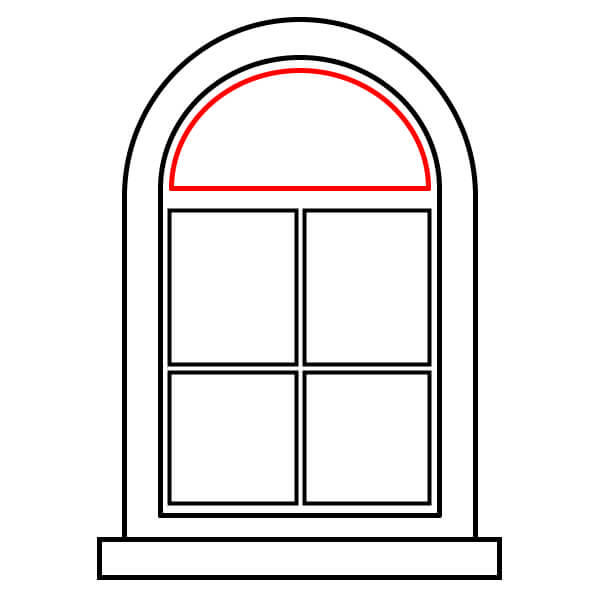
At the curved top of the window, draw a half circle to create the upper glass pane of the window.
Step 6
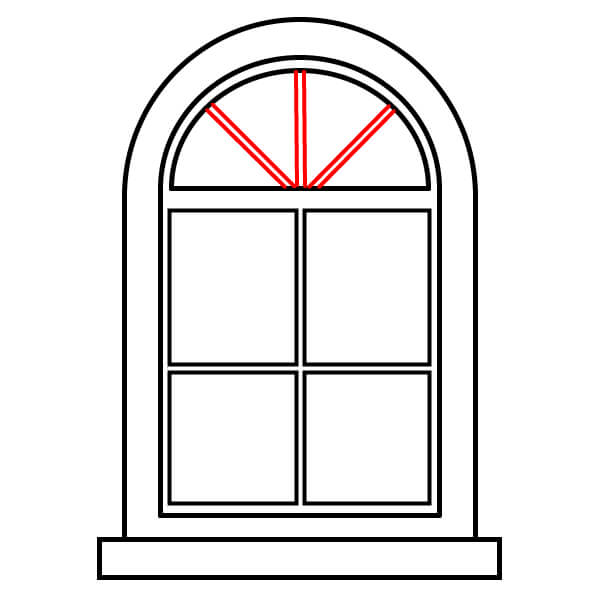
Draw three straight lines radiating down from the top center of the arch. These lines should extend until they meet the horizontal line, forming a fan shape at the top of the window.
Step 7
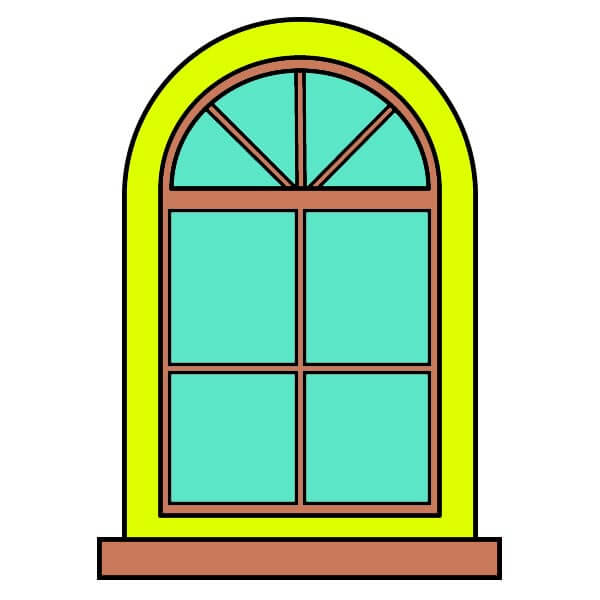
Color the drawing. Paint the outer frame bright yellow. Color the inner frame and base light brown. Color the four rectangular glass panes and the fan shape on the arch light blue. The arched window is now complete.
Simple Window Drawing Guide for Beginners
9 steps
Step 1
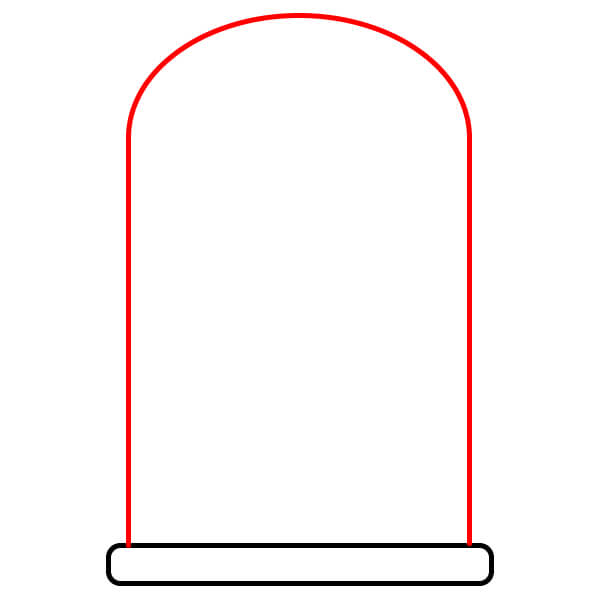
Start by drawing a horizontal rectangle. This rectangle will be the base of the window.

Step 2
Above the rectangle, draw two vertical lines going upwards. Connect the tops of these two vertical lines with a semicircle to form an arch.
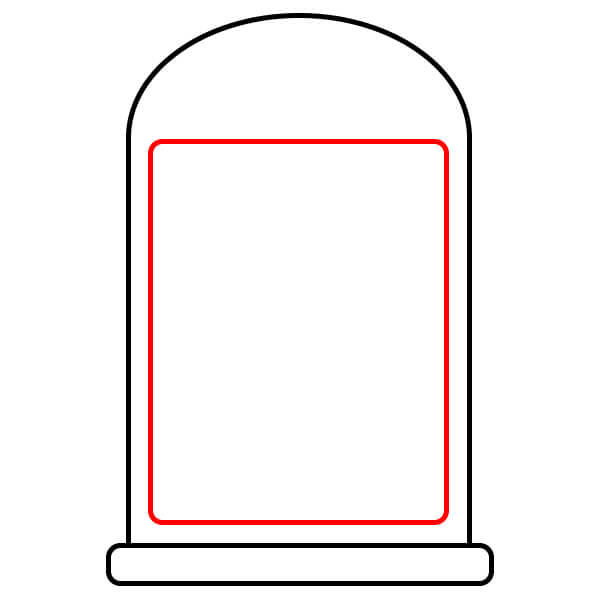
Step 4
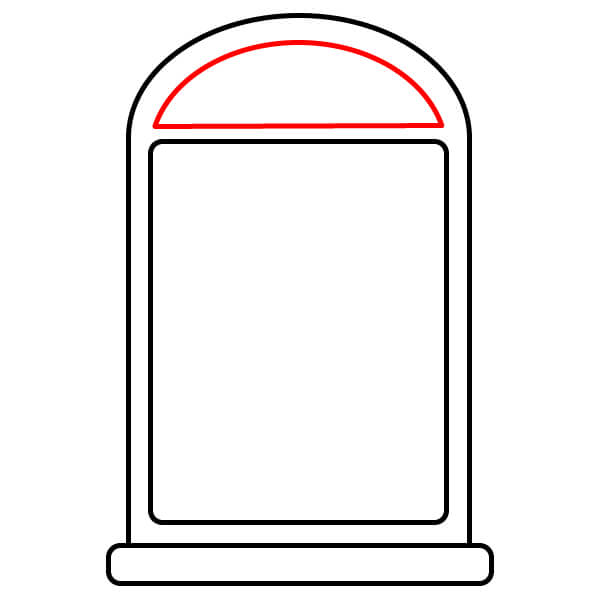
Inside the curved top of the window, draw a horizontal line and a half circle. This will create a distinct section at the top of the window.
Step 5
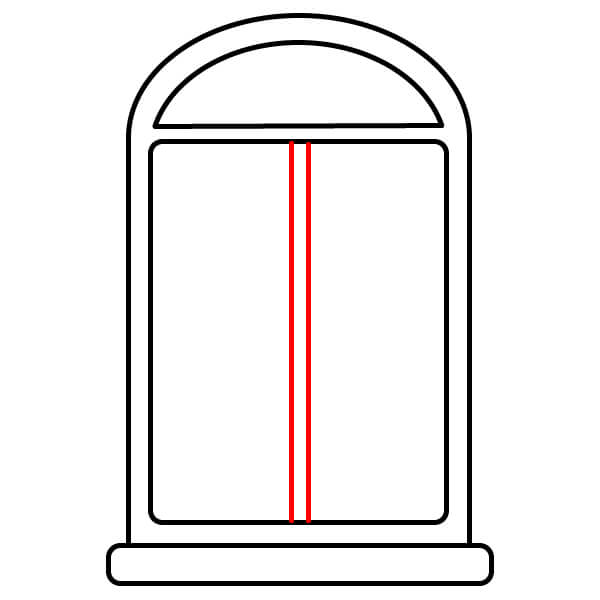
Draw a vertical line in the middle of the main window, below the arch. This line divides the window into two long rectangular panes.
Step 6
Add two horizontal lines, each in one of the long window panes, to divide them horizontally. The result is four rectangular window panes in the main part of the window.
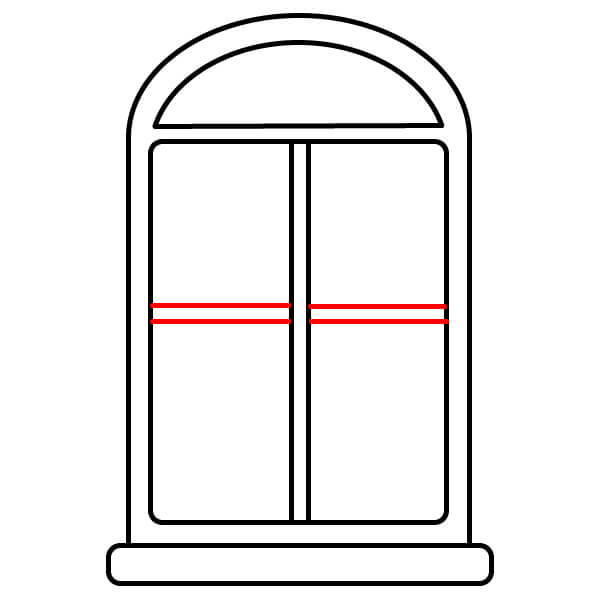
Step 7
Draw two short horizontal lines, each on the sides of the two bottom glass panes. These lines will be the curtain attachment points.
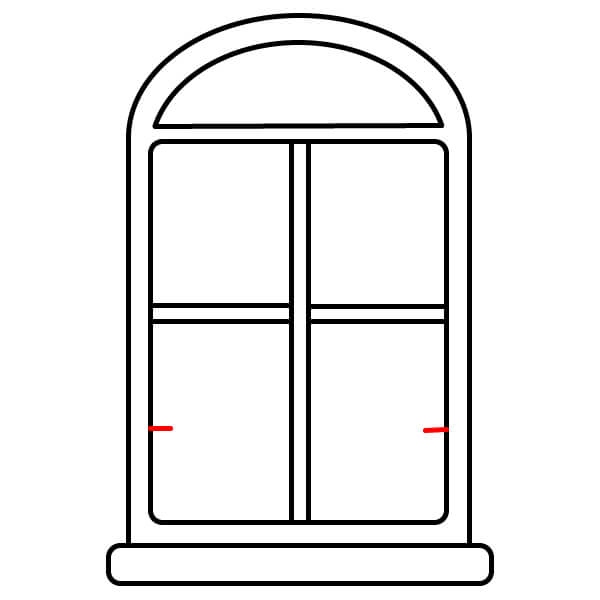
Step 8
Draw the curtains. On the two top glass panes, draw two wavy lines starting from the top and curving inward towards the center. On the two bottom glass panes, draw two wavy lines starting from the sides and curving inward, creating a tied effect at the bottom of the window.
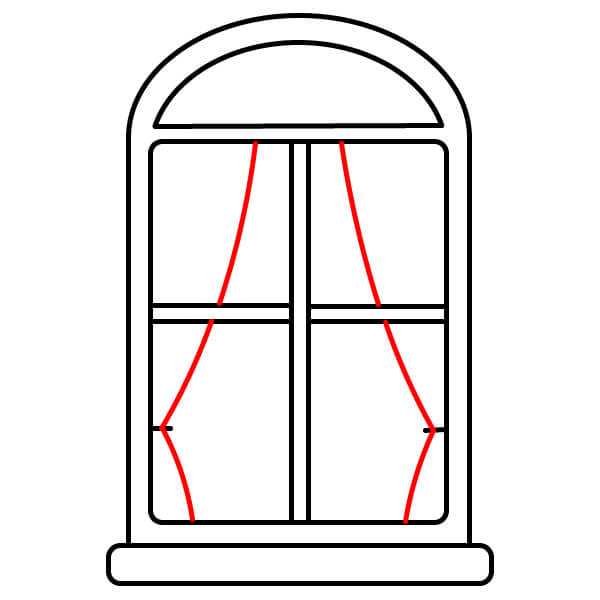
Step 9
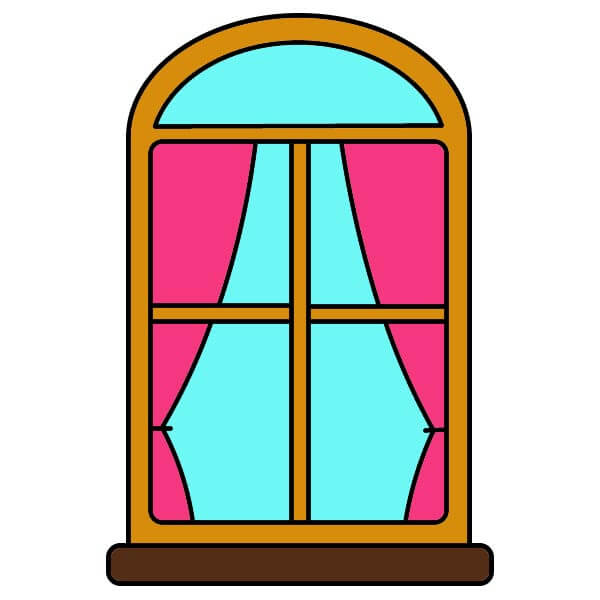
Finally, color the drawing. Color the entire window frame brown. Color the semicircular window pane at the top light blue. Color the two top curtains bright pink and the two bottom curtains a lighter blue. The drawing is now complete.
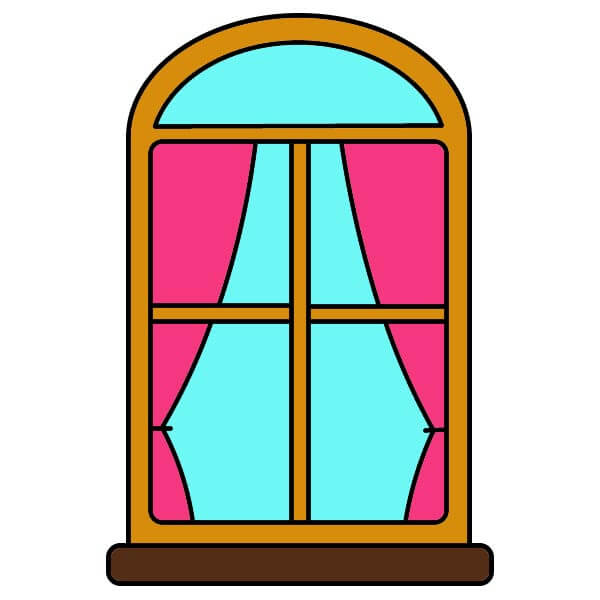
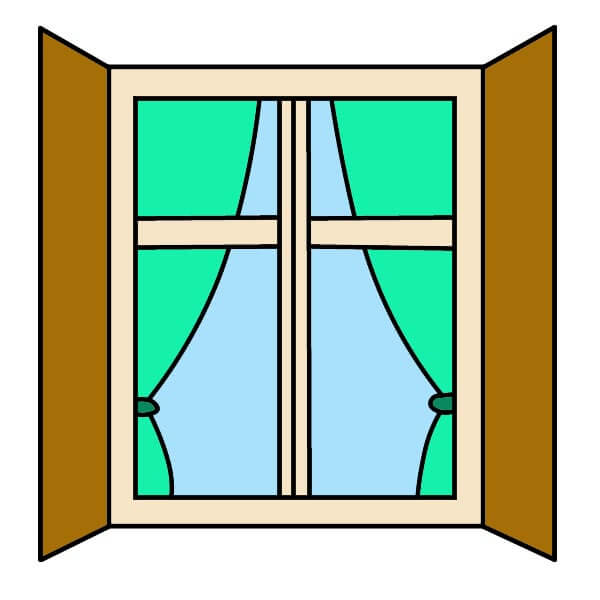
Simple and Fun Window Drawing Guide for Kids
8 steps
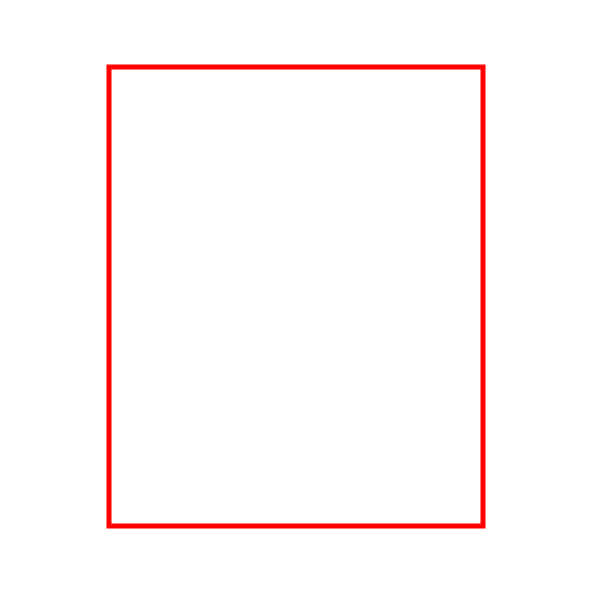
Step 2
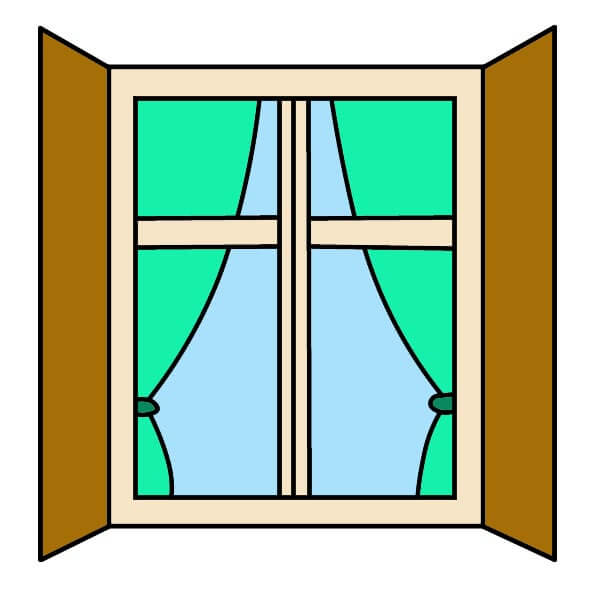
Draw two trapezoids, one on each side of the window. These will be the two open shutters.
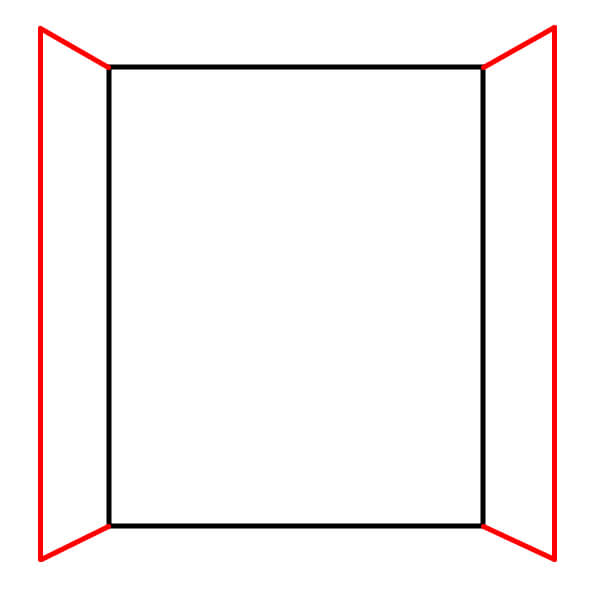
Step 3
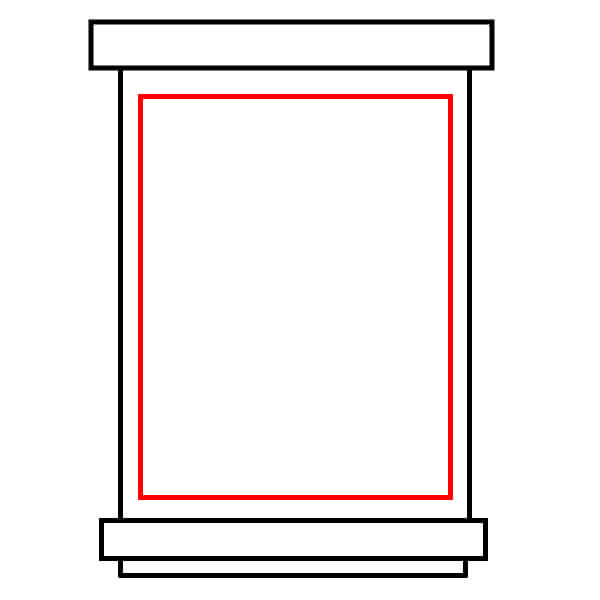
Inside the main frame, draw a smaller rectangle. This will create the inner window frame.
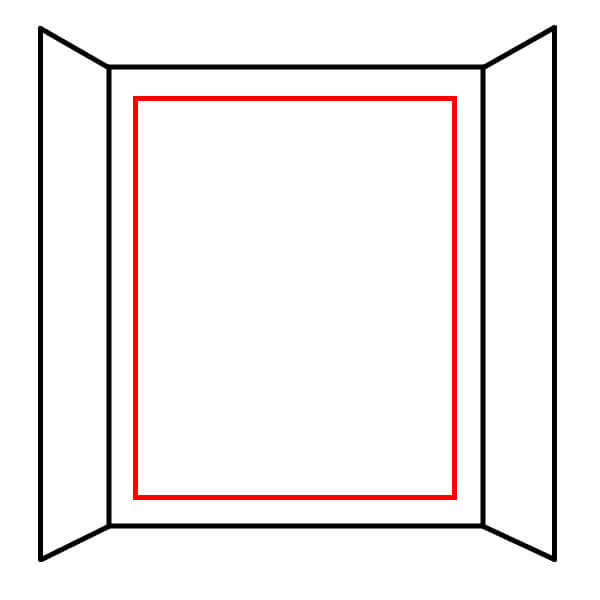
Step 4
Inside the inner window frame, draw three vertical lines close together in the middle. This will divide the window into two long vertical sections.
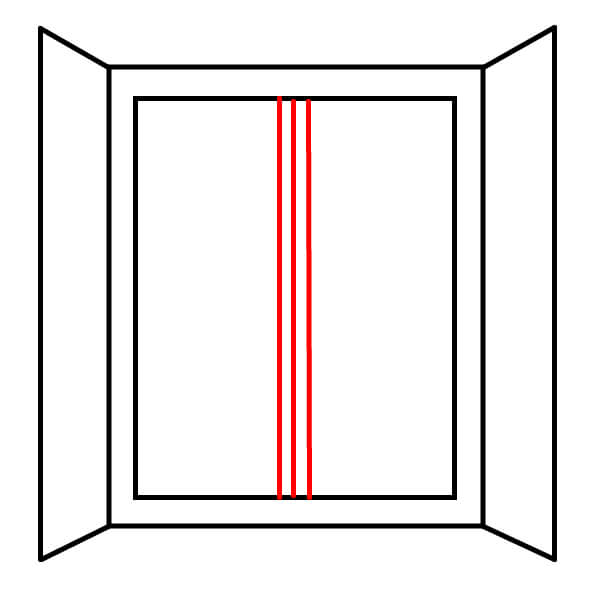
Step 5
Draw two horizontal lines in the middle of the window, each in one vertical section. This will divide the window into four panes.
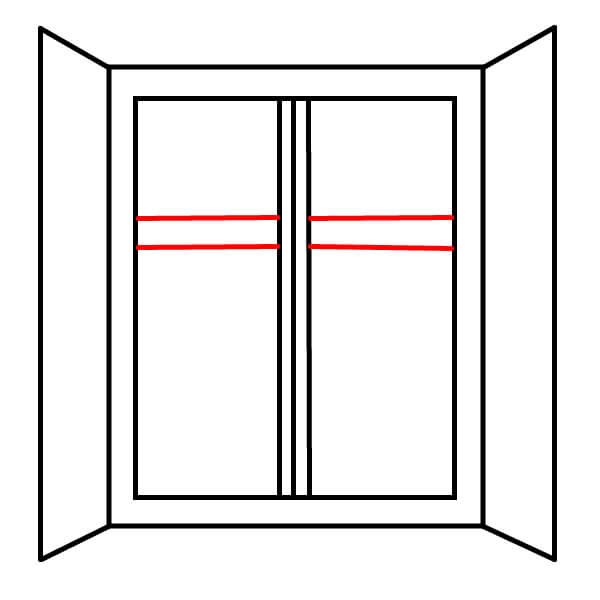
Step 6
Draw two small U-shaped lines at the bottom of the window, one on each side. These will act as curtain tiebacks.
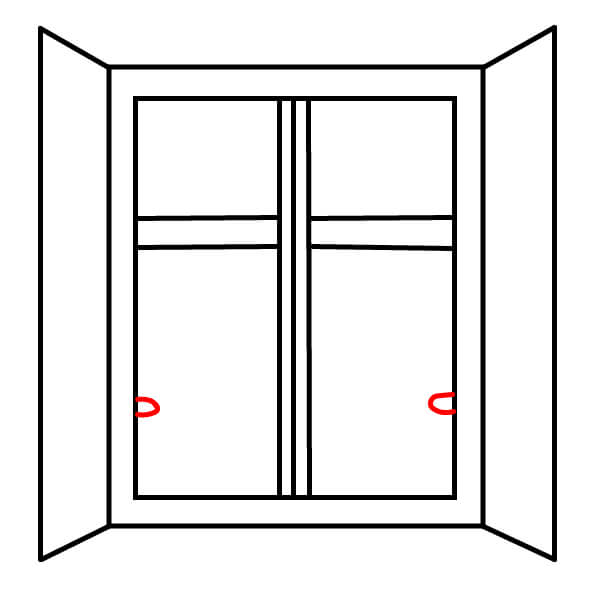
Step 7
Draw the curtains. On the top two panes, draw two wavy lines starting from the top and curving inward towards the center. On the bottom two panes, draw two wavy lines starting from the top, curving outward and then inward to touch the tiebacks you drew in the previous step.
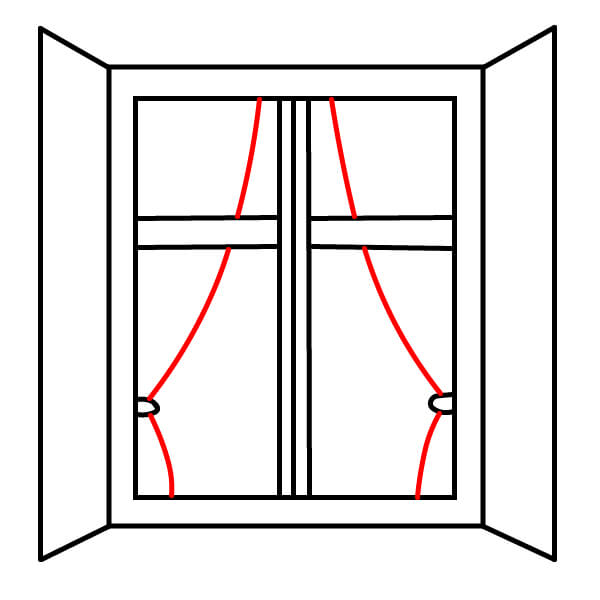
Step 8
Finally, color the drawing. Color the shutters light brown. Color the main window frame yellow-brown or beige. Color the top two panes light green and the bottom two panes light blue.
Easy Window Drawing with Curtains for Kids
9 steps

Step 4
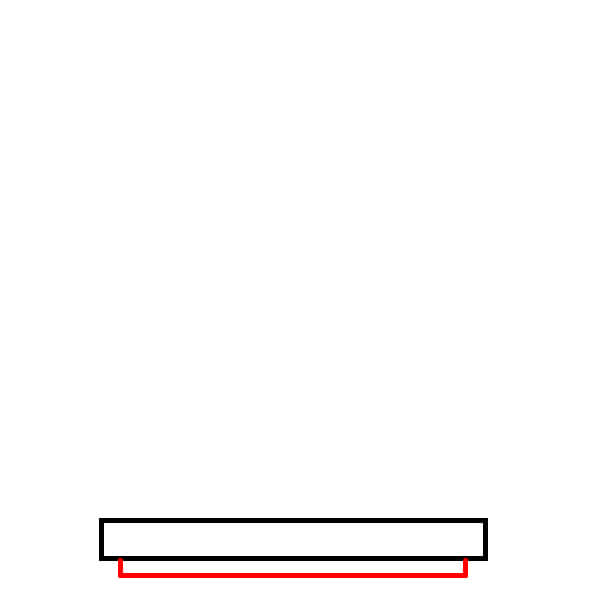
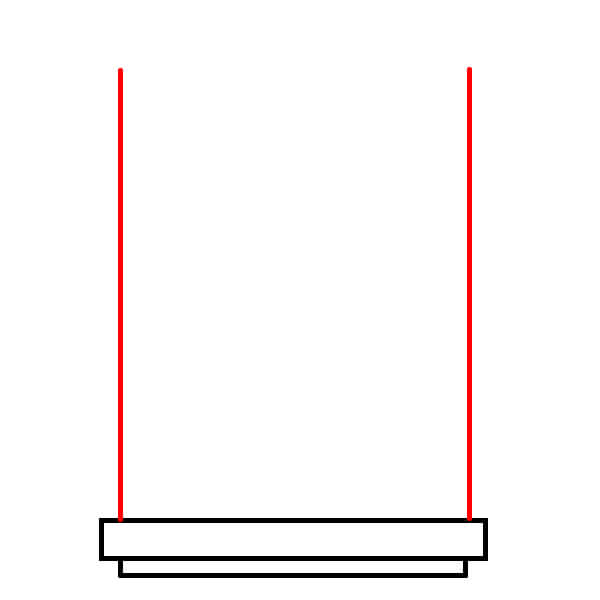
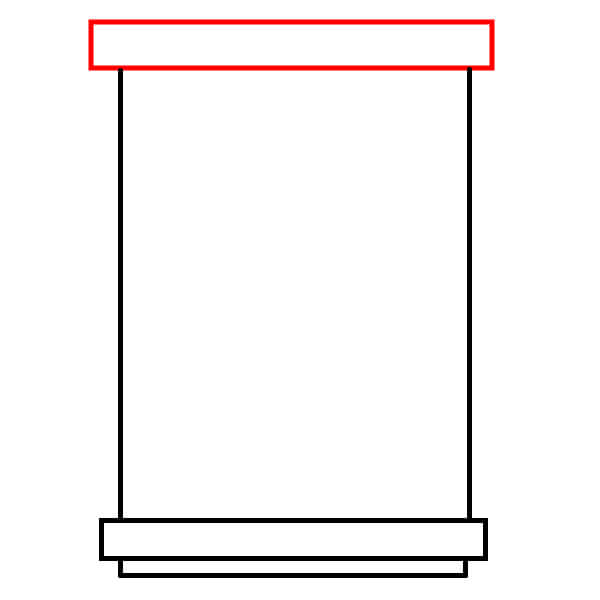
Draw a horizontal rectangle at the top, connecting the two lines from the previous step. This rectangle forms the top part of the window frame.
Step 6
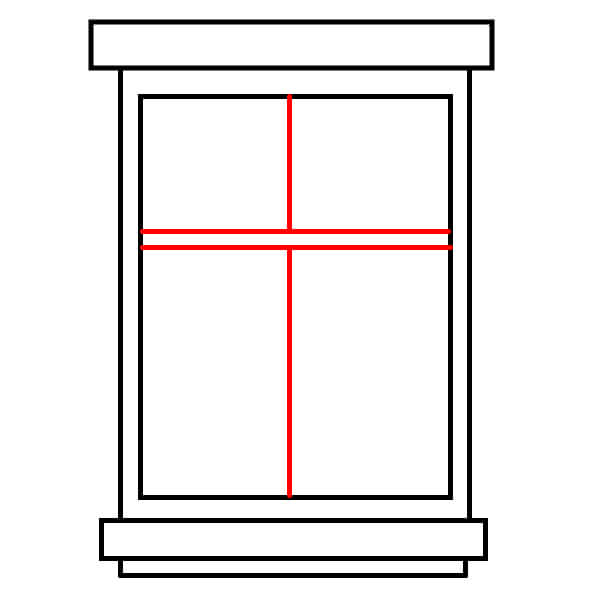
Draw a horizontal and a vertical line intersecting at the center of the inner window frame. This line divides the window into four panes.
Step 7
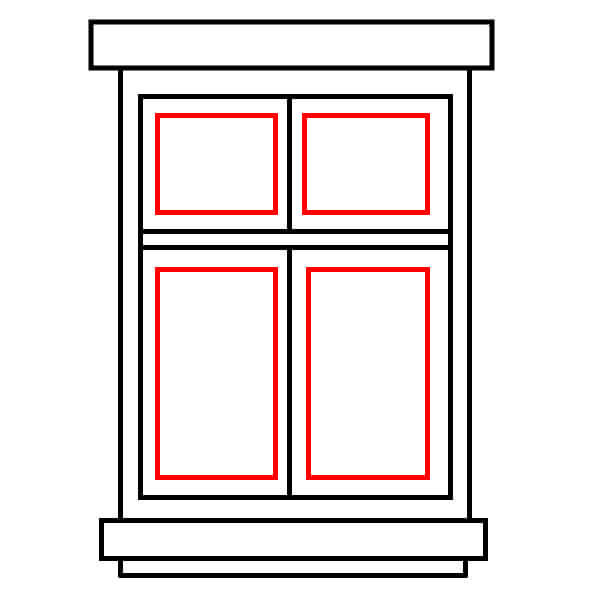
Draw the inner borders of each rectangular window pane. This will create individual window frames inside the main window.
Step 8
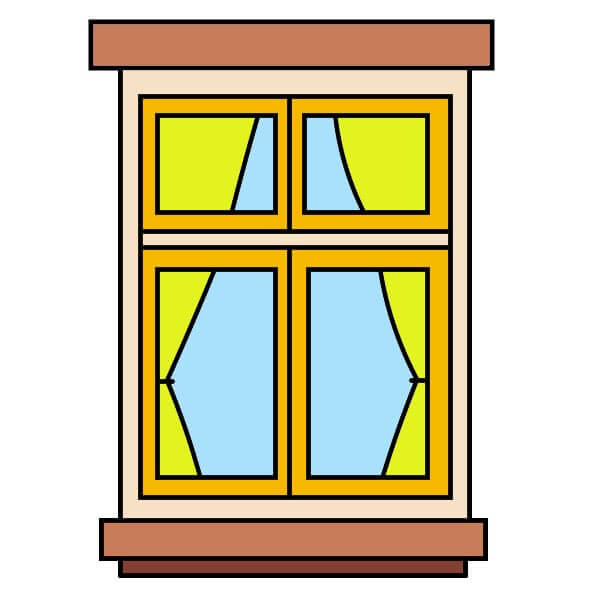
Draw the curtains. On the top two panes, draw two wavy lines starting from the top and curving inward towards the center. On the bottom two panes, draw two wavy lines starting from the sides and curving inward, creating a tied effect.
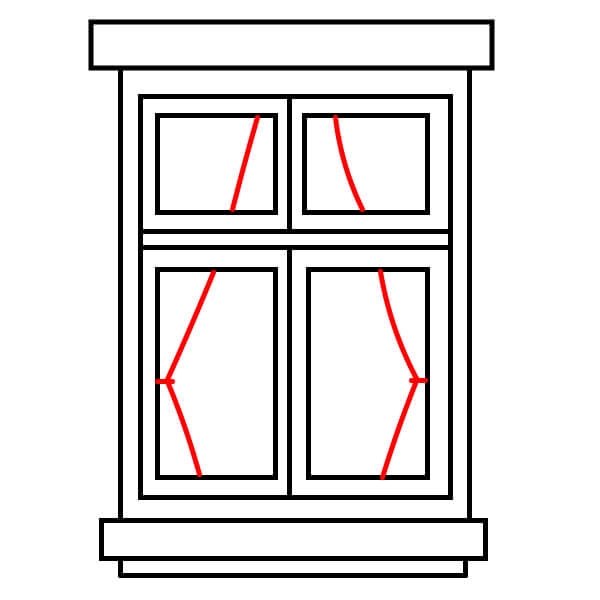
Step 9
Finally, color the drawing. Color the top and bottom of the frame with light brown. Color the inner window frame with bright yellow. Color the top two curtains with yellow and the bottom two curtains with light blue. The drawing is now complete.
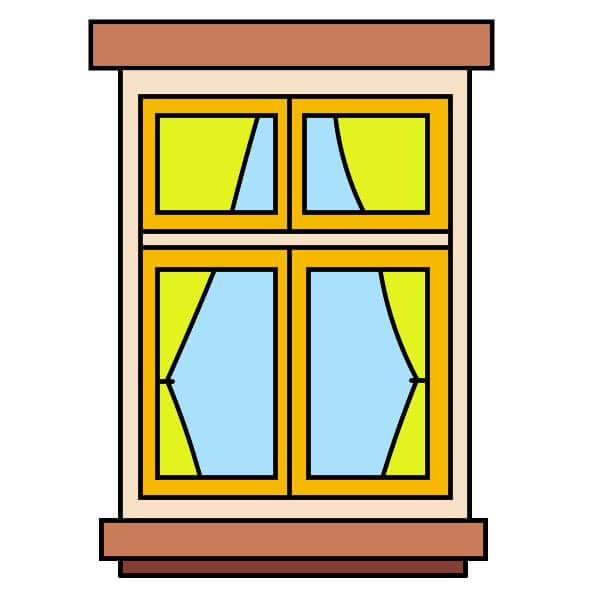
▶Drawing tips
- Draw lightly with a pencil first, then darken the lines when you're satisfied.
- You don't need to draw exactly like the sample — add your own style!
- After finishing your drawing, you can color it directly on Tomau.AI to make it more vibrant.