The Amazing Digital Circus
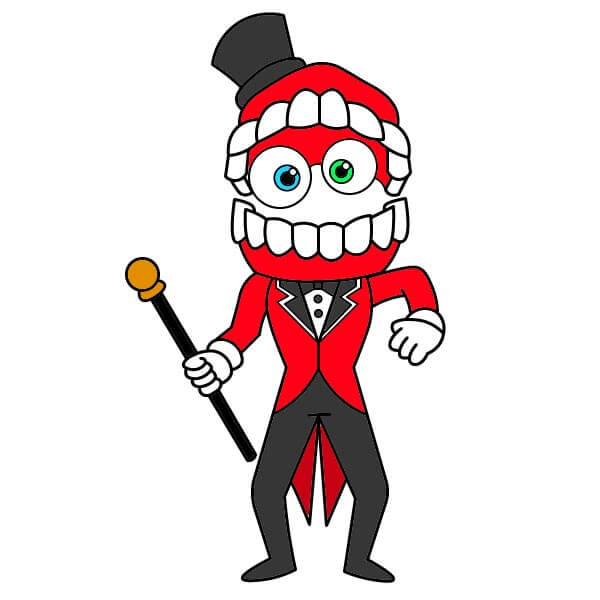
Want to learn how to draw the amazing digital circus? This tutorial will help you do it in just 38 simple steps, with clear illustrations for each step. Whether you're a beginner or experienced, the steps below are easy to understand and follow.
You just need a pencil, drawing paper, and an eraser — then start drawing step by step!
This lesson includes 4 different ways to draw. Choose the one that suits you best!
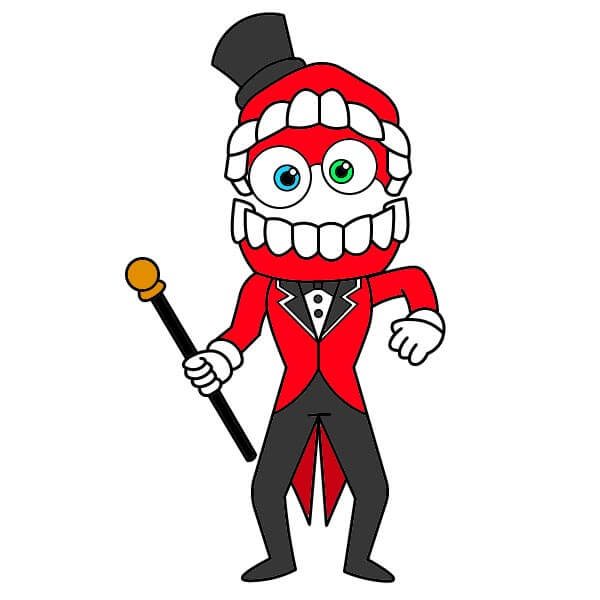
Fun Character Drawing Tutorial for Kids: Caine
12 steps
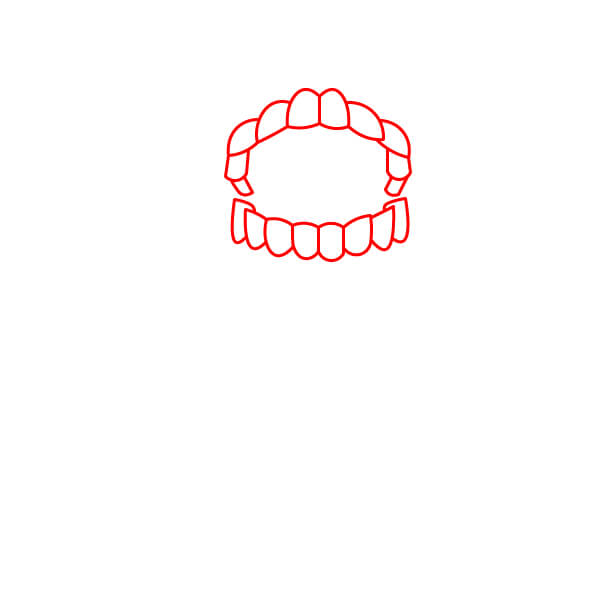
Teeth
Start by drawing the outline of the upper and lower teeth. They will form the main part of Caine's head. The teeth should be drawn in a rounded square/rectangle shape.
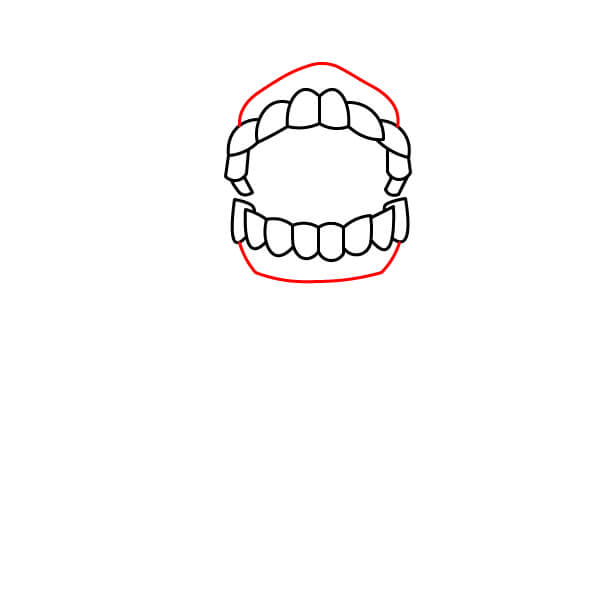
Head Outline
Draw a red curve around the teeth to complete the shape of the mouth/head. This outline represents the gums or surrounding structure.
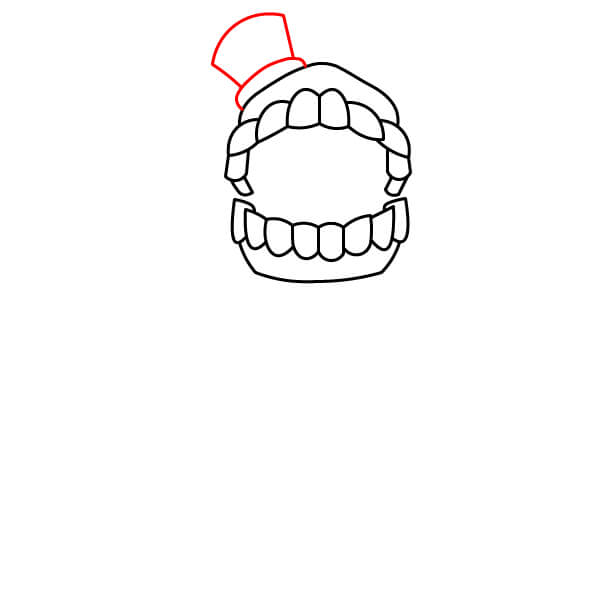
Top Hat
At the top of the head outline, draw a simple top hat. It should be slightly tilted and consist of a cylinder on a flat brim.
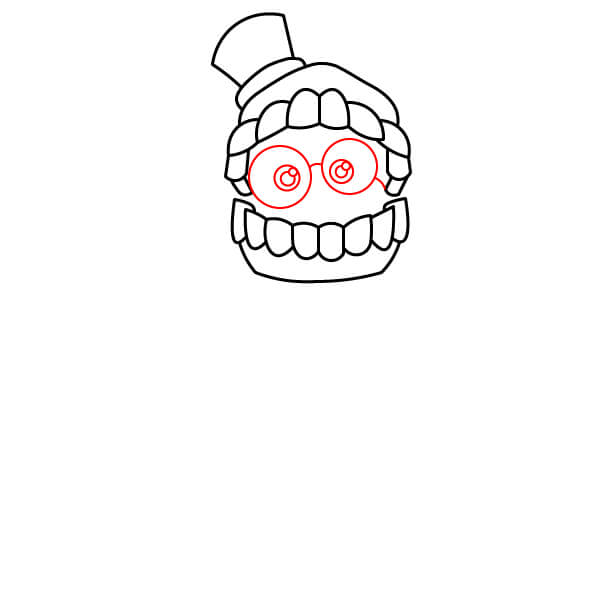
Eyes and Goggles
Inside the gap created by the teeth, draw two large round goggles with a bridge. Inside each goggle, draw a smaller circle for the eyeball, ensuring they look big and slightly crazy.
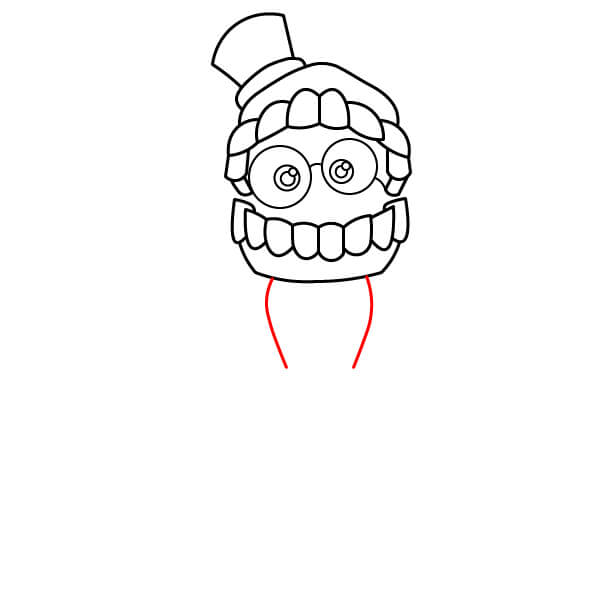
Neck
Draw two short curves downward from the bottom of the head outline to start drawing the neck/body.
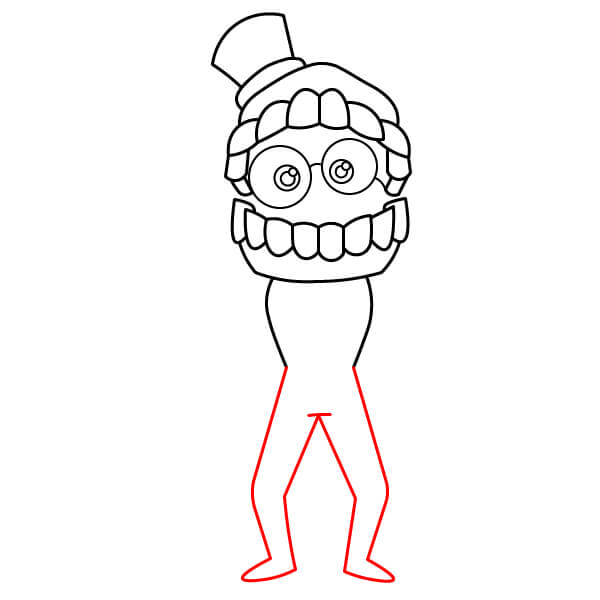
Legs and Feet
Continue drawing the body outline downwards to sketch the legs. The legs should be simple, slightly curved, and end with a basic foot outline. The groin can be marked with a simple V shape.
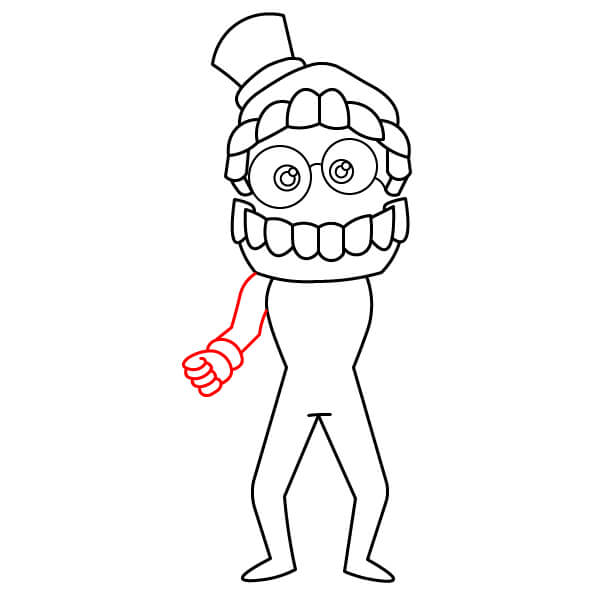
Right Arm and Fist
Draw the right arm (from the viewer's perspective) extending out from the body. The arm should bend at the elbow, ending with a round-shaped fist and simple lines for the fingers.
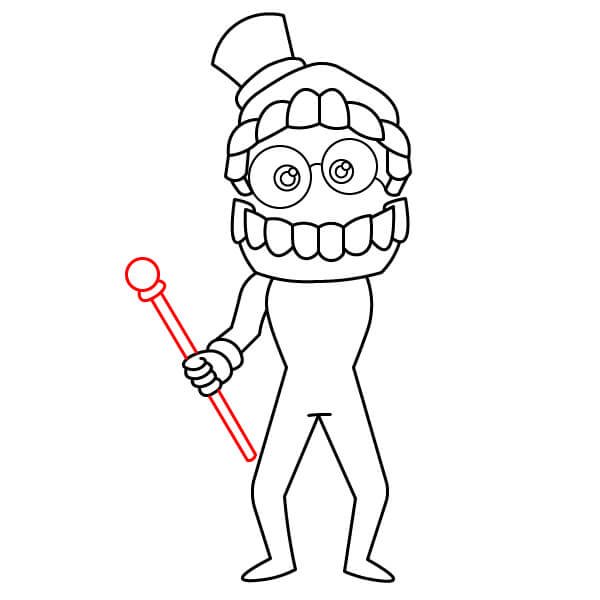
Stick
Draw a long, straight stick held in the right hand. It should have a small, round ball at the top.
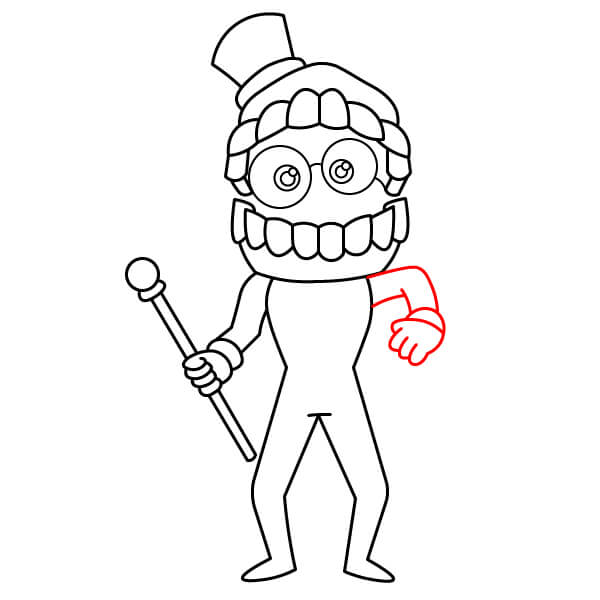
Left Arm and Fist
Draw the left arm (from the viewer's perspective) extending out from the other side of the body. This arm should also be bent, ending with a fist, and raised slightly higher than the other arm.
Suit and Vest Details
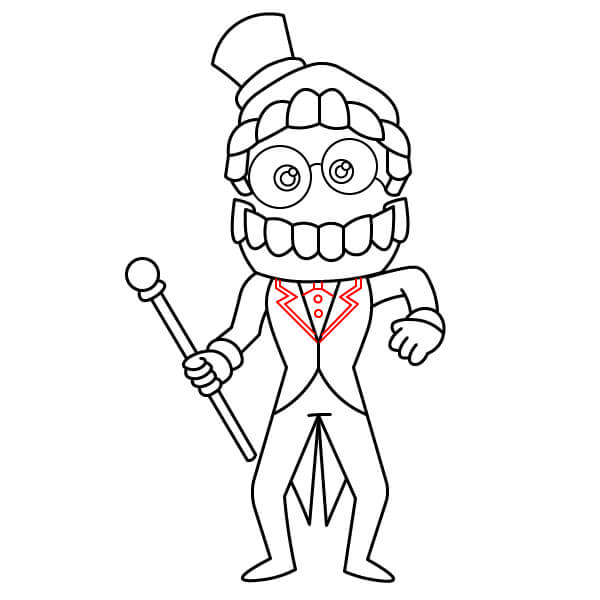
Add final details to Caine's body to evoke his formal attire. Draw lapels and lines on the body to shape the vest and coat. Use straight, angular lines to create the illusion of a split coat tail at the back.
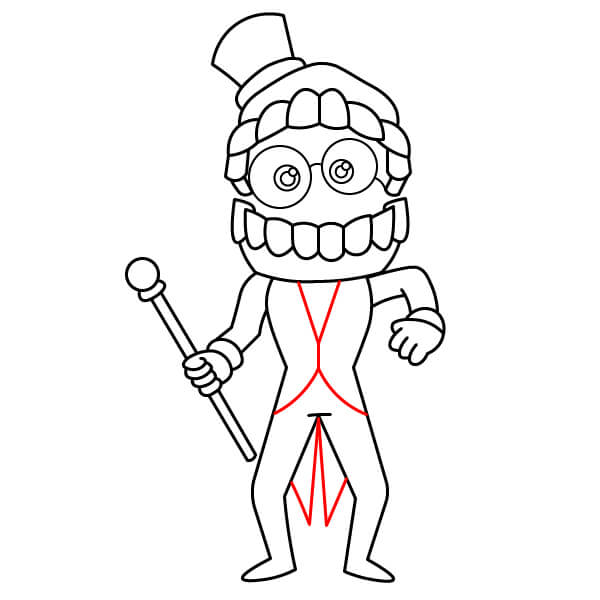
Add Vest and Bow Tie Details
Inside the lines you drew for the lapels, add a small bow tie at the neck and vertical lines for the vest, creating a clear V shape along the body. These details are shown in red in the provided image.
Coloring
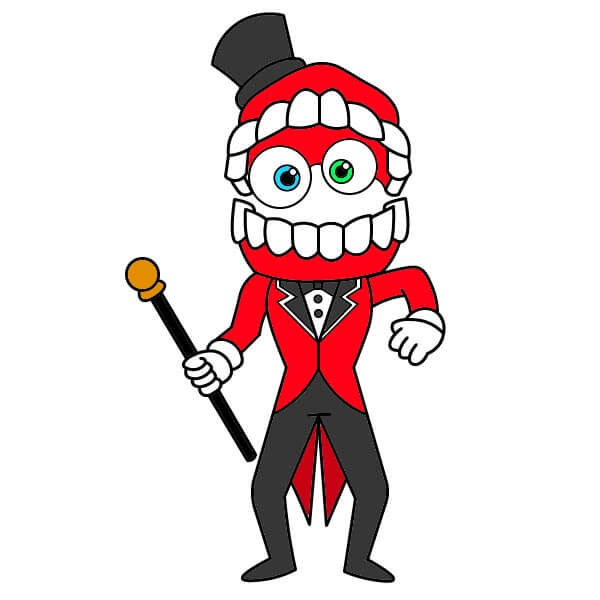
To color Caine, start with his prominent features: color the gums/head bright red, but keep the teeth bright white. His eyes are uneven, so color one eye bright blue and the other green, with the goggles typically in dark gray or black. For his formal attire, color the top hat, pants, and main part of the stick black. His suit is a contrasting red, while the vest (V shape) and gloved hands are white. Finally, color the ball at the top of his stick gold or bright yellow.
Simple Gangle Character Drawing Guide for Beginners.
7 steps
Sketch the Head/Mask
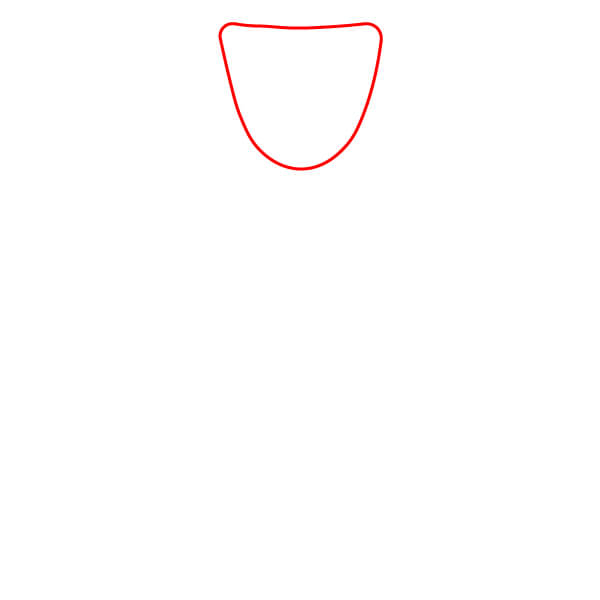
Start by drawing a simple shape, like a shield with a flat top and a round bottom. This is the sketch shape of Gangle's comedic/tragic mask.
Ribbon Body
Below the head, draw the spiraled ribbon body. It should consist of overlapping oval shapes connected to look like a spring or coil, directly attached to the bottom of the mask.
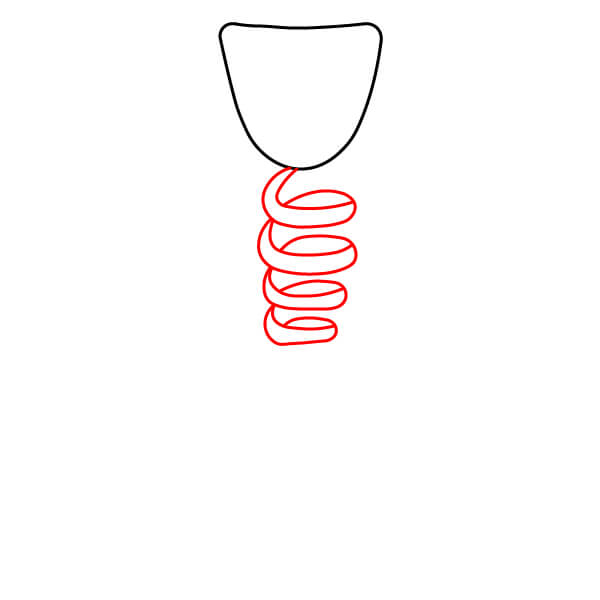
Two Ribbon Arms
Draw two ribbon arms extending from either side of the spiraled body. The ribbon strips should curve up and then down, ending in a rounder shape to suggest a hand or ribbon tip.
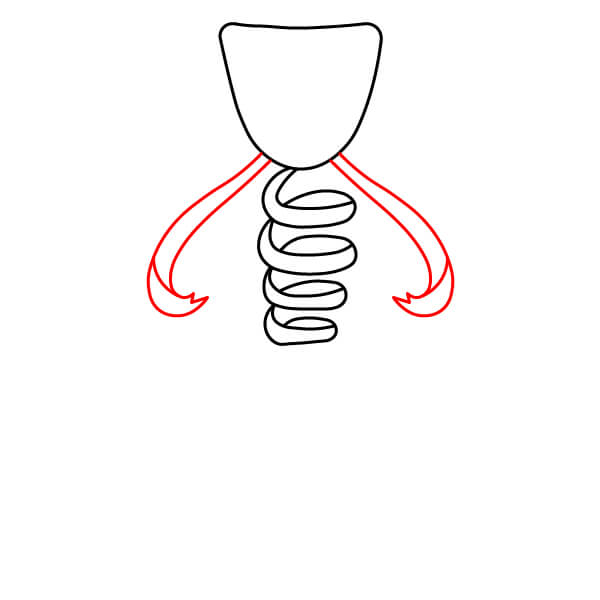
Two Ribbon Legs
Below the spiraled body, draw two ribbon legs. They should be long, curved ribbon strips similar to the arms, ending in simple round feet. They are attached to the bottom of the spiraled body.
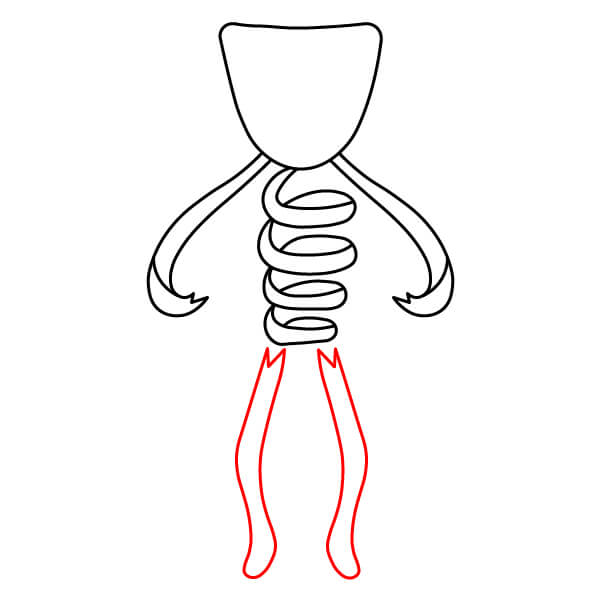
Sad Face of the Mask
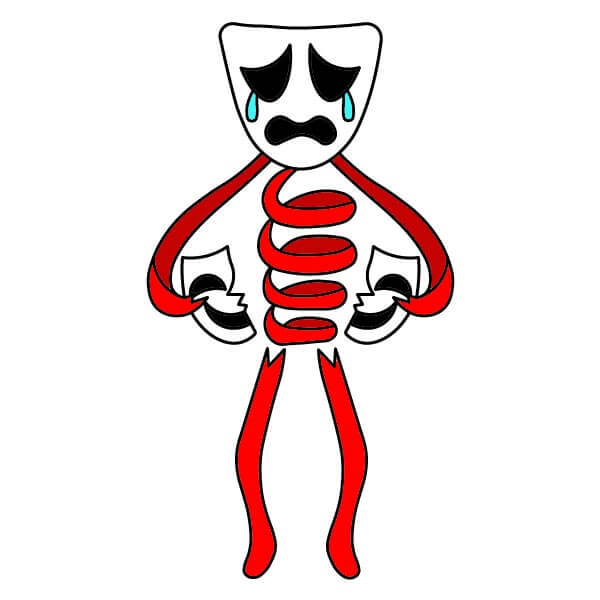
Now, add facial features to the mask's head. Draw slanted, sad eyebrows, teardrop-shaped eyes, and a small oval mouth to create the expression of the tragic mask. Draw a teardrop falling from one eye.
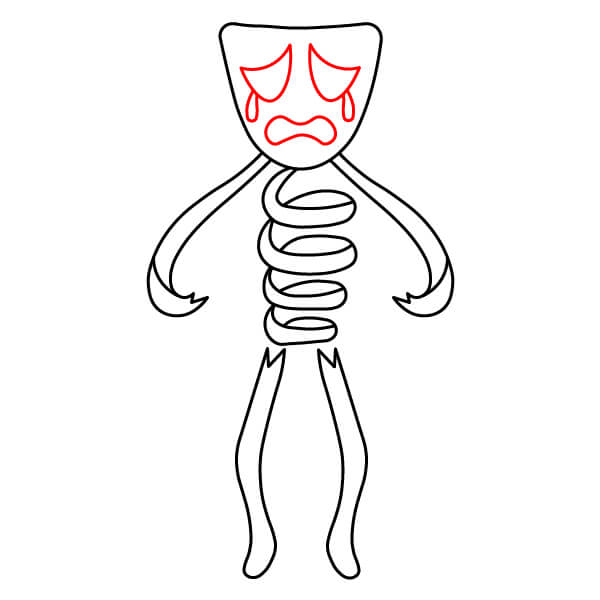
Broken Comedic Mask
Draw a broken comedic mask in each ribbon 'hand'. Each mask piece should be half of a classic stage mask, with a smiling outline. The pieces should appear slightly broken or cracked, reflecting Gangle's everyday state.
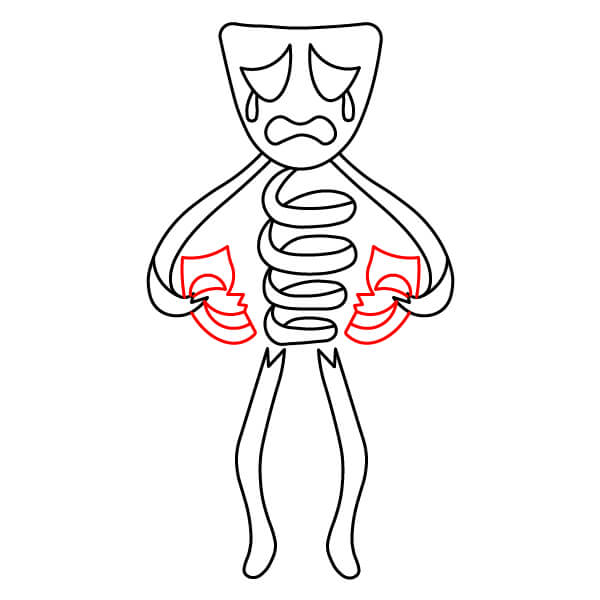
Coloring
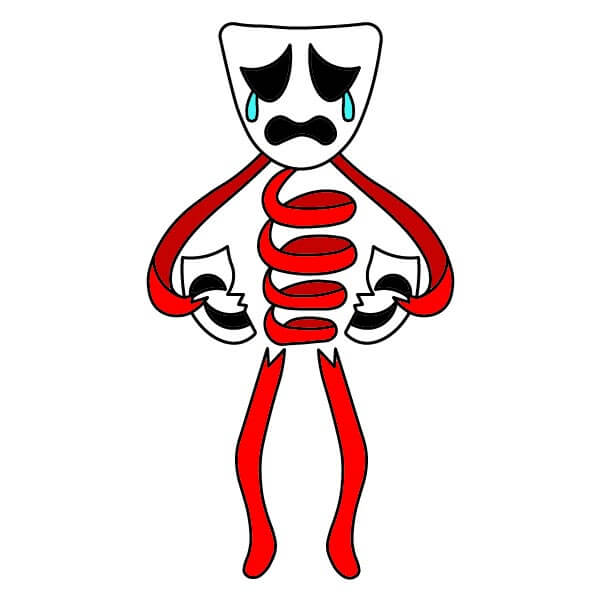
Color all the ribbon parts – the spiraled body, arms, and legs – bright red. Keep the main mask on the head and the broken mask pieces in hand white. Color the eye and mouth outlines of the mask black. Color the teardrop on the mask light blue.
Simple Guide to Drawing Jax Character
10 steps

Rabbit Ears
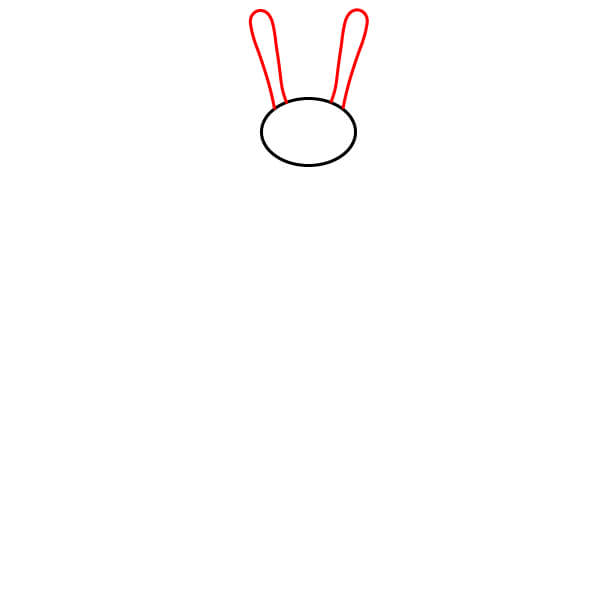
Draw two long rabbit ears pointing upwards from the top of the head oval. They should be parallel and slightly curved in a U shape at the top.
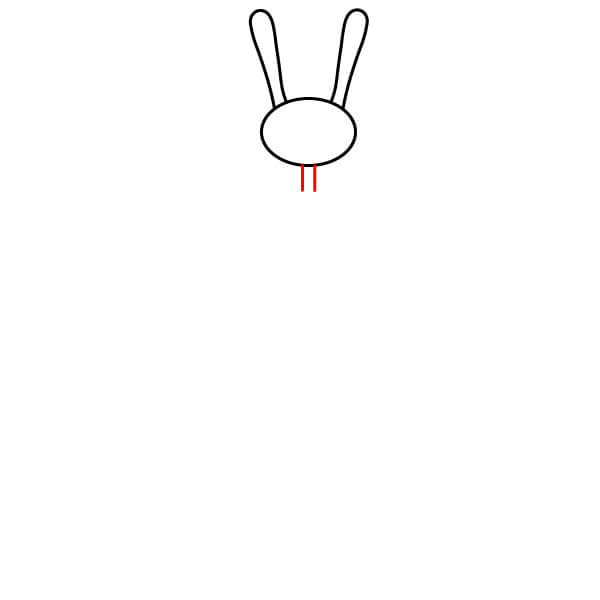
Neck
Draw two very short vertical lines extending down from the middle bottom of the head oval to form the neck.
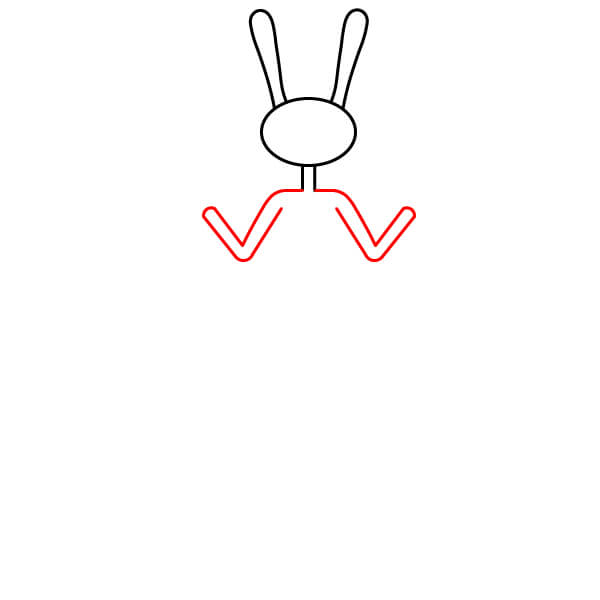
Shoulders/Arms
Draw two V-shaped lines extending outwards and downwards from the neck lines. This forms the beginning of the arms and shoulders.
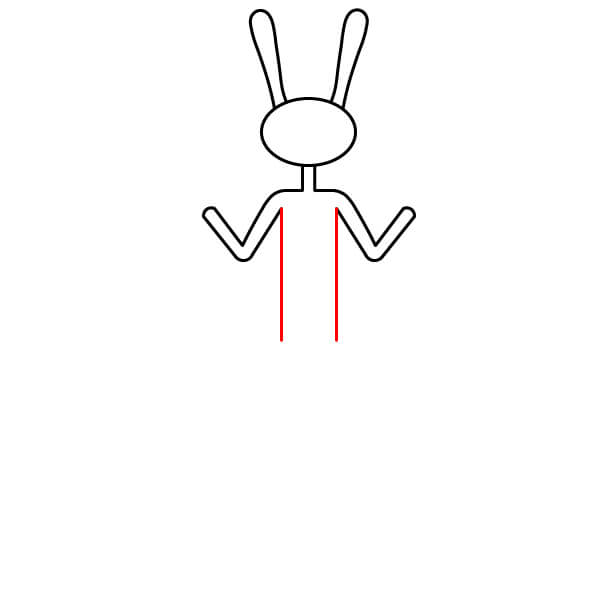
Sketch the Body
Draw two long, parallel vertical lines extending down from the V of the arms. This creates the main body of his long and slender figure.
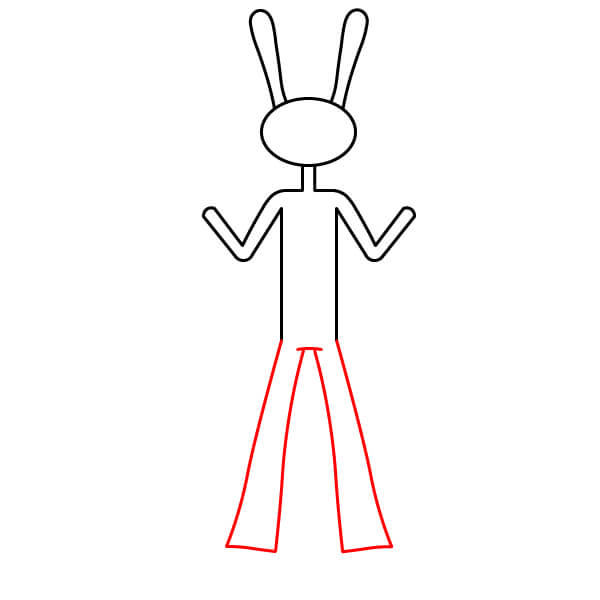
Legs and Groin
Complete the lower body and draw two long, cone-shaped legs extending down. The legs should slightly widen at the bottom. Mark the groin with a simple V shape connecting the inner edges of the two legs.
Hands and Feet
Draw two hands extending from the arms. They should be large, spread out, and wearing gloves (indicated by wrist outlines). Below, draw two large, round feet and add a line near the top of the feet to suggest the end of pants/socks.
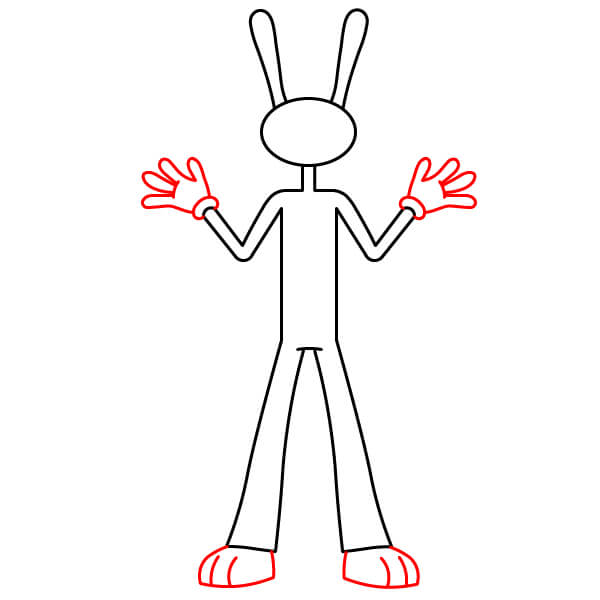
Overalls Details
Draw the details of Jax's overalls on the body. Add two straps extending from the top corners down to the overalls, and draw a square/rectangular pocket in the middle of the overalls. Add small circles for the buttons where the straps are attached.
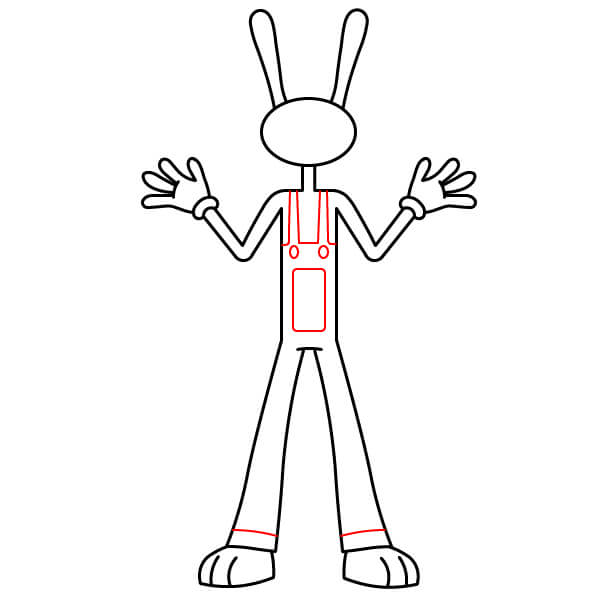
Face
Draw Jax's mischievous smile! Draw a long, wide curve at the lower half of his head to form the mouth. Fill this in with large square teeth and two small lines inside the mouth to define the gums/inside.
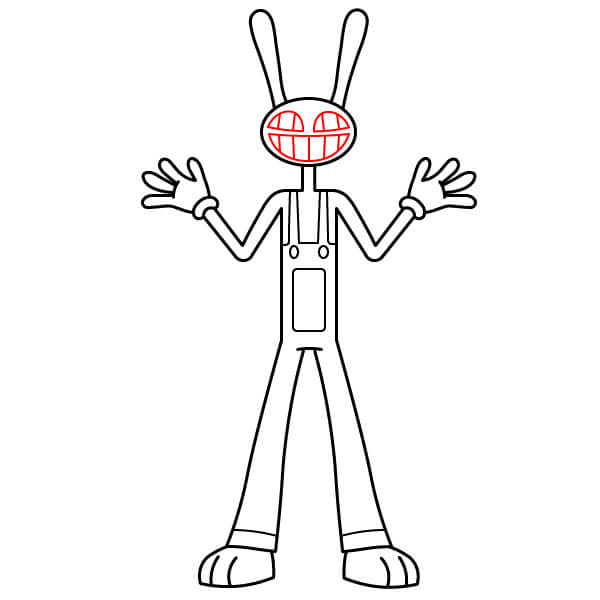
Coloring
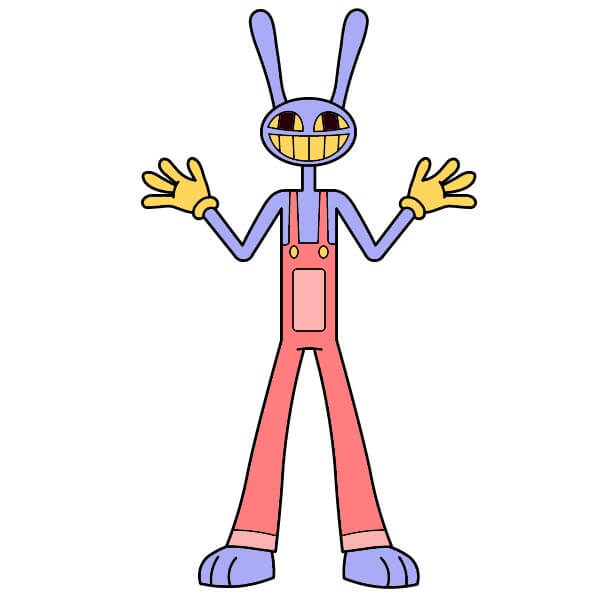
Color the entire body (except for clothing) light purple or bright purple, pants (lower part) light pink or reddish pink, overalls and straps a slightly darker pink or the same color as the pants, and color the pocket a lighter pink. Color the inside of the mouth black, bright yellow, dark yellow, and the soles/socks the same light purple/bright purple as the body.
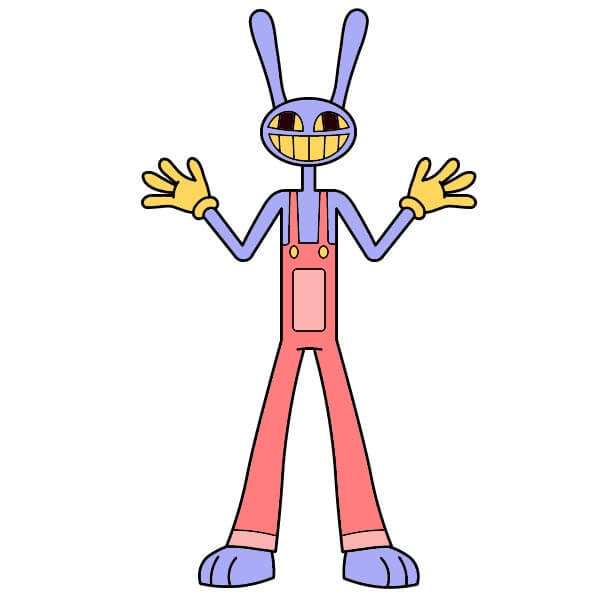
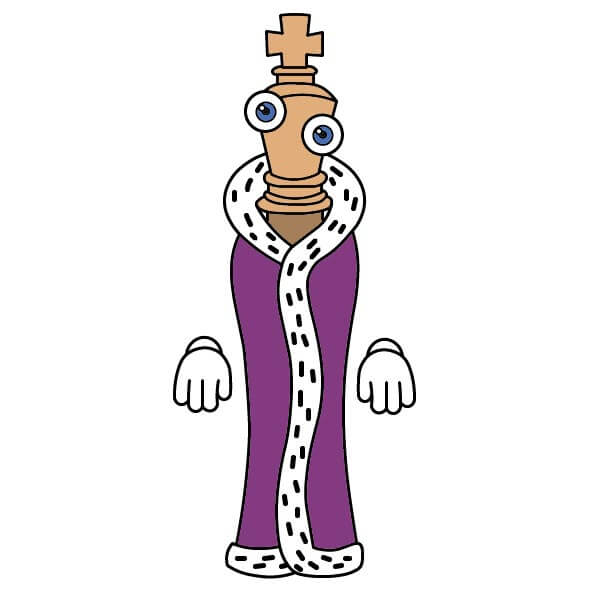
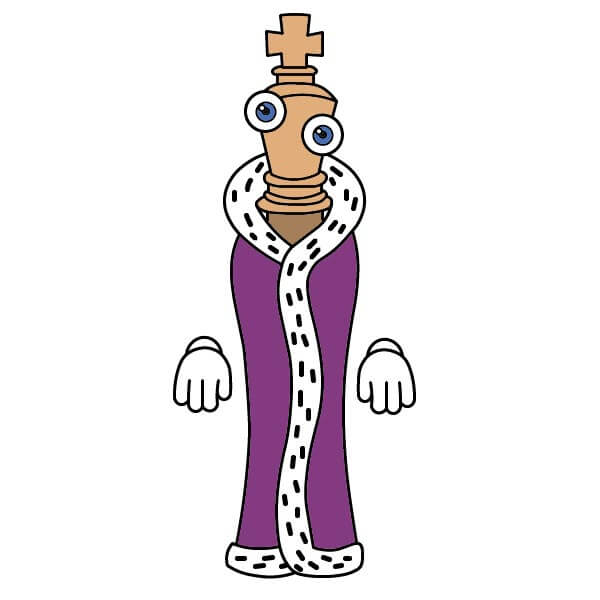
Step-by-Step Drawing Guide for Kids: Kinger Character
9 steps
Eyes
Start by drawing two large circles next to each other, each containing a smaller circle inside for the pupils. They represent Kinger's big, staring eyes.

Crown Head
Draw the outline of the head around the eyes. The shape should resemble the top of a king piece in chess, with a curved base and sloping edges.
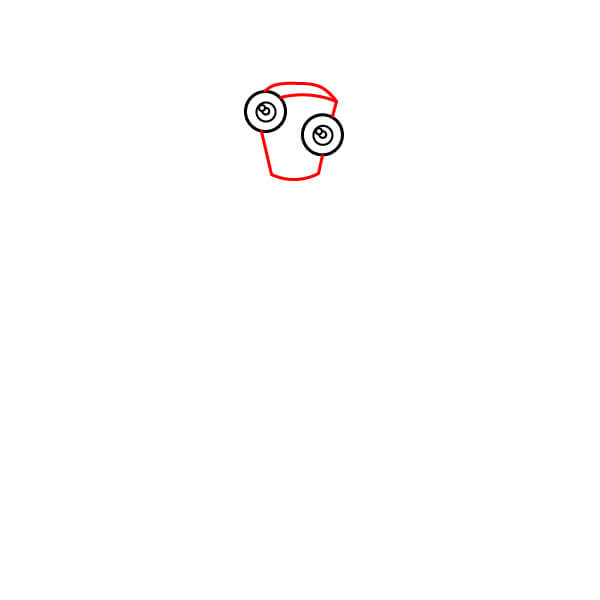
Crown/Cross
On the head outline, draw a cross sitting on top of the king piece's head. This cross is positioned right at the top.
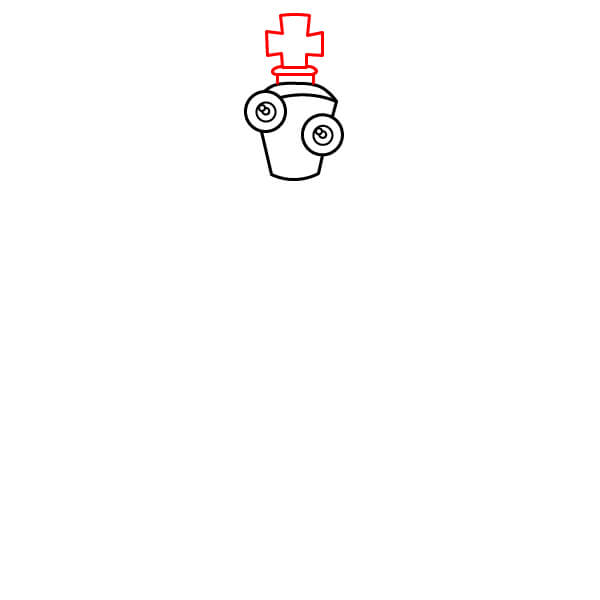
Neck Base
Below the head, draw the neck base. This part consists of several horizontal circles stacked on top of each other, forming the shape of a chess piece's base.
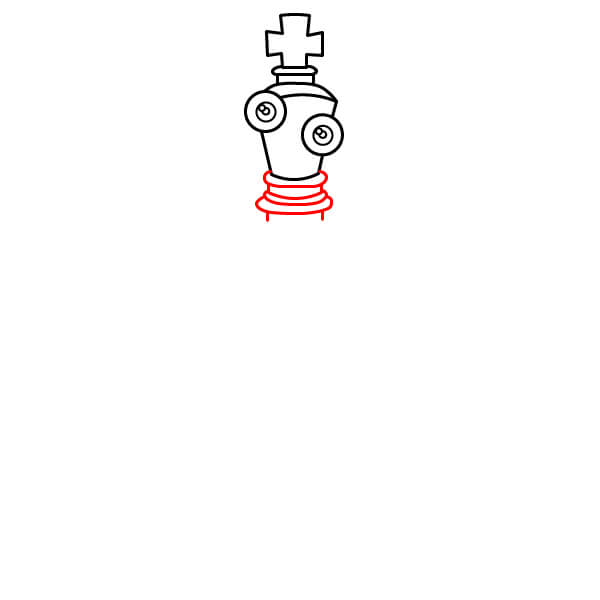
Cloak Outline
Draw the main outline of the cloak/body. Start with lines wrapping around the neck base, then extend downwards, keeping a long, vertical shape. The bottom should be rounded, suggesting that the cloak covers his legs.
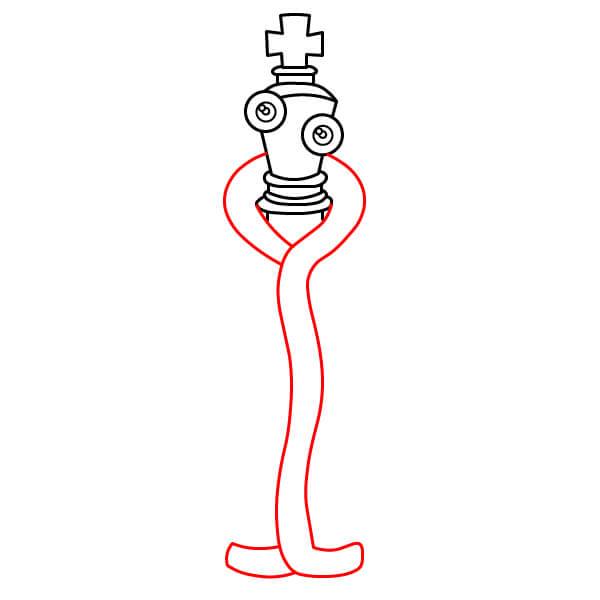
Cloak Slit Lines
Draw the inner lines of the cloak where it splits in the middle. These lines define the two front pieces of the outfit, flowing down to the hem.
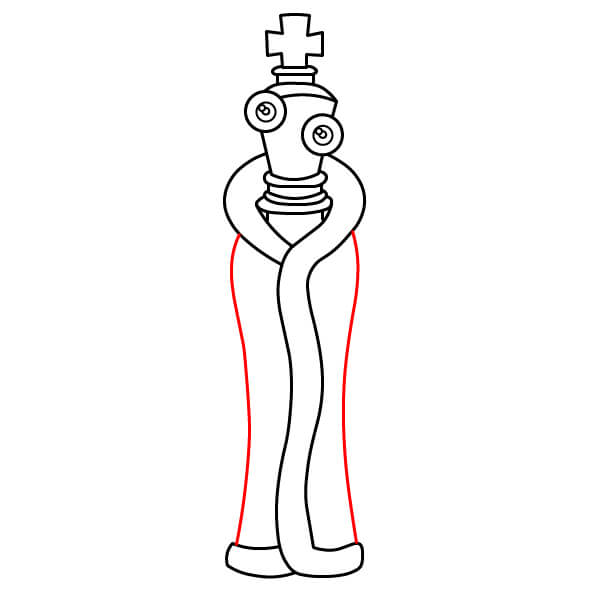
Hands
Draw two simple hands wearing white gloves, extending out from the sides of the cloak. They should be slightly spread, with palms open and including the cuffs.
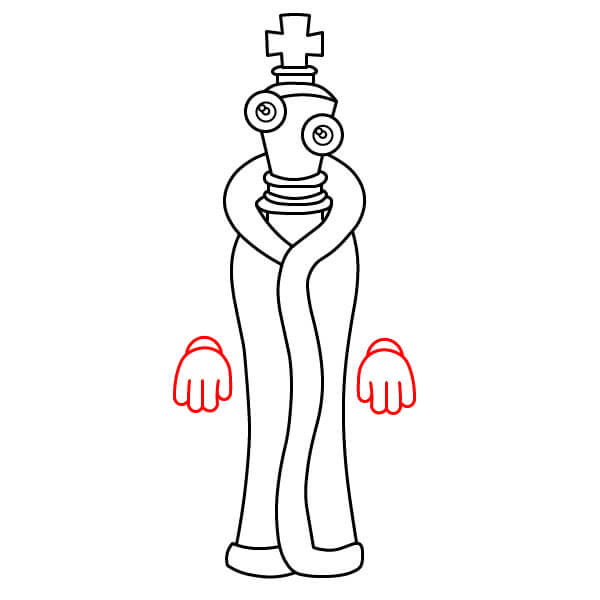
Fur Trim Details
Add royal fur trim details to the cloak. Draw a dotted pattern along the edges of the cloak opening (around the neck and down the front) and along the hem. These dots represent the black spots on white weasel fur.
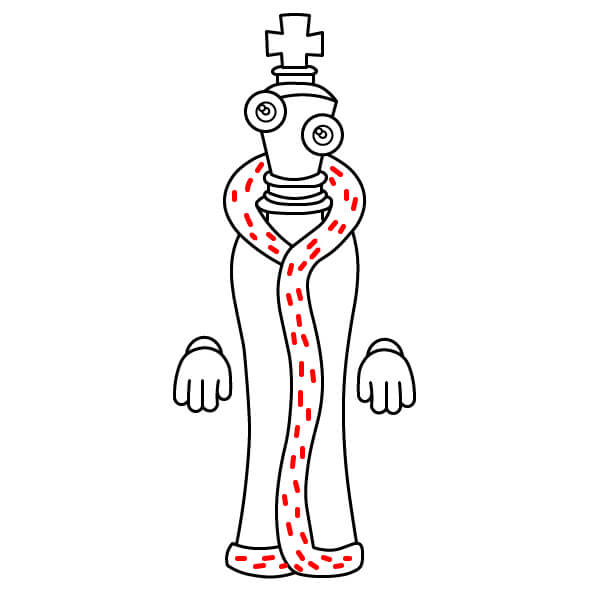
Coloring
Color the head of the king piece, the cross on top, and the collar in light brown or golden brown. Color the main body of the cloak in dark purple, the fur trim (dotted areas) in white, and color the dots in black. Color the gloved hands in white, the whites of the eyes in white, and the pupils in light blue.
▶Drawing tips
- Draw lightly with a pencil first, then darken the lines when you're satisfied.
- You don't need to draw exactly like the sample — add your own style!
- After finishing your drawing, you can color it directly on Tomau.AI to make it more vibrant.