How to Draw a Backpack
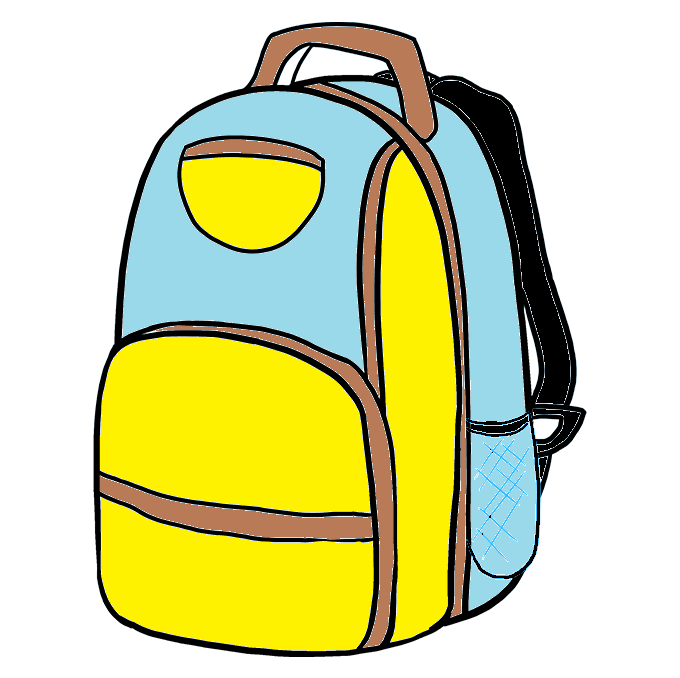
Want to learn how to draw how to draw a backpack? This tutorial will help you do it in just 37 simple steps, with clear illustrations for each step. Whether you're a beginner or experienced, the steps below are easy to understand and follow.
You just need a pencil, drawing paper, and an eraser — then start drawing step by step!
This lesson includes 5 different ways to draw. Choose the one that suits you best!
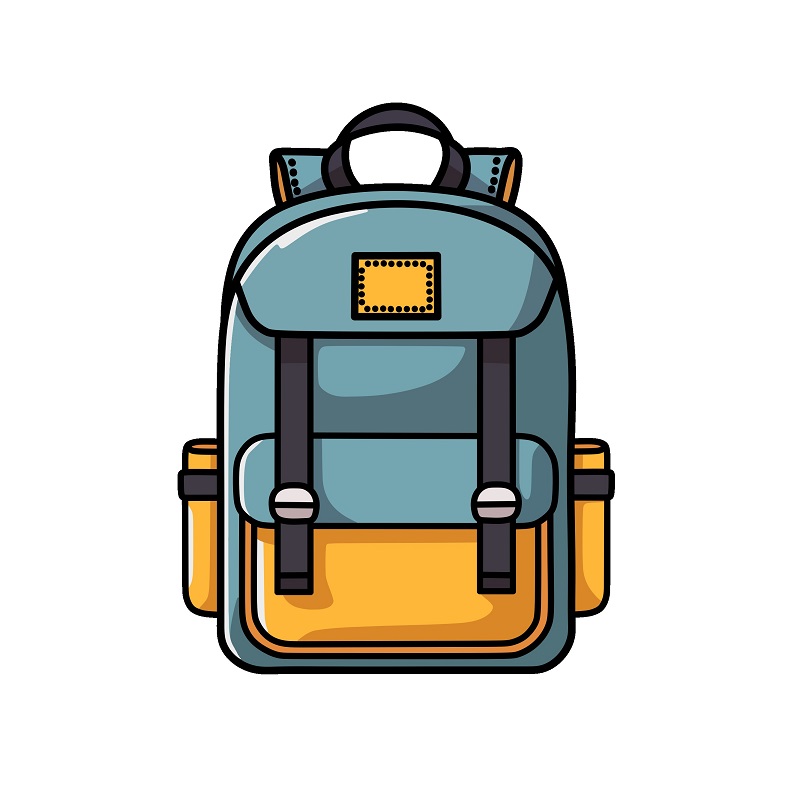
Guide to Drawing a Modern Backpack.
8 steps
Step 1
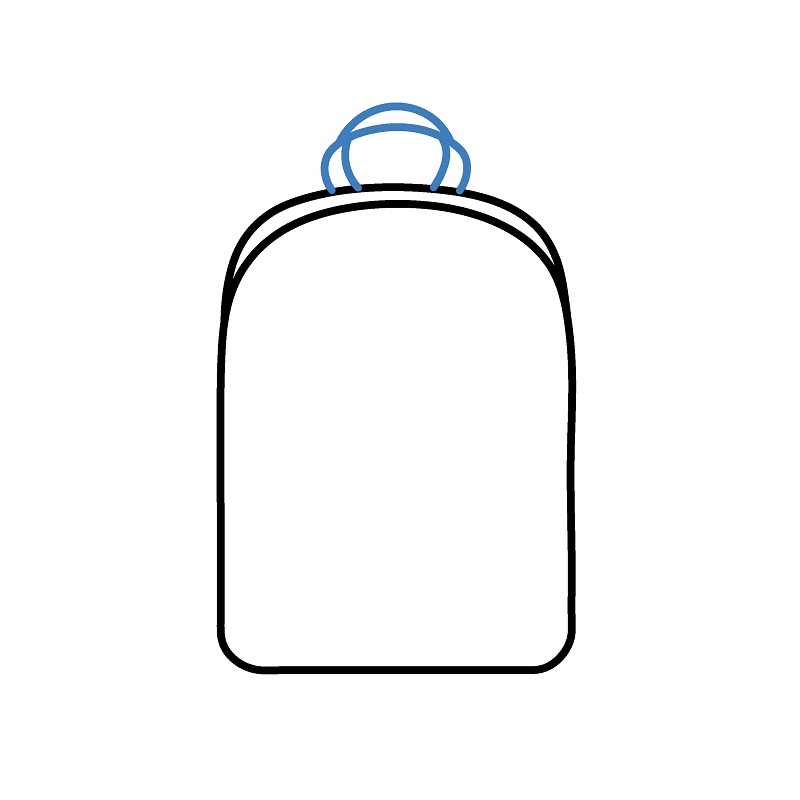
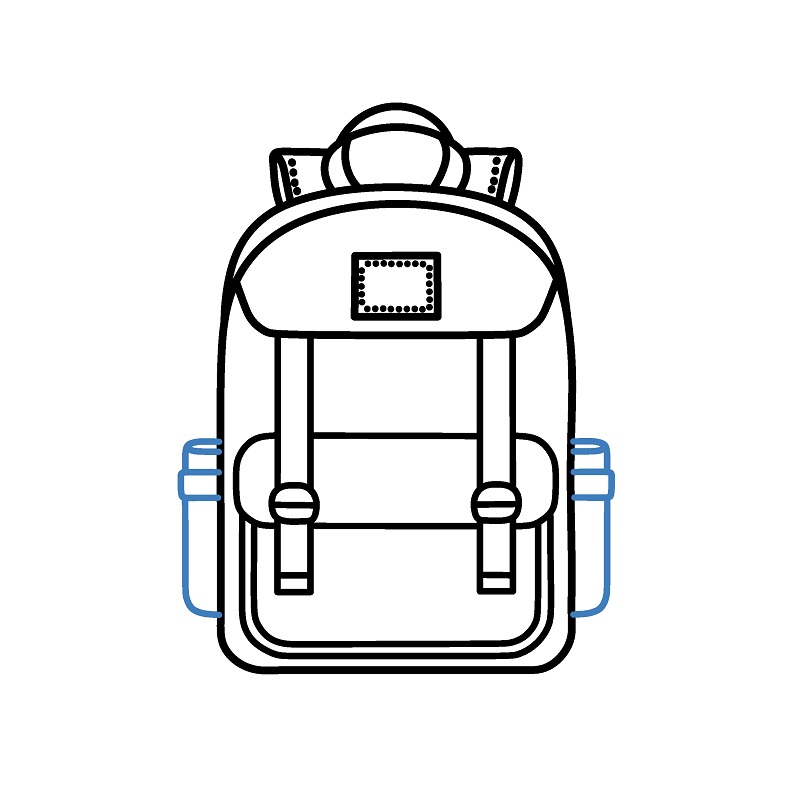
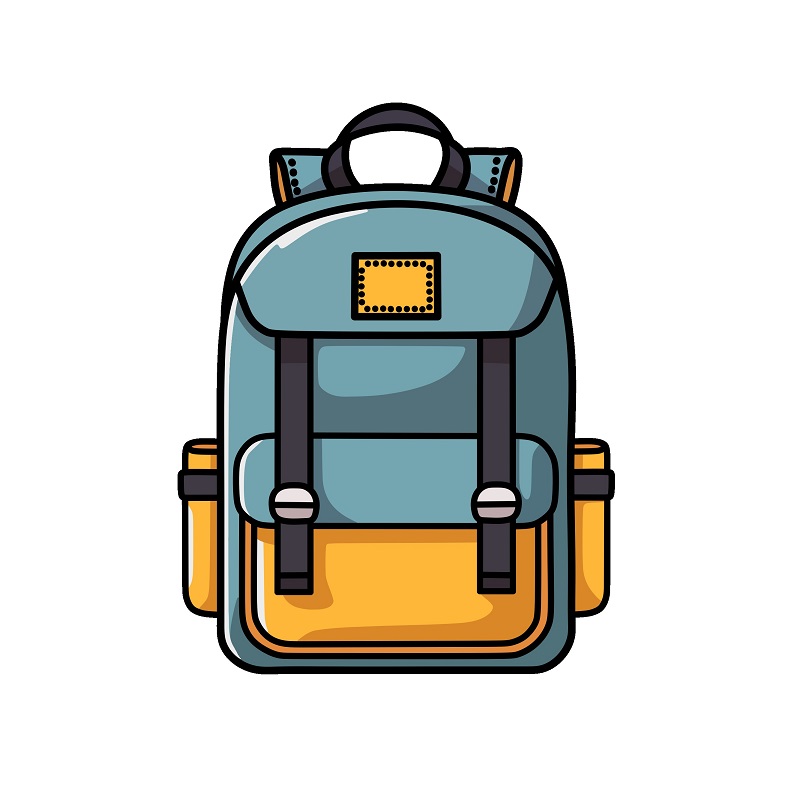
Draw the main frame of the backpack by creating a rounded rectangle, representing the body of the backpack.

Step 2
Add the handle at the top of the backpack by drawing a small curved line connecting to the top of the main frame.
Step 3
Draw two shoulder straps at the back of the backpack. The straps should have two symmetrical curves on either side of the top of the main frame.
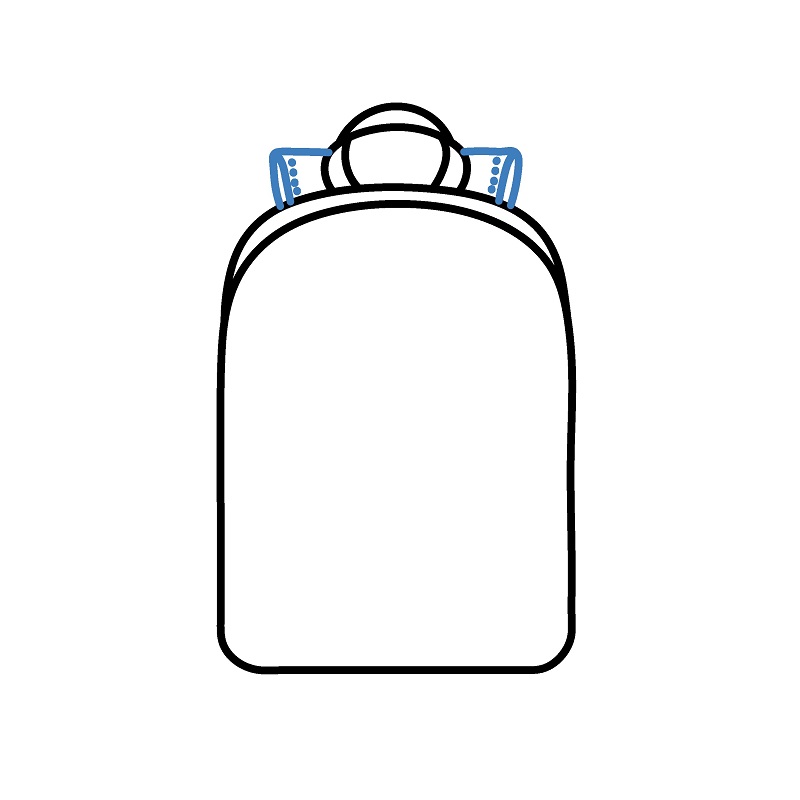
Step 4
Draw the front flap of the backpack with a horizontal curve near the top of the frame, shaping the flap of the bag.
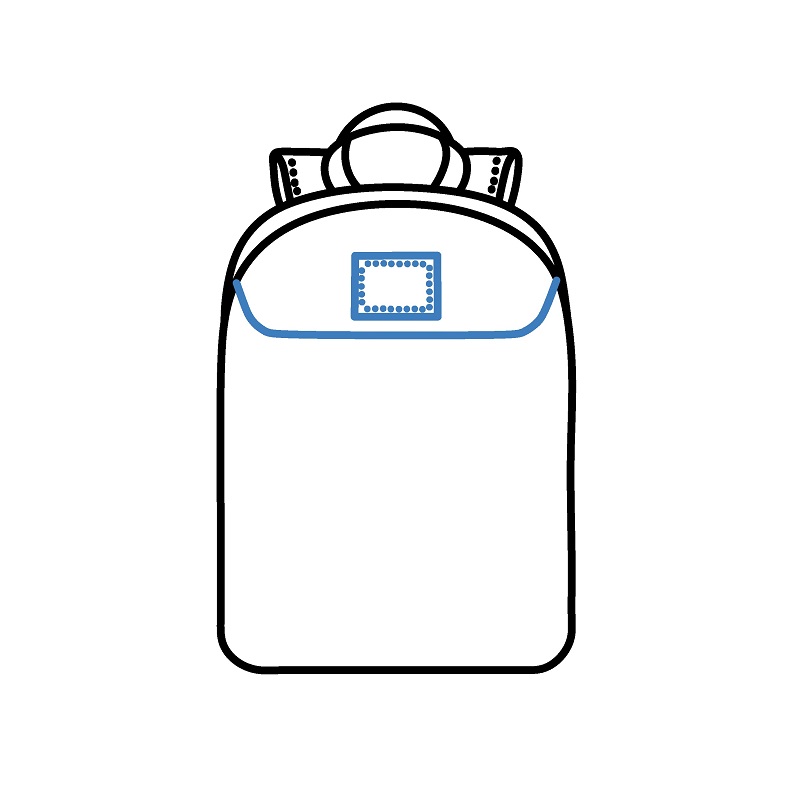
Step 5
Add details of the zipper lines on the front of the backpack by drawing two straight lines downwards, parallel and evenly spaced.
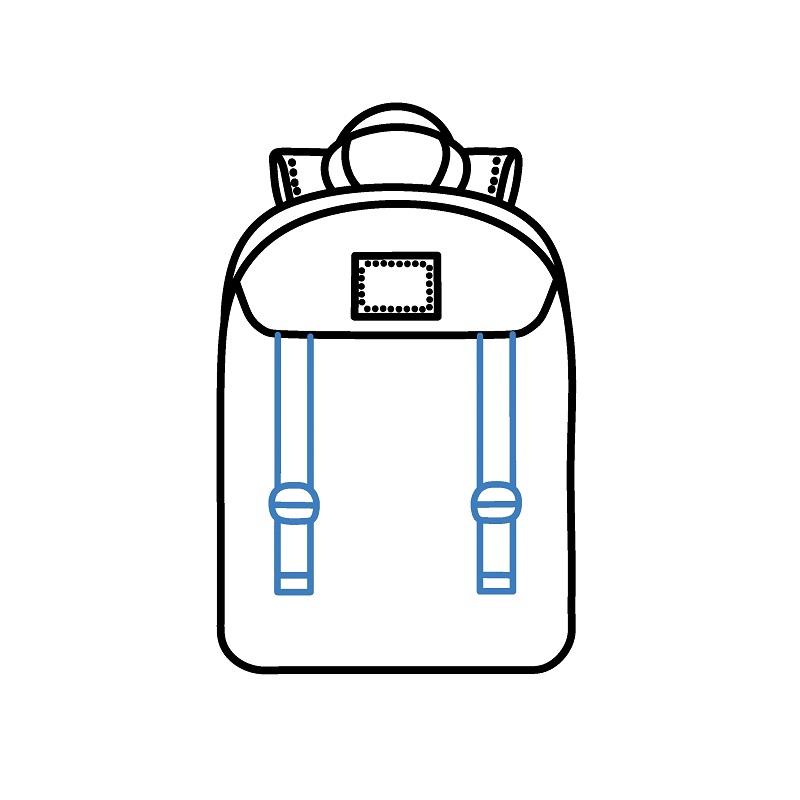
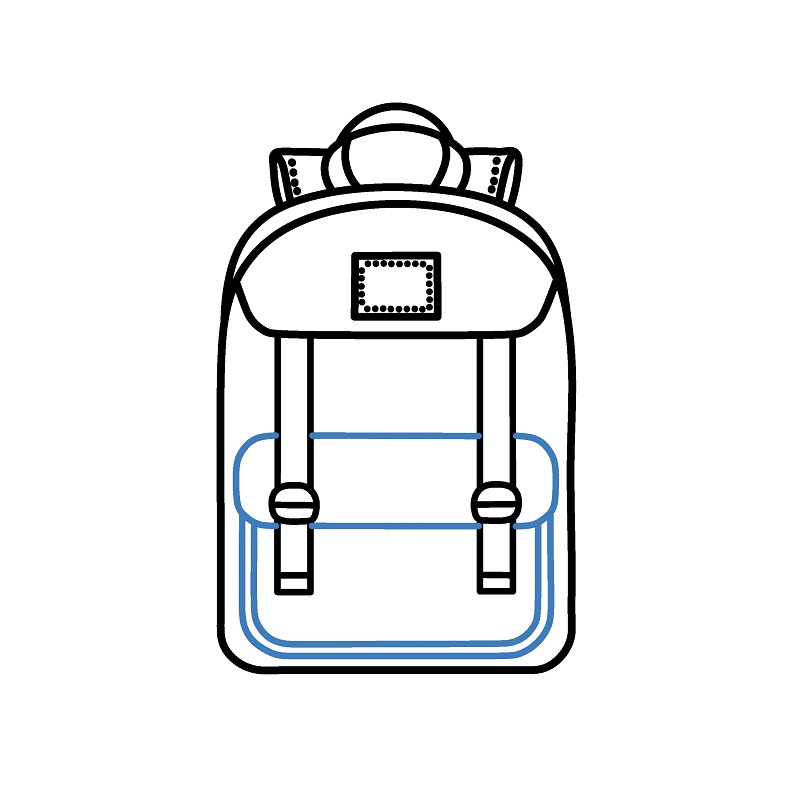
Guide to Drawing a Fashion Backpack.
8 steps
Step 1
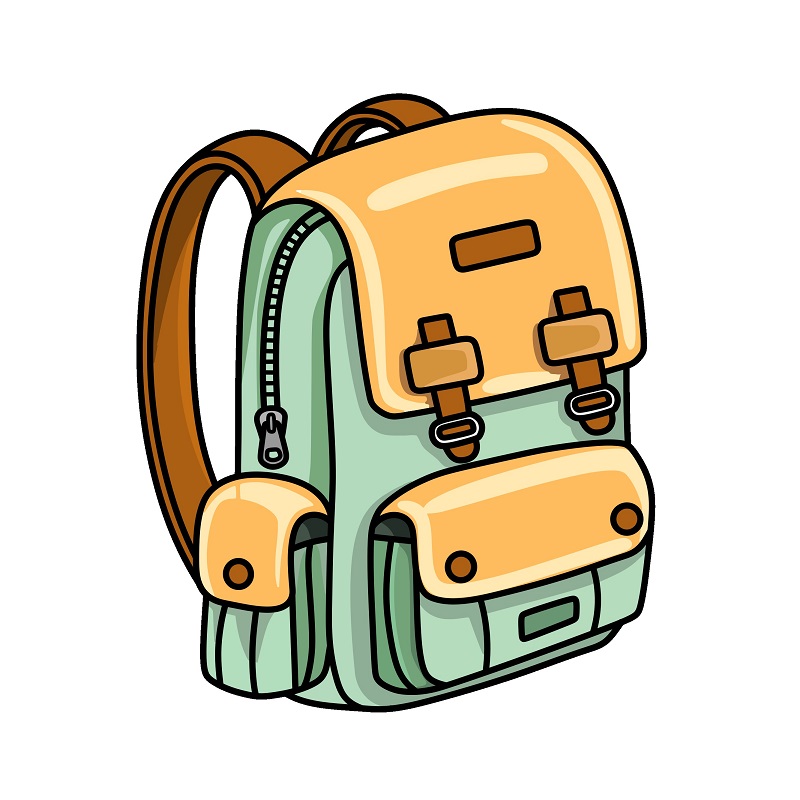
Draw the basic shape of the backpack, starting with a rounded rectangle to create the main frame and flap.
Step 2
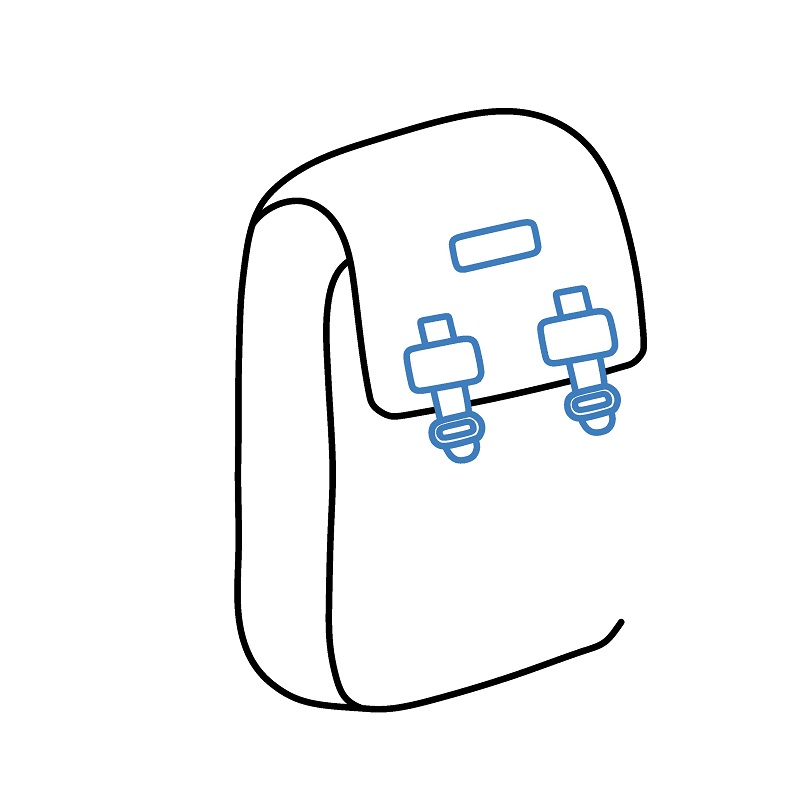
Add small details on the flap like buckles, represented by small rectangles and curved lines simulating straps.
Step 3
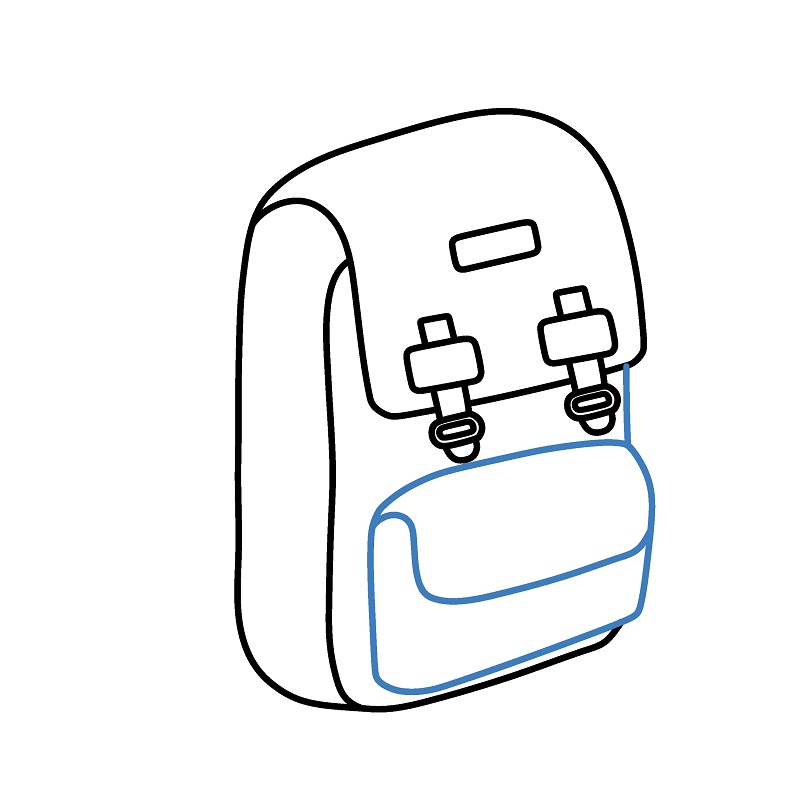
Draw the large front pocket of the backpack with a rounded rectangle at the bottom, adding an inner border.
Step 4
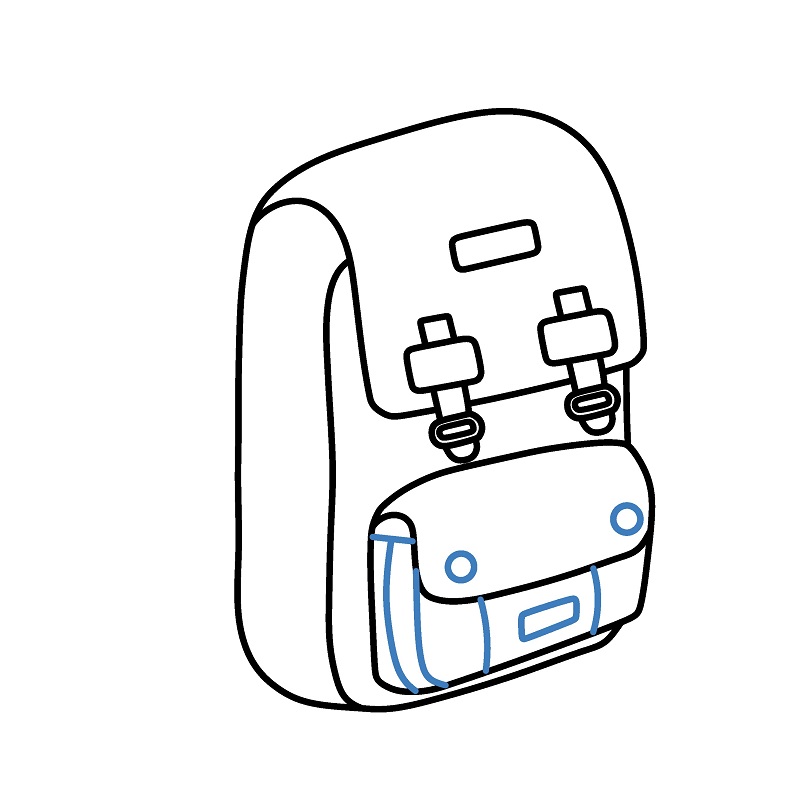
Supplement the front pocket with details, including buttons and clasps. Lines help divide the front pocket into smaller sections.
Step 5
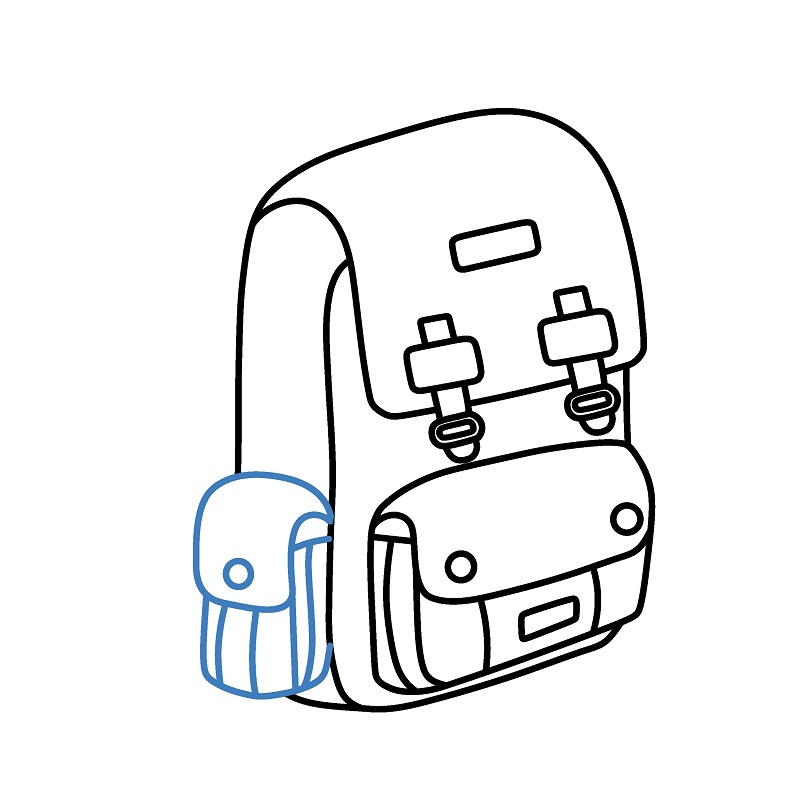
Draw additional side pockets on both sides of the backpack, each represented as small rectangles.
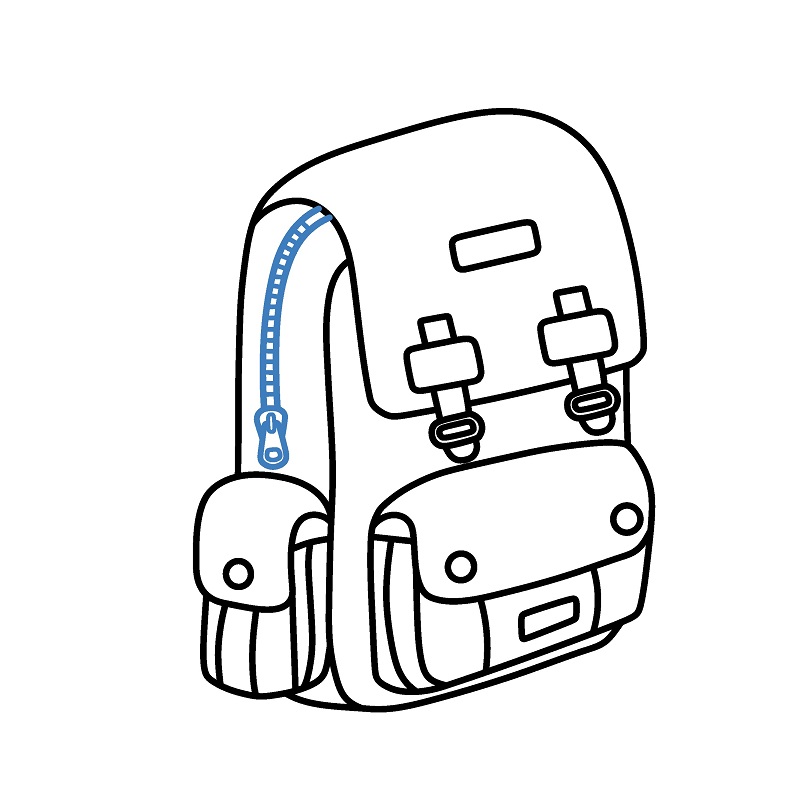
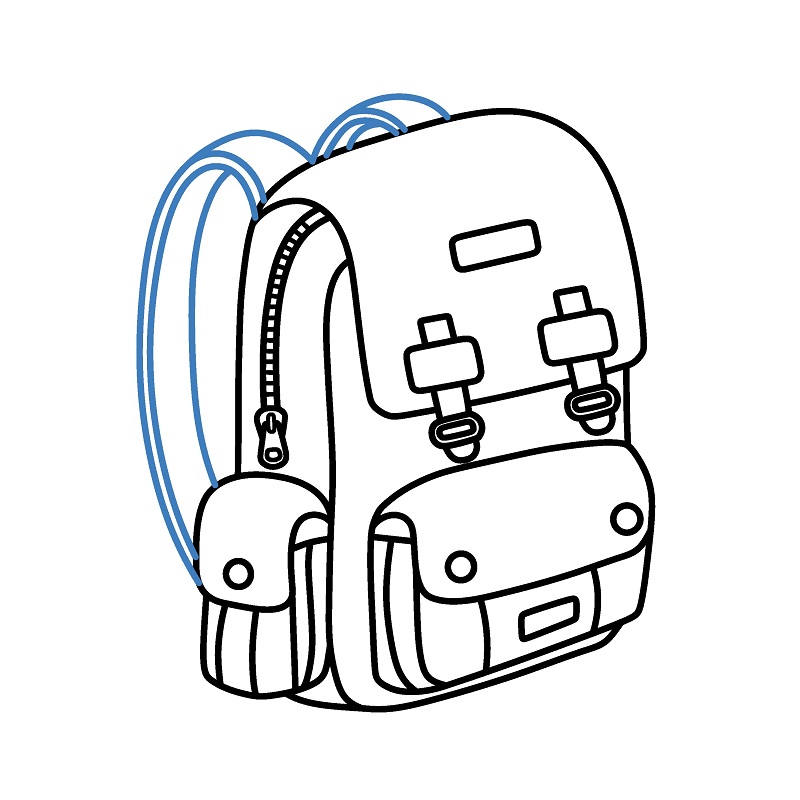
Step 7
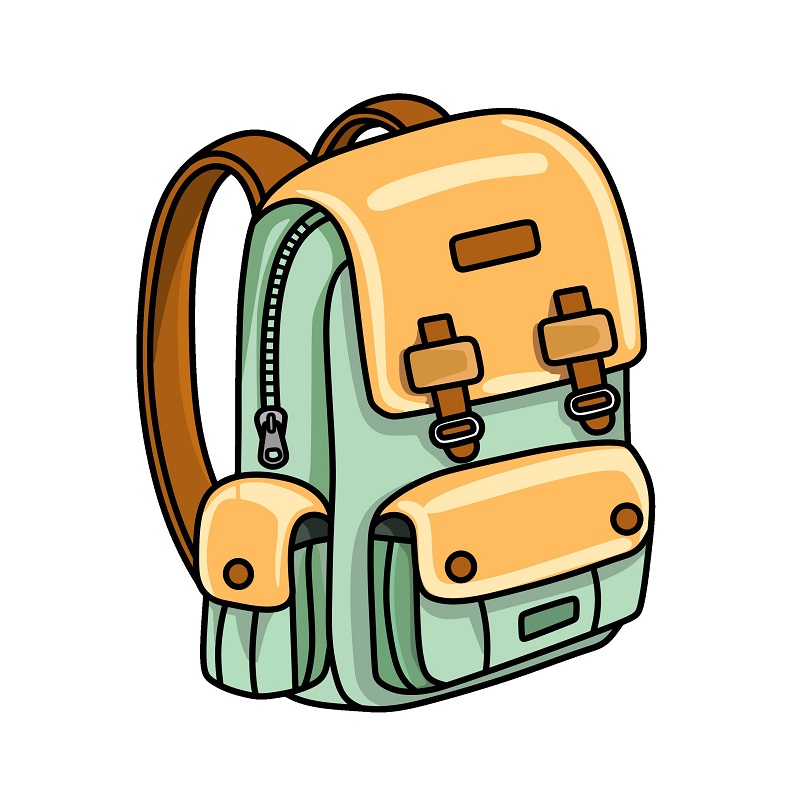
Draw the shoulder straps on the back of the backpack by adding symmetrical curves on both sides for completeness and balance.
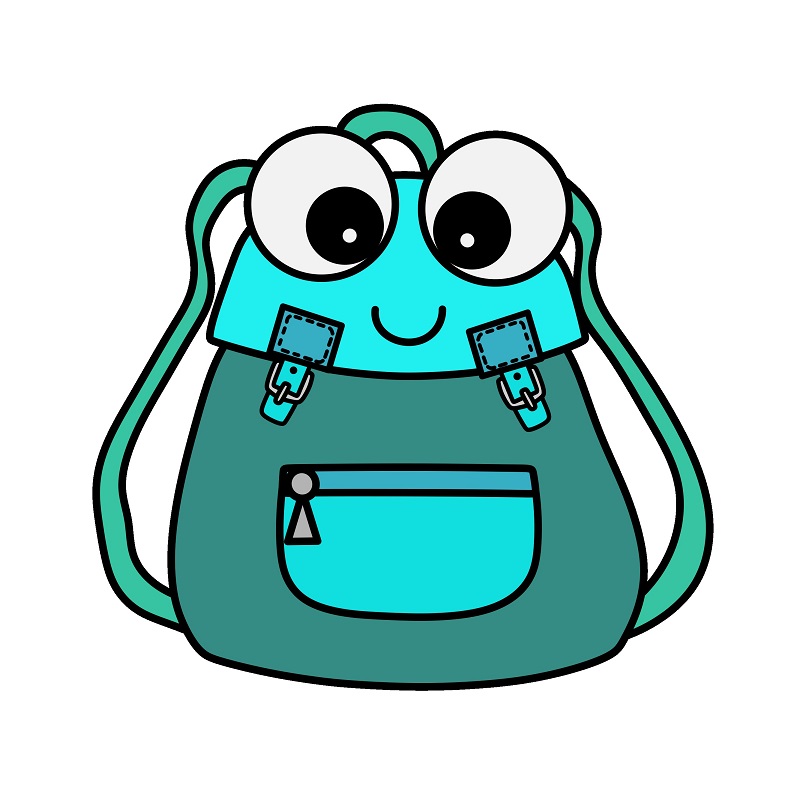
Guide to Drawing a Cute Cartoon Backpack.
8 steps
Step 1
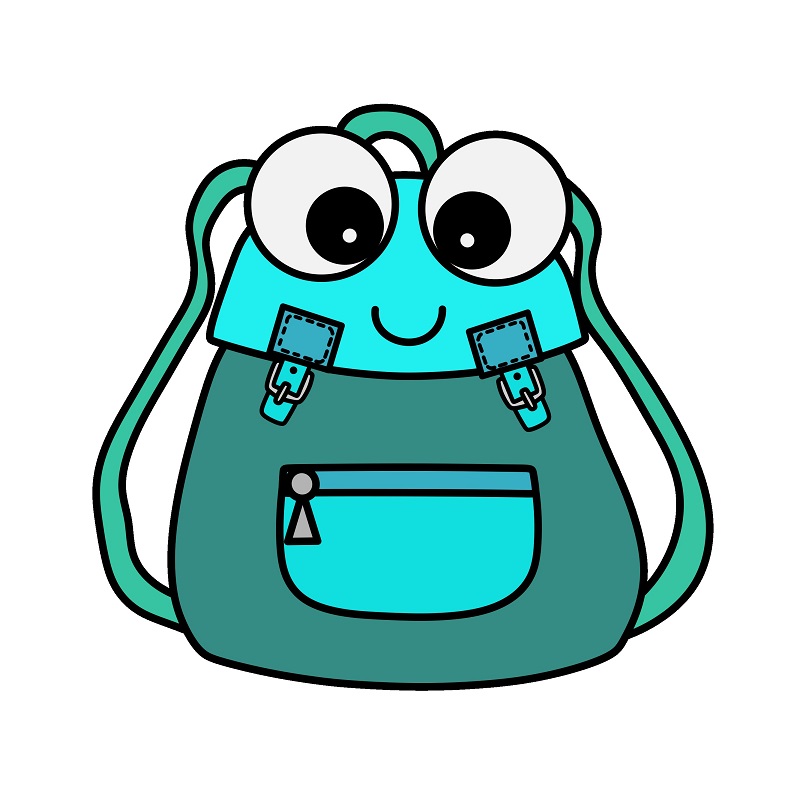
Draw two large eyes for the backpack. Each eye consists of two concentric circles, with the smaller circle representing the pupil.

Step 2
Draw an arch-shaped flap connecting the two eyes, and add a small mouth to create a friendly face.

Step 3
Draw the main body of the backpack with a large curve, mimicking the rounded shape below the face.

Step 4
Add zipper details on the flap by drawing two small rectangles with outlines to create a zipper effect.
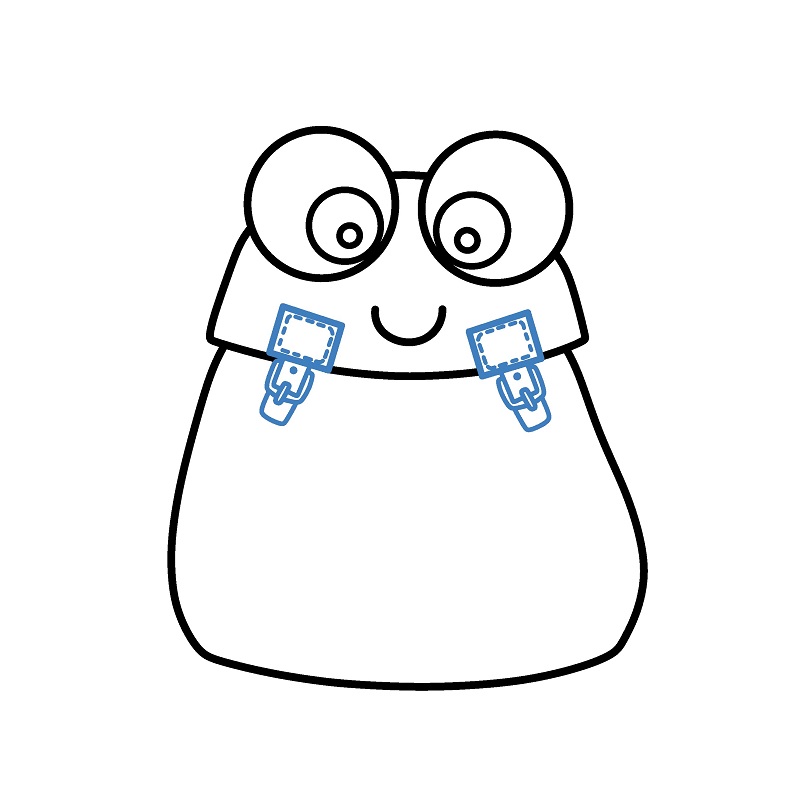
Step 5
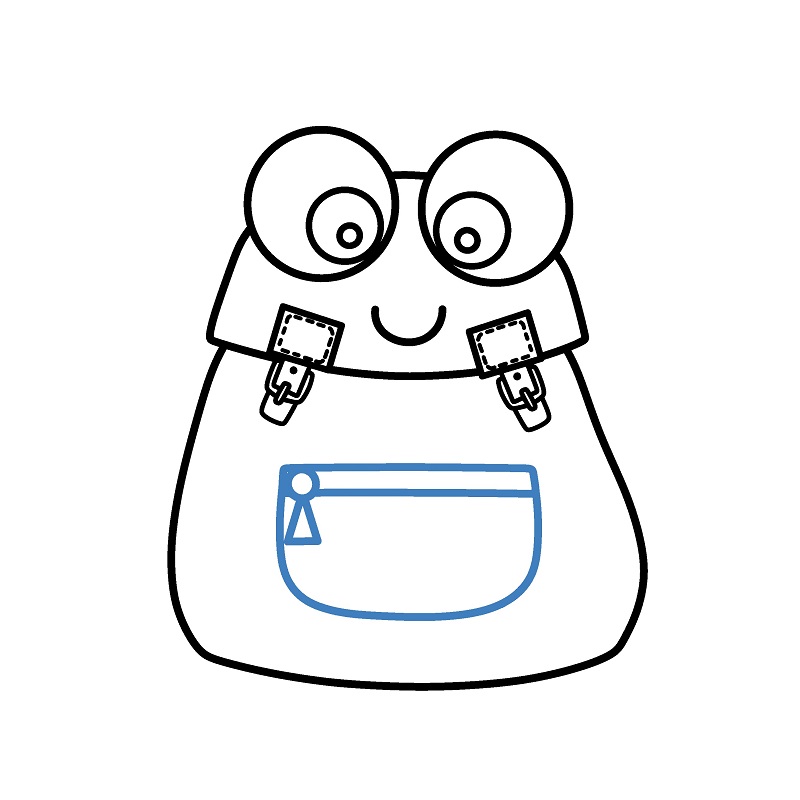
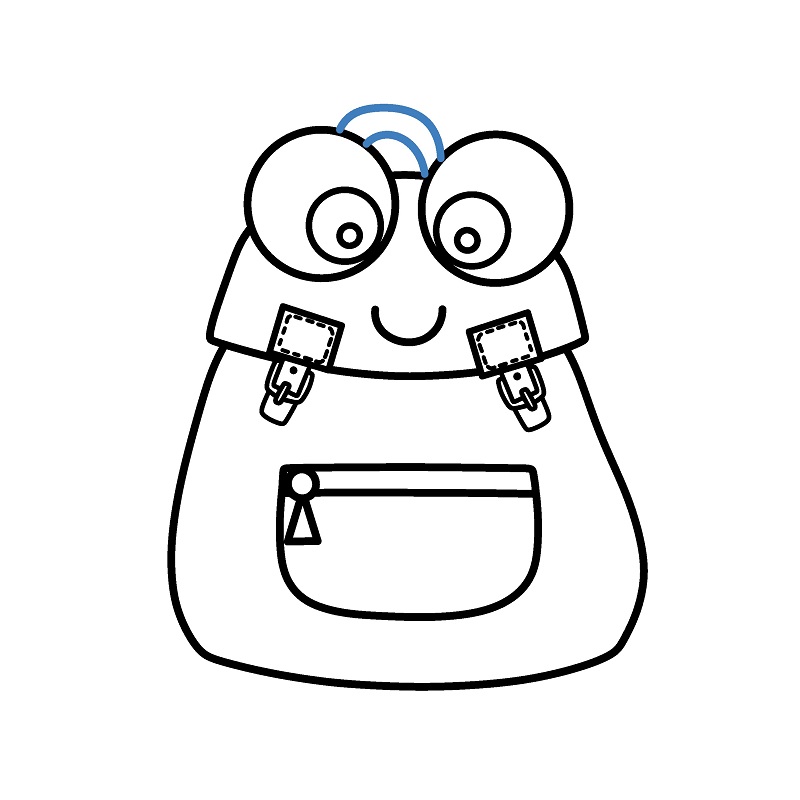
Draw the front pocket of the backpack by adding a rounded rectangle at the bottom of the main body. Decorate the pocket with a small outline and a lock detail.
Step 7
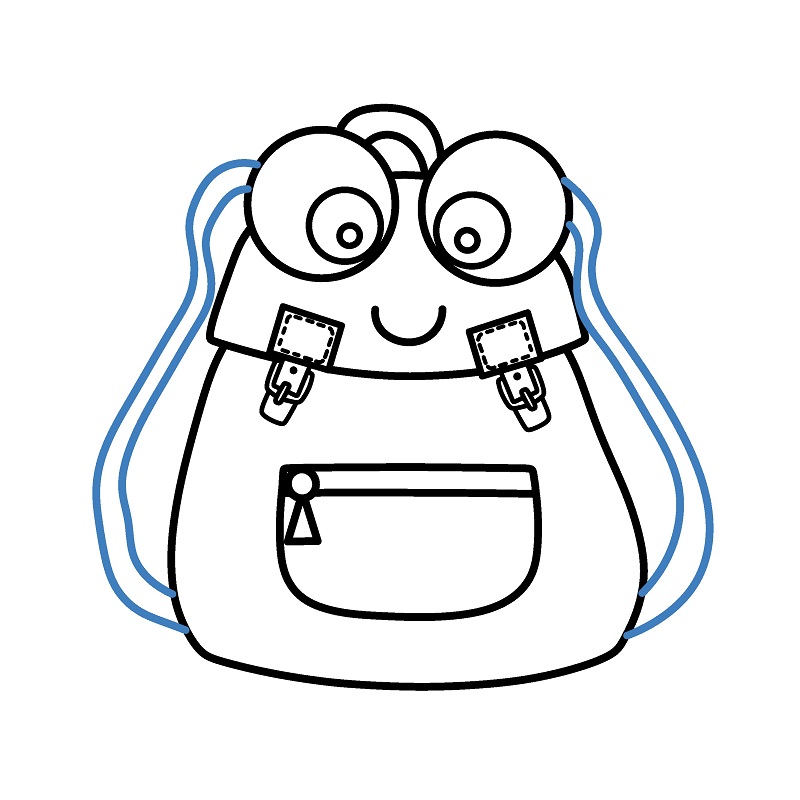
Draw the shoulder straps on both sides with curves extending from the top down to the sides of the backpack.
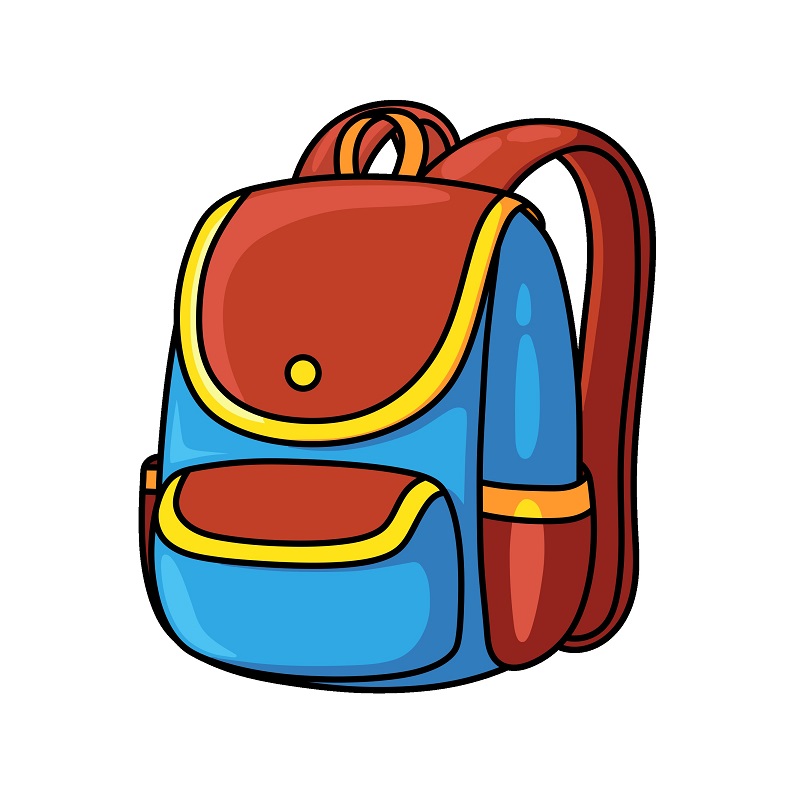
Guide to Drawing a Simple Backpack.
7 steps
Step 1
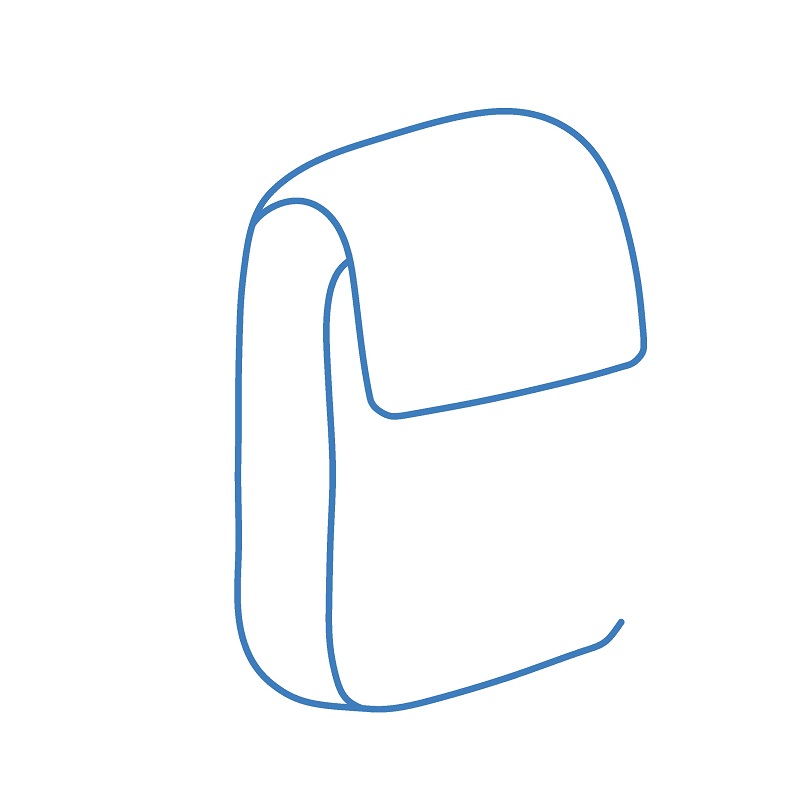
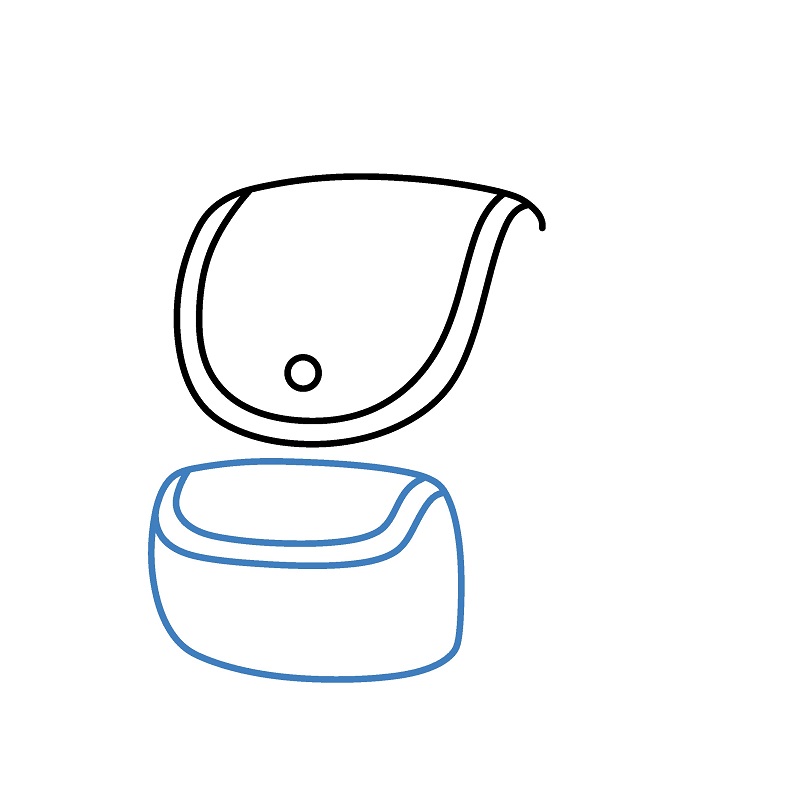
: Draw the flap of the backpack. Start with a curve to shape the top flap, then add a small circle in the middle for the button.

Step 2
: Draw the lower body of the backpack. Use continuous curves to shape the body below the flap, ensuring it looks balanced.
Step 3
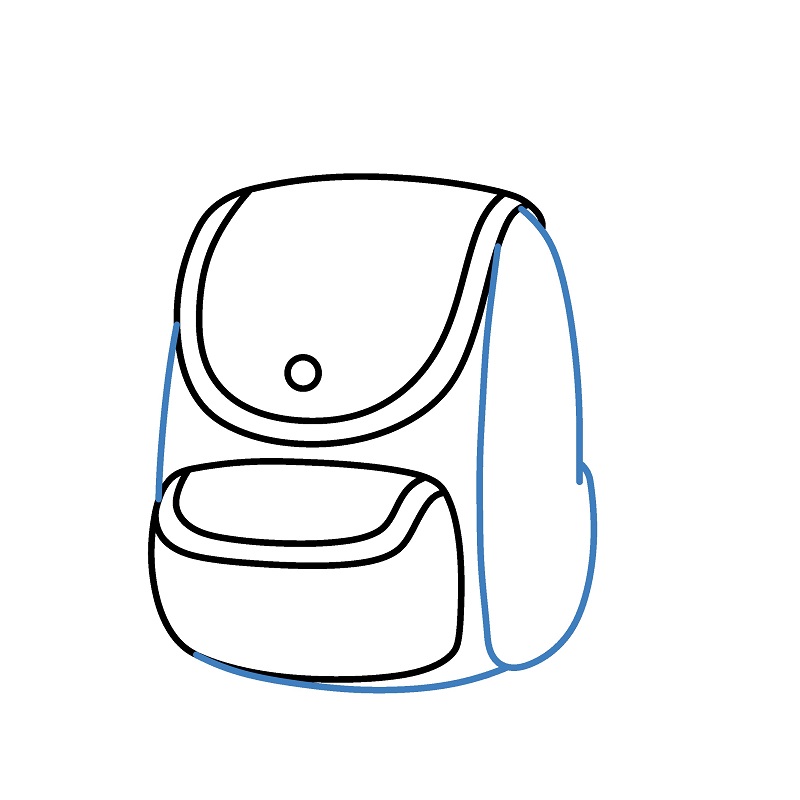
: Add basic details to the backpack. Draw the side edges of the backpack with vertical curves on both sides to create a sense of depth.
Step 4
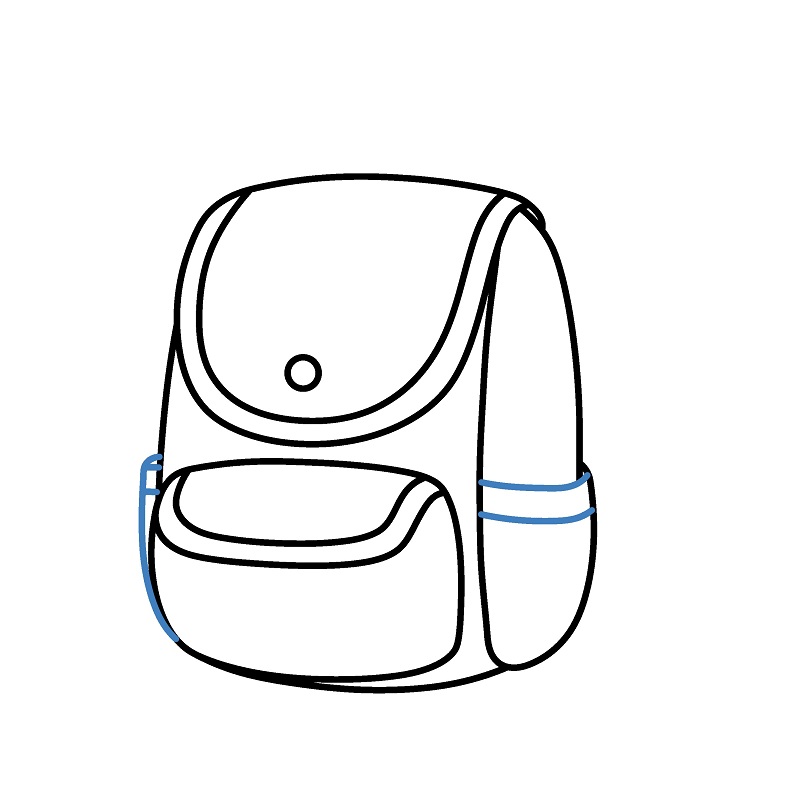
: Draw additional side pockets. Add a horizontal curve on the side of the backpack to shape a side pocket.
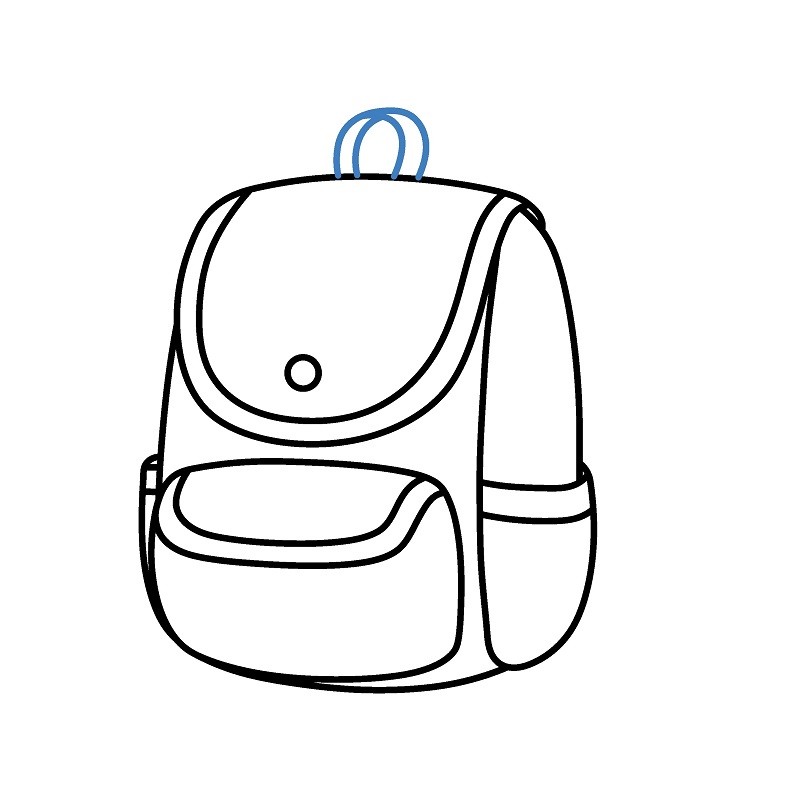
Step 6
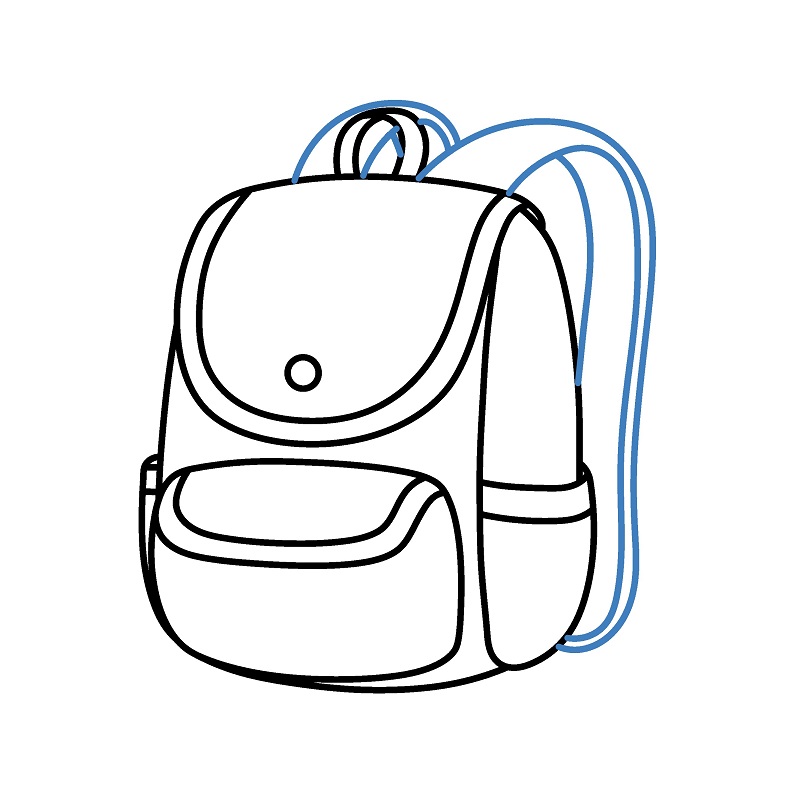
: Draw the shoulder straps of the backpack. Use curves extending from the top of the backpack down to the sides, creating balanced straps.
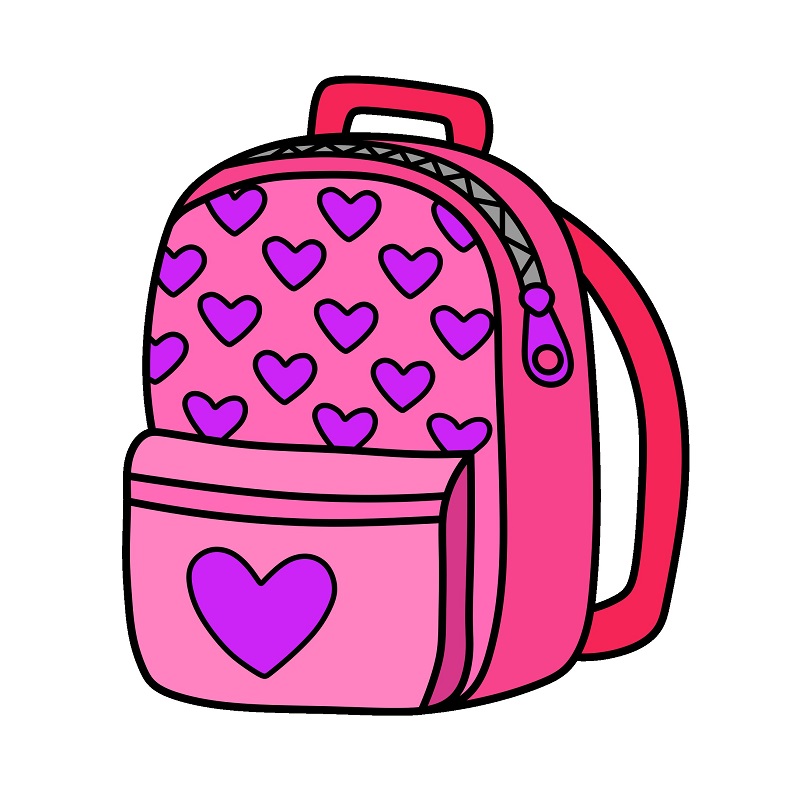
Guide to Drawing a Stylish Backpack.
6 steps
Step 1
: Draw the front pocket of the backpack. Start with a rounded rectangle to shape the pocket, then add a horizontal line in the middle to create the pocket flap.
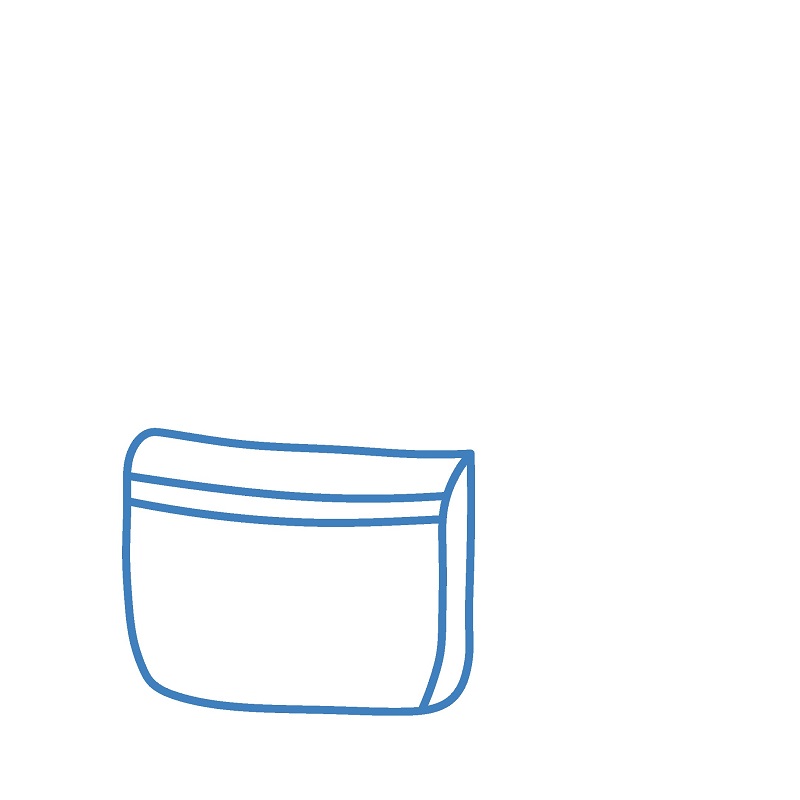
Step 2
: Draw the main body of the backpack. Use curved lines extending from the top of the front pocket to form the overall shape of the backpack.
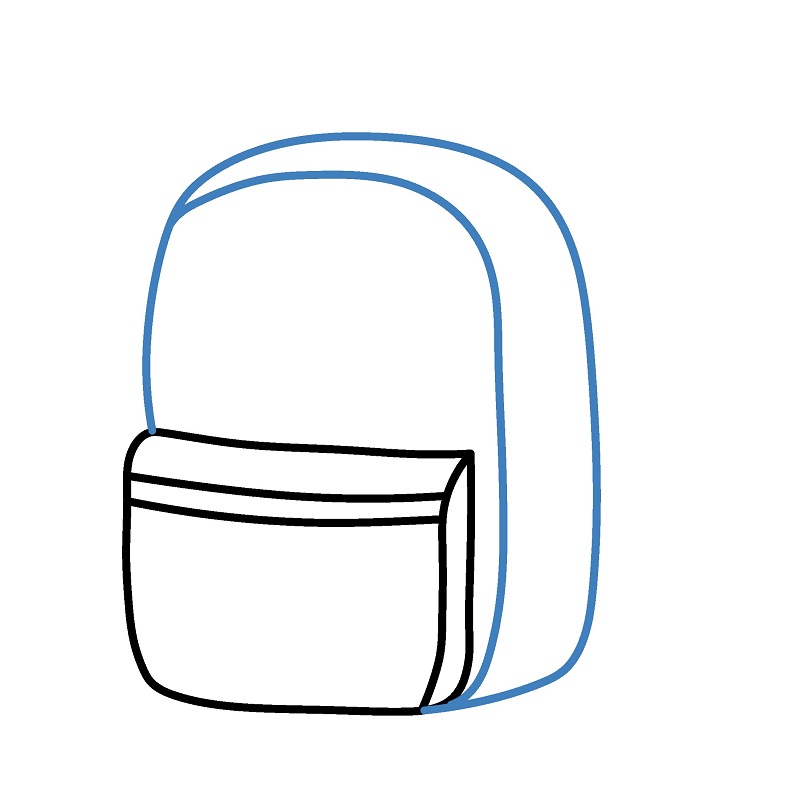
Step 3
: Add the zipper. Draw a curved line at the top of the backpack body to create the zipper, then add small details like teeth and the zipper pull.
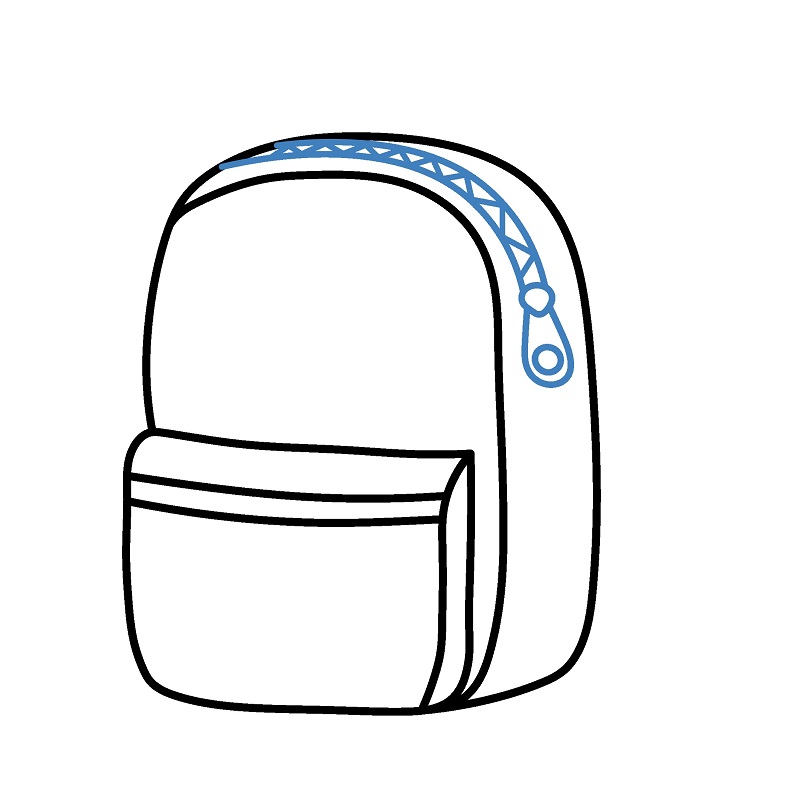
Step 4
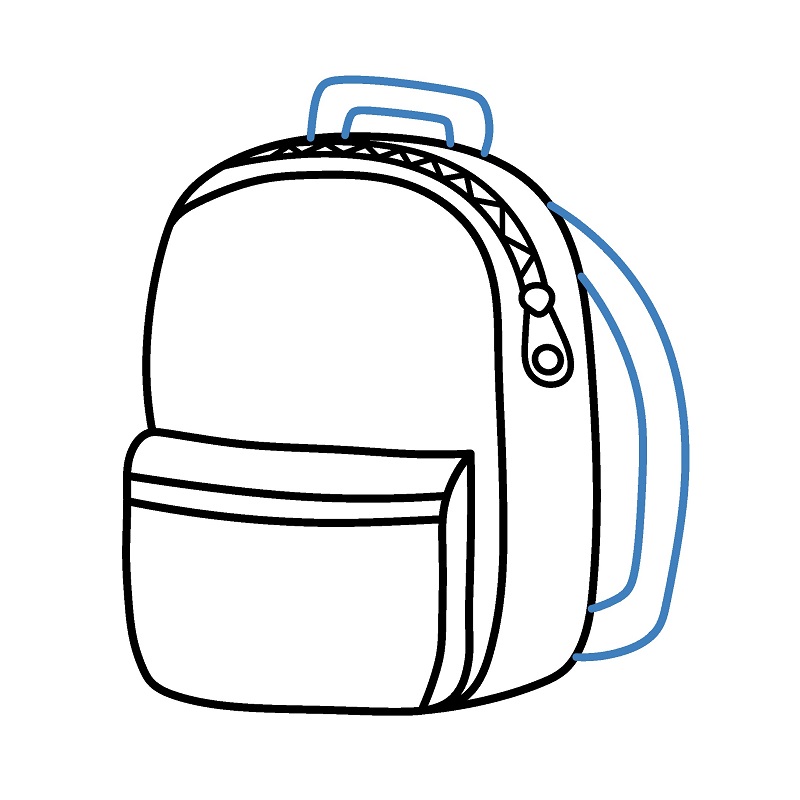
: Draw the straps and handle. Add a small handle on top of the backpack and curved lines on both sides to create the straps.
Step 5
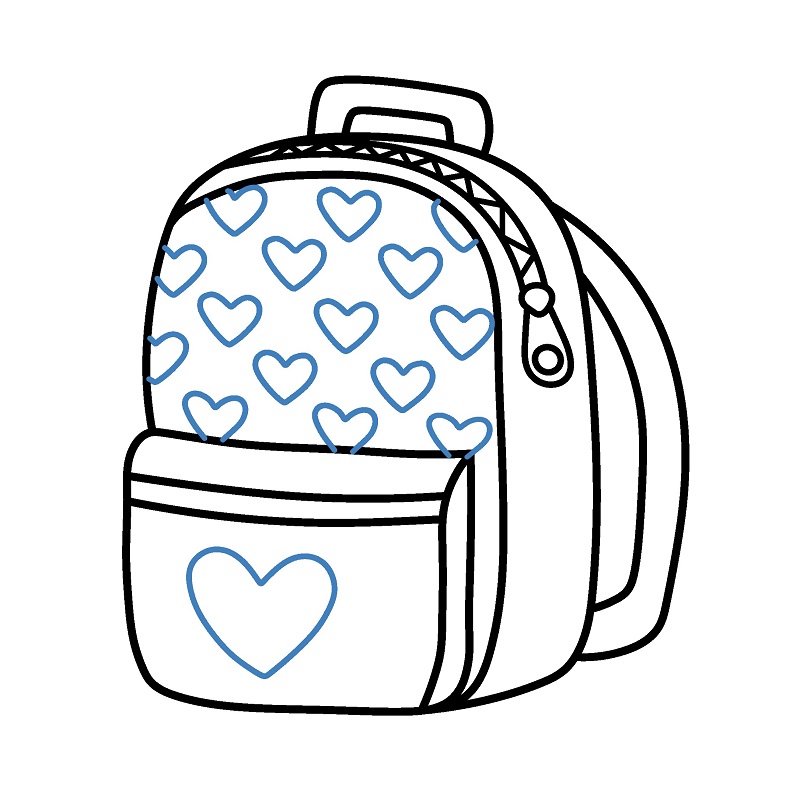
: Decorate the backpack. Draw patterns like small hearts on the upper body and a larger heart on the front pocket for emphasis.
Step 6
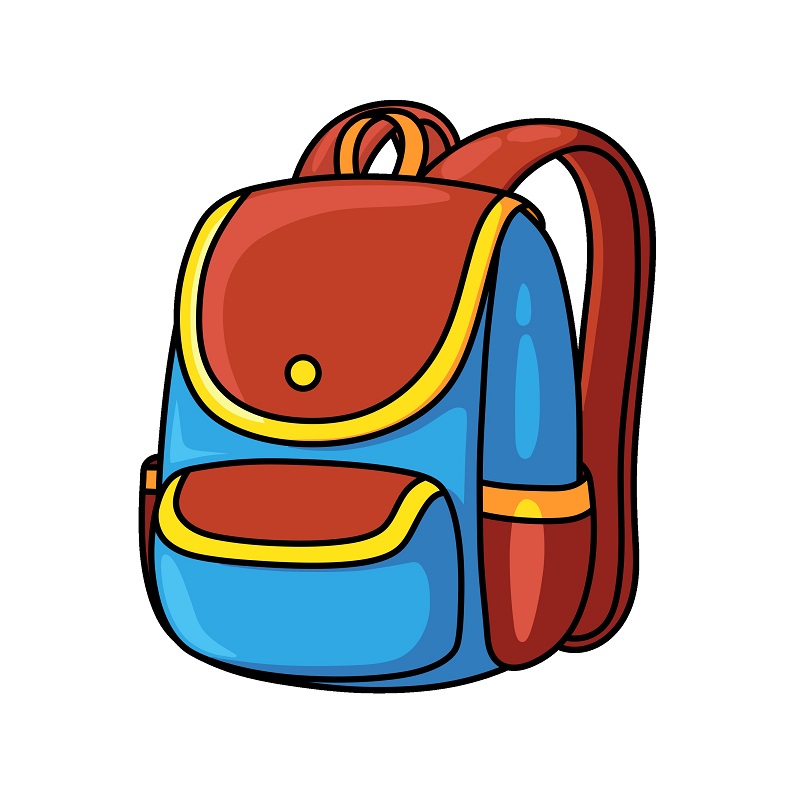
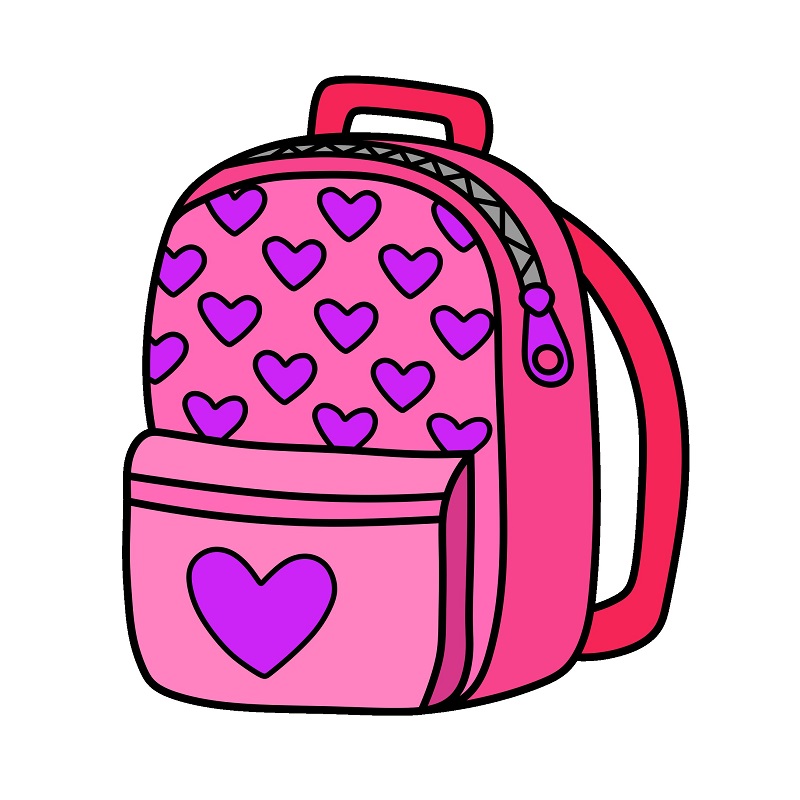
: Color the drawing. Hopefully, this tutorial on how to draw a simple and beautiful backpack for kids will help you create a lovely picture.
▶Drawing tips
- Draw lightly with a pencil first, then darken the lines when you're satisfied.
- You don't need to draw exactly like the sample — add your own style!
- After finishing your drawing, you can color it directly on Tomau.AI to make it more vibrant.