How to Draw a Chair
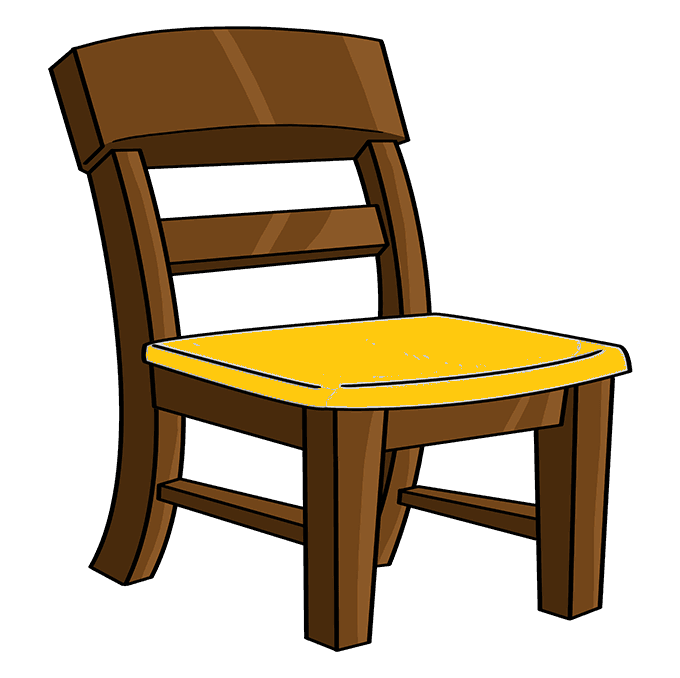
Want to learn how to draw how to draw a chair? This tutorial will help you do it in just 36 simple steps, with clear illustrations for each step. Whether you're a beginner or experienced, the steps below are easy to understand and follow.
You just need a pencil, drawing paper, and an eraser — then start drawing step by step!
This lesson includes 5 different ways to draw. Choose the one that suits you best!
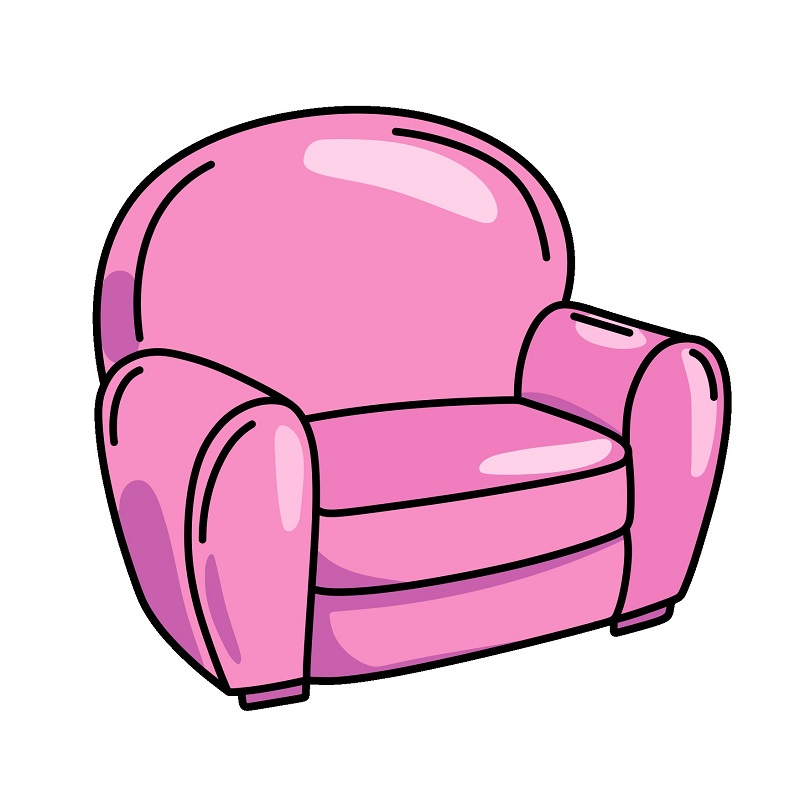
Guide to Drawing a Sofa
7 steps
Step 1
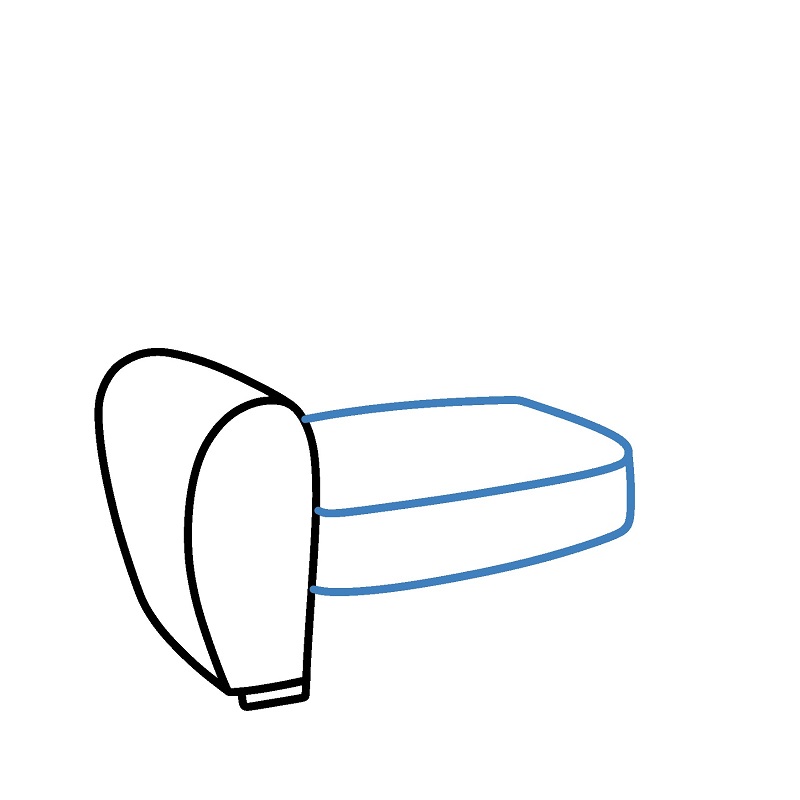
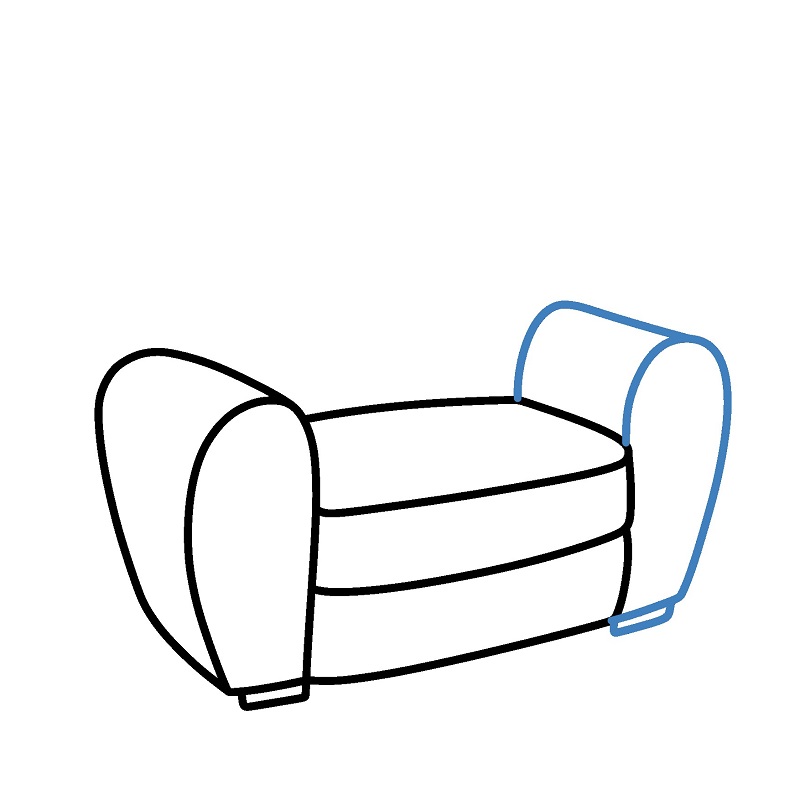
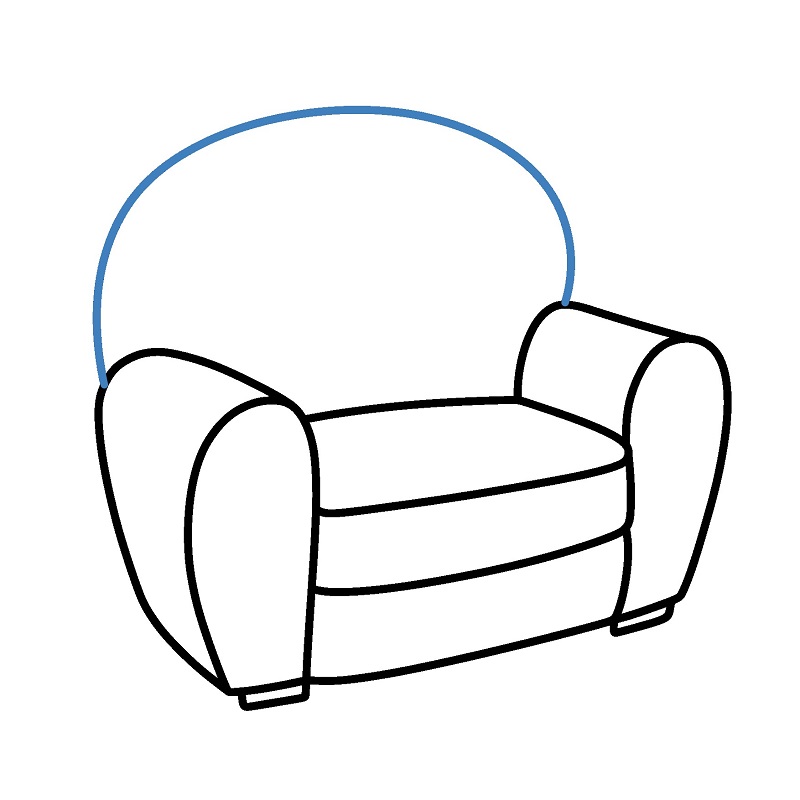
Draw the left armrest of the sofa. The shape is a curved block resembling a rounded rectangle on top, with a small line at the bottom to create the feel of the sofa leg.

Step 2
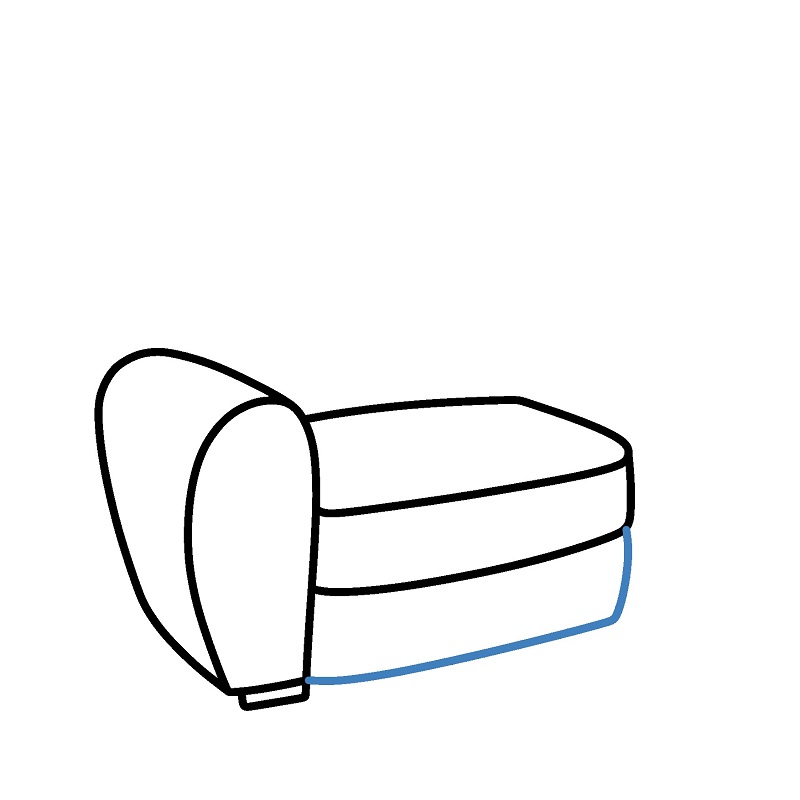
Add the seat cushion of the sofa. This part is a horizontal rectangular block connected to the previously drawn armrest.
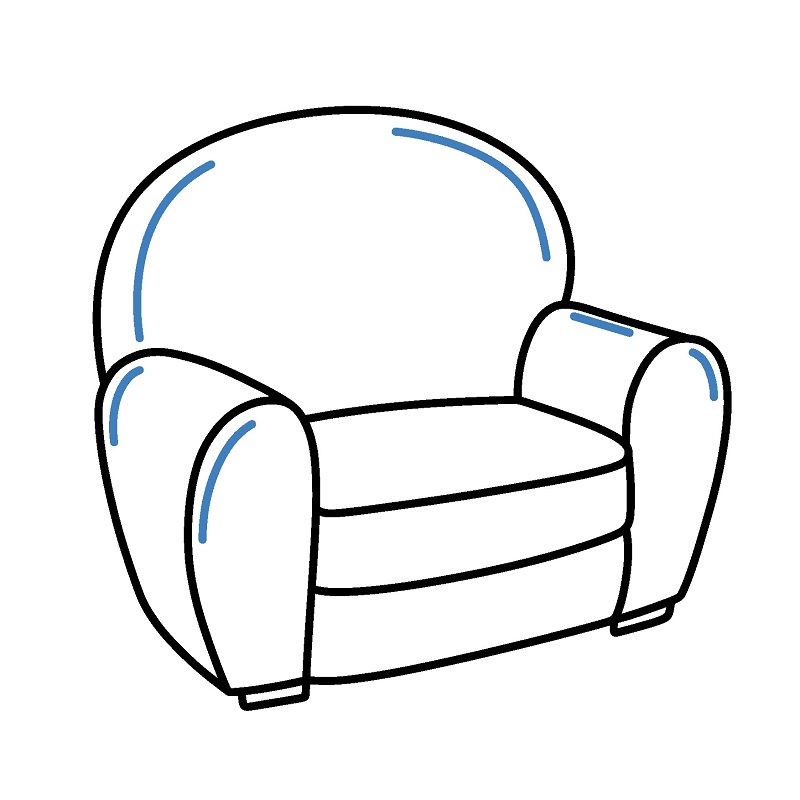
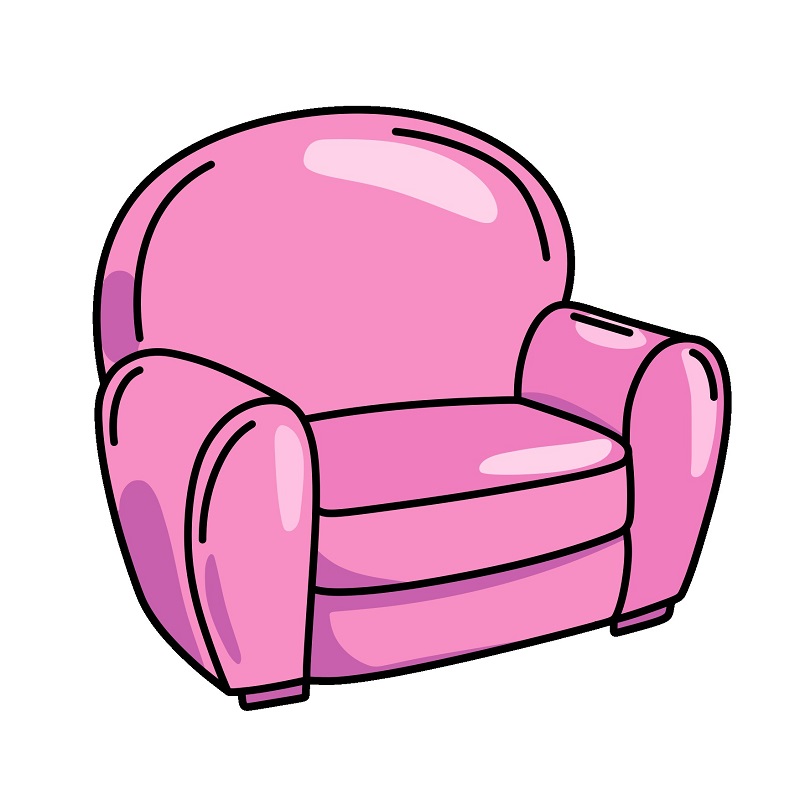
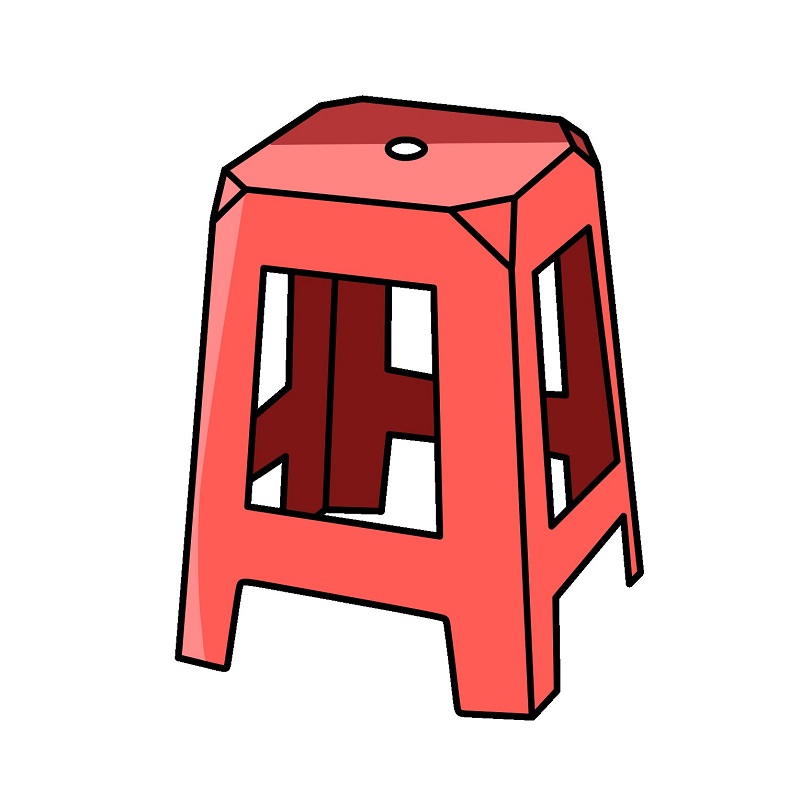
Guide to Drawing a Plastic Chair.
7 steps
Step 1
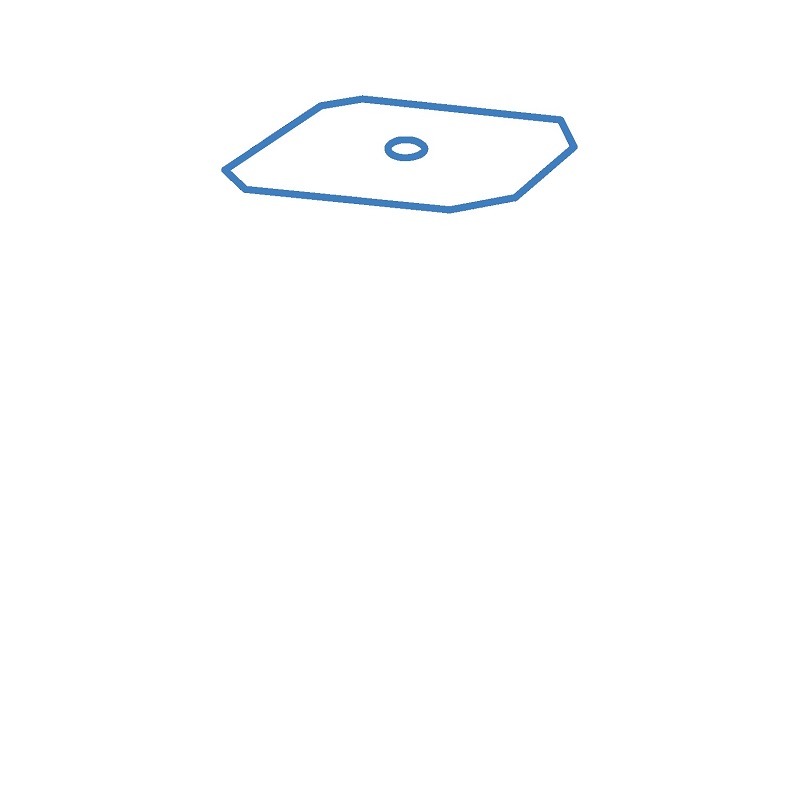
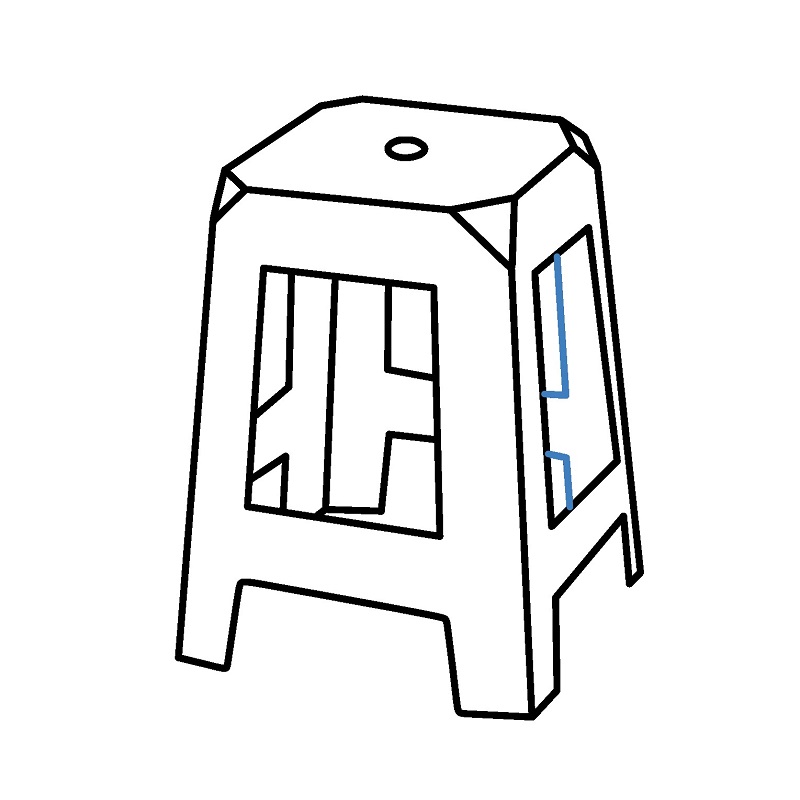
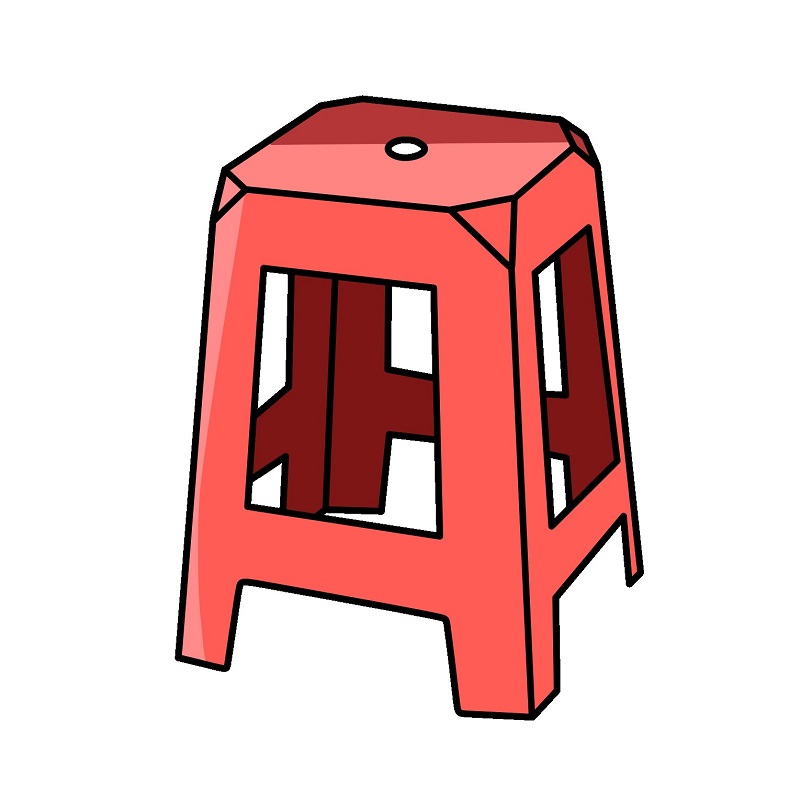
Draw the seat in a diamond shape. In the center of the seat, draw a small circle for the handle hole.
Step 2
Add four chair legs by drawing straight lines extending from the corners of the seat.
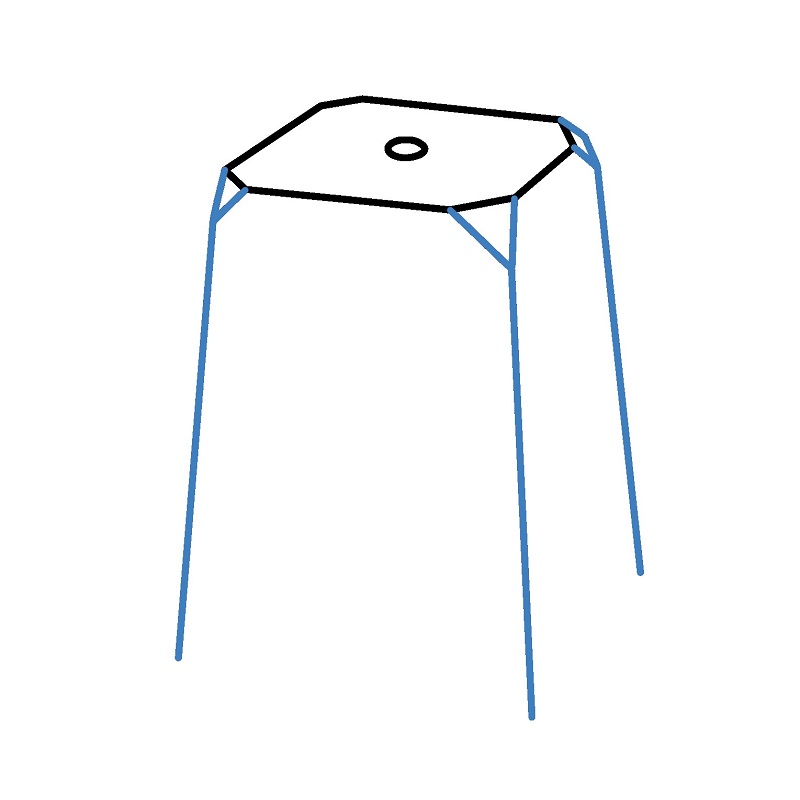
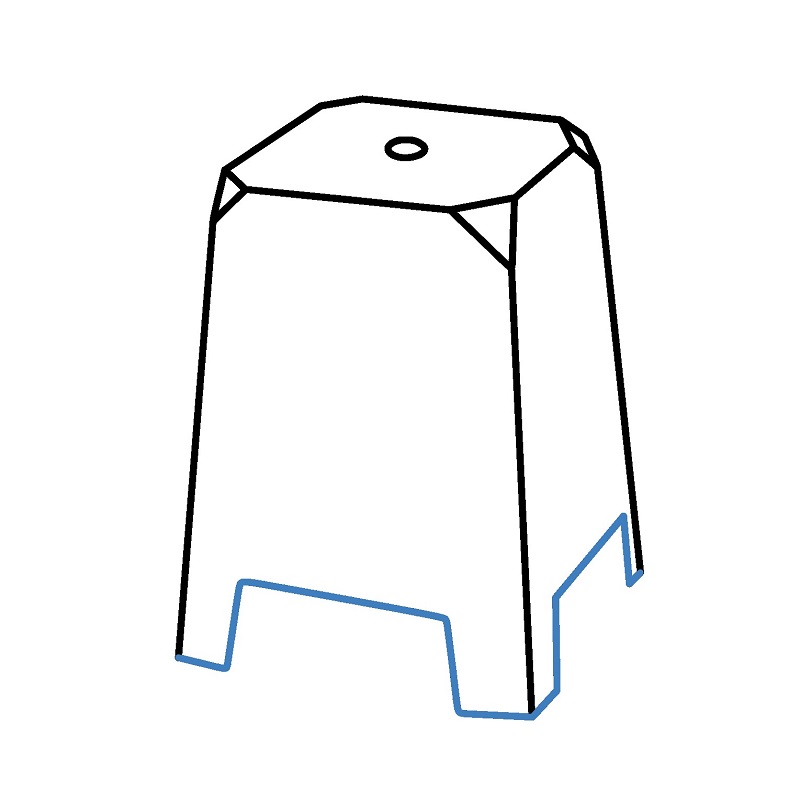
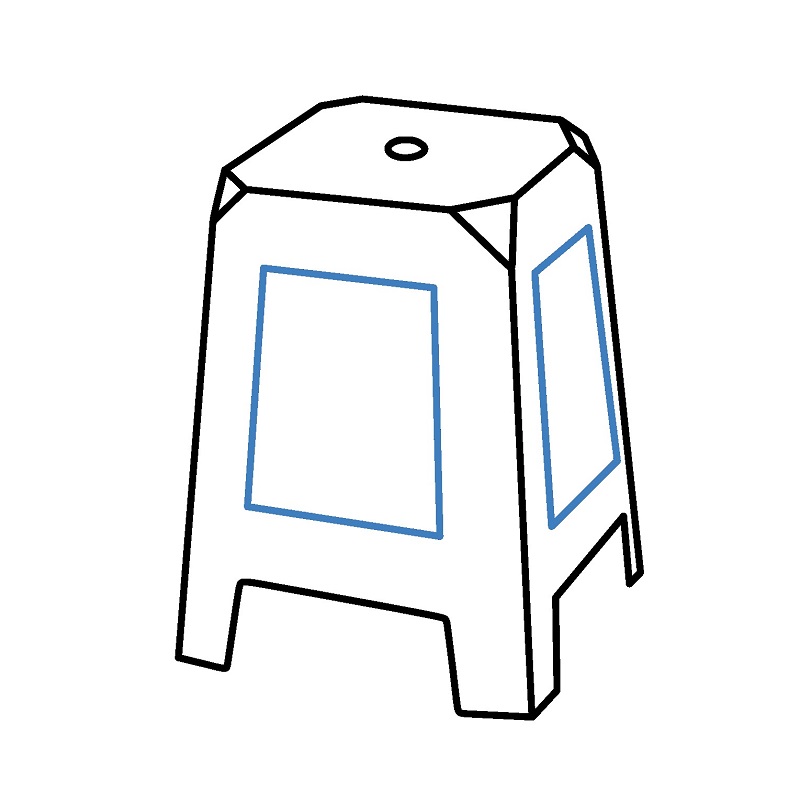
Step 5
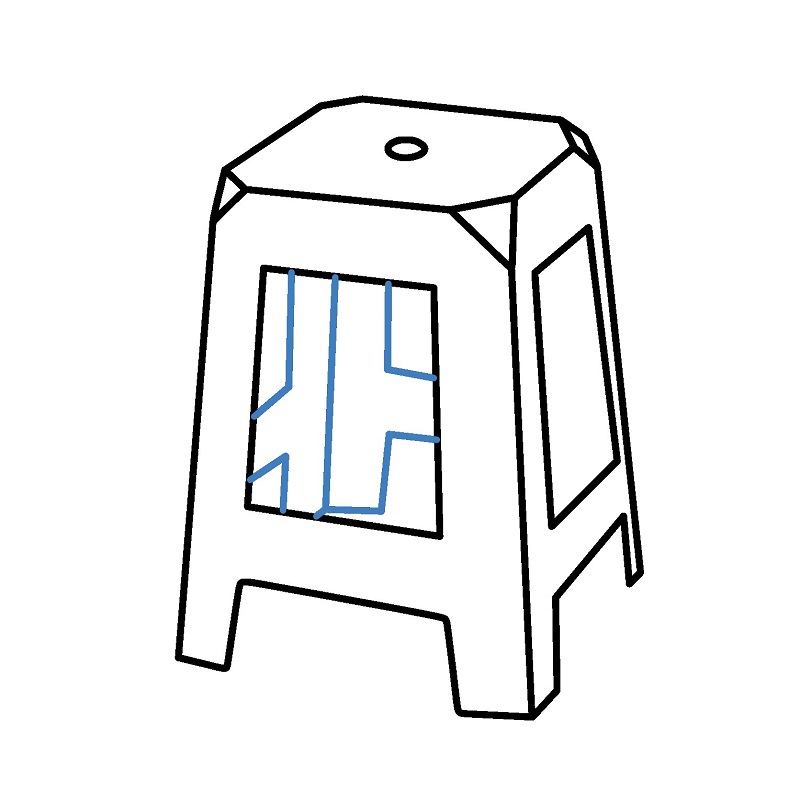
Add details to the inner frame of the chair. These lines represent the internal structure of the chair.
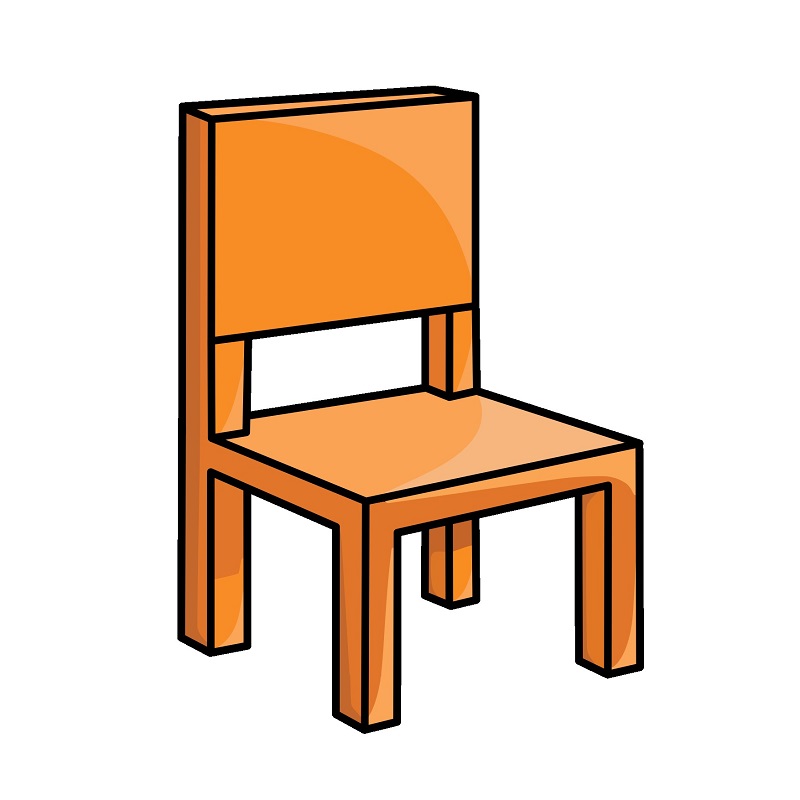
Guide to Drawing a Simple Wooden Chair.
7 steps

Step 2
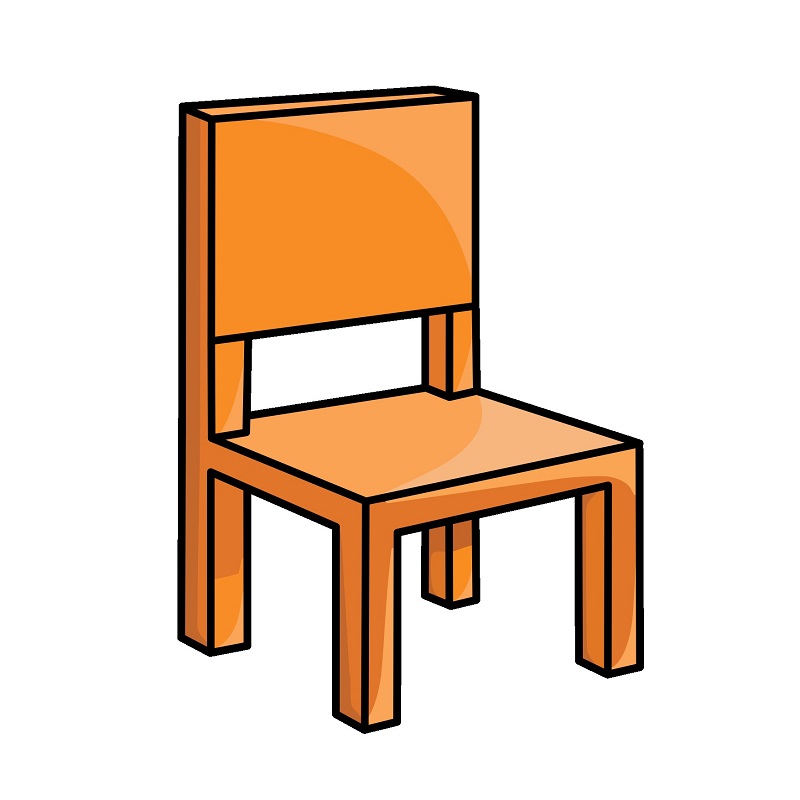
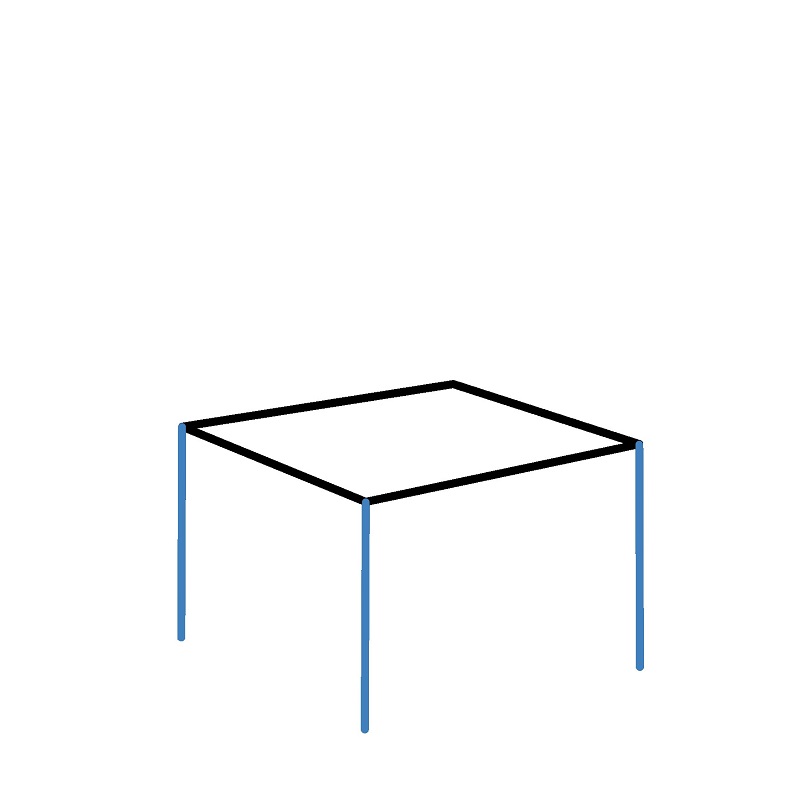
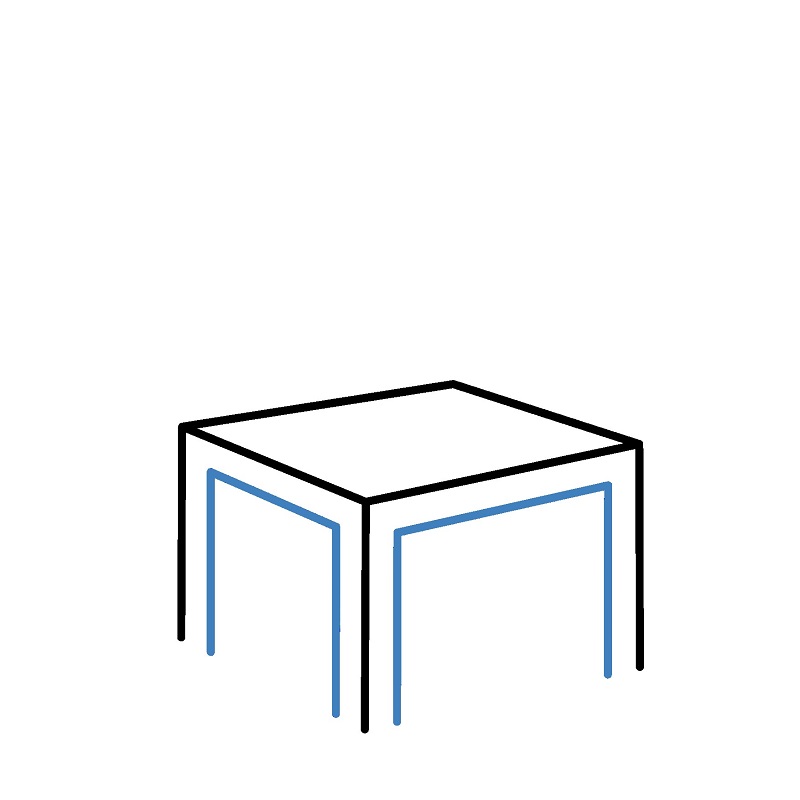
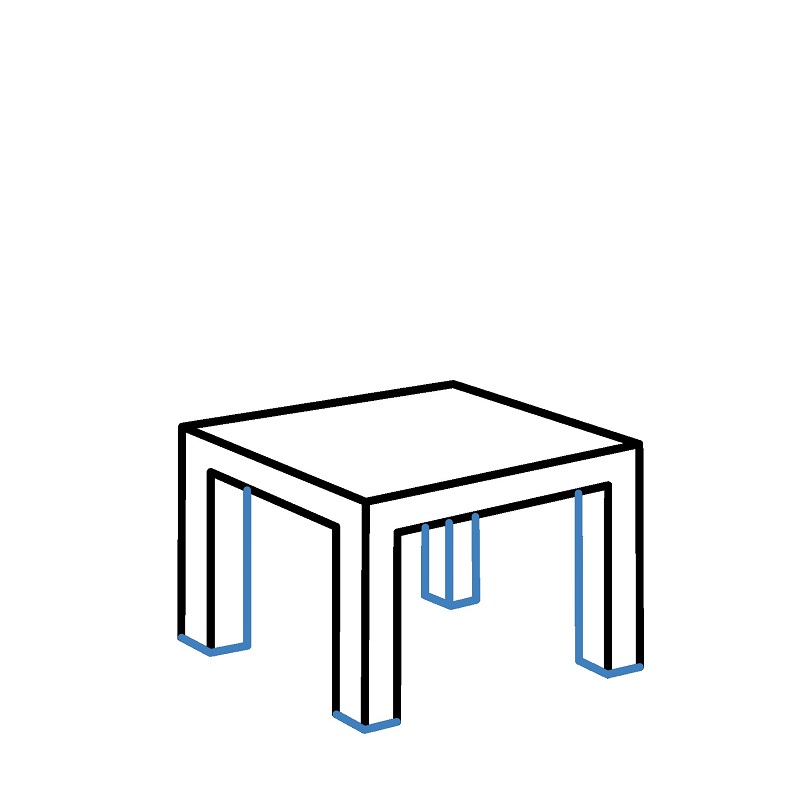
Add four legs by drawing straight lines extending from the corners of the seat downwards. The legs should be parallel and of equal length.
Step 5
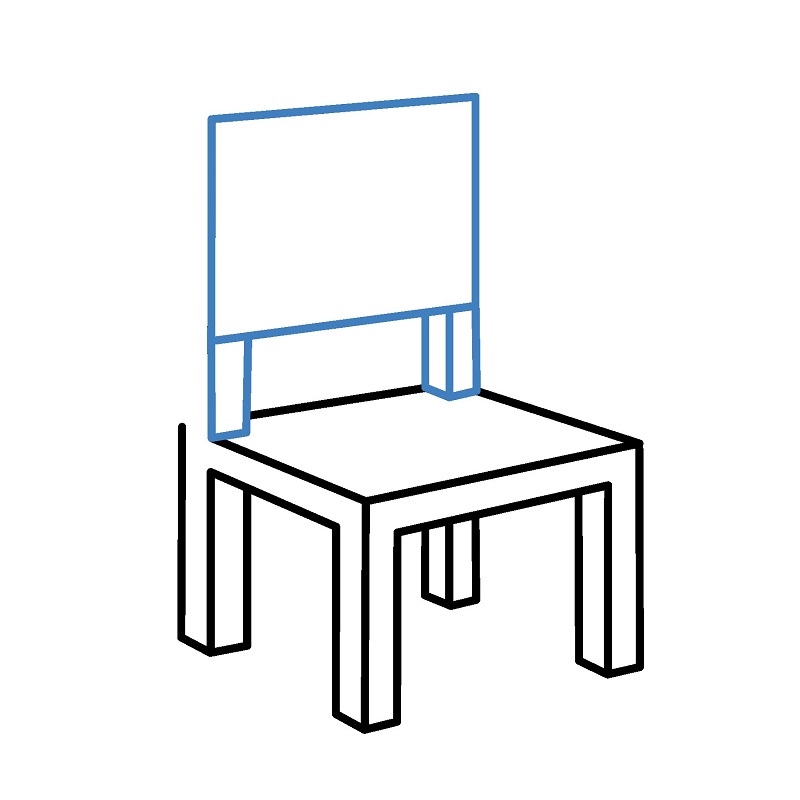
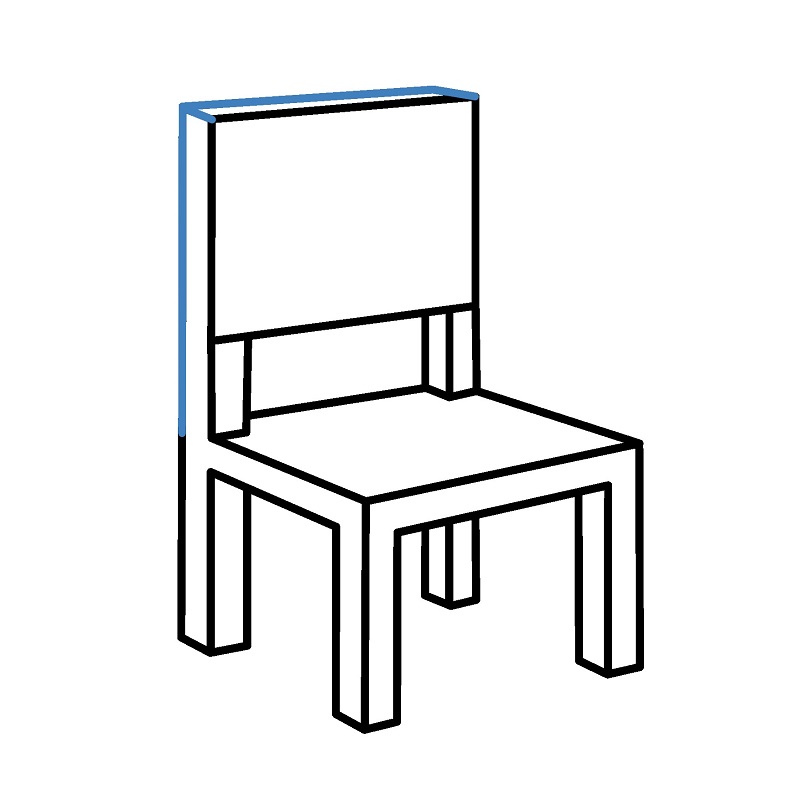
Add the backrest by drawing two vertical lines up from the back legs. Connect these lines with a small rectangle to form the backrest frame.
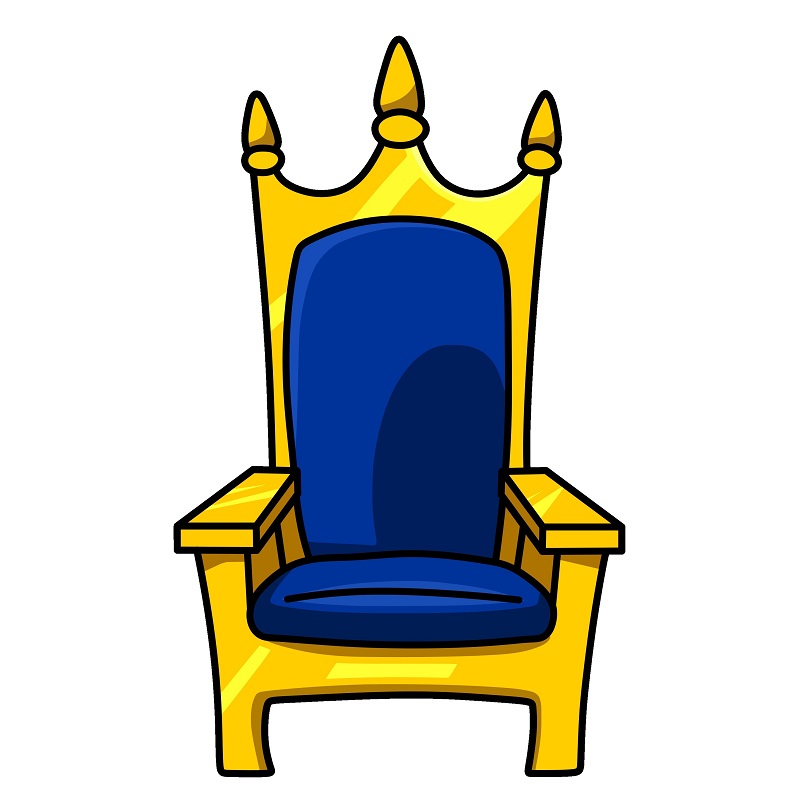
Guide to Drawing a Luxurious Chair.
8 steps

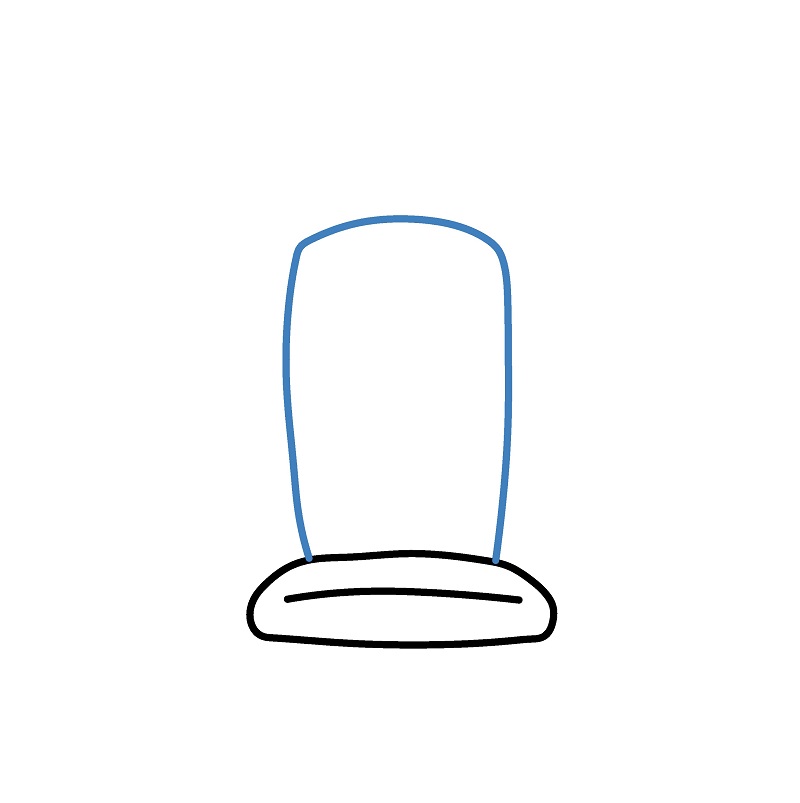
Step 2
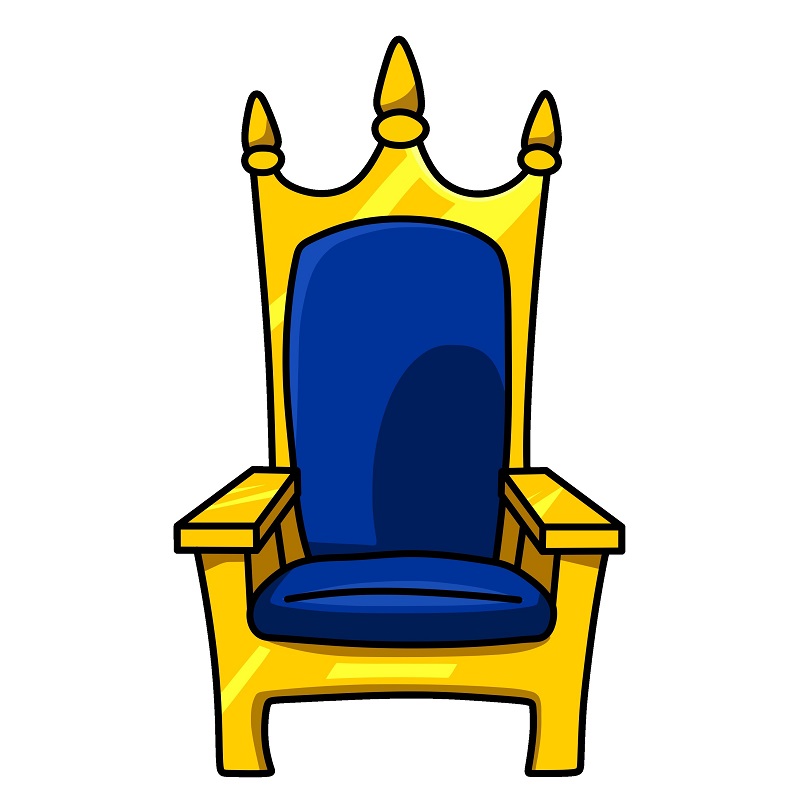
: Add the backrest of the chair, starting from the seat base and curving up into a rectangular shape.
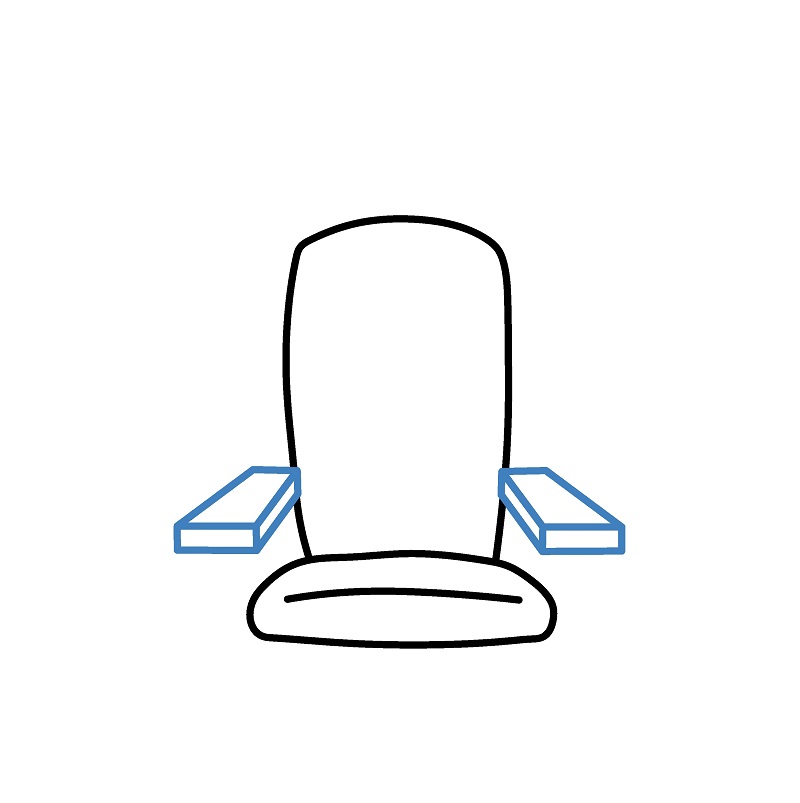
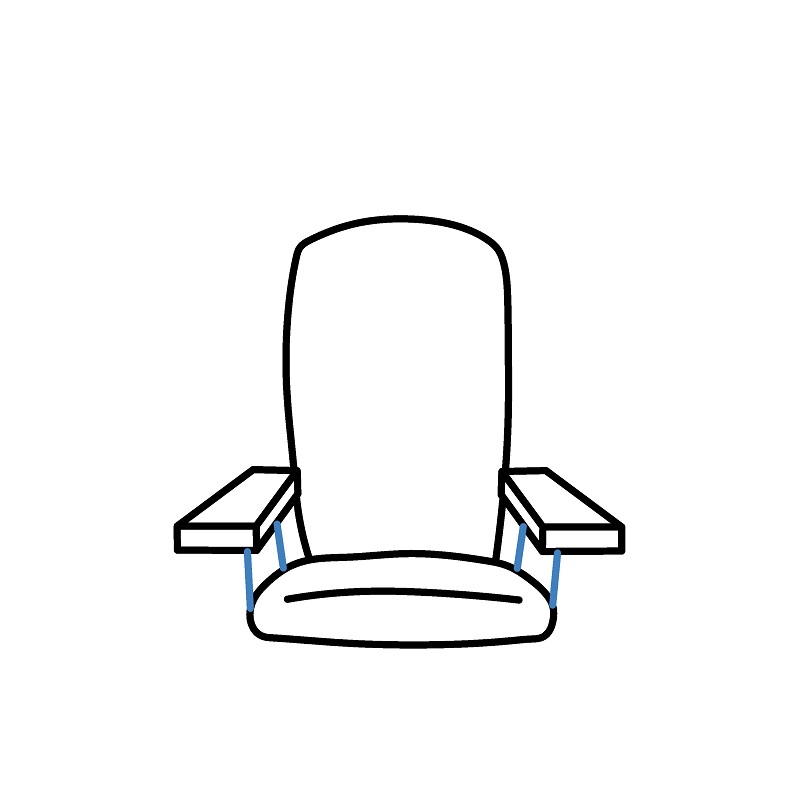
Step 5
: Draw the chair legs by pulling two vertical lines down from the seat base and connecting them with a curve.
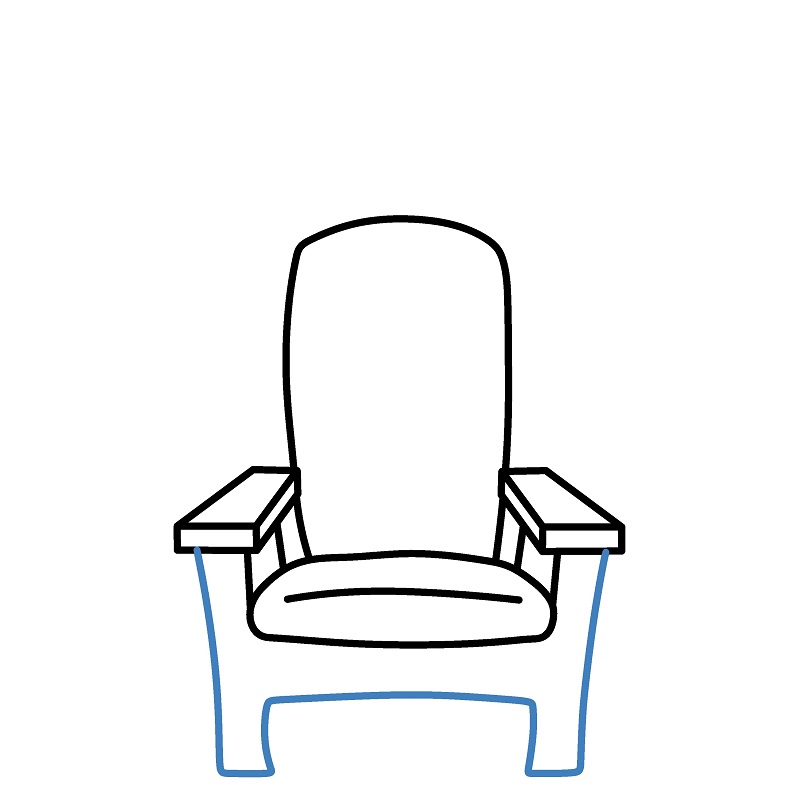
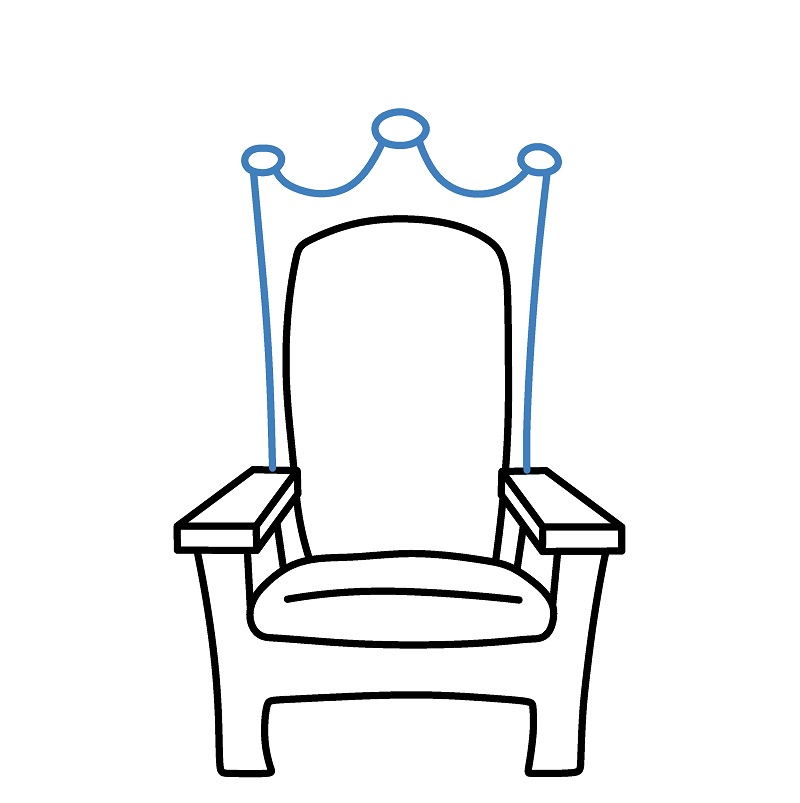
Step 7
: Add details to the backrest by incorporating pointed or rounded shapes at the ends of the curve.
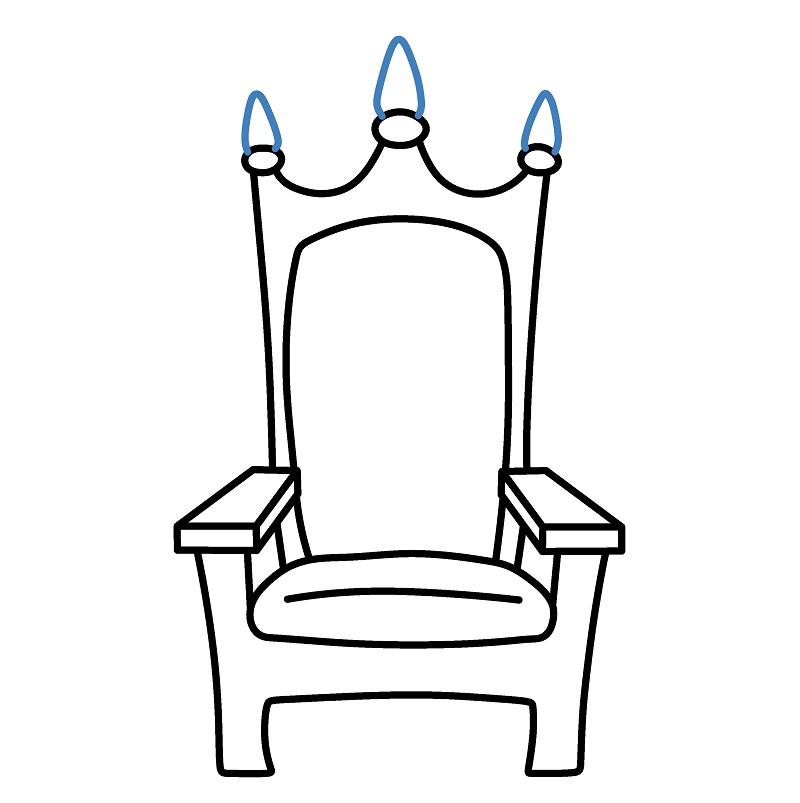
Guide to Drawing a Modern Chair.
7 steps
Step 1
: Draw a rectangle with rounded corners to create the basic seat cushion of the chair.

Step 2
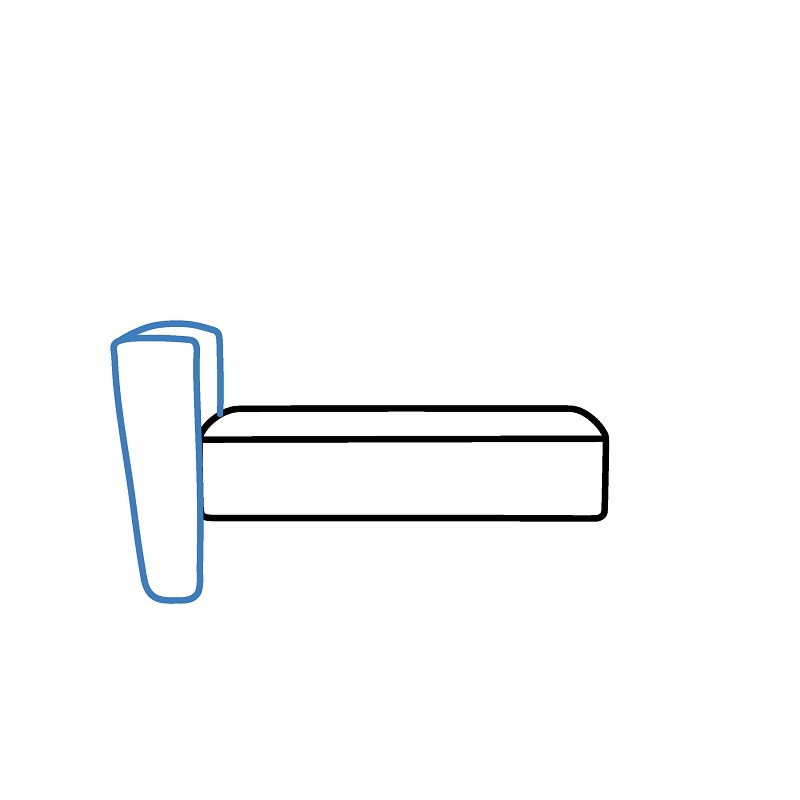
: Draw a left armrest, shaped like a vertical trapezoid with gentle curves for a soft feel.
Step 3
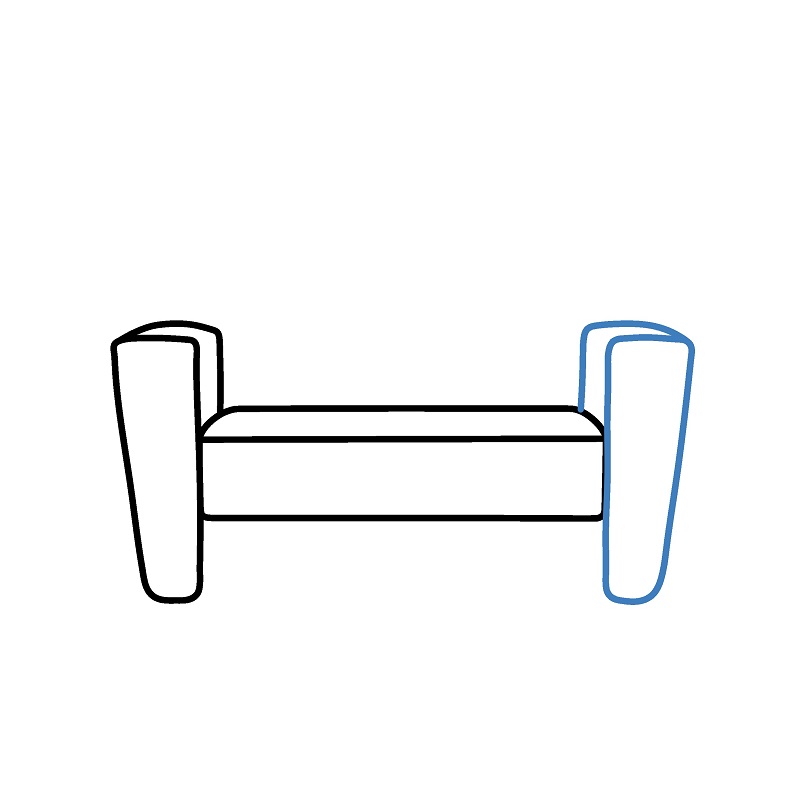
: Draw the right armrest with a similar shape to the left, creating symmetry on both sides.
Step 4
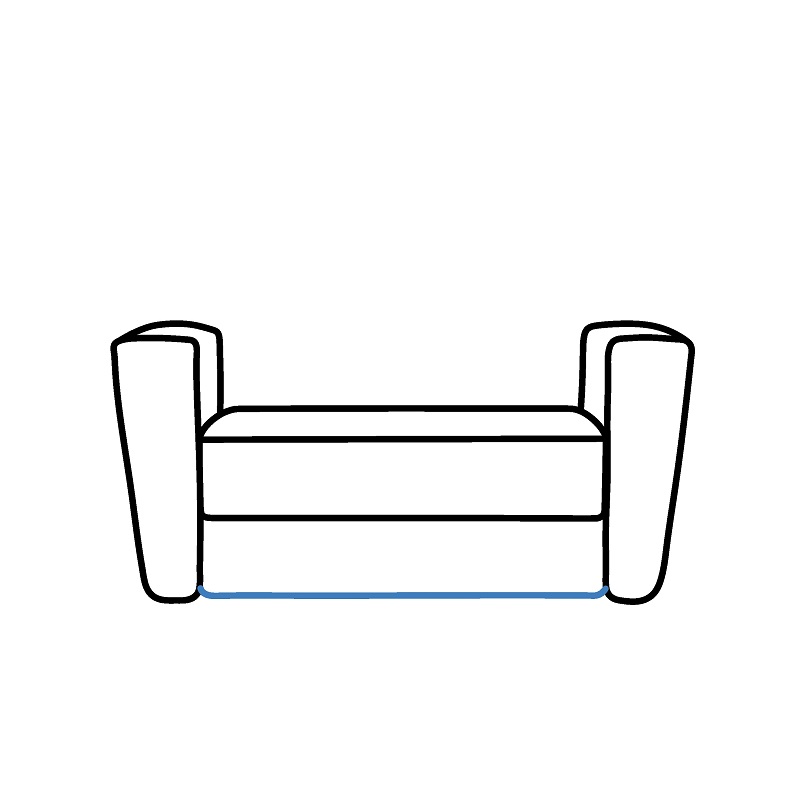
: Connect the armrests to the seat cushion by drawing an outline at the bottom, completing the frame for the chair's base.
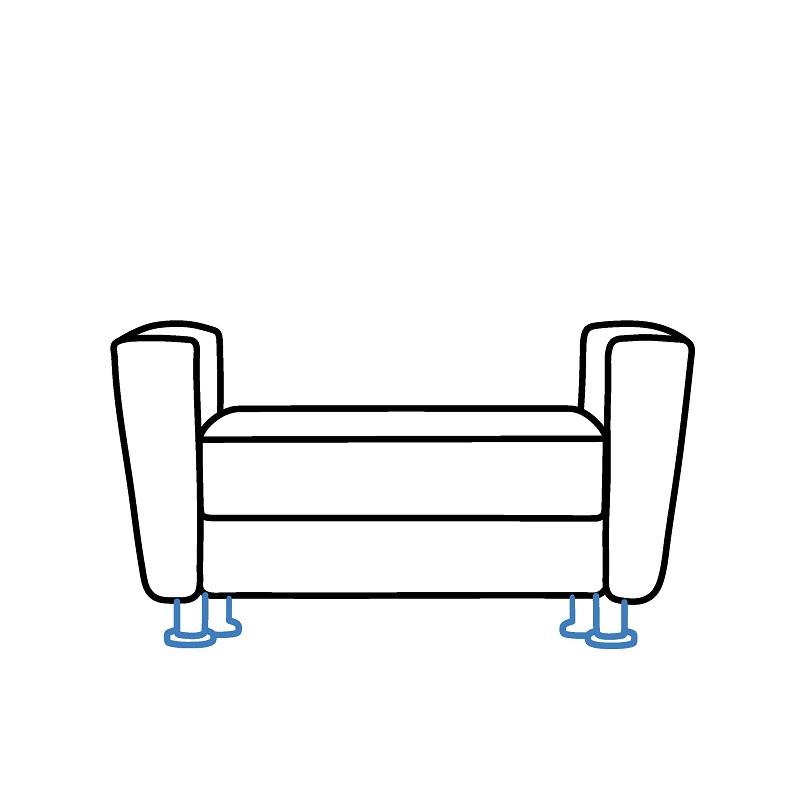
Step 6
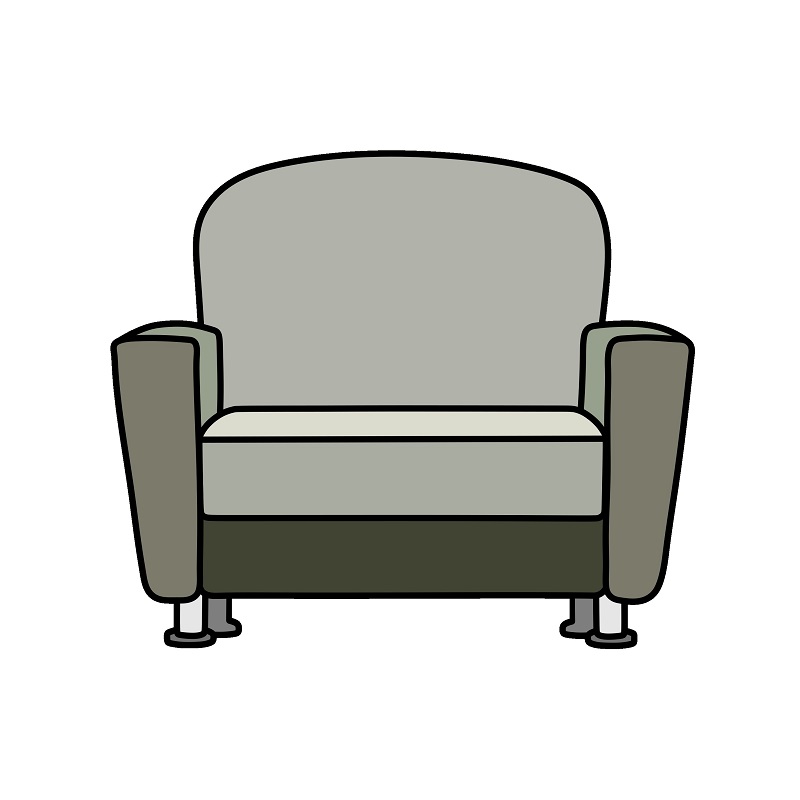
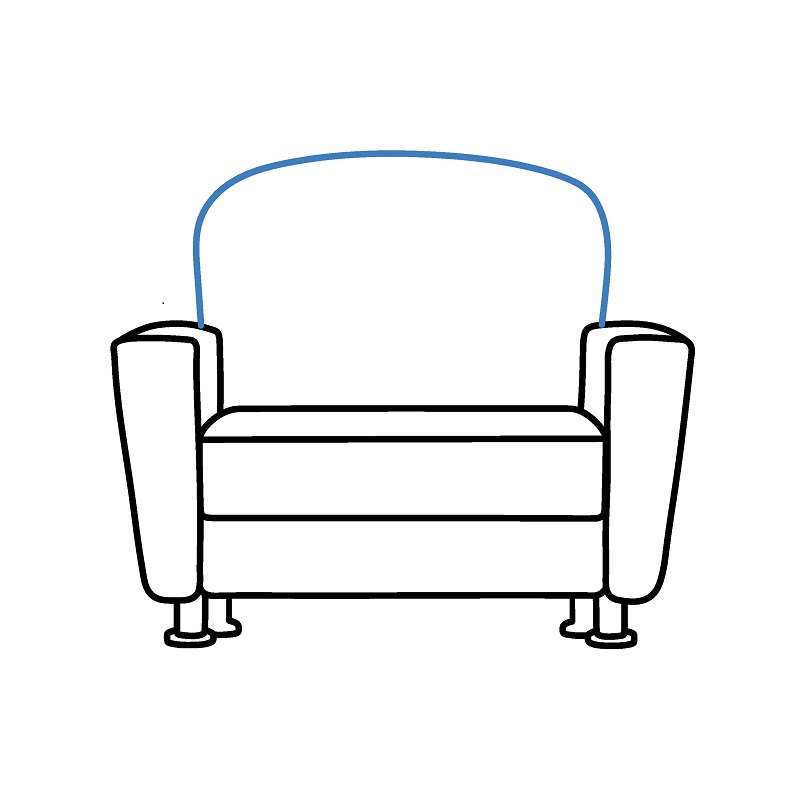
: Draw the backrest of the chair, which is a rounded curve connecting the two armrests and extending upwards.
Step 7
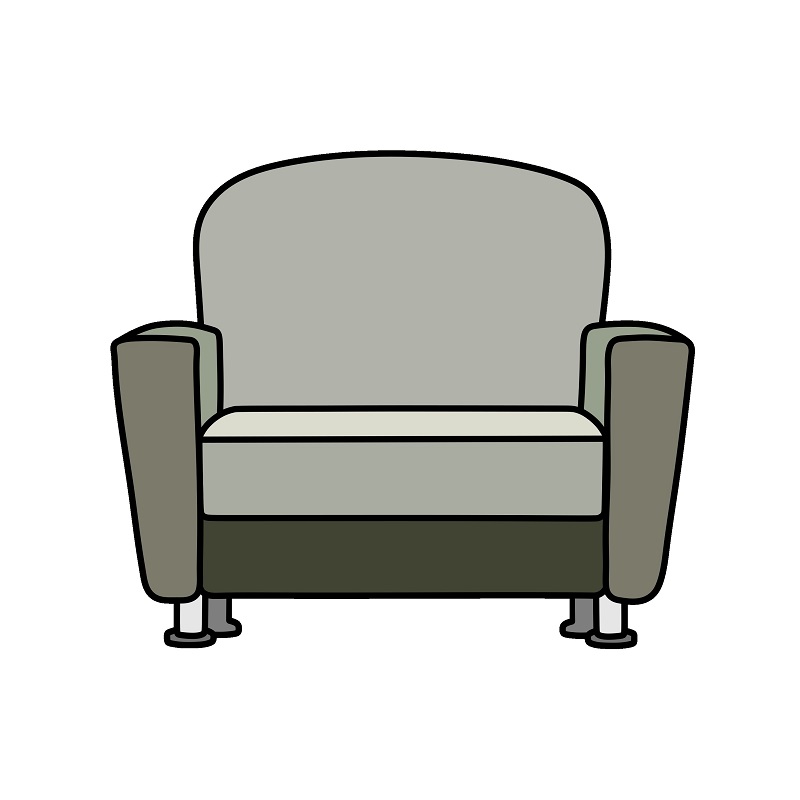
: Color the drawing. Hopefully, this simple chair drawing tutorial for kids will help you create a beautiful picture.
▶Drawing tips
- Draw lightly with a pencil first, then darken the lines when you're satisfied.
- You don't need to draw exactly like the sample — add your own style!
- After finishing your drawing, you can color it directly on Tomau.AI to make it more vibrant.