Tomau.AITomau.AI

How to Draw a Fruit Basket
Flowers & Plants
How to Draw a Fruit Basket

Want to learn how to draw how to draw a fruit basket? This tutorial will help you do it in just 35 simple steps, with clear illustrations for each step. Whether you're a beginner or experienced, the steps below are easy to understand and follow.

You just need a pencil, drawing paper, and an eraser — then start drawing step by step!

This lesson includes 4 different ways to draw. Choose the one that suits you best!
Guide to Drawing a Fruit Basket

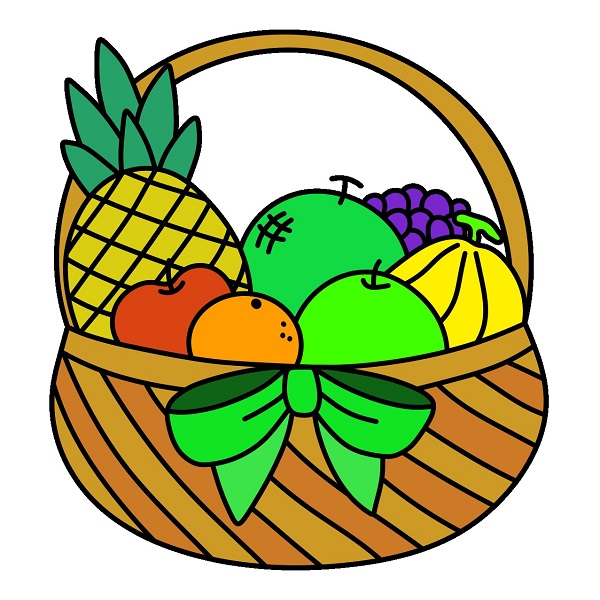
Guide to Drawing a Fruit Basket

9 steps

1

Step 1

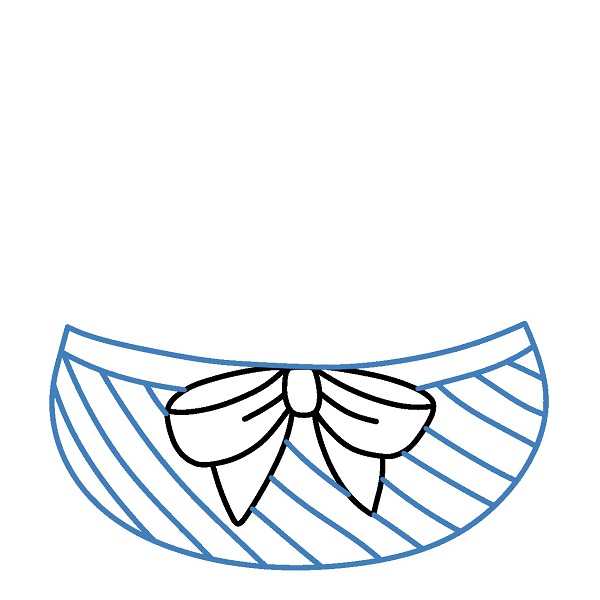
Draw a simple bow with two ribbon tails underneath.

Practice
Guide to Drawing a Fruit Basket - Step 1
2

Step 2

Add a large curve on top to create the mouth of the basket. Draw diagonal stripes on the basket for detail.

Practice
Guide to Drawing a Fruit Basket - Step 2
3

Step 3

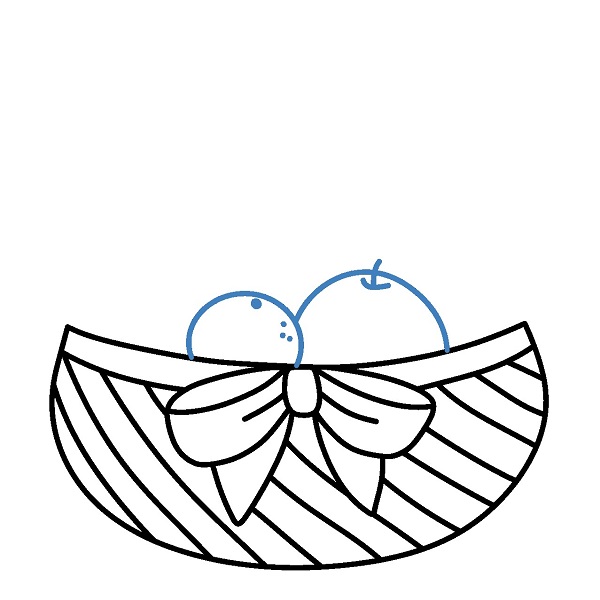
Start adding fruits to the basket: Draw two round fruits.

Practice
Guide to Drawing a Fruit Basket - Step 3
4

Step 4

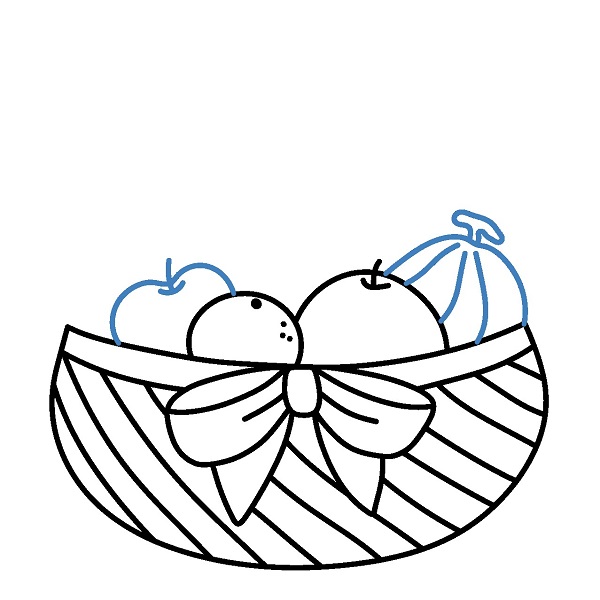
Draw a few more fruits on either side.

Practice
Guide to Drawing a Fruit Basket - Step 4
5

Step 5

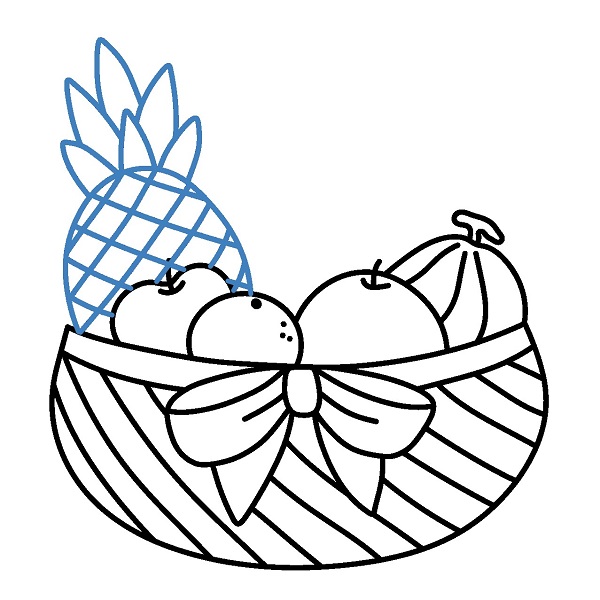
Draw a pineapple on the left side of the basket.

Practice
Guide to Drawing a Fruit Basket - Step 5
6

Step 6

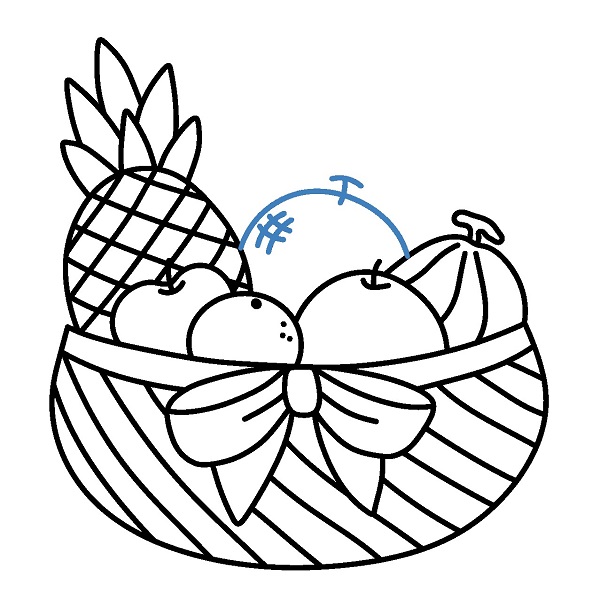
Complete the details of the melon at the back.

Practice
Guide to Drawing a Fruit Basket - Step 6
7

Step 7

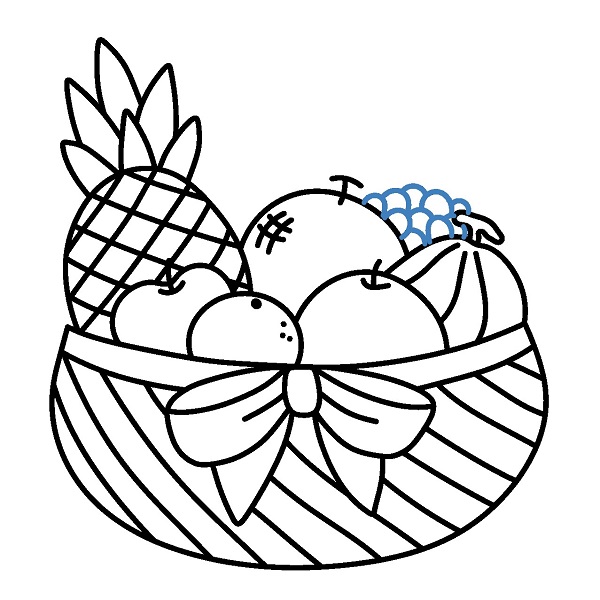
Draw a bunch of grapes on the right side of the basket.

Practice
Guide to Drawing a Fruit Basket - Step 7
8

Step 8

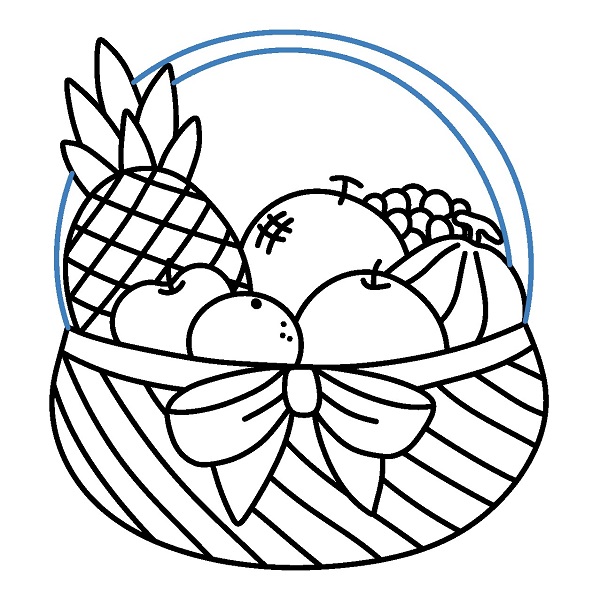
Draw the basket handle, a large curve surrounding the fruits and connecting both sides of the basket.

Practice
Guide to Drawing a Fruit Basket - Step 8
9

Step 9

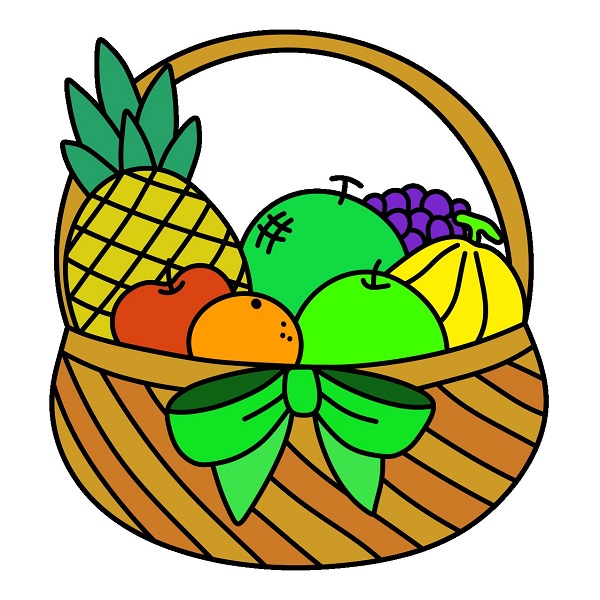
Color the drawing.

Practice
Guide to Drawing a Fruit Basket - Step 9
Easy Fruit Basket Drawing Tutorial

Easy Fruit Basket Drawing Tutorial

8 steps

1

Step 1

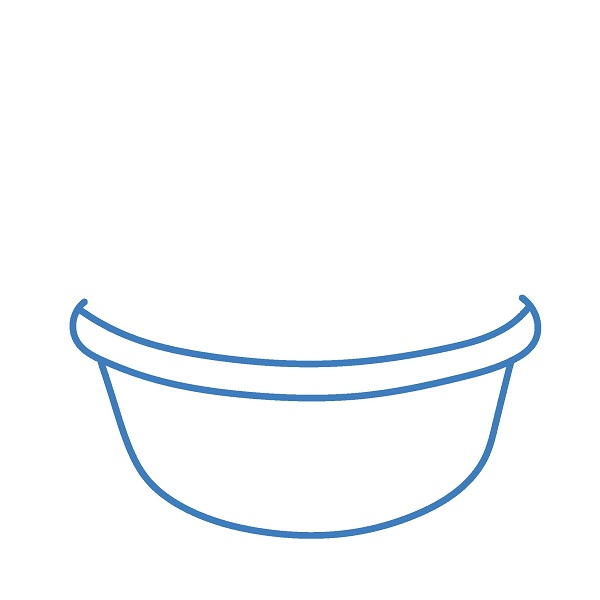
Draw the basic frame of the basket as an ellipse on top and a curved line for the bottom.
Practice
Easy Fruit Basket Drawing Tutorial - Step 1
2

Step 2

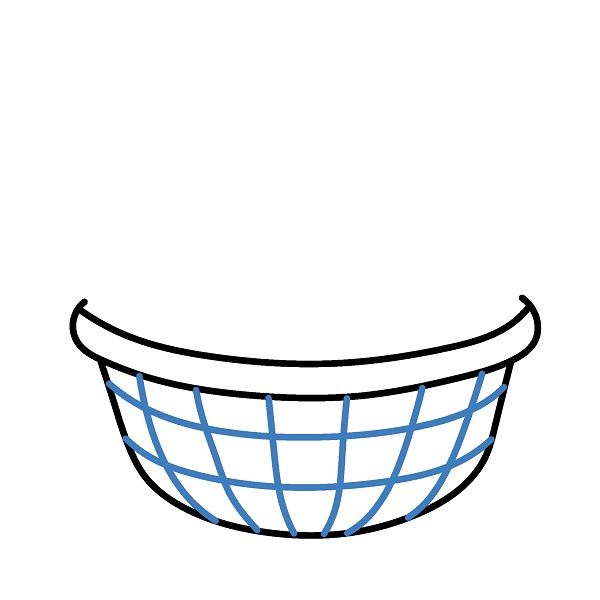
Add grid lines inside the basket, dividing it into small squares to create a woven effect.
Practice
Easy Fruit Basket Drawing Tutorial - Step 2
3

Step 3

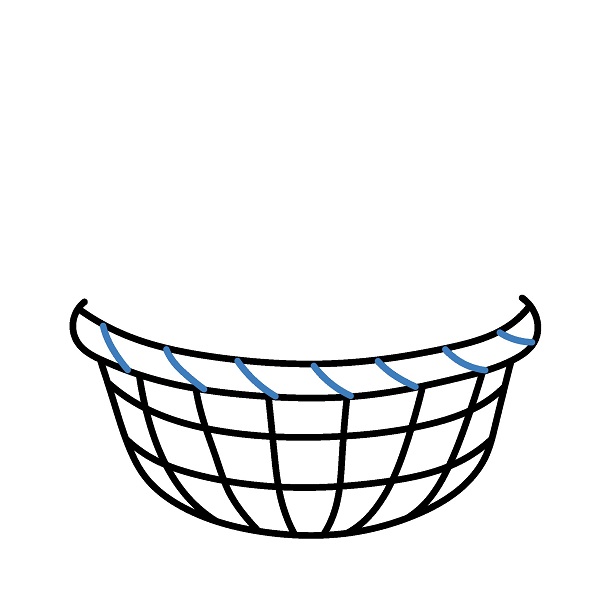
Add gentle curves to the edges of the basket to create depth, making it look more natural.
Practice
Easy Fruit Basket Drawing Tutorial - Step 3
4

Step 4

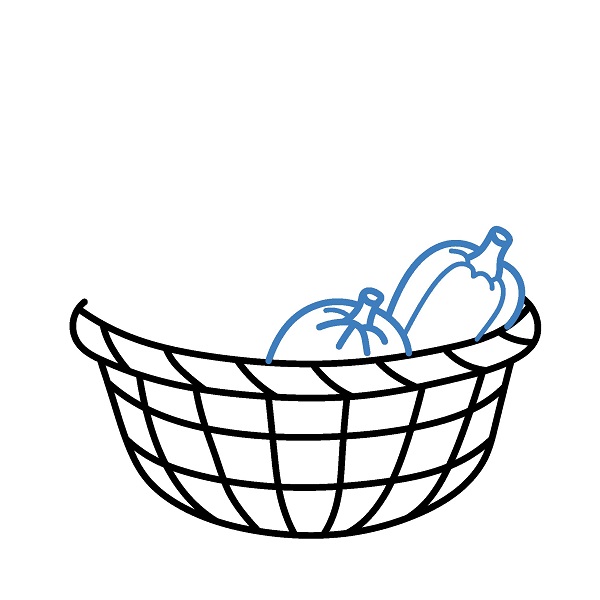
Draw the first fruits on the right side of the basket.

Practice
Easy Fruit Basket Drawing Tutorial - Step 4
5

Step 5

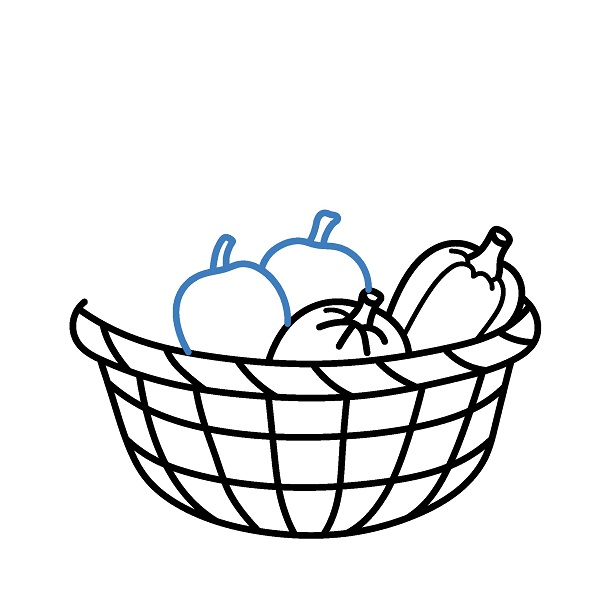
Add more types of fruits in the middle of the basket.

Practice
Easy Fruit Basket Drawing Tutorial - Step 5
6

Step 6

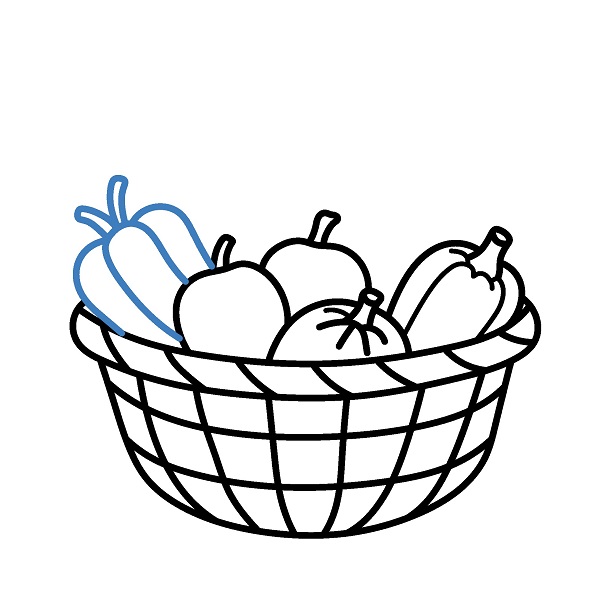
Draw a bell pepper in the left corner of the basket.

Practice
Easy Fruit Basket Drawing Tutorial - Step 6
7

Step 7

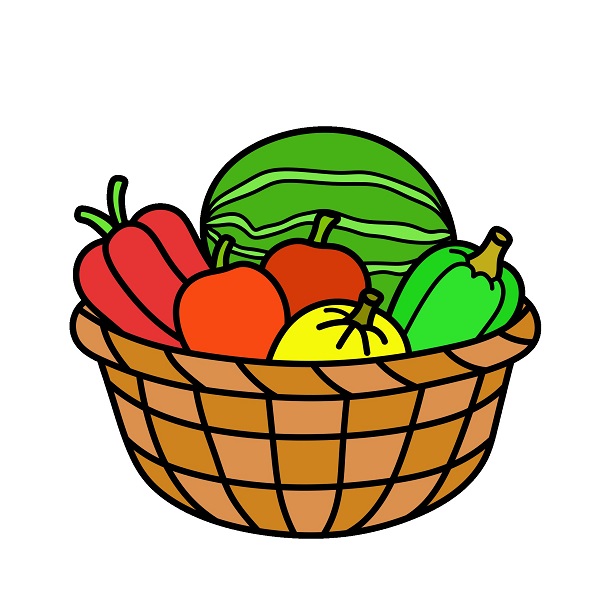
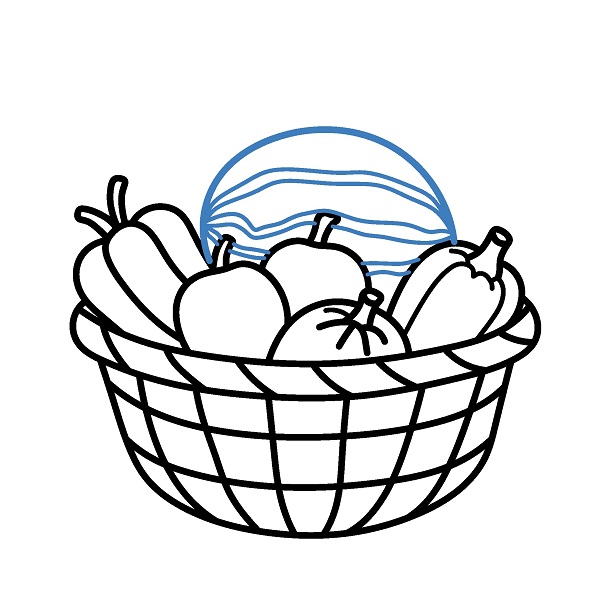
Draw a large watermelon at the back to complete the fruit basket.

Practice
Easy Fruit Basket Drawing Tutorial - Step 7
8

Step 8

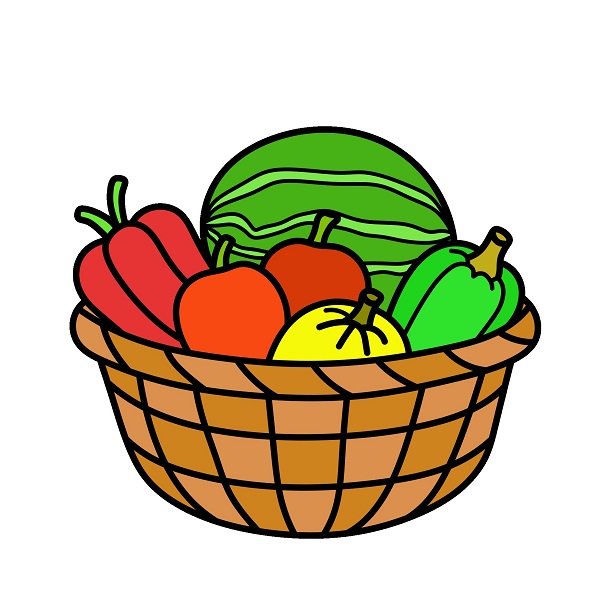
Color the drawing.

Practice
Easy Fruit Basket Drawing Tutorial - Step 8
Guide to Drawing a Beautiful Fruit Basket.

Guide to Drawing a Beautiful Fruit Basket.

8 steps
1

Step 1

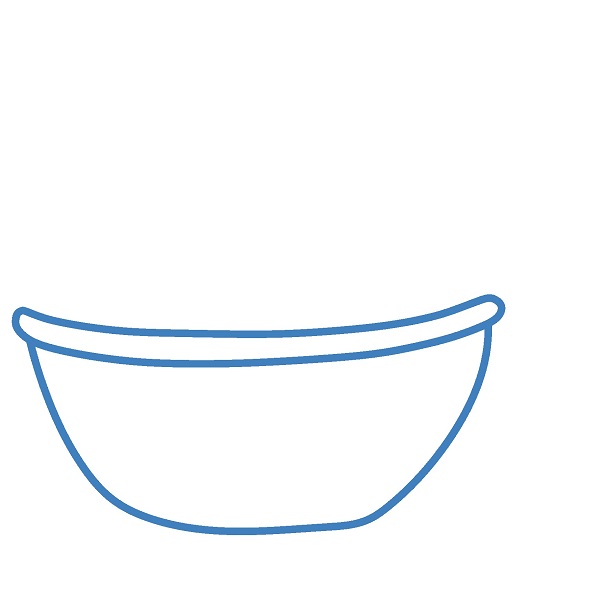
Draw a simple basket with a curved bottom.

Practice
Guide to Drawing a Beautiful Fruit Basket. - Step 1
2

Step 2

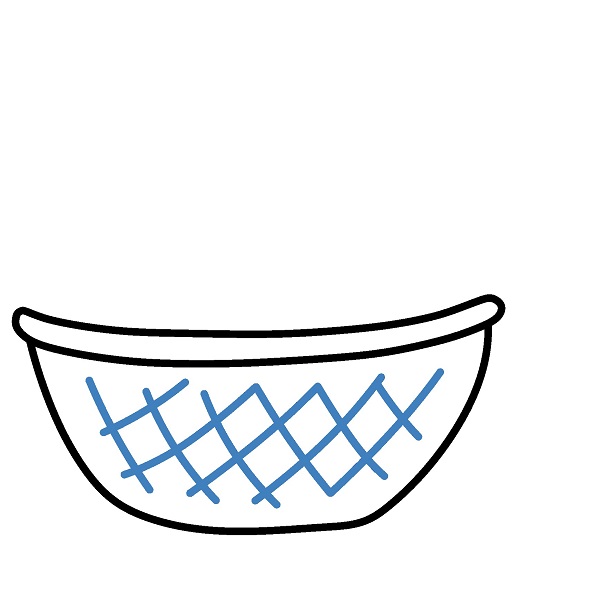
Add grid patterns inside the basket by drawing intersecting diagonal lines.

Practice
Guide to Drawing a Beautiful Fruit Basket. - Step 2
3

Step 3

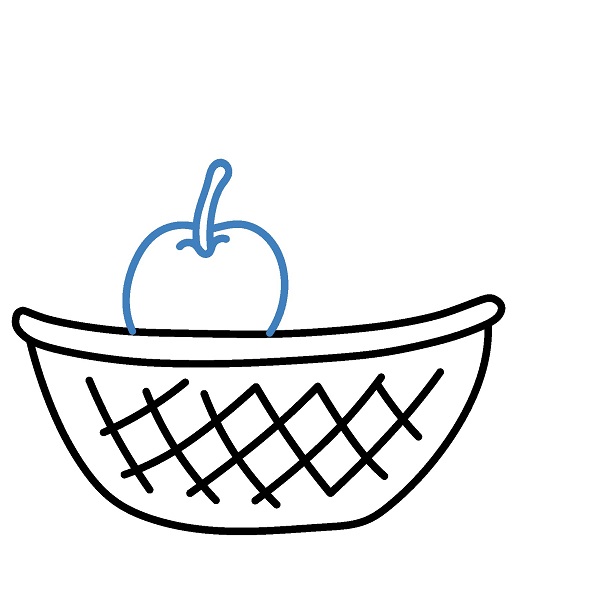
Draw an apple in the center of the basket.

Practice
Guide to Drawing a Beautiful Fruit Basket. - Step 3
4

Step 4

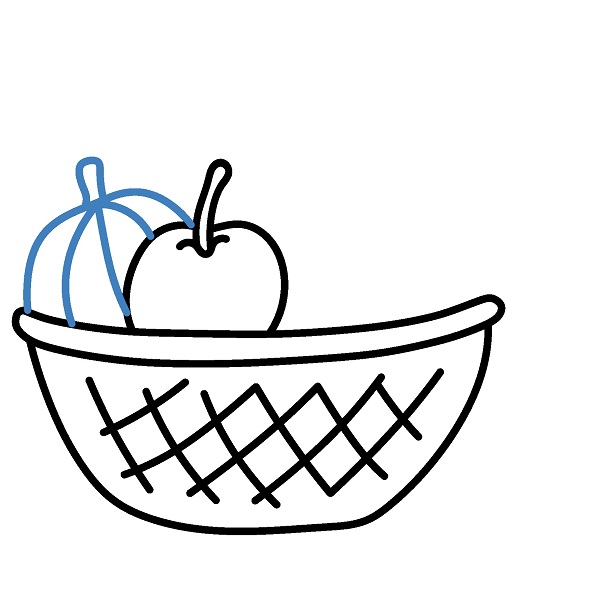
Add a pumpkin next to the apple.

Practice
Guide to Drawing a Beautiful Fruit Basket. - Step 4
5

Step 5

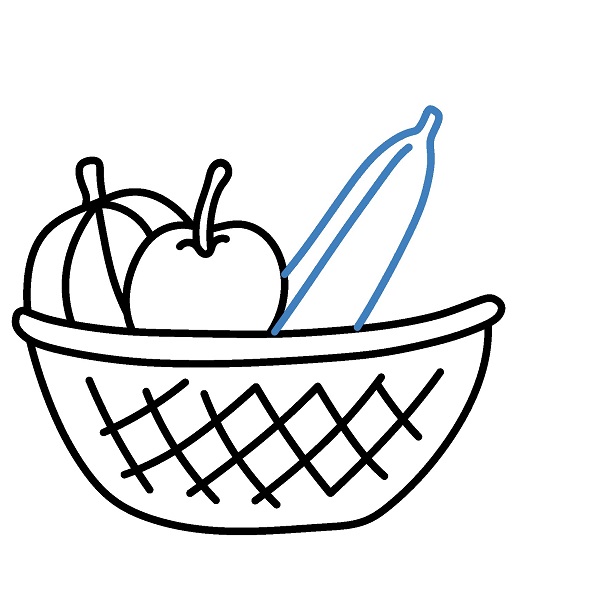
Draw a banana on the right, with a long and curved shape.

Practice
Guide to Drawing a Beautiful Fruit Basket. - Step 5
6

Step 6

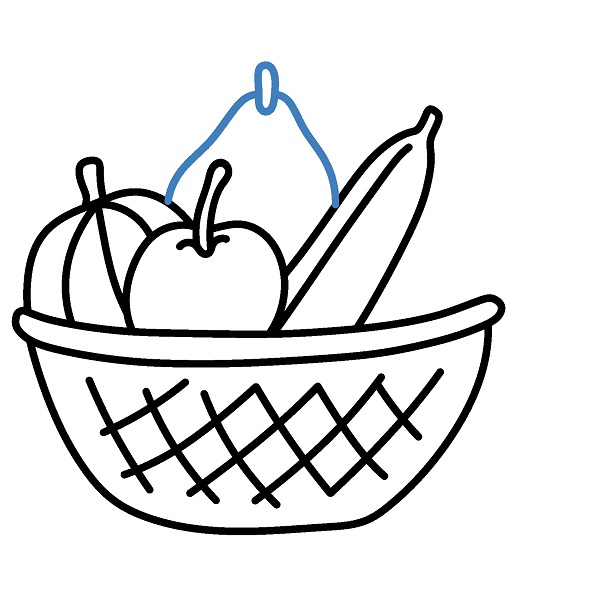
Include a pear behind the basket, with the stem pointing up.

Practice
Guide to Drawing a Beautiful Fruit Basket. - Step 6
7

Step 7

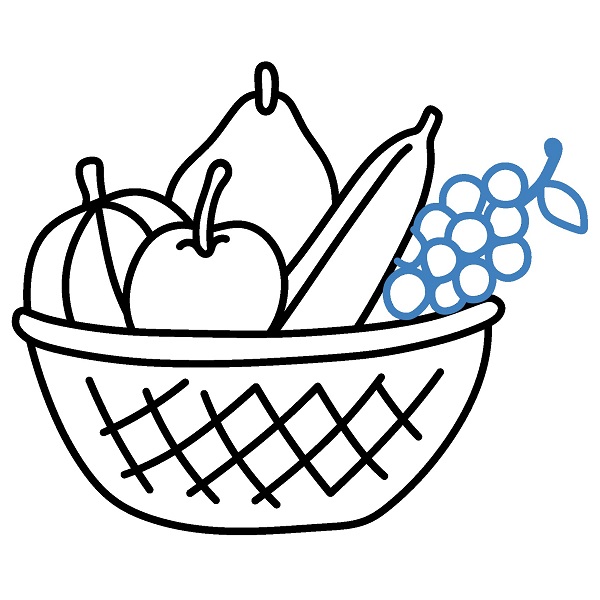
Add a bunch of grapes on the right side of the basket, with small circles stacked.

Practice
Guide to Drawing a Beautiful Fruit Basket. - Step 7
8

Step 8

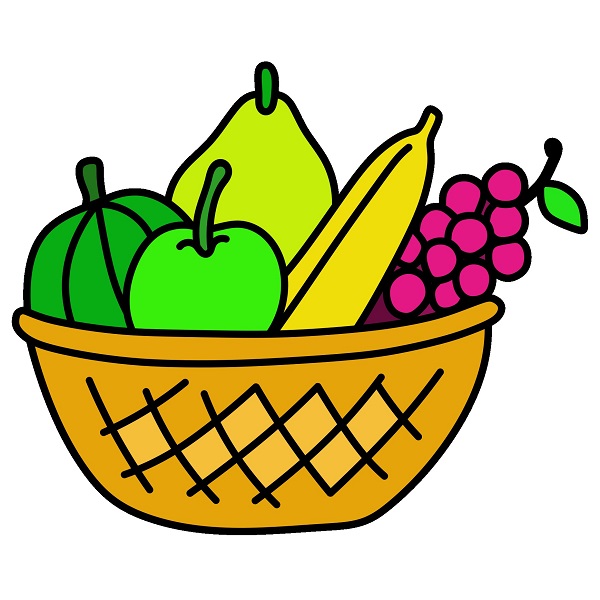
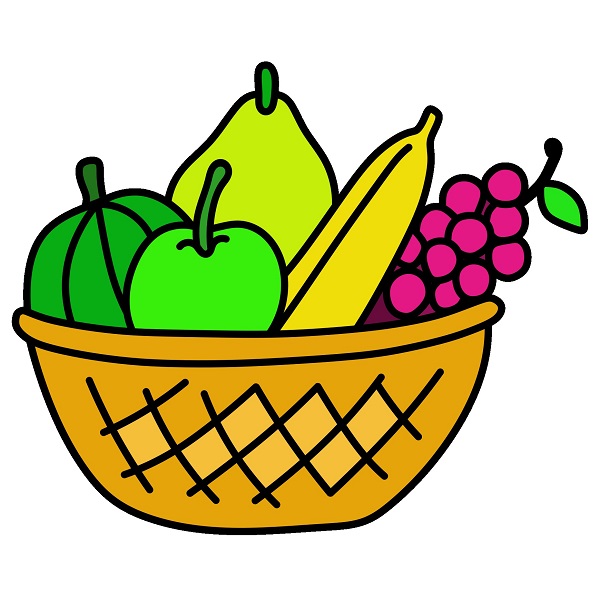
Color the drawing.

Practice
Guide to Drawing a Beautiful Fruit Basket. - Step 8
Guide to Drawing a Luxurious Fruit Basket.

Guide to Drawing a Luxurious Fruit Basket.

10 steps

1

Step 1

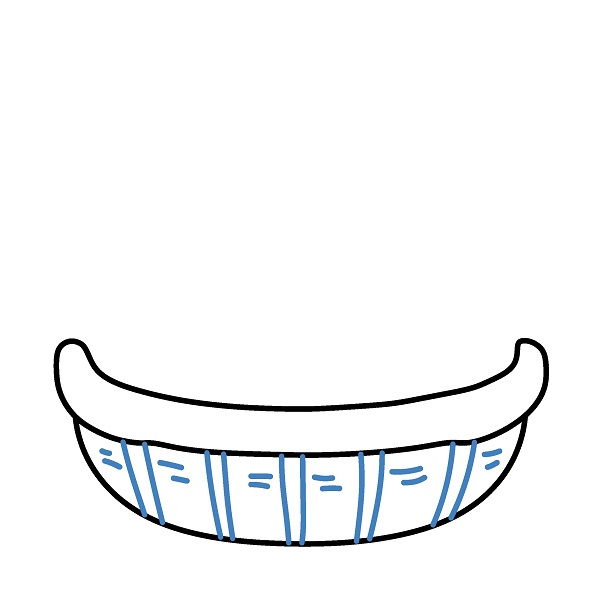
Start with a curved shape to create the basket's outline.

Practice
Guide to Drawing a Luxurious Fruit Basket. - Step 1
2

Step 2

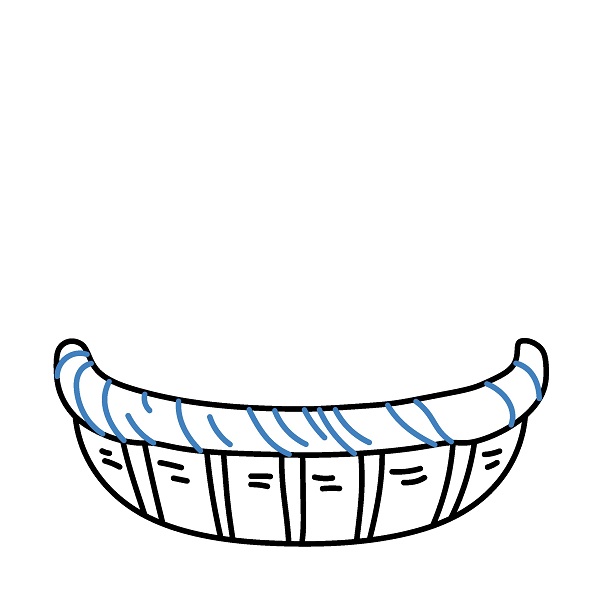
Add vertical and horizontal lines to create a woven texture pattern.

Practice
Guide to Drawing a Luxurious Fruit Basket. - Step 2
3

Step 3

Draw additional curves at the top of the basket to add depth and detail.

Practice
Guide to Drawing a Luxurious Fruit Basket. - Step 3
4

Step 4

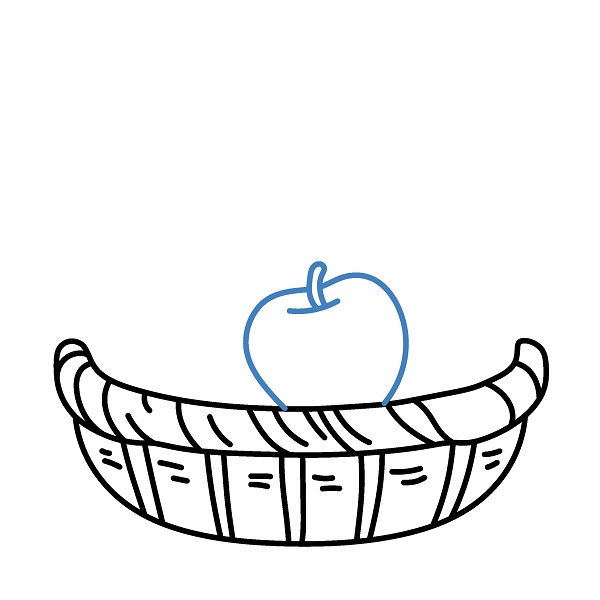
Draw a simple apple in the center of the basket.

Practice
Guide to Drawing a Luxurious Fruit Basket. - Step 4
5

Step 5

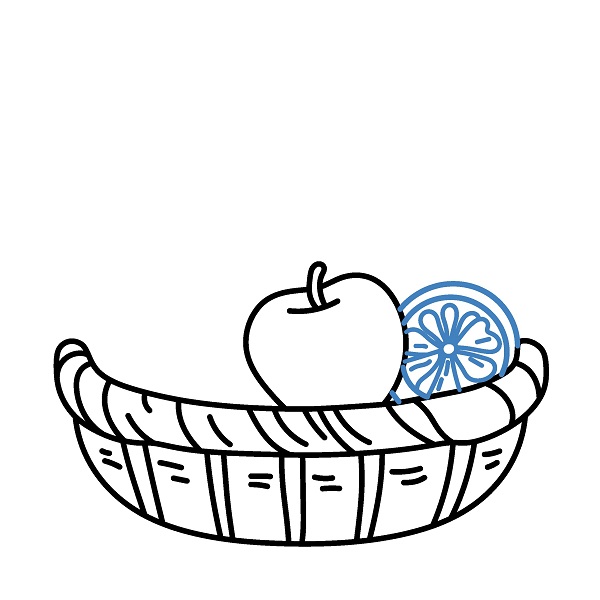
Draw a small circle next to the apple, then add details inside to create an orange slice.
Practice
Guide to Drawing a Luxurious Fruit Basket. - Step 5
6

Step 6

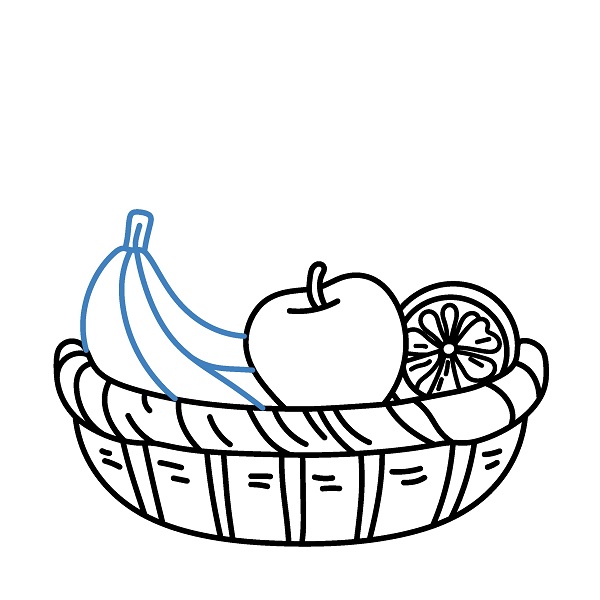
Add a long curve behind the basket to represent a banana.

Practice
Guide to Drawing a Luxurious Fruit Basket. - Step 6
7

Step 7

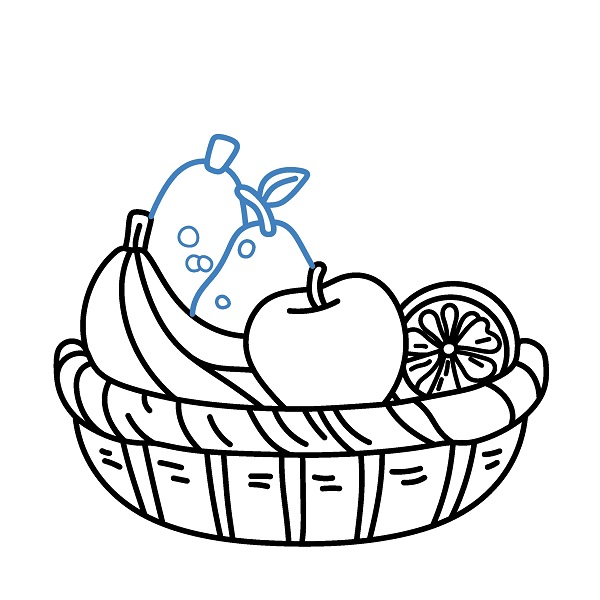
Draw a pear shape with a leaf stem behind the apple.

Practice
Guide to Drawing a Luxurious Fruit Basket. - Step 7
8

Step 8

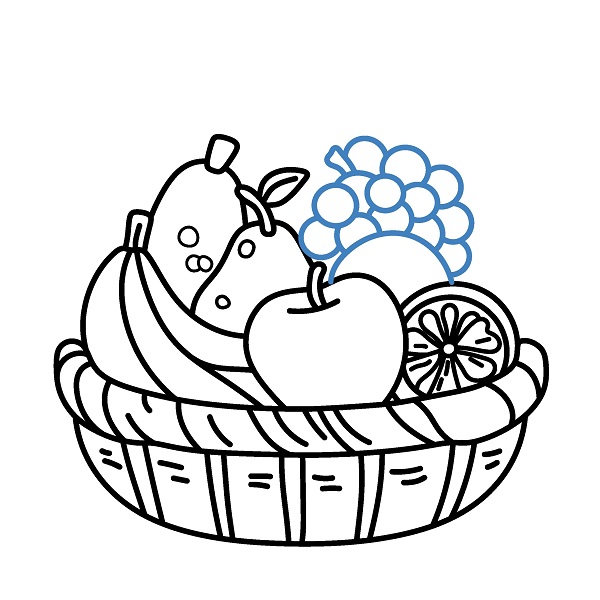
Draw small circles in the upper right corner to form a bunch of grapes.

Practice
Guide to Drawing a Luxurious Fruit Basket. - Step 8
9

Step 9

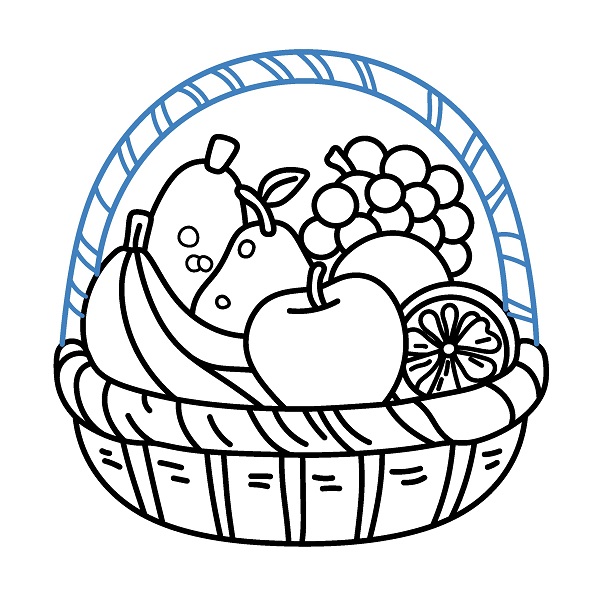
Draw a curved handle connecting both sides of the basket.

Practice
Guide to Drawing a Luxurious Fruit Basket. - Step 9
10

Step 10

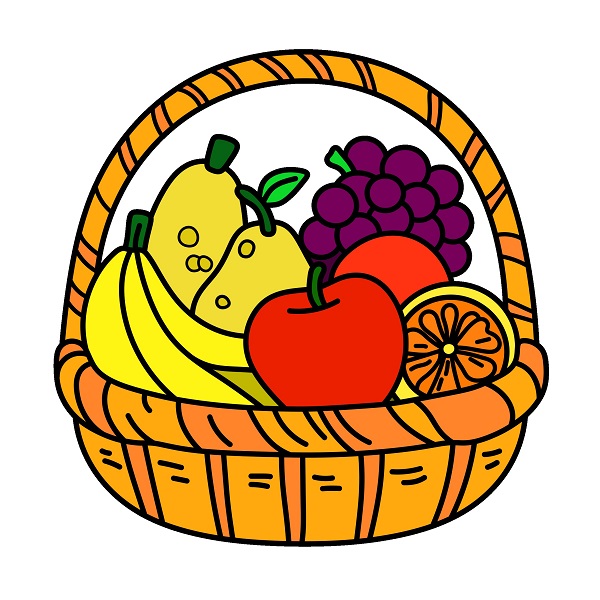
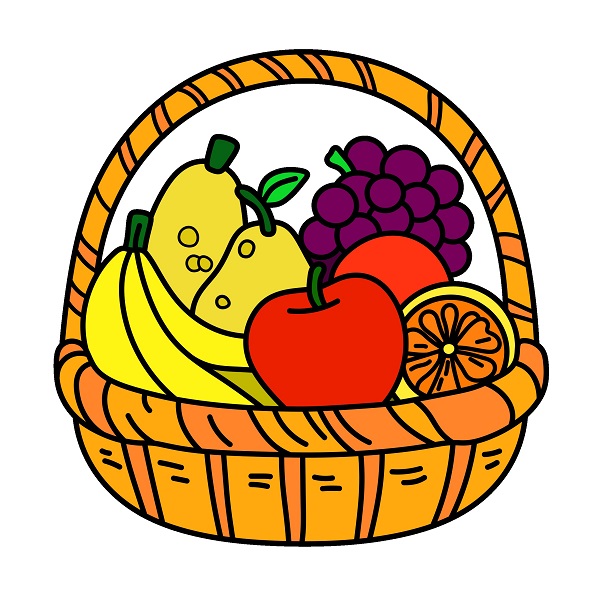
Color the drawing.

Practice
Guide to Drawing a Luxurious Fruit Basket. - Step 10
▶Drawing tips
  • Draw lightly with a pencil first, then darken the lines when you're satisfied.
  • You don't need to draw exactly like the sample — add your own style!
  • After finishing your drawing, you can color it directly on Tomau.AI to make it more vibrant.

More Flowers & Plants drawing tutorials

View all