How to Draw a Graduation Cap

Want to learn how to draw how to draw a graduation cap? This tutorial will help you do it in just 36 simple steps, with clear illustrations for each step. Whether you're a beginner or experienced, the steps below are easy to understand and follow.
You just need a pencil, drawing paper, and an eraser — then start drawing step by step!
This lesson includes 5 different ways to draw. Choose the one that suits you best!

Simple and Beautiful Graduation Cap Drawing Tutorial for Kids
5 steps

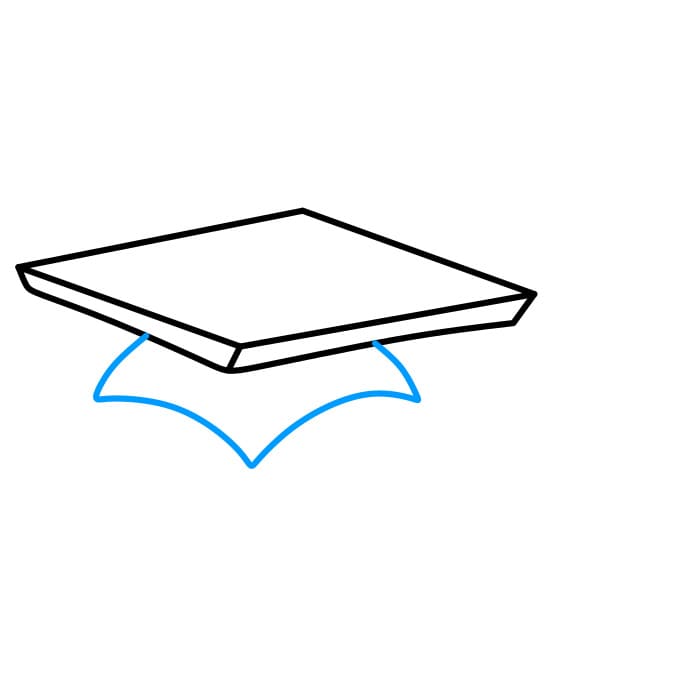



Guide to Drawing a Traditional Graduation Cap.
6 steps

Step 2
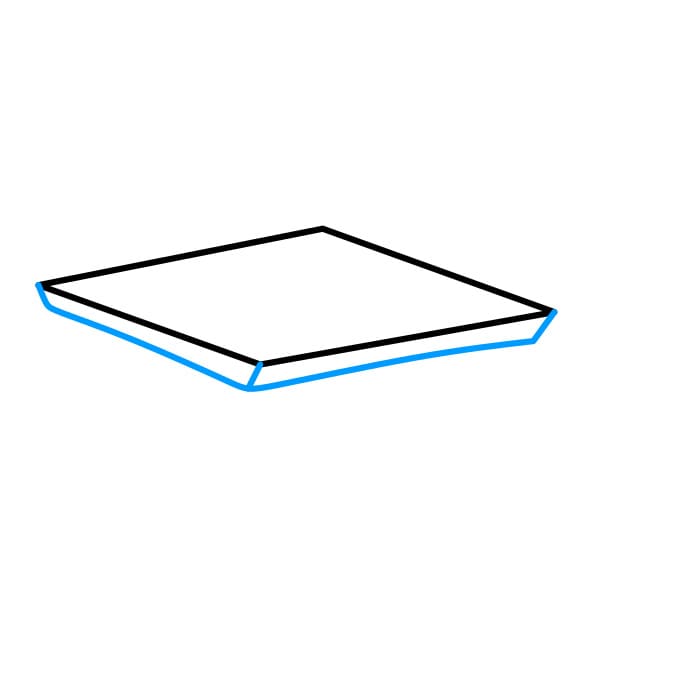
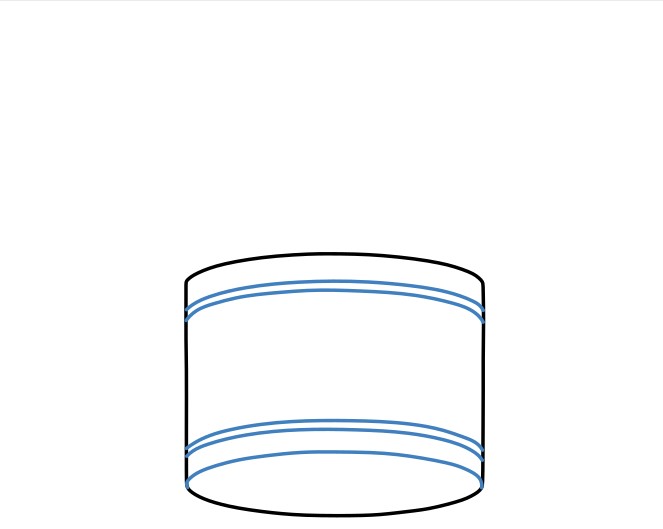
Add two wavy lines at the bottom of the quadrilateral to create details for the cap's base.
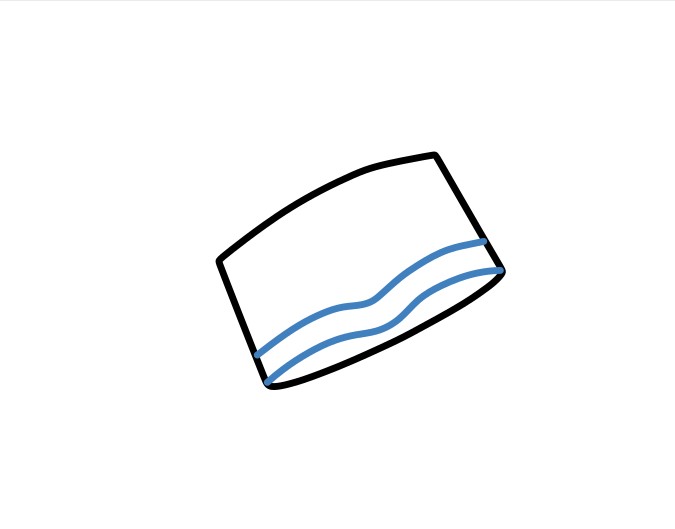
Step 3
Draw a diamond shape above the quadrilateral to form the cap's top. This is the flat, wide part of the cap.
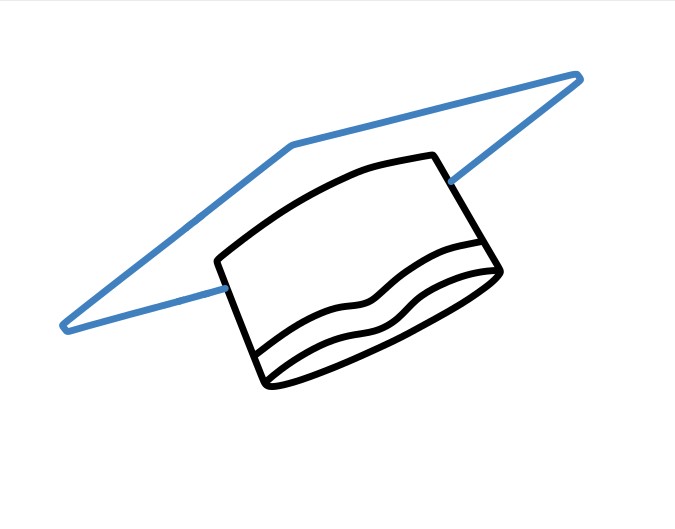
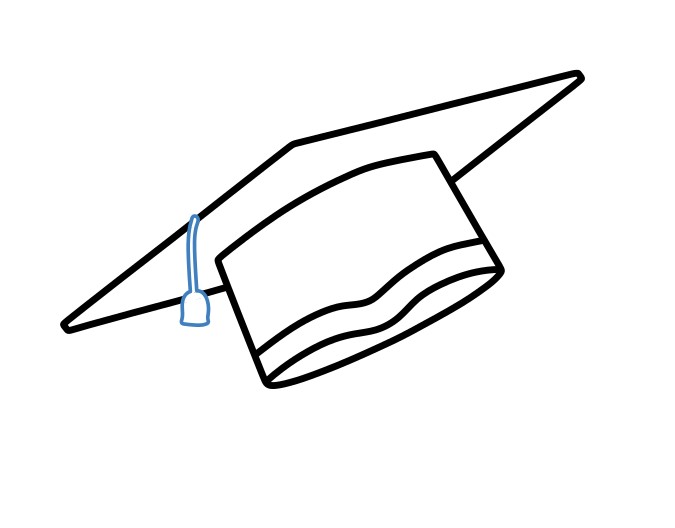
Step 5
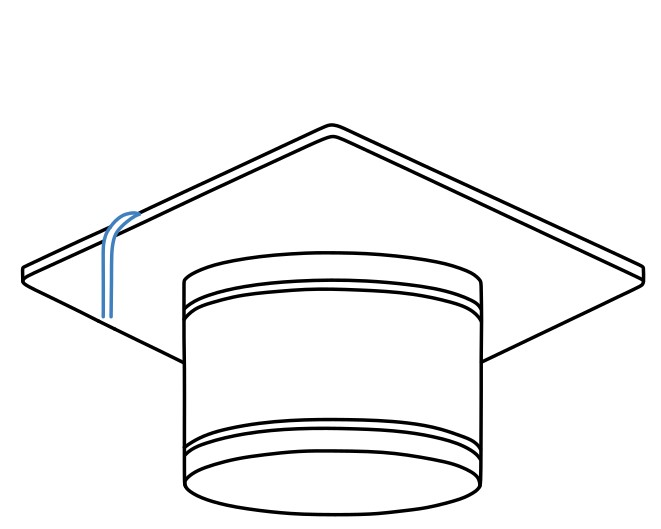
Draw the tassel string on the side of the cap, starting with a long line and flaring out at the bottom.
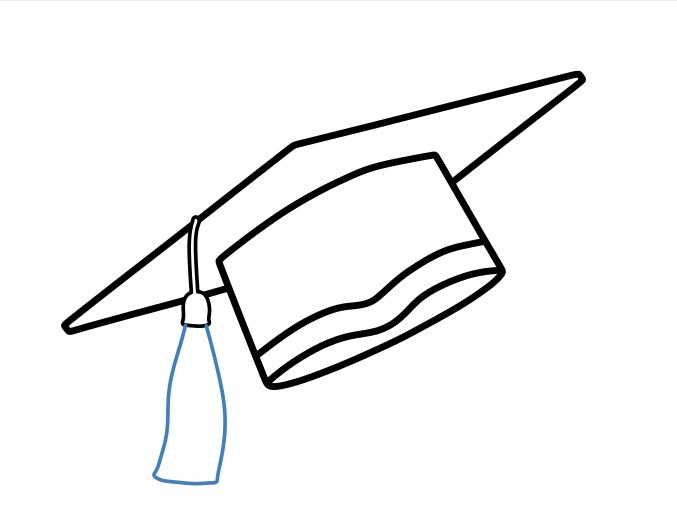


A Simple Guide to Drawing a Graduation Cap.
9 steps

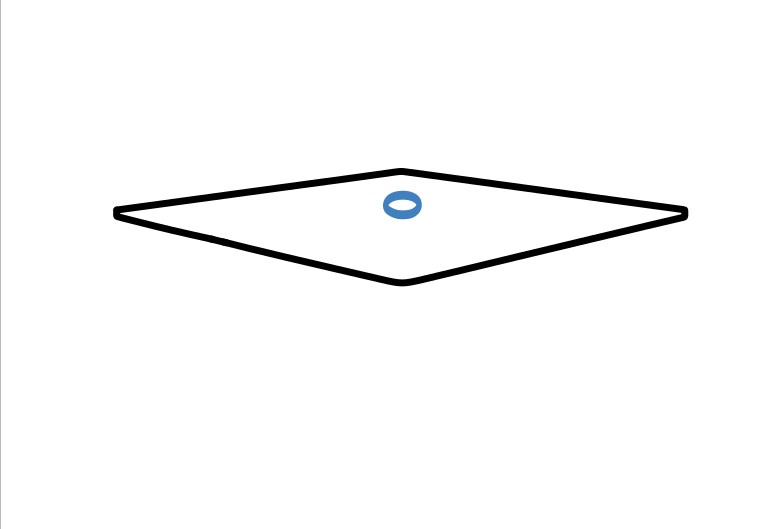








Guide to Drawing a Black Graduation Cap with Gold Trim.
8 steps

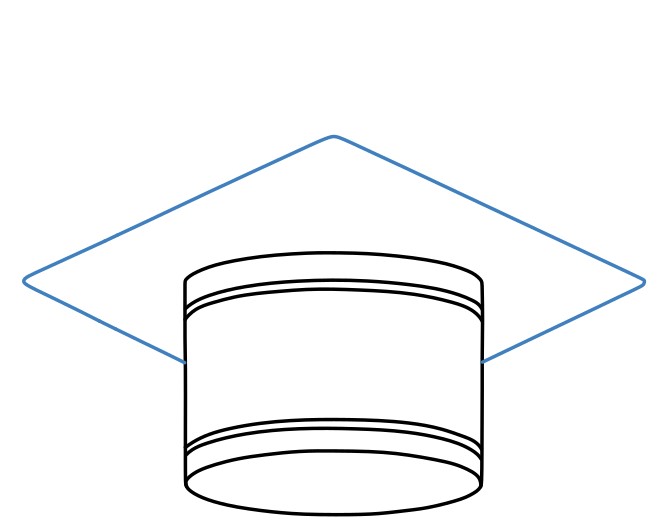
Step 4
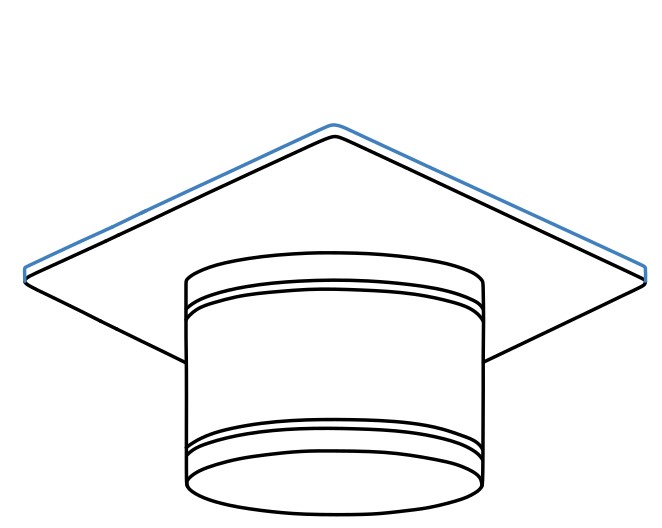
Create the outer trim of the cap by drawing a line parallel to the edge of the diamond.


Guide to Drawing a Beautiful Red Graduation Cap.
8 steps

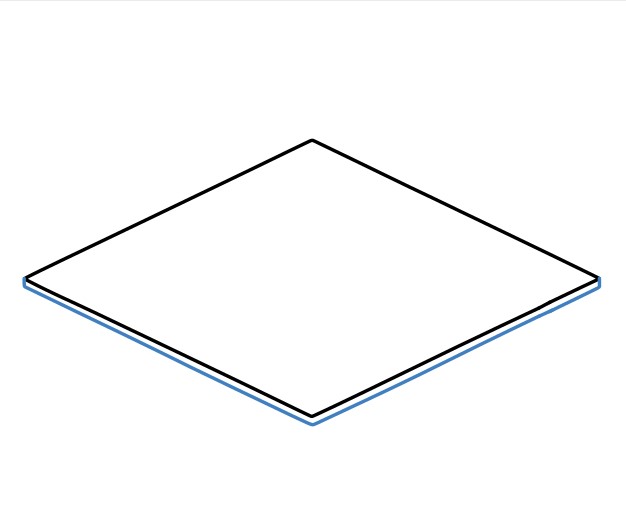
Step 3
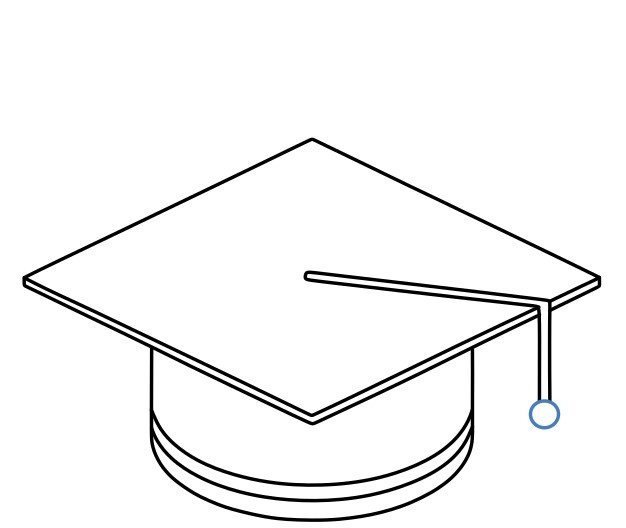
Draw a semicircle at the bottom, connecting it to the diamond to form the body of the cap.
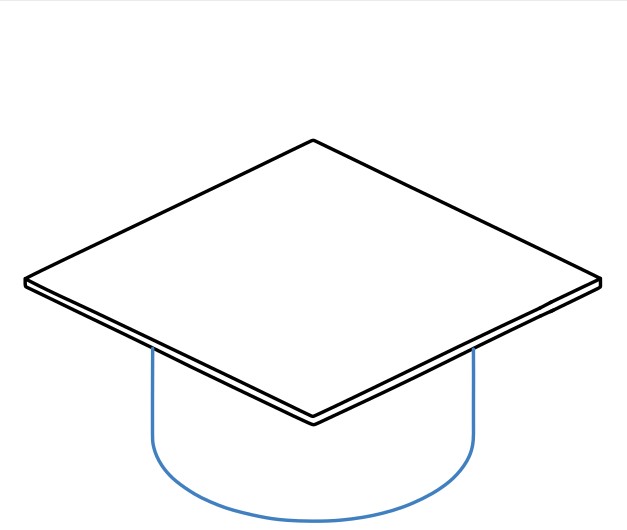
Step 4
Add parallel lines at the bottom of the cap's body for detail, indicating the cap's brim.
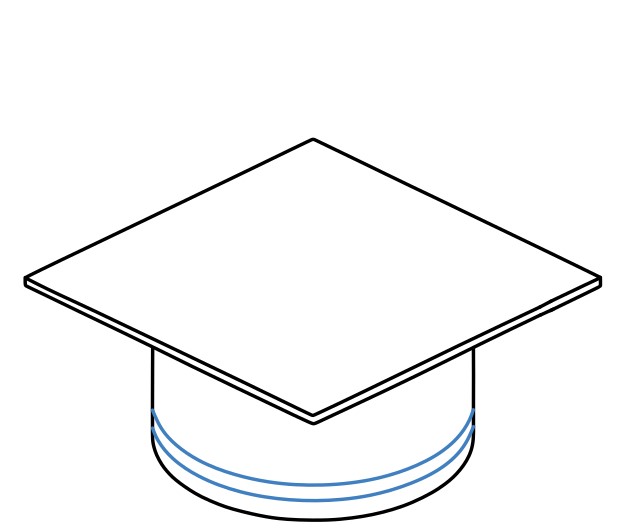
Step 5
Draw a slanted line on the diamond, extending it slightly outwards to make the tassel string.
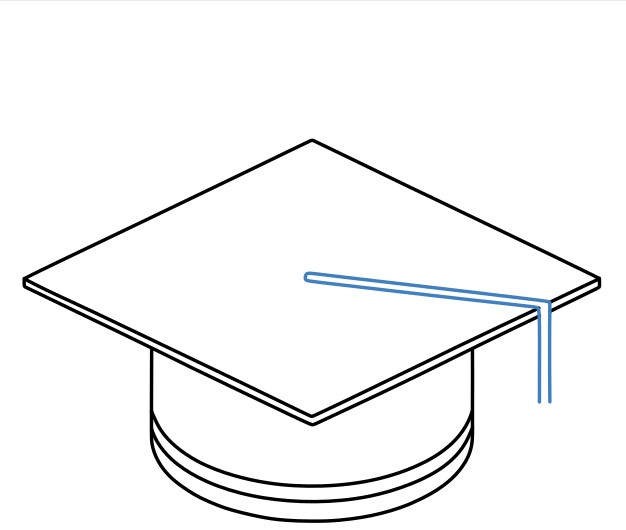
Step 6
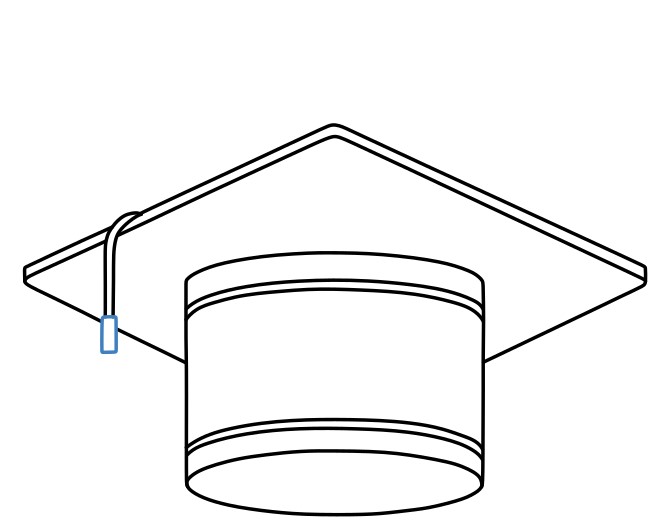
At the end of the tassel string, draw a small circle to represent the tassel attachment.
Step 7
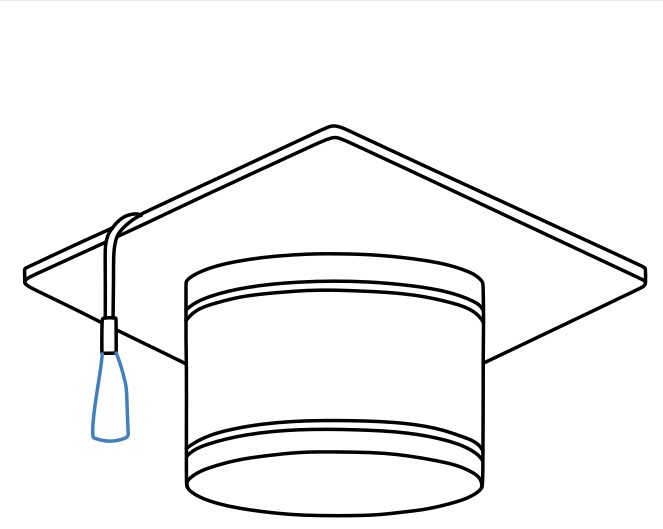
Add an upside-down triangle at the end of the tassel string to complete the tassel decoration of the cap.


▶Drawing tips
- Draw lightly with a pencil first, then darken the lines when you're satisfied.
- You don't need to draw exactly like the sample — add your own style!
- After finishing your drawing, you can color it directly on Tomau.AI to make it more vibrant.