Tomau.AITomau.AI

Unity in Diversity

Education
Unity in Diversity

Want to learn how to draw unity in diversity? This tutorial will help you do it in just 39 simple steps, with clear illustrations for each step. Whether you're a beginner or experienced, the steps below are easy to understand and follow.

You just need a pencil, drawing paper, and an eraser — then start drawing step by step!

This lesson includes 4 different ways to draw. Choose the one that suits you best!
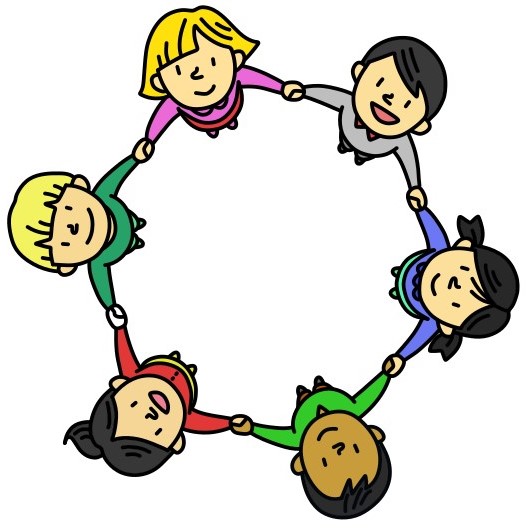
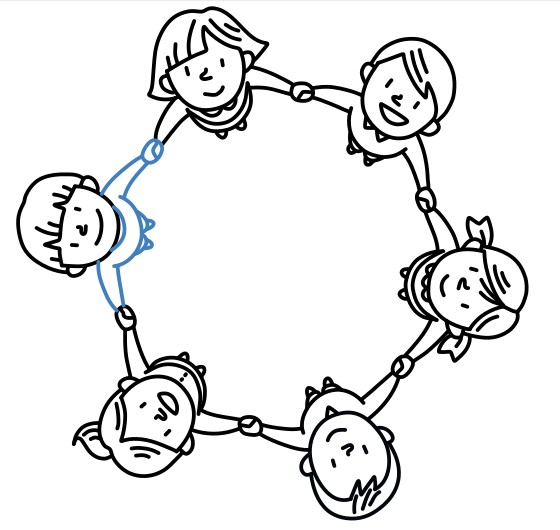
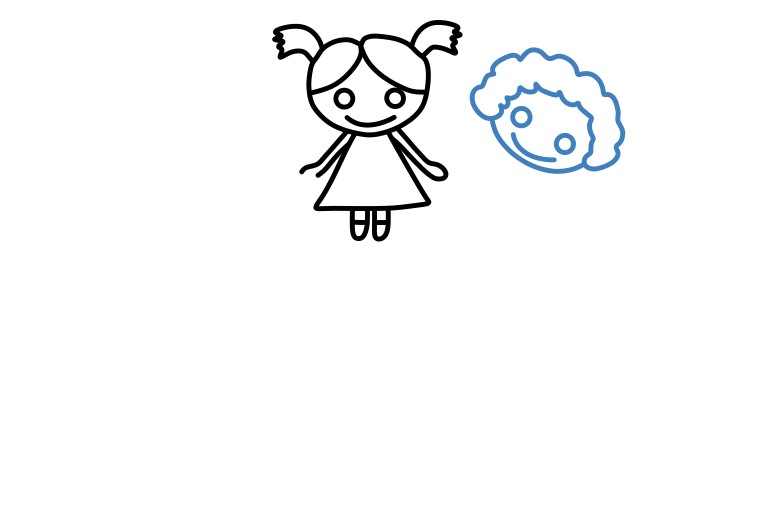
Guide to Drawing Friends Holding Hands

Guide to Drawing Friends Holding Hands

13 steps

1

Step 1

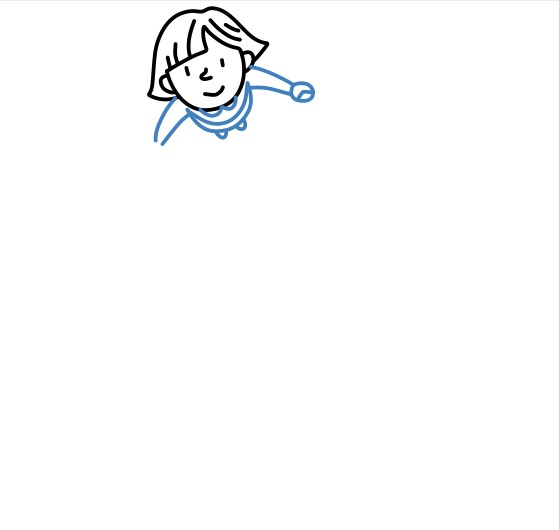
Draw the head and upper body of a character in the top left corner.

Practice
Guide to Drawing Friends Holding Hands - Step 1
2

Step 2

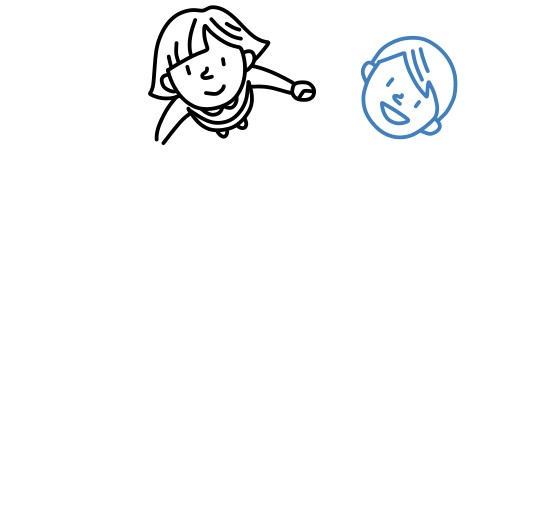
Draw the character's arm reaching out to connect with another character.

Practice
Guide to Drawing Friends Holding Hands - Step 2
3

Step 3

Draw a new character on the right, sketching the head and face.

Practice
Guide to Drawing Friends Holding Hands - Step 3
4

Step 4

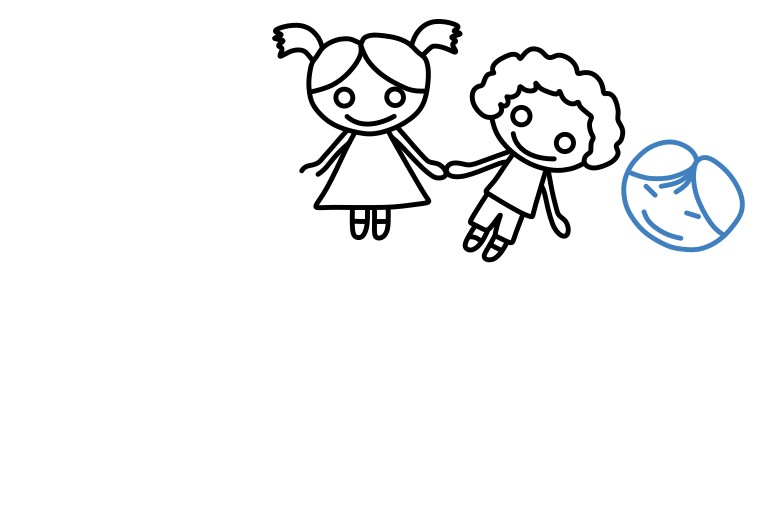
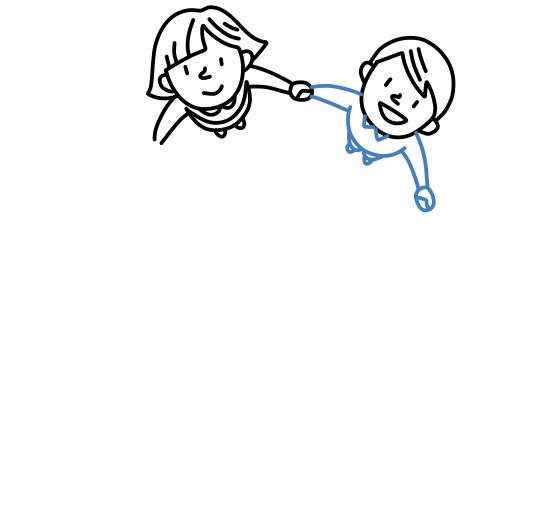
Draw the body and arms of the second character, connecting the two characters through the arm to create a sense of connection.
Practice
Guide to Drawing Friends Holding Hands - Step 4
5

Step 5

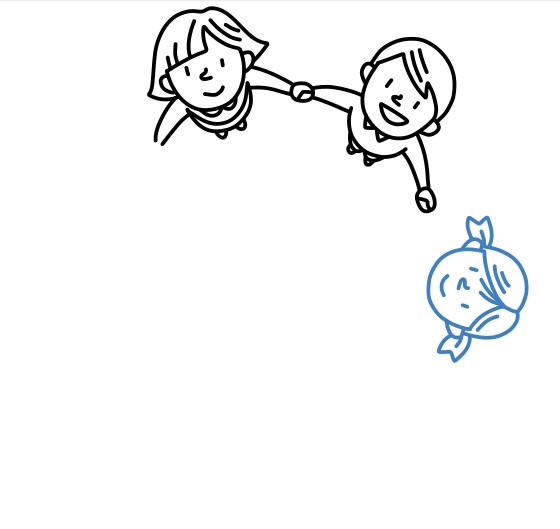
Draw the head of the third character.

Practice
Guide to Drawing Friends Holding Hands - Step 5
6

Step 6

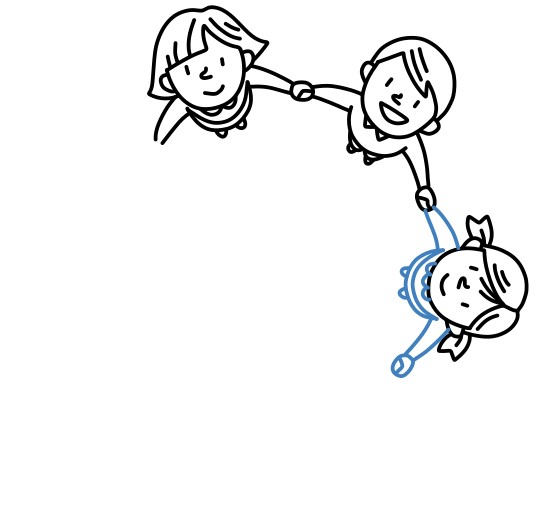
Draw the body of the third character along with the arm connecting to the second character.
Practice
Guide to Drawing Friends Holding Hands - Step 6
7

Step 7

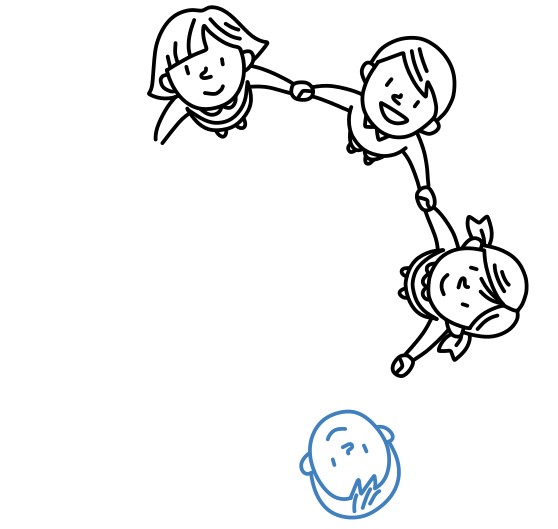
Draw the head of the fourth character.

Practice
Guide to Drawing Friends Holding Hands - Step 7
8

Step 8

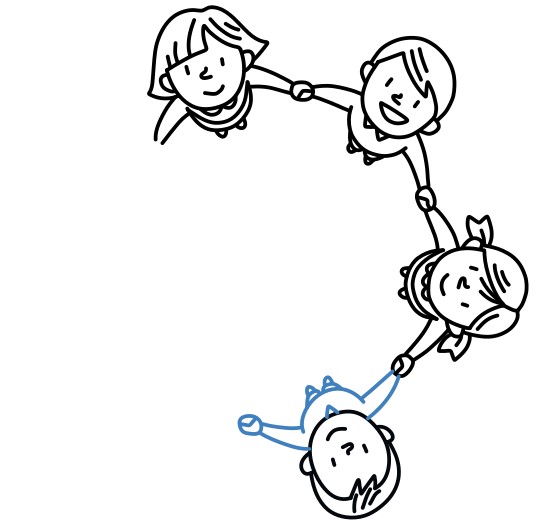
Draw the body of the fourth character with arms outstretched to connect with other characters.
Practice
Guide to Drawing Friends Holding Hands - Step 8
9

Step 9

Draw the head of the fifth character.

Practice
Guide to Drawing Friends Holding Hands - Step 9
10

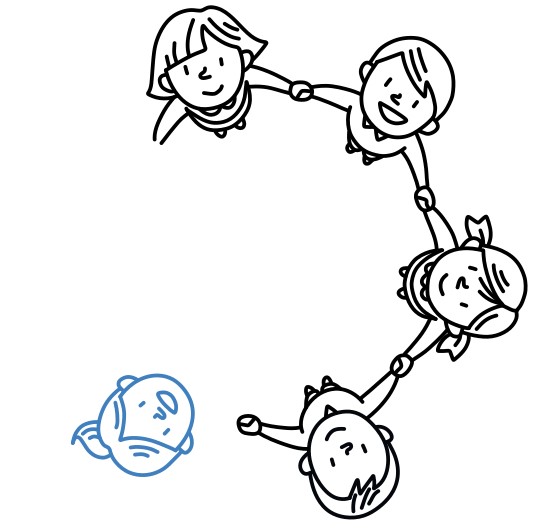
Step 10

Draw the body of the fifth character with arms outstretched to connect with other characters.
Practice
Guide to Drawing Friends Holding Hands - Step 10
11

Step 11

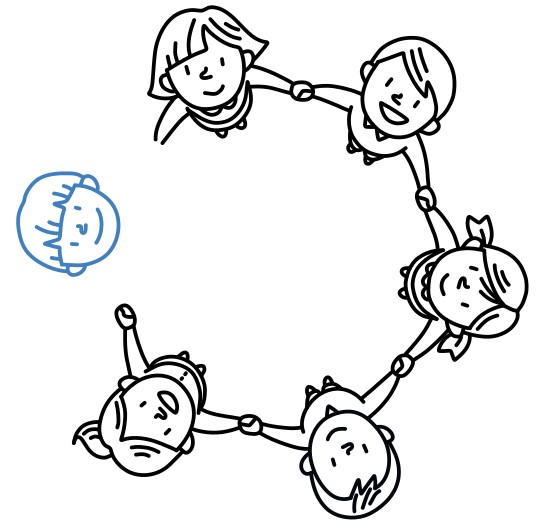
Draw the head of the sixth character.

Practice
Guide to Drawing Friends Holding Hands - Step 11
12

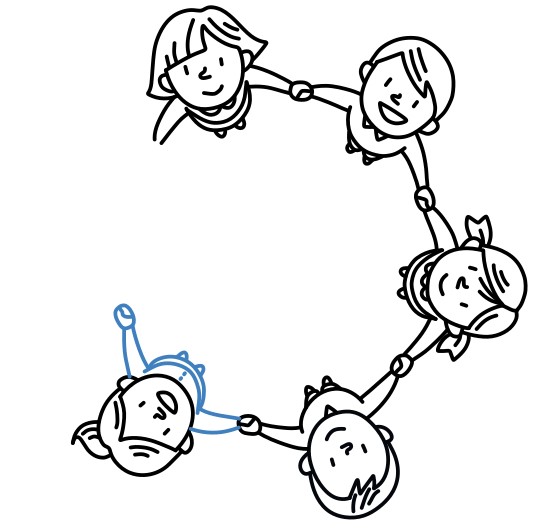
Step 12

Draw the body of the sixth character with arms outstretched to connect with other characters.
Practice
Guide to Drawing Friends Holding Hands - Step 12
13

Step 13

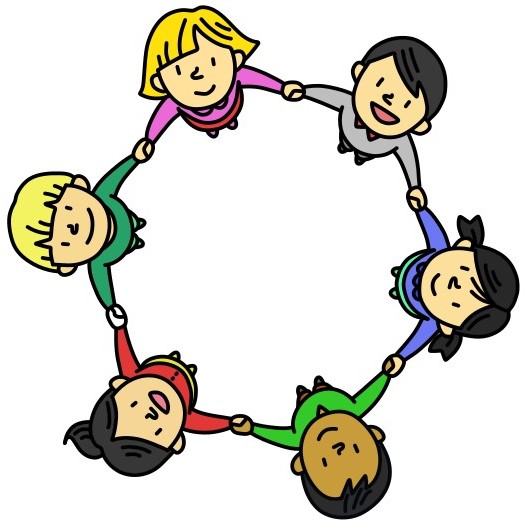
Color the drawing.

Practice
Guide to Drawing Friends Holding Hands - Step 13
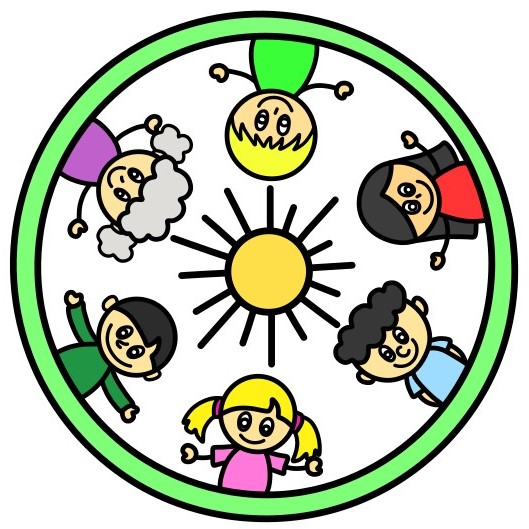
Guide to Drawing a Circle of Friendship

Guide to Drawing a Circle of Friendship

10 steps

1

Step 1

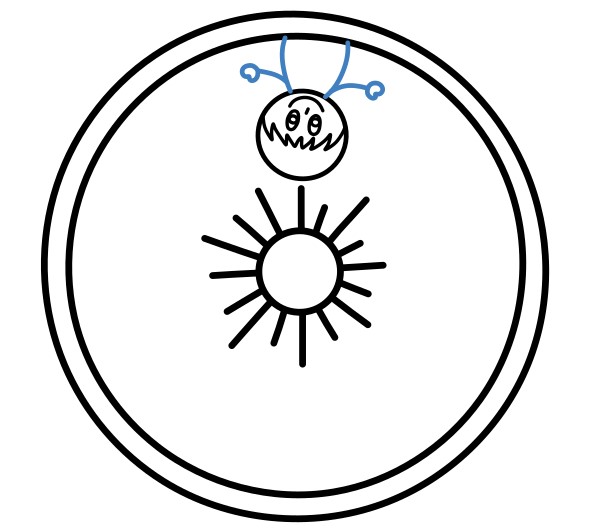
Draw two concentric circles to create the outer frame.

Practice
Guide to Drawing a Circle of Friendship - Step 1
2

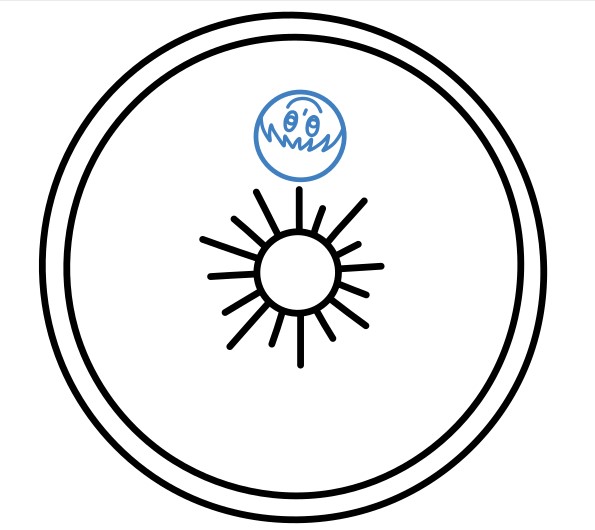
Step 2

Add a sun symbol in the center of the circle to highlight the focal point of the drawing, symbolizing shared brightness and vitality.

Practice
Guide to Drawing a Circle of Friendship - Step 2
3

Step 3

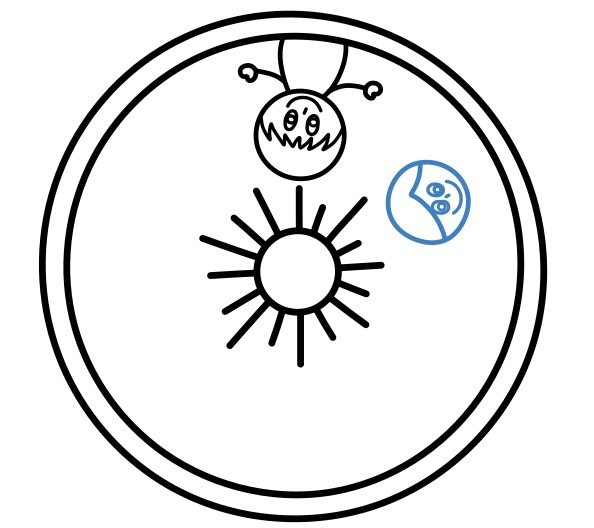
Draw a character's face at the top of the circle.

Practice
Guide to Drawing a Circle of Friendship - Step 3
4

Step 4

Draw the body of the first character.

Practice
Guide to Drawing a Circle of Friendship - Step 4
5

Step 5

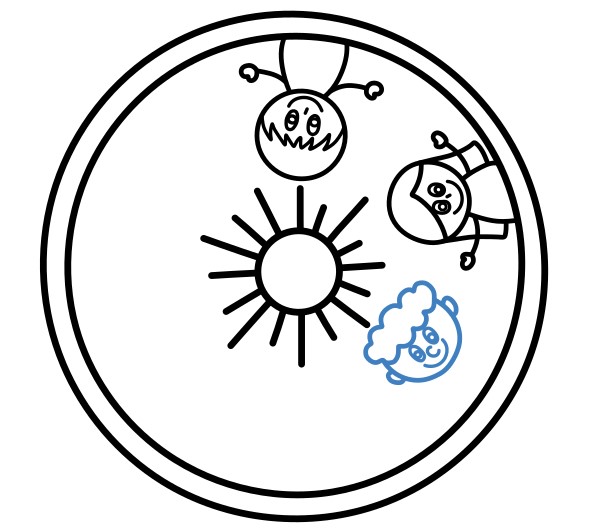
Draw the head and body of the second character.

Practice
Guide to Drawing a Circle of Friendship - Step 5
6

Step 6

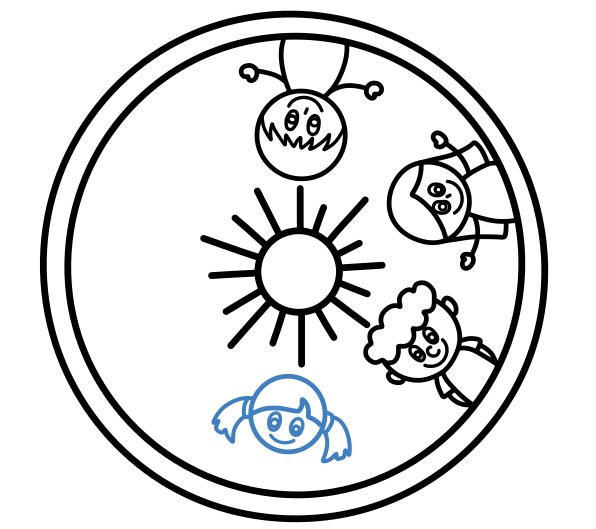
Draw the head and body of the third character.

Practice
Guide to Drawing a Circle of Friendship - Step 6
7

Step 7

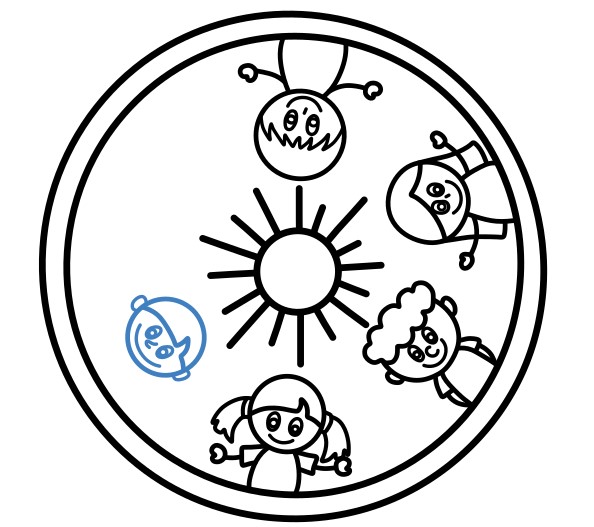
Draw the head and body of the fourth character.

Practice
Guide to Drawing a Circle of Friendship - Step 7
8

Step 8

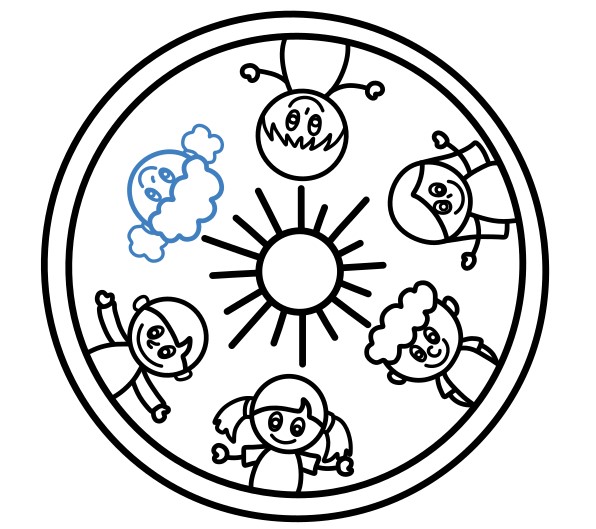
Continue with the fifth character.

Practice
Guide to Drawing a Circle of Friendship - Step 8
9

Step 9

Draw the sixth character.

Practice
Guide to Drawing a Circle of Friendship - Step 9
10

Step 10

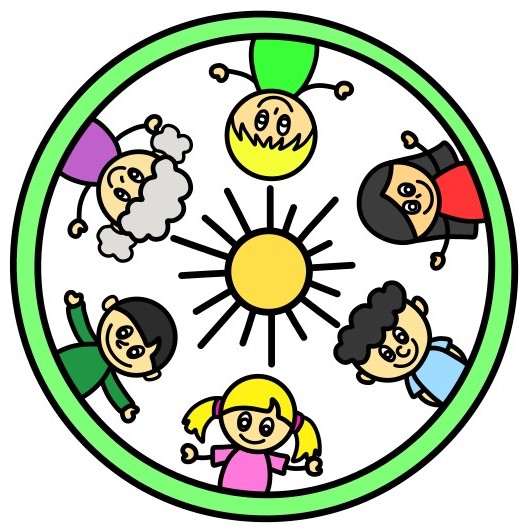
Color the drawing.

Practice
Guide to Drawing a Circle of Friendship - Step 10
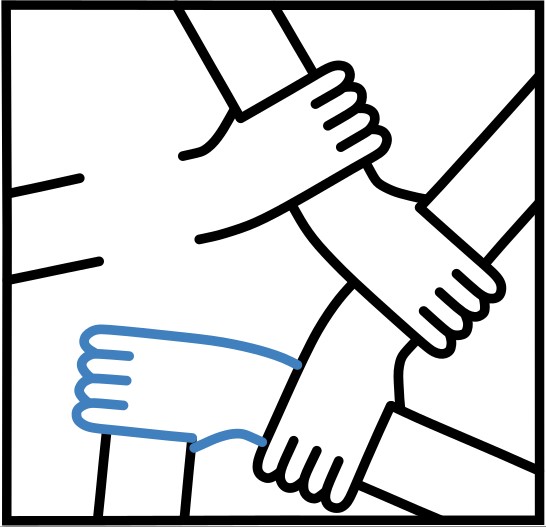
Guide to Drawing Multicolored Arms Holding Each Other

Guide to Drawing Multicolored Arms Holding Each Other

8 steps

1

Step 1

Draw a square outline.

Practice
Guide to Drawing Multicolored Arms Holding Each Other - Step 1
2

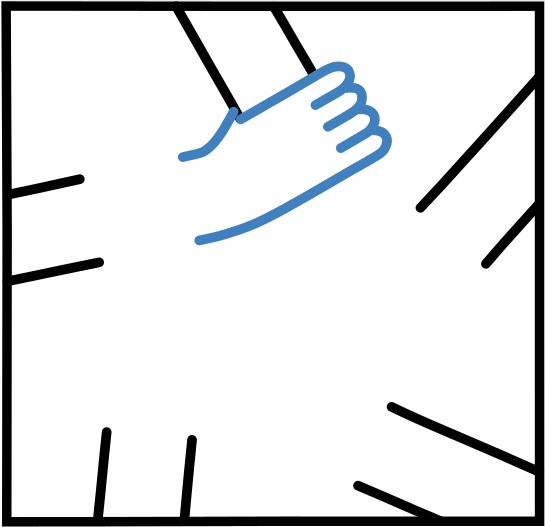
Step 2

Draw straight lines from the outer edge inward to create the wrist base and define the hand positions.

Practice
Guide to Drawing Multicolored Arms Holding Each Other - Step 2
3

Step 3

Draw the first hand from the left corner grasping the wrist line.

Practice
Guide to Drawing Multicolored Arms Holding Each Other - Step 3
4

Step 4

Add the second hand grasping the wrist line on the right.

Practice
Guide to Drawing Multicolored Arms Holding Each Other - Step 4
5

Step 5

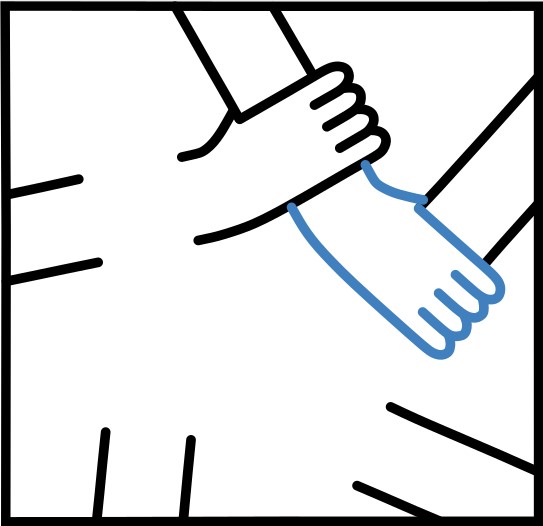
Draw another hand grasping the wrist line at the bottom.

Practice
Guide to Drawing Multicolored Arms Holding Each Other - Step 5
6

Step 6

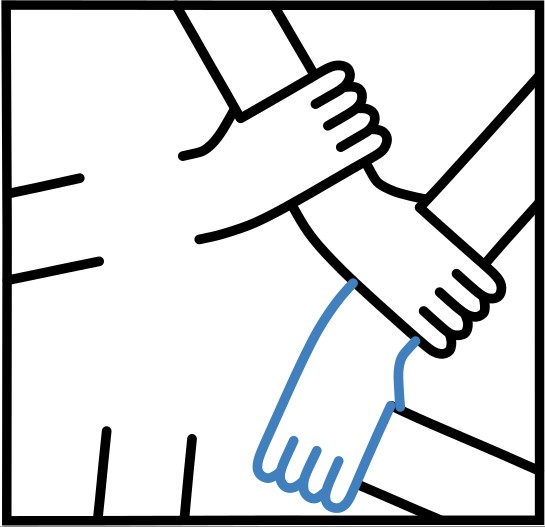
Draw another hand grasping the wrist on the lower left.

Practice
Guide to Drawing Multicolored Arms Holding Each Other - Step 6
7

Step 7

Draw one more hand reaching upwards grasping the wrist at the top.

Practice
Guide to Drawing Multicolored Arms Holding Each Other - Step 7
8

Step 8

Color the drawing.

Practice
Guide to Drawing Multicolored Arms Holding Each Other - Step 8
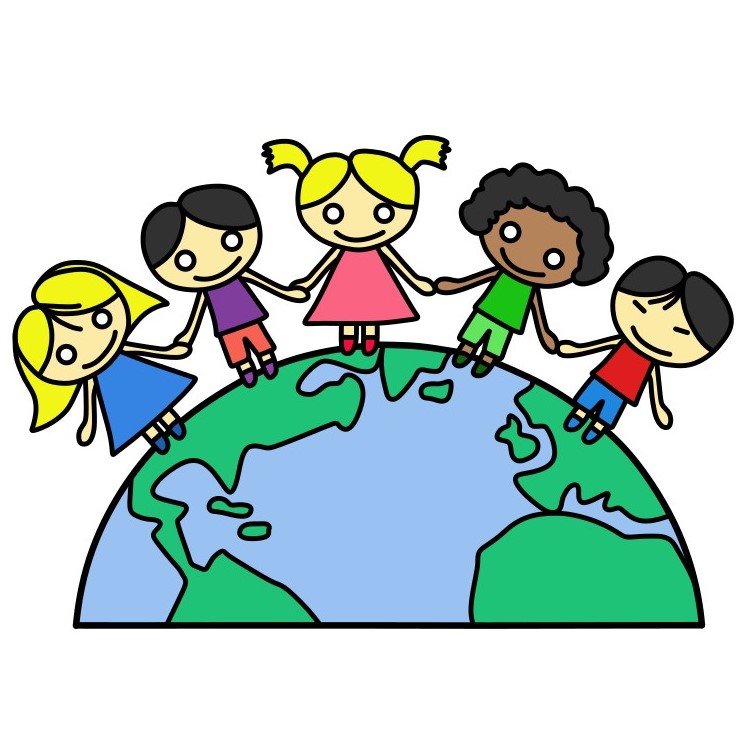
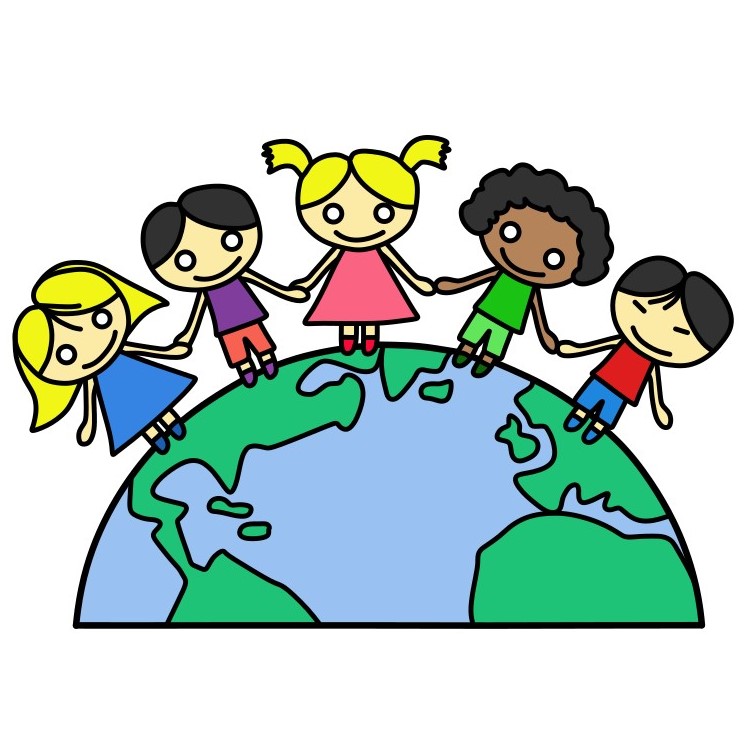
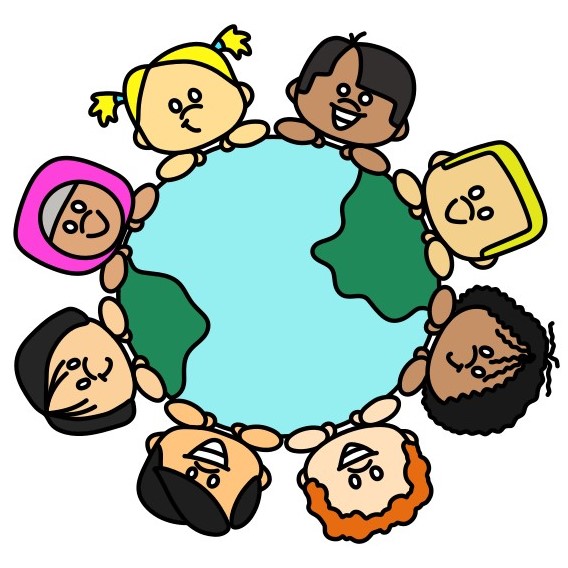
Guide to Drawing Unity Friends Around the World

Guide to Drawing Unity Friends Around the World

8 steps

1

Step 1

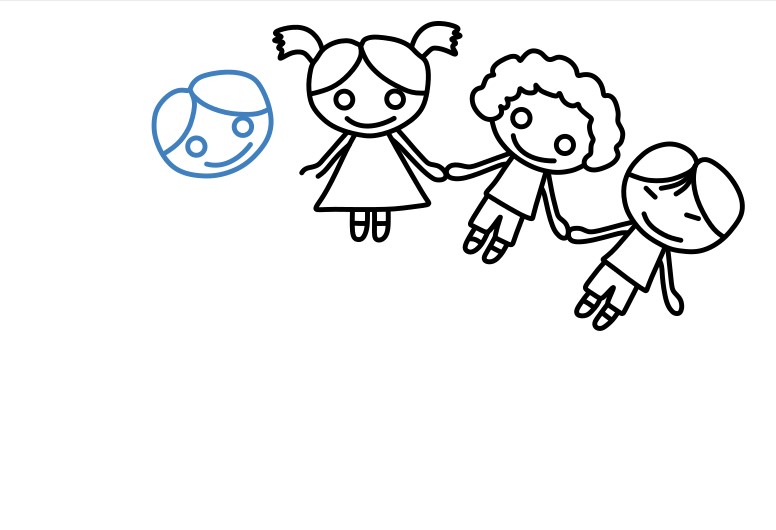
Draw the facial features and basic shape of a girl.

Practice
Guide to Drawing Unity Friends Around the World - Step 1
2

Step 2

Draw the facial features and basic shape of a boy.

Practice
Guide to Drawing Unity Friends Around the World - Step 2
3

Step 3

Add another boy on the right side.

Practice
Guide to Drawing Unity Friends Around the World - Step 3
4

Step 4

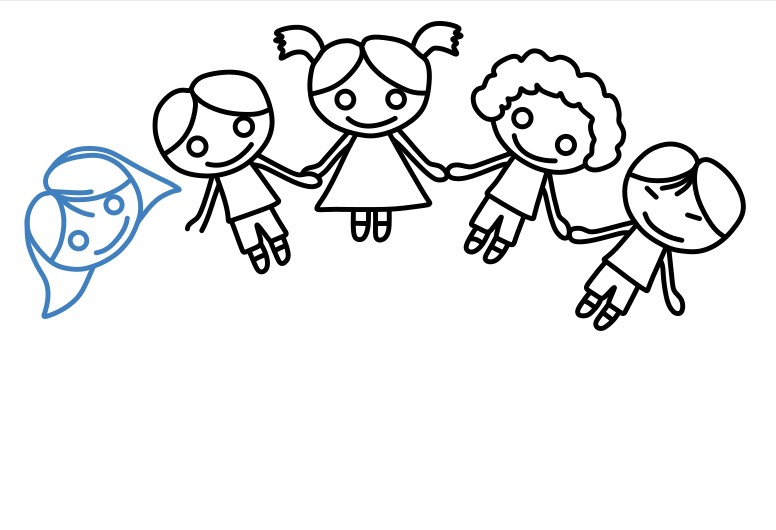
Draw another boy standing on the left side.

Practice
Guide to Drawing Unity Friends Around the World - Step 4
5

Step 5

Add a girl standing in the bottom left corner of the picture.

Practice
Guide to Drawing Unity Friends Around the World - Step 5
6

Step 6

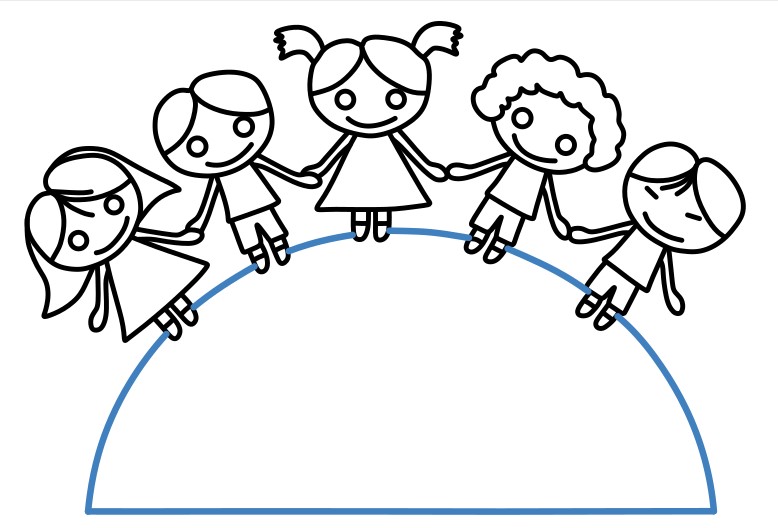
Draw a semicircle as the ground for the characters, representing half of the Earth.

Practice
Guide to Drawing Unity Friends Around the World - Step 6
7

Step 7

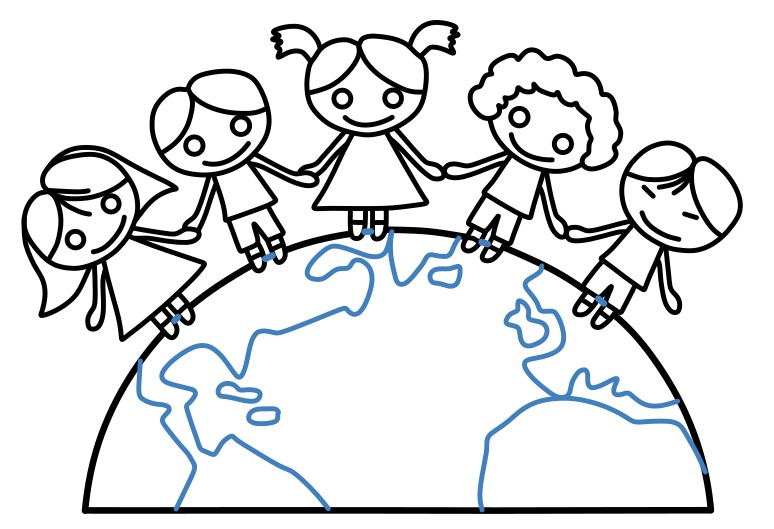
Draw curved lines inside the semicircle to depict land and ocean.

Practice
Guide to Drawing Unity Friends Around the World - Step 7
8

Step 8

Color the drawing.

Practice
Guide to Drawing Unity Friends Around the World - Step 8
▶Drawing tips
  • Draw lightly with a pencil first, then darken the lines when you're satisfied.
  • You don't need to draw exactly like the sample — add your own style!
  • After finishing your drawing, you can color it directly on Tomau.AI to make it more vibrant.

More Education drawing tutorials

View all